We have looked at social aggregators on MakeUseOf and also looked at hosting your own lifestream using Sweetcron. Lifestreaming is getting increasingly popular these days, because we feel the need to consolidate all our footprints that we leave scattered all over the web. Some people still shy away from it because the word "Lifestreaming" looks intimidating and sounds complicated. In this article, let us see how simple it is to set up your lifestream in three easy steps using StoryTlr.
Why Lifestream?
There are different incentives for lifestreaming:
- Most people use lifestreaming to present a unified view of their online activities to their friends. Those who subscribe or view your lifestream do not need to visit different websites to see your pictures, writing, videos, etc. Your lifestream is your "Centralized Me" on the web.
- Lifestreaming is also a way to permanently backup your online data. Your tweets get archived automatically. Your photos get backed up, just in case. Your blog posts get backed up, in case your blog is hacked.
- Lifestreaming can be a way to maintain an active blog when you don't always have time to write blog posts.
- Create "stories" about an event. Let's say you went on a weekend trip during which you tweeted, uploaded a few photos to Flickr, and a video to YouTube. Your trip can be easily shared as a "story" without searching for the content on different sites.
- Some people use lifestreaming for personal recollection and memories. What did you do on the web on your last birthday or anniversary? Your lifestream will show it to you.
How do you start lifestreaming? Let's find out.
#1: Add Sources for your Lifestream
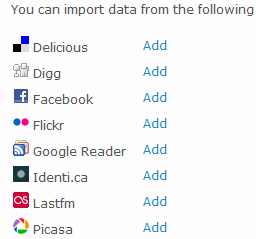
After you sign up and verify your email address, set your time zone. You can then choose the sources to add to your lifestream. There are 16 sources supported, from Facebook, RSS Blog Feeds and Flickr/Picasa photos to Twitter, Last.fm/YouTube, and social bookmarking sites like SumbleUpon/Digg/Delicious.
You do not need to supply any passwords because StoryTlr will simply pick up what is already publicly available via your profile on the various services. With Twitter, you can hide your @replies so that conversational tweets don't clutter your lifestream. Once StoryTlr has collected all your information you are ready to personalize your lifestream.
#2: Select a Theme
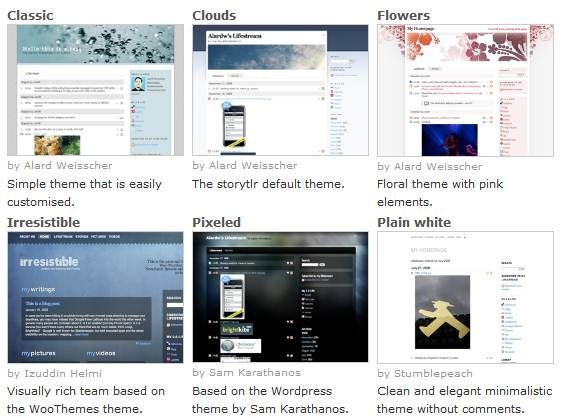
On the Configure > Design tab, you can choose a theme just like you do for a blog. There are 8 pre-built themes ready to be used.
You can also choose a custom background and header image.
#3: Select Pages
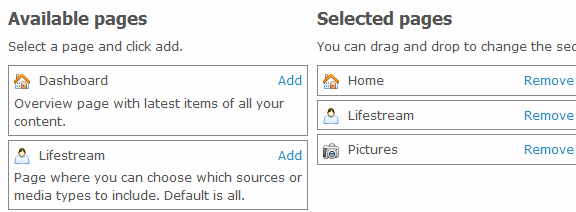
StoryTlr creates a full lifestream view, but also lets you create custom pages with filtered sources and more. Go to Configure > Pages, and choose the number and type of pages you would like on your site. A Dashboard page provides an overview of recent activities, while photo/video pages provide a gallery with slideshow.
You can drag and drop to change the order of the pages as you like. At any time, use the View tab to see how your website looks.
Your lifestream is ready! Use the View tab to see your lifestream. You can change your theme and tweak your pages any time you want. Your StoryTlr website is also like a blog - you can update your status Facebook style, write a blog post Blogger/Wordpress style and get comments on your posts.
For more advanced customization, see the next steps. All the following steps are optional.
#4: Customize Avatar and Widgets
It's a good idea to display your own avatar and introduce yourself with a bio. Go to Configure > Profile to do this.
In the Configure > Widgets section, you can select which widgets to display in your sidebar. If you have setup your avatar, choose the Avatar and Profile widget.
#5: Create Stories
You can automatically "pluck out" a certain time period of your lifestream to create a story. This works best when you make a trip, attend a conference, go on vacation or attend an event like a wedding. On the StoryTell page, choose the time period and select the sources to build your story.
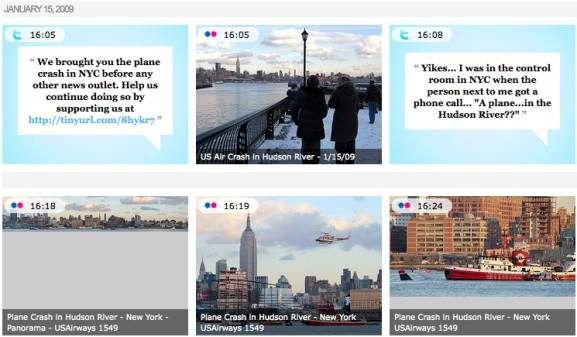
Some interesting events have been captured as stories in StoryTlr, like for example, the Hudson river plane crash story above.
#6: Advanced Customization
If you are geeky enough, there is more you can do with StoryTlr:
- Use your own domain (or subdomain) for your lifestream
- Setup Disqus commenting on your StoryTlr site
- Create your own CSS to customize your site
- Automatically cross-post your lifestream to Twitter
What are you waiting for? Go to StoryTlr and start lifestreaming! Oh, and don't forget to share your lifestream and stories with us in the comments!


