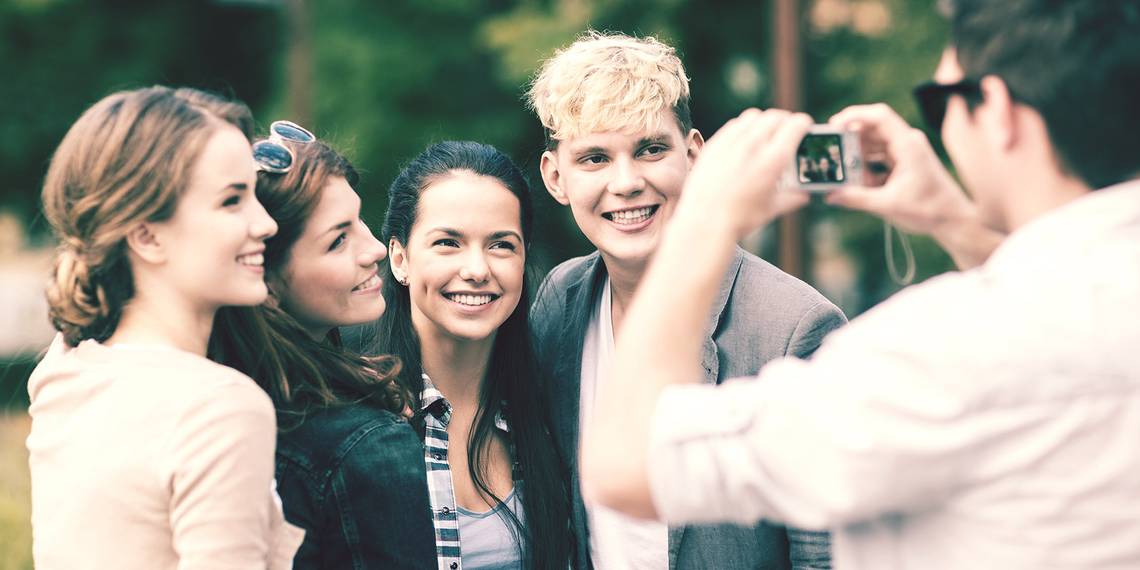
Group shots are a necessary evil. It's the kind of photo that doesn't allow for a slow pace, mostly because you have a handful of people staring at you as they wait for the shot to snap. It feels rushed and there's a lot of pressure on you, which can be daunting. But it doesn't have to be that way.
To be clear, group photos will rarely be easy—there are a lot of variables that are beyond your control, making it more likely for something to go wrong. Despite this, it's definitely possible for you to become comfortable with this kind of shot. Here are some tips to help sharpen your skills.
Always Start With a Plan

The impromptu group shot is the quickest road to swearing off group shots altogether. A photography master can probably make it work, but if you don't have that kind of experience then it's almost a guarantee that the shot will fall apart.
1. Organize the Logistics
Before the actual shoot, take some time to plan out the details of the shot. What day will it be? Who will be there? Which locations will you need? What is everyone going to wear?
Scope everything out prior to the shoot and consider drafting a schedule to use as a guide. This will help to put both you and the subjects at ease with everyone knowing the plan and timeframe for the photograph.
2. Choose the Right Setting
What counts as the "right" setting? It depends on the context. If you're photographing a corporate team, then you might want a location that represents the business.
At a wedding, it may be okay to experiment with more inventive ideas. When taking Christmas or seasonal shots, you could incorporate elements of snow or a fireplace.
The setting and style you go for depend on you as the photographer, just remember to be open-minded in case an opportunity presents itself for a better shot than the one you had planned.
3. Visualize the Shot
Trying to "find the shot" live can result in a lot of hesitation and dead air while you consider all the possibilities, resulting in confused and frustrated subjects.
Visualize your shots before everyone meets up to make the whole process as painless as possible. Ask yourself what do you want the end result to look like.
4. Build Your Skills
Planning doesn't just revolve around the shot, you can also plan by doing skill-building photography exercises to improve your photographing abilities and making sure you're not rusty before taking an important shop.
Remember, You Are the Boss

In a lot of cases, photography is an introverted activity. You don't really need to interact with your subjects when snapping nature, landscapes, products, performances, and so on.
But when people are your subjects, all of that changes. You must shift from passive to active, otherwise your photos will flop.
5. Take Control of the Shot
Think of yourself as the director. In order to get the optimal shot, the subjects must be told what to do and when to do it. Don't be afraid to let everyone know that you are the authority of the shot.
After all, if the shot doesn't turn out well, all the blame will rest on you.
6. Make Your Subjects Comfortable
On the one hand, you should be assertive, but you should also be gentle in your assertiveness. If your subjects are nervous, intimidated, or distracted, it's going to show in the photo.
Strike up a conversation. Get to know them. Make them laugh if you can. This will lead to a better atmosphere which leads to a better photo.
7. Camera Confidence Is Key
All the directions mentioned above can be mentally taxing, which is why it's so crucial that camera functions are second nature to you.
Ideally, you should be comfortable enough with your camera and gear to get the shot that you envision without having to think about it too much. This lets you focus 100% on communicating the shot properly.
Tips for Gear and Equipment

There are some really cool photography gadgets and tools out there, but none of them are necessary for taking good shots. That being said, cool gadgets and tools exist for a reason: they can certainly make your life easier.
One of the key photography tips for absolute beginners is to ensure you know your gear and have as good gear as your budget allows.
8. Use a Mid-Range Lens or Focal Length
It's important to know when to use a particular lens; for portraiture, it's often best to stay away from the extremes. Wide angle lenses (less than 35mm) can make a photo seem wacky or distorted while telephoto lenses (more than 135mm) require too much space between you and your subjects.
A lens between 50mm and 105mm will produce a shot that's closest to reality—the least amount of distortion—so that's what we recommend using. However, if you want to try experimenting, do give it a go.
9. Use a Tripod
Aside from the obvious benefits to composition, tripods carry several other benefits. If your camera and lens are heavy and lack image stabilization, a tripod can help reduce shaking. A tripod also lets you direct and interact with people without having to lug your camera around all the time.
The only time a tripod is non-negotiable is when you want to take a long-exposed shot, in which case you may also want to use a remote shutter to eliminate shaking altogether. This is especially true if you take pictures at night.
10. Lighting Is Everything
Setting up the right kind of lighting is the main trick for taking high-quality photos. The subject is too deep to cover in one paragraph and the right advice would depend on the context. Summer shots are different from winter shots and outdoor shots have different considerations than indoor shots.
The important thing is that you understand and apply the rules of exposure. In addition, never use a direct flash. Flashes are so strong that they wash out the colors of a photo and produce harsh shadows. Natural lighting is always best but in cases where flash is unavoidable, use a flash diffuser or flash bounce card to soften the light.
11. Find an Assistant
Dealing with gear is a pain when you're also dealing with people. That's why photographers usually have assistants who help with equipment, organize subtasks, and take secondary photos that utilize other angles and viewpoints.
You can advertise on local job boards or social media platforms such as LinkedIn to find a suitable assistant.
Tips for Framing and Composition

Composing the shot is probably the hardest aspect of group photography, but there are a few simple guidelines that you can always fall back on when you find yourself stuck on what to do.
12. Look for the Triangles
In a group shot, the subjects should not be at a uniform height. This gives the photo an undesirable artificial quality. Rather, try mixing up heights so that some heads are high, some are low, and the rest are in between. This makes the shot feel more dynamic and natural. You'll find that all the best online photography courses for beginners will advise you to look for the triangles in your shots.
One trick for mixing up heights is to form triangles with the subjects' heads. The triangles don't have to be perfect, and they're not always necessary, but it's a strong rule of thumb to follow. Plus, it helps you position people in front and back rows in a way that looks visually appealing.
13. Tighten Up the Frame
A group, by definition, is a cohesive whole of individual parts. Therefore, when taking group shots, it's imperative that you keep the subjects grouped together. Keep from spreading them out too much and try to fill in any big gaps.
Once that's done, bring your camera in and keep a tight frame on them. The aim is to get rid of as much unnecessary free space as you can because that can make your photo feel empty or unbalanced.
14. Pick an Appropriate Background
In most cases, this means something simple that won't distract from the photo's main focus: the people. Try for a neutral space (e.g., a wall), and if there are any distracting elements (e.g., wall hangings, chairs, and tables) move them out of the way for the shot.
While you can edit the background in post-production, it's much easier to ensure you've got a solid background before taking the picture.
15. Experiment With Angles
Photos from eye-level are pretty standard. They're a safe choice for conservative contexts, such as a photo of a corporate team. For group photos of a more casual nature, consider taking the shot from an unconventional viewpoint. Look up from the ground. Look down from atop stairs. Zoom in or zoom out. Maybe even tilt the camera.
Again, this sort of creative departure isn't always the best choice, but it's a great beginner tip to heed when you feel like all of your photos are boring and look the same.
Nail Your Group Shots
Photography is a deep subject, and we've only touched on the basics here for group portraits, but it should be enough to help you develop a solid foundation on which to build. In addition to everything that was said above, don't be afraid to fail! Every bad shot is one step closer to learning what comprises a good shot.
Always remember that no matter what photography advice you come across, a big part of your photography will be dictated by your personal style.