The skills to take a great photo remain the same regardless if you’re using a DSLR, point-and-shoot, or your smartphone. Knowing how to compose a scene, work with lighting, and understanding photographic depth are three important skills. But sometimes, you’ll need specific tips for smartphones to make your smartphone photography fantastic.
1. Take Your Time

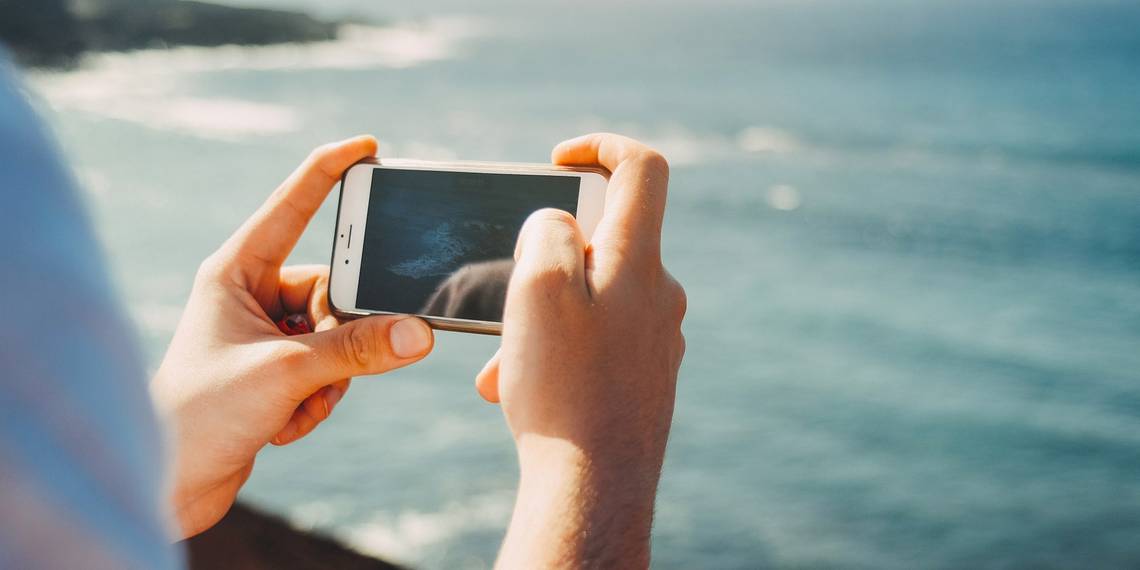
Cell phone cameras are almost on par with professional cameras nowadays—with the added benefit of fitting in your pocket. With such a high-quality tool at your fingertips, it only makes sense to take your time not to rush a photo.
So take an extra second—make sure your composition is good, include interesting subjects, see if you can improve the lighting or the angle, and create a good leading line for the viewer. It only takes a few seconds to drastically improve your photos.
2. Apply Principles of Composition

Many intuitive ways to take a photo—such as lining the horizon in the direct center of the frame—actually make for a less aesthetically balanced photo.
Using the rule of thirds is a great place to start improving your photos. Most cell phone cameras have a grid option. Turning on the grid will help you line up your subjects or horizon lines with the rule of thirds.
The idea is that rather than placing your subject in the center, place it on the line separating the frame into thirds. This works both vertically—perhaps for portraits—and horizontally for landscapes.
For an in-depth look at other principles of composition, check out our rules of composition for new photographers.
3. Zoom With Your Feet
The zooming feature on smartphone cameras is digital, which means you're going to get a lot of distortion and noise in your photo. And editing or cropping out noise distortion detracts from the quality of your photo.
The best way to zoom on a smartphone camera is with your feet. This means you're going to need to get close to your subject.

Getting close to an object applies to just about anything—you can zero in on your subject in a landscape, fill the frame with your friend's face, or just get close to something that you think looks cool.
A great way to practice this is to find small things and take a picture from where you would normally take it, and then take a few steps closer. You'll see the difference in quality right away.
You can also buy zoom lenses for smartphone cameras, which avoid the distortion of digital zoom and still helps you get that winning shot from far away. Take a look at our list of great smartphone lenses and what they can do.
4. Ditch the Flash

The light that comes from a camera flash can be really harsh—it creates weird highlights and shadows, affects the colors of your subject, and can cause unsightly reflections. Unless the flash is the only way that you're going to be able to capture anything at all, we’d recommend turning it off.
Instead, try to take advantage of natural or ambient light. It'll provide you with more lighting and result in a better photo overall.
Many newer smartphone cameras now include night mode; this allows you to capture much better photos in the dark, but you must hold your phone steady for a couple of seconds. Using a phone tripod will help capture a great low-light photo.
5. Use Other Camera Apps
Your phone’s standard camera app is great, but it’s not the only way to take photos from your phone. There are myriad camera apps that can capture, enhance, or add a playful touch to your photos.
With plenty of free camera apps available, you have a lot of options. But even spending a dollar or two can get you great results while using your phone. A few of our favorite camera apps are Gudak Cam, Focos, Camera+, Manual, Camera ZOOM FX, and Camera 360.
With each different camera app, you’ll come across new camera settings. Experiment with them to learn how to utilize each app to its best potential. Some apps allow you to change ISO, aperture, shutter speed, or more. These settings will create photos of a similar standard to a DSLR.
6. Use HDR (in Moderation)
High dynamic range (HDR) is a polarizing topic. On one hand, it helps you get a balanced exposure in a photo that contains a lot of highlights and shadows. On the other, it can be overused and create photos that look a little off.
If you don't go overboard with it, though, it can be really useful. For example, HDR can balance parts of an image that are totally blown out by sunlight, such as the daylight outside a window from a photo taken of a subject indoors. In general, we recommend leaving HDR on Auto. But learning how to create balanced exposure in photos will serve you best in the long run.
7. Don’t Overuse Filters
Instagram popularized the idea of photo filters, but there are tons of apps out there that will let you apply a specific combination of effects, but you shouldn’t apply these to all of your photos. Standard filters are often very exaggerated and it’s obvious when they’re being used, which doesn’t suit all types of photos.
However, professional photographers may create their own presets that they use on all of their photos; these are typically more subtle than standard filters, but identifiable enough to recognize the photographer’s work from a set of photos. You can create your own presets in Lightroom.
Download: Lightroom for iOS | Android (Free, in-app purchases available)
8. Learn to Edit
The idea of learning to edit photos can be daunting—there are entire online photo editing courses that you can take. But learning to make quick, small adjustments through an app on your phone is actually pretty easy, as well as fun.
Editing your photos allows you to make subtle changes and gives you much more control than filters.


VSCO is a great way to edit photos for free, and Snapseed is another good mobile option. Download one and start playing around. Slightly increasing the saturation and warmth of photos makes a big difference. Explore saturation, contrast, fill light, tint, grain, and other tweaks to see which improve your photos the most.
9. Keep Your Lens Clean
We take our phones everywhere, put them in our bags or pockets, and even give them to our toddlers—the lenses are bound to get dirty.
Even dirt you can’t see with the naked eye will affect the quality of your photos. Use a lens cloth often—carry one with you if you must—to keep your lens free from dirt and oils. You can also clean your phone’s screen at the same time. Cleaning the lens ensures no external dirt and muck will ruin an otherwise perfect photo.
10. Upgrade Your Phone

It may not be the most convenient tip, but if you’re determined to keep your photos looking their best, you need to be using the most up-to-date hardware.
With each new phone release, smartphone camera software gets better. Not only in raw quality, but also in added features.
We don’t recommend buying or upgrading to a new phone just to keep up with new camera software, but if you’re thinking of upgrading and want to improve your smartphone photography, then it’s something to consider. We’ve written a guide about the best smartphone cameras available at the time of writing that can help you decide whether to upgrade or not.
Get the Most Out of Your Smartphone Photography
With these ten great tips, you can take your smartphone photography from dull to stunning. Remember that practice makes perfect, and with a camera that can do so much right in your pocket, there’s no excuse not to grab it and press the shutter.