Sunsets are probably the most-photographed natural phenomena in the world. But if you've ever taken a picture of a beautiful sunset, you may have experienced a sense of disappointment after comparing what you saw and what you captured on camera.
In this tutorial, we're going to show you how to capture those beautiful sunsets with the gear and photo editing software that many beginners might already own. Let's get started.
The Gear You Need to Capture a Beautiful Sunset

Beginners shouldn't feel like they can't capture amazing sunsets just because they only have a basic camera or smartphone. The truth is, it's about maximizing the potential of your camera through settings, lenses, accessories, and photo editing software. At the very least, you just need a camera and the ability to edit your photos.
If you're just starting out and need ideas of what basic camera gear to own, we recommend these pieces of gear that every photographer should have in their kit. Consider the below list of tools optional but very helpful to capture sunsets with your camera.
Tripod
Tripods are optional but very useful for photographing sunsets, especially if you're using exposure bracketing (more on this later). They also come in very handy if you're capturing long exposure shots. Here's what you need to consider before purchasing a tripod.
Lens Hood
Lens hoods are great tools for reducing sun flares. Sun flares can occur whenever you're pointing your camera directly at the sun and are especially common if you're using a cheap lens or cheap neutral density filter without the corrective coatings.
If you don't have a lens hood or if it's too small to be effective, you can always use your hand to shield the sun from the top of your lens.
Graduated Neutral Density Filter
These filters usually require brackets to fasten over your lens to house the filter itself. That's because the top portions of these filters are darkened, and the bottom portions are lighter to allow details to come through in the foreground.
You can also use regular neutral density (ND) filters that aren't graduated to allow for longer exposure times or to darken the skies to allow for various aperture settings.
The Right Lens/Focal Length

There is no one correct lens or focal length to use when photographing sunsets. It depends on what you want to achieve with the image, including what foreground and background elements you want to include.
How prominent (big or small) you want the sun to be is also a consideration. Generally, a wide-angle lens and focal length (less than 35mm) are going to place the sun further back in your images. A telephoto lens, say 85mm or greater, will bring the sun in closer to your subject, especially if you're relatively close to your subject.
If you're just starting out shooting sunsets, experiment with full-frame focal length equivalents of 24mm to 100mm with lenses that will provide you with those focal lengths. Remember that crop factors apply if you're not shooting on a full-frame camera. Here's why crop factor matters.
Sun Locator App
Sun locator apps, such as Sun Surveyor, come in handy if you're not familiar with the location where you'll be shooting sunsets or if you're visiting a familiar spot but at a different time of year than when you normally do. These apps will show you in advance where in the sky the sun will rise and set, giving you the sun's trajectory and rising and setting times.
The Best Camera Settings for Sunset Photography

Camera settings aren't as complicated as you might think because you're usually going to be faced with ample light for your exposures. That means you can almost be guaranteed that your ISO setting is going to be at the lowest, usually at 100 for most cameras. You'll also want to be in Manual mode.
Don't be scared of being in Manual mode for the first time; there are many reasons to use Manual mode whenever your can. But to keep things simple, we'll talk about some basic camera settings to start out with when photographing sunsets.
So we already have ISO set at 100. The other primary settings to work with are the shutter speed and aperture.
Aperture
The aperture controls the depth of field and how much detail will be in and out of focus. At the same time, it accounts for the amount of light that's allowed to hit the camera's sensor, just like the ISO and shutter speed settings.
For sunset photography, consider an f-stop ranging from f/8 to f/22. This will allow for greater depths of field and details. If you're looking to create a starburst effect, use an f-stop of f/16 or higher.
Shutter Speed
You may consider the shutter speed to be the third priority in the exposure triangle unless you're looking to take long exposures. Presuming that you just want to get a sharp image and the right amount of light to make the perfect exposure, dial in your ISO and aperture first. Then calculate the correct shutter speed to get your desired look.
For long exposures where you want to create motion in the water or other subjects, the shutter speed would then become your second priority next to your ISO being set to 100.
For an exposure of a few seconds or more, you'll likely need your aperture to be maxed out at the highest number. And at exposures of 20 seconds or more, you'll probably need a regular ND filter or a graduated ND filter to make the image work.
Exposure Bracketing
Most DSLR and mirrorless cameras will allow you to use exposure bracketing. When in use, the camera will take multiple exposures at the same time. For sunsets, it's best to bracket for between three and five different exposures.
For example, a five-exposure shot would mean that your main exposure would be one that isn't perfect but allows for some detail to shine through in the sky and foreground. Then you would have two bracketed shots that are overexposed and two that are underexposed.
You'd use photo editing software to align the photos and mask in the best exposures for the sky and foreground.
Composition Tips

A good composition will make your sunset photography stand out from the crowd. This is a very broad topic, but we'll offer a few suggestions to help elevate your sunset photography.
- You don't have to place the sun in the center all the time. Experiment with placing it off-center or even in the corners.
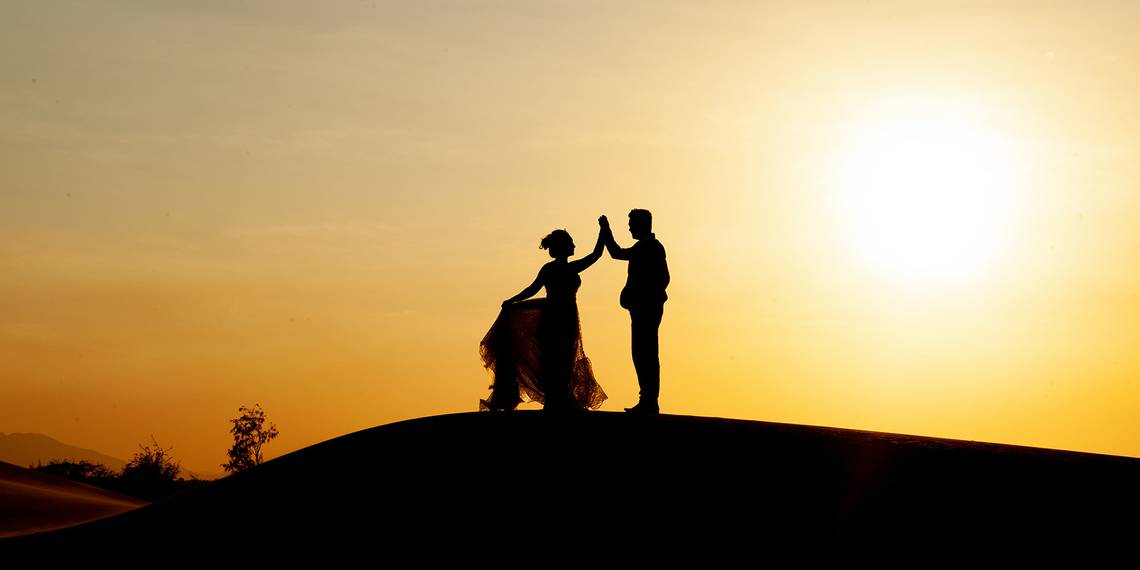
- Place foreground elements in your images. Use people, animals, objects, and so on. This will create a more interesting image in many cases.
- Take vertical (portrait) and horizontal (landscape) shots. Let the scene dictate which way to orientate your camera.
- Track the sun as it gets lower in the sky and take pictures along the way. The quality of the light changes dramatically as it gets closer to the horizon. This is also a good idea because if you're facing cloudy conditions, you could have the sun vanish on you when you least expect it.
Post-Processing Tips

Post-processing is also a very broad topic to cover. But there are a few basic tips that could apply to many sunset images.
- If you're bracketing your exposures, use layer masks to paint in the desired exposures to differentiate between the sky and foreground elements. Aim to create a scene where the sky and earth aren't too dramatically different in exposure values or the image will look fake.
- Use selective sharpening to enhance the details in the landscape elements. Do not sharpen the sky!
- Use dodging and burning to create a more dynamic image.
There are some creative ways to edit your sunsets in Photoshop.
Make Your Sunset Photography Shine
These pointers should help you start off on the right foot when you go out to photograph sunsets. There's no better substitute than practice, and fortunately, you can even apply these same techniques to sunrises if you're an early riser.