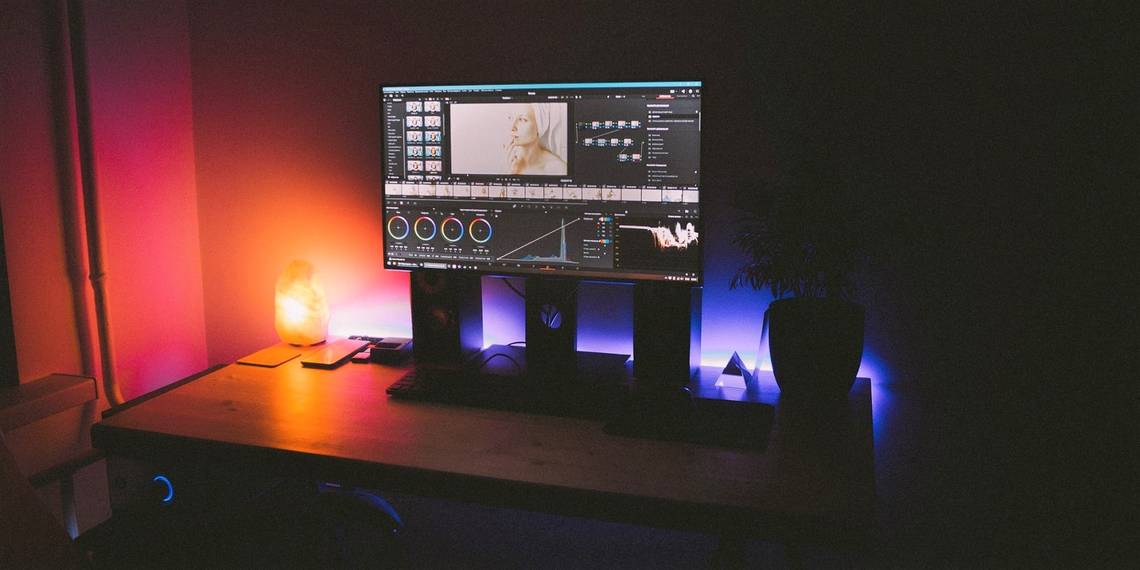
Stills in DaVinci Resolve are more than just visual keepsakes to treasure for a lifetime. In fact, they're actually quite functional—both during your editorial process and after the fact too.
If you've ever found yourself wondering how to use this feature, read on for a few tips and tricks.
What Are Stills in DaVinci Resolve Good For?
We've explored LUT creation in Resolve before—why mess around with stills in the first place?
- Stills let you compare the grade that you've saved with anything going on in your timeline.
- You can instantly apply these looks to whatever you're coloring currently.
- It's a visual way to display the looks that you use and reuse frequently, especially on a project-by-project basis.
- They can be used as a continuous account of your work, allowing you to "back up" anything promising that you come up with. You're then free to experiment without losing the original grade.
They might seem like a roundabout way of doing these very simple things, but the Resolve pipeline is built with them in mind.
How to Save a Still in DaVinci Resolve
It's pretty simple. Right-click your footage in the viewpoint window, and select Grab Still.

Your still will be saved to your gallery. This image serves not only as a reference image, but also contains all of the attributes of the grade, bringing any nodes that you were working with along with it.
After grabbing your still, you'll be able to check it out in the Gallery panel. From here, you'll have several options (which we'll further discuss in a moment).

If you advance the playhead, you can take another still from this clip. You'll see that, in the Gallery panel, the name of the still reflects the fact that it came from the same shot as the first, but afterward.
If you delete any of your previous stills, this naming convention will update itself automatically, ensuring that you never mix up any two versions of the look.

If we add another shot to our sequence through the Cut workspace and take a new still from that clip instead, the naming convention continues. It's a really great consideration; simple and incredibly valuable.

For now, let's focus on what's in front of us. We have a still; what exactly can we do with it?
How to Use Stills in DaVinci Resolve
Hovering the cursor over any of the stills in your Gallery lets you audition the look over the frame that you've got your playhead parked at in the timeline. What else are stills in Resolve good for?
Right-clicking on the thumbnail of the still calls up the context menu that we remember from earlier. All of these features can be used to enhance your Resolve workflow.
Choosing Play Still, for example, enables a split-screen display in the timeline viewport. The right half shows the original image, as it was. The left half shows what it would look like if you apply the still's grade to the clip.

Apply Grade applies the look from the still outright, modifying the timeline clip.

Append Node Graph adds the still as a node to the clip in the viewport. You can take a closer look at the nodes that have been applied to the still itself by selecting Display Node Graph.

Match Reference Wipe Frame sets the playhead to the frame of the clip that the still was actually taken from.
Underneath these options, you'll see a couple of Import options. For now, we're going to skip these and instead focus on Exporting this still with the LUT attached.
How to Export a Still as a LUT in DaVinci Resolve
When you export a still from Resolve, you've got more than a few options in terms of your output file type—DPX, Cineon, TIFF, JPEG, PNG, PPM, BMP, and XMP.

All of these will be found in the Export Stills menu. Let's Export a PNG of this still with the Display LUT.
After doing so, we'll find our exported still sitting in our chosen destination folder. Alongside it: a mysterious DRX file. What is this?

DRX stands for DaVinci Resolve Exchange file—a metadata sidecar folder that contains everything that Resolve needs to recreate the grade on another piece of media. This is the file that you would Import from the other side.
Use Stills in Support of a More Hands-On Workflow
With so many exciting widgets to tinker with and dials to turn in Resolve, things like stills will often be overlooked by the neophyte at first. Once you've gotten your fill, however, we highly encourage you to incorporate them into your coloring routine.
Small things like stills might end up saving you a lot of time and heartache in the suite, especially if you're working in a professional or collaborative context. The only way to find out what they can do for you is to put them to work yourself.