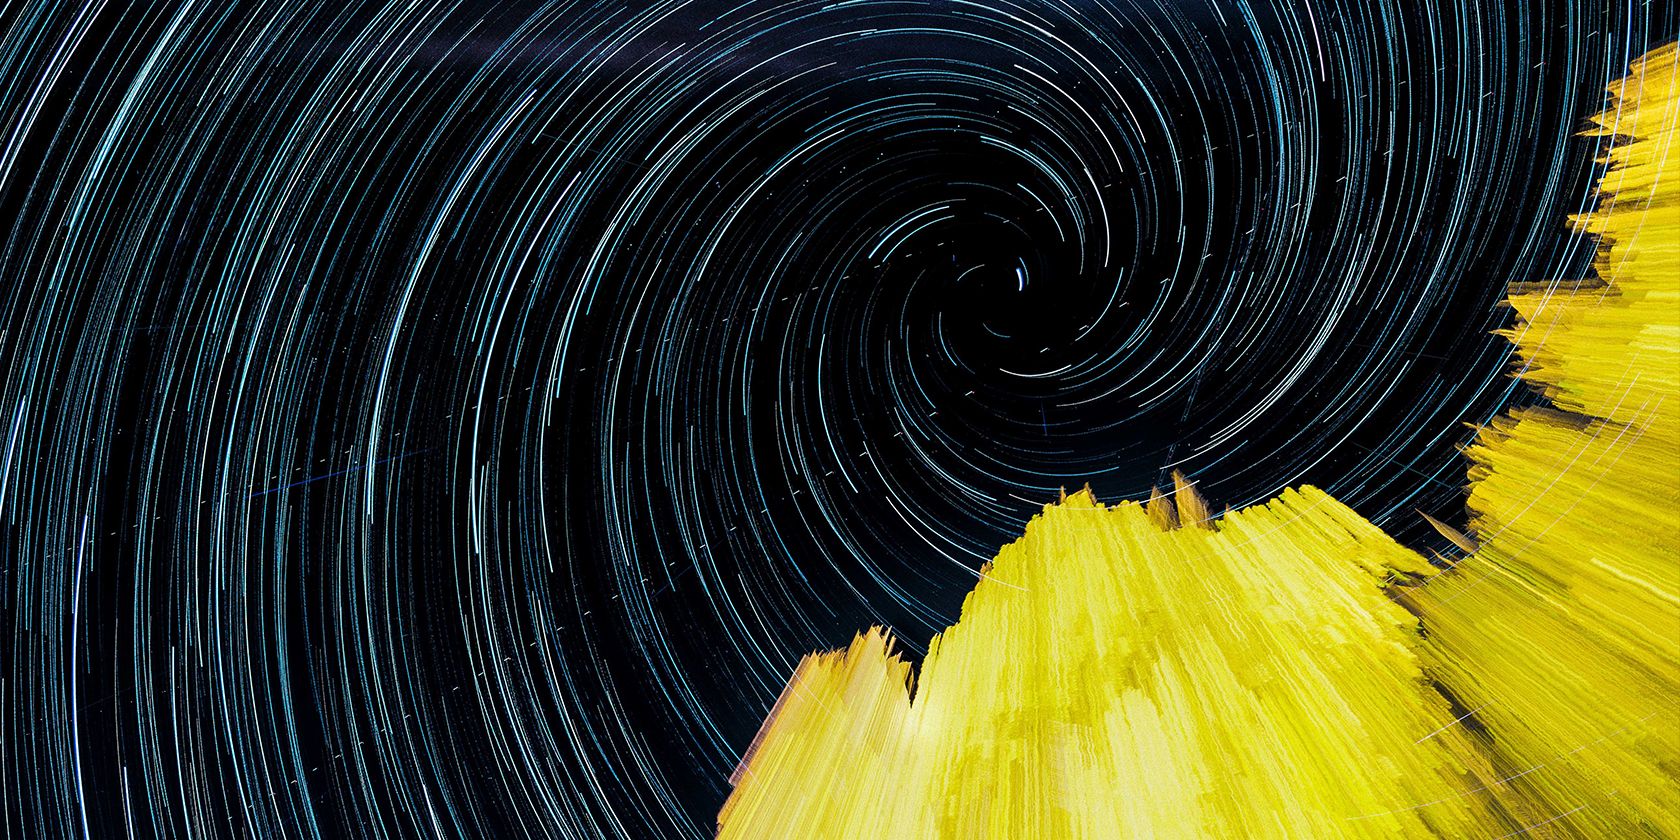
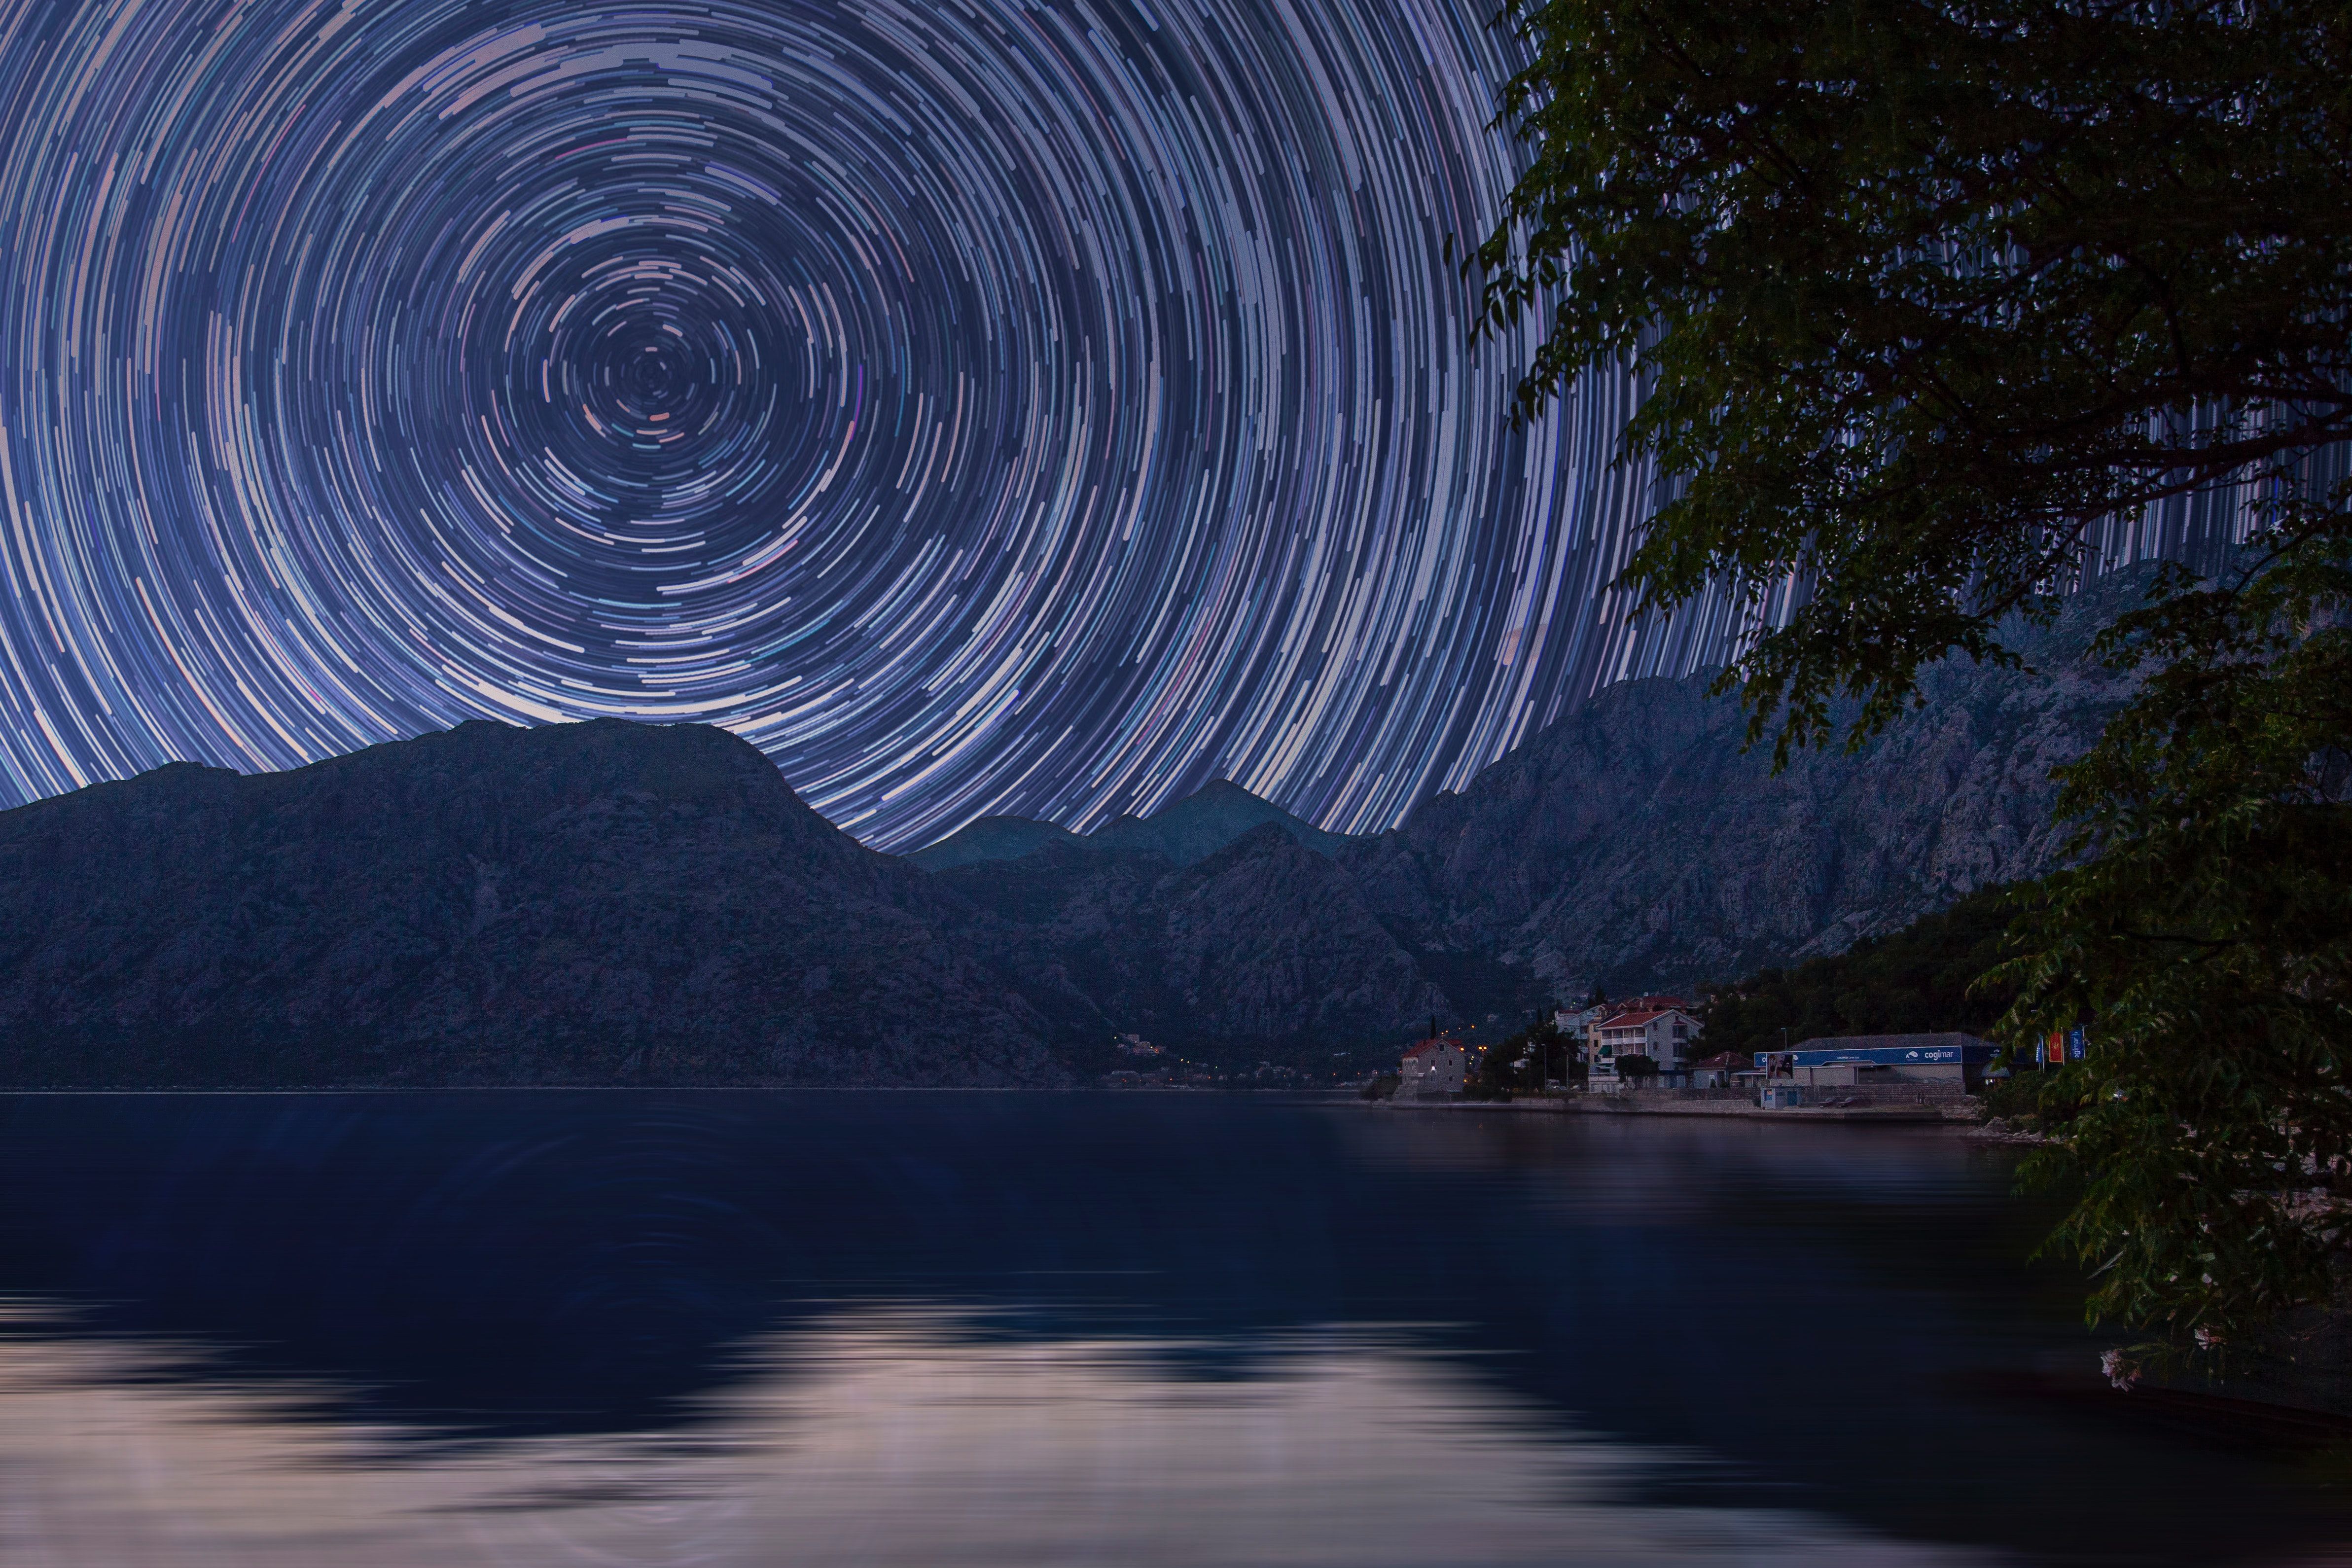
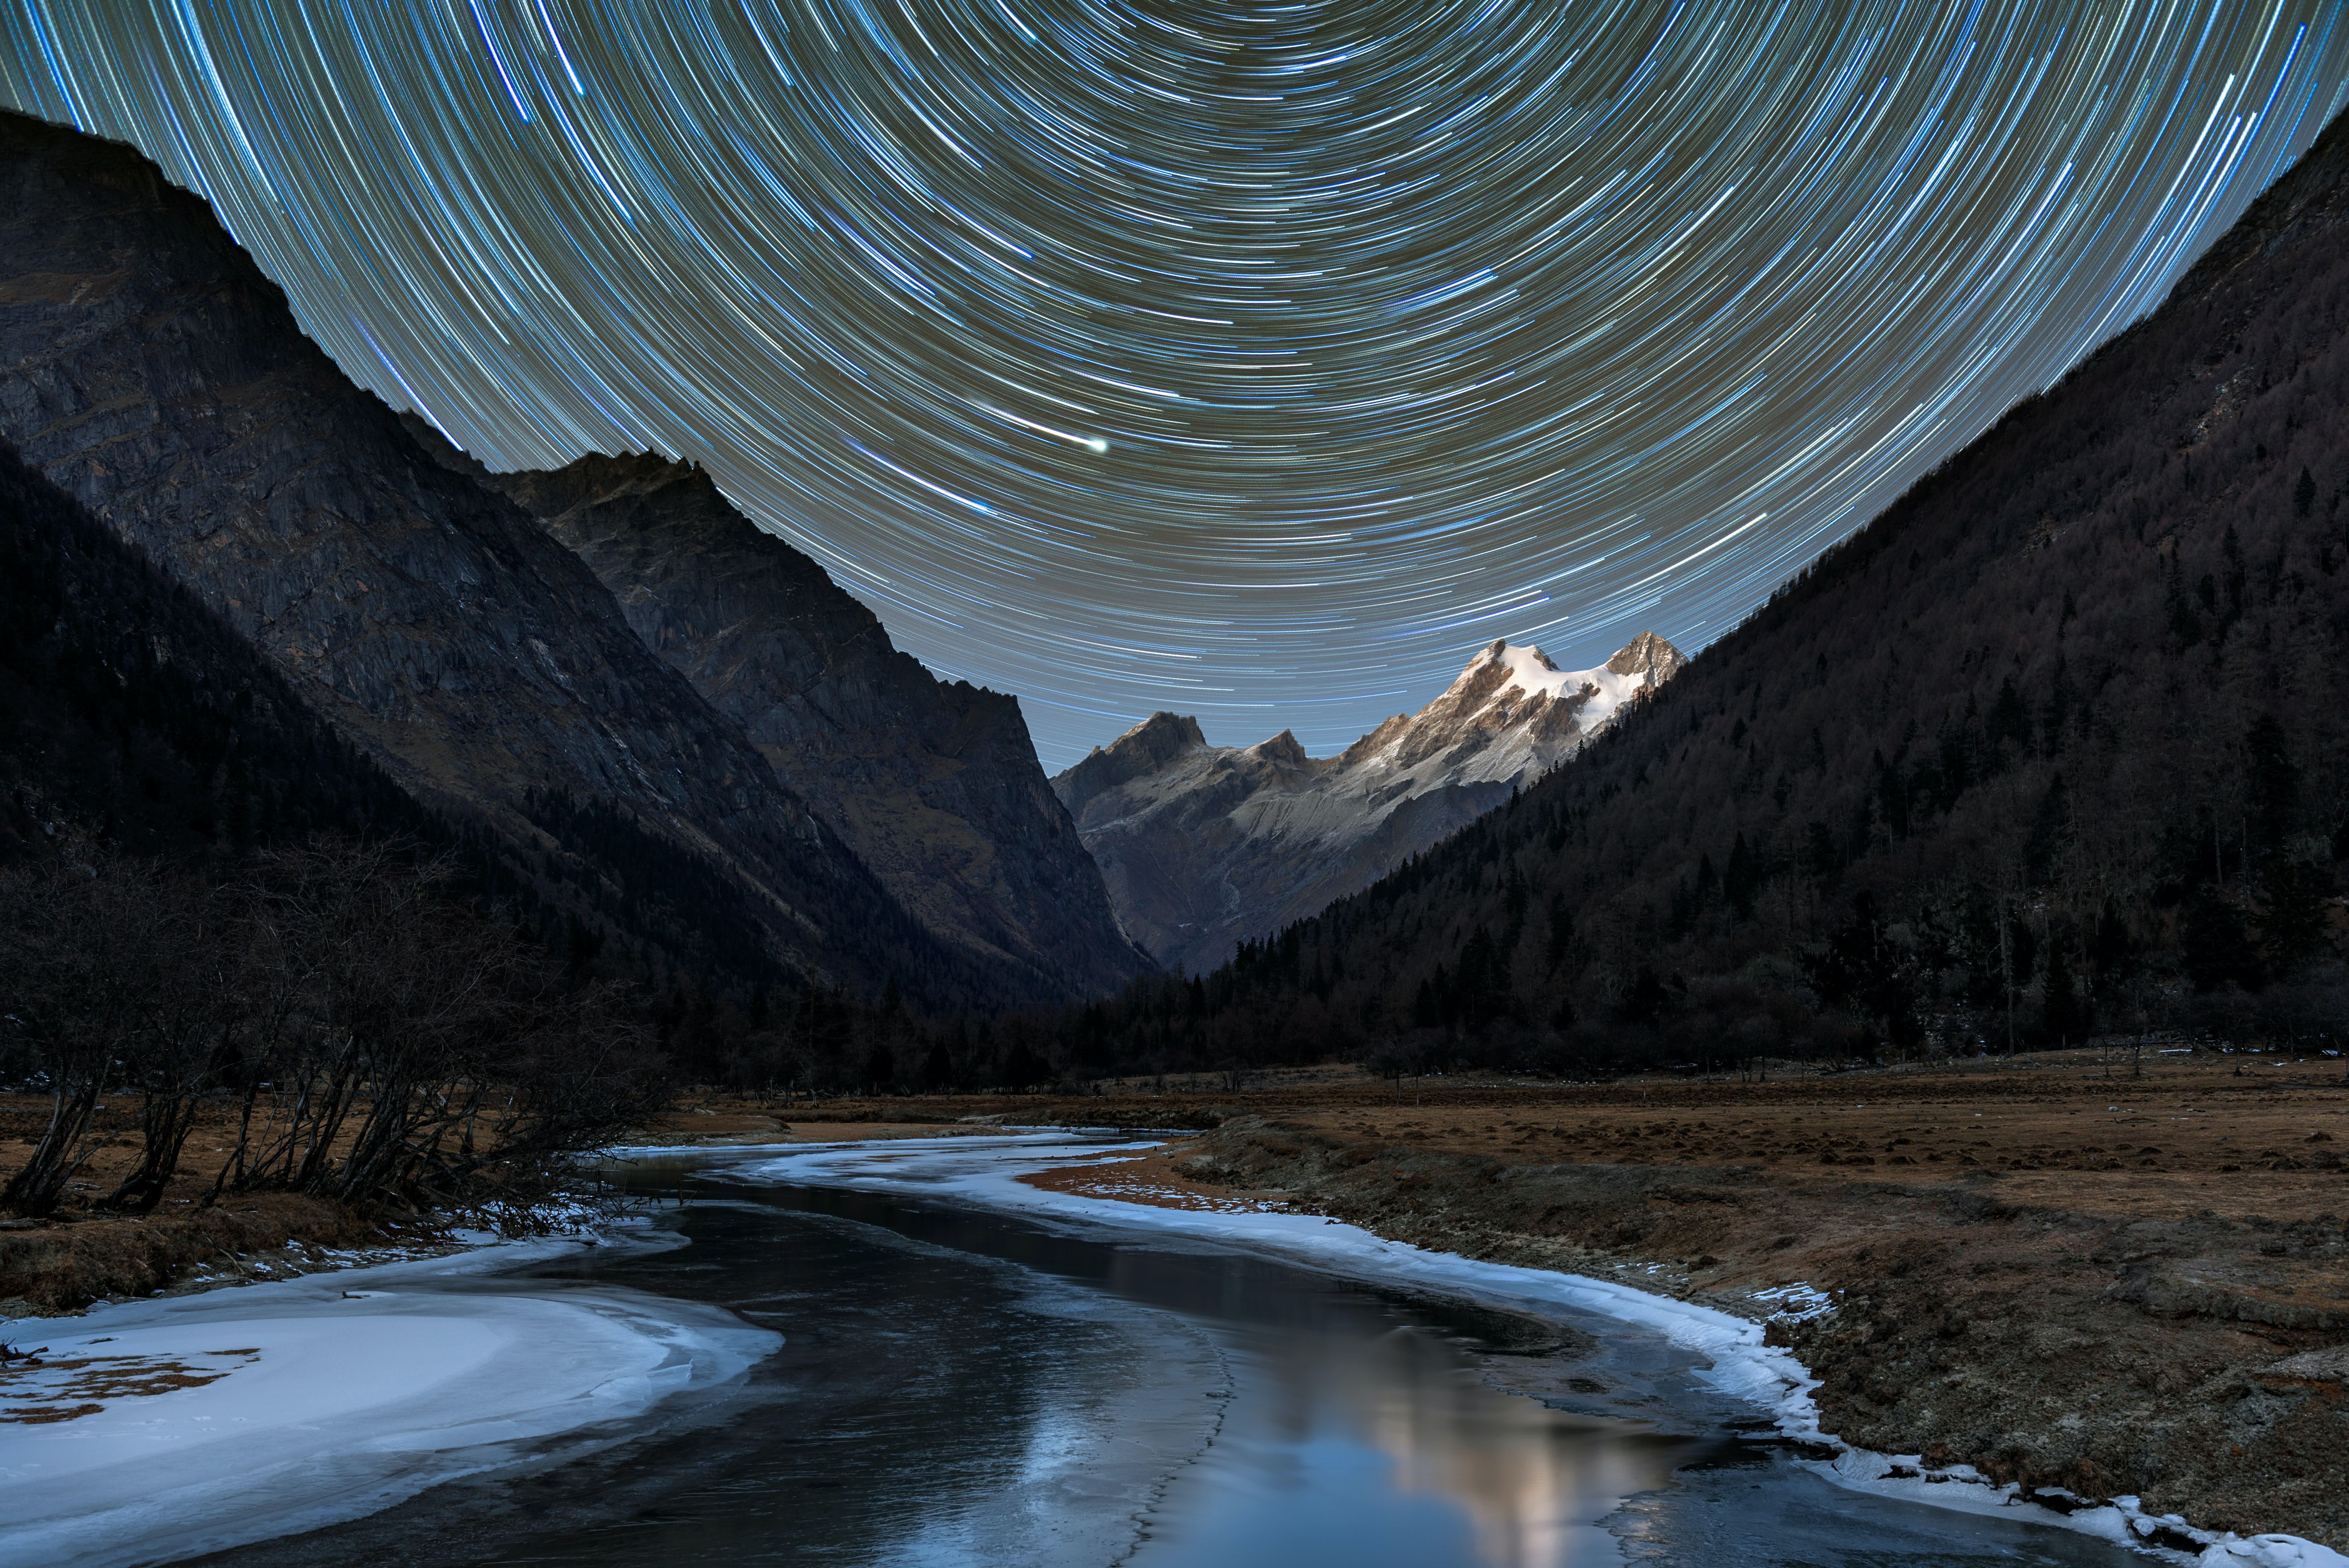
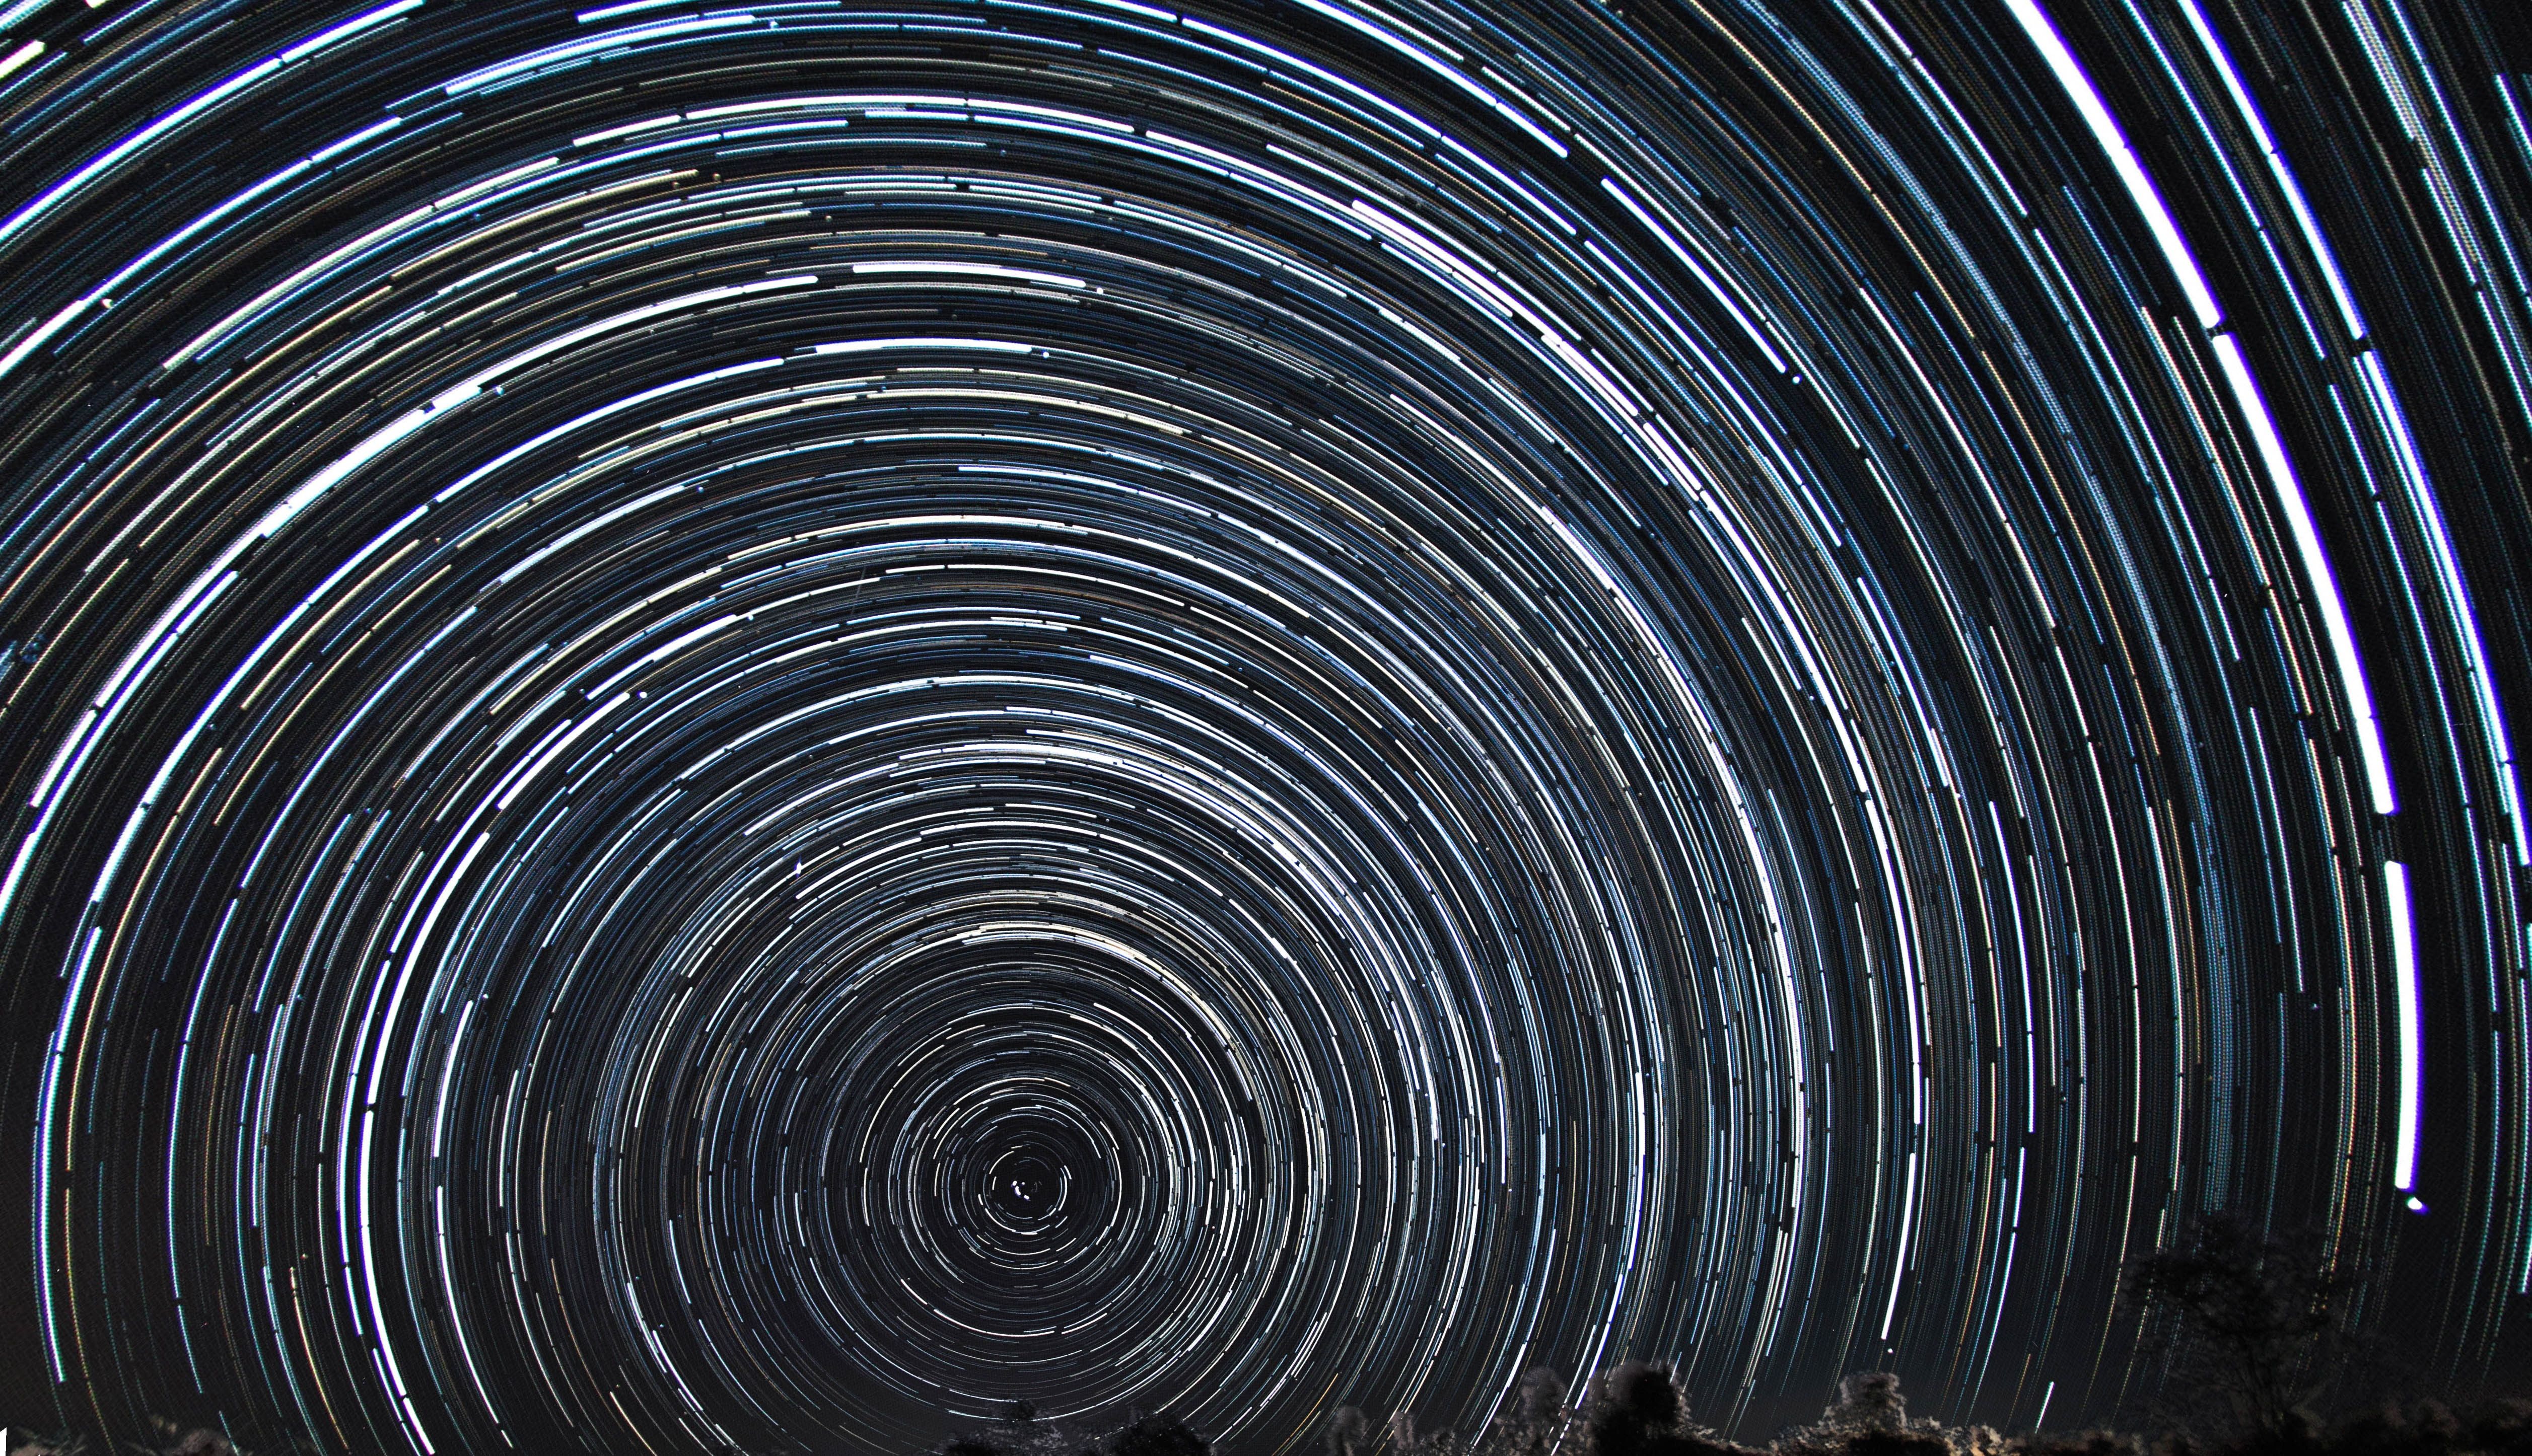
You know what's really crazy? The sky. There's a lot of really terrifying stuff going on out there, and we want pictures of it all.
Star trail photography is one way of capturing the night sky with your camera; it requires little equipment and the results are usually completely unbelievable.
Will this article teach you how to fake it? Absolutely not. Instead, we're going to explore how to photograph star trails—real ones, from actual stars in the night sky.
What Is Star Trail Photography?
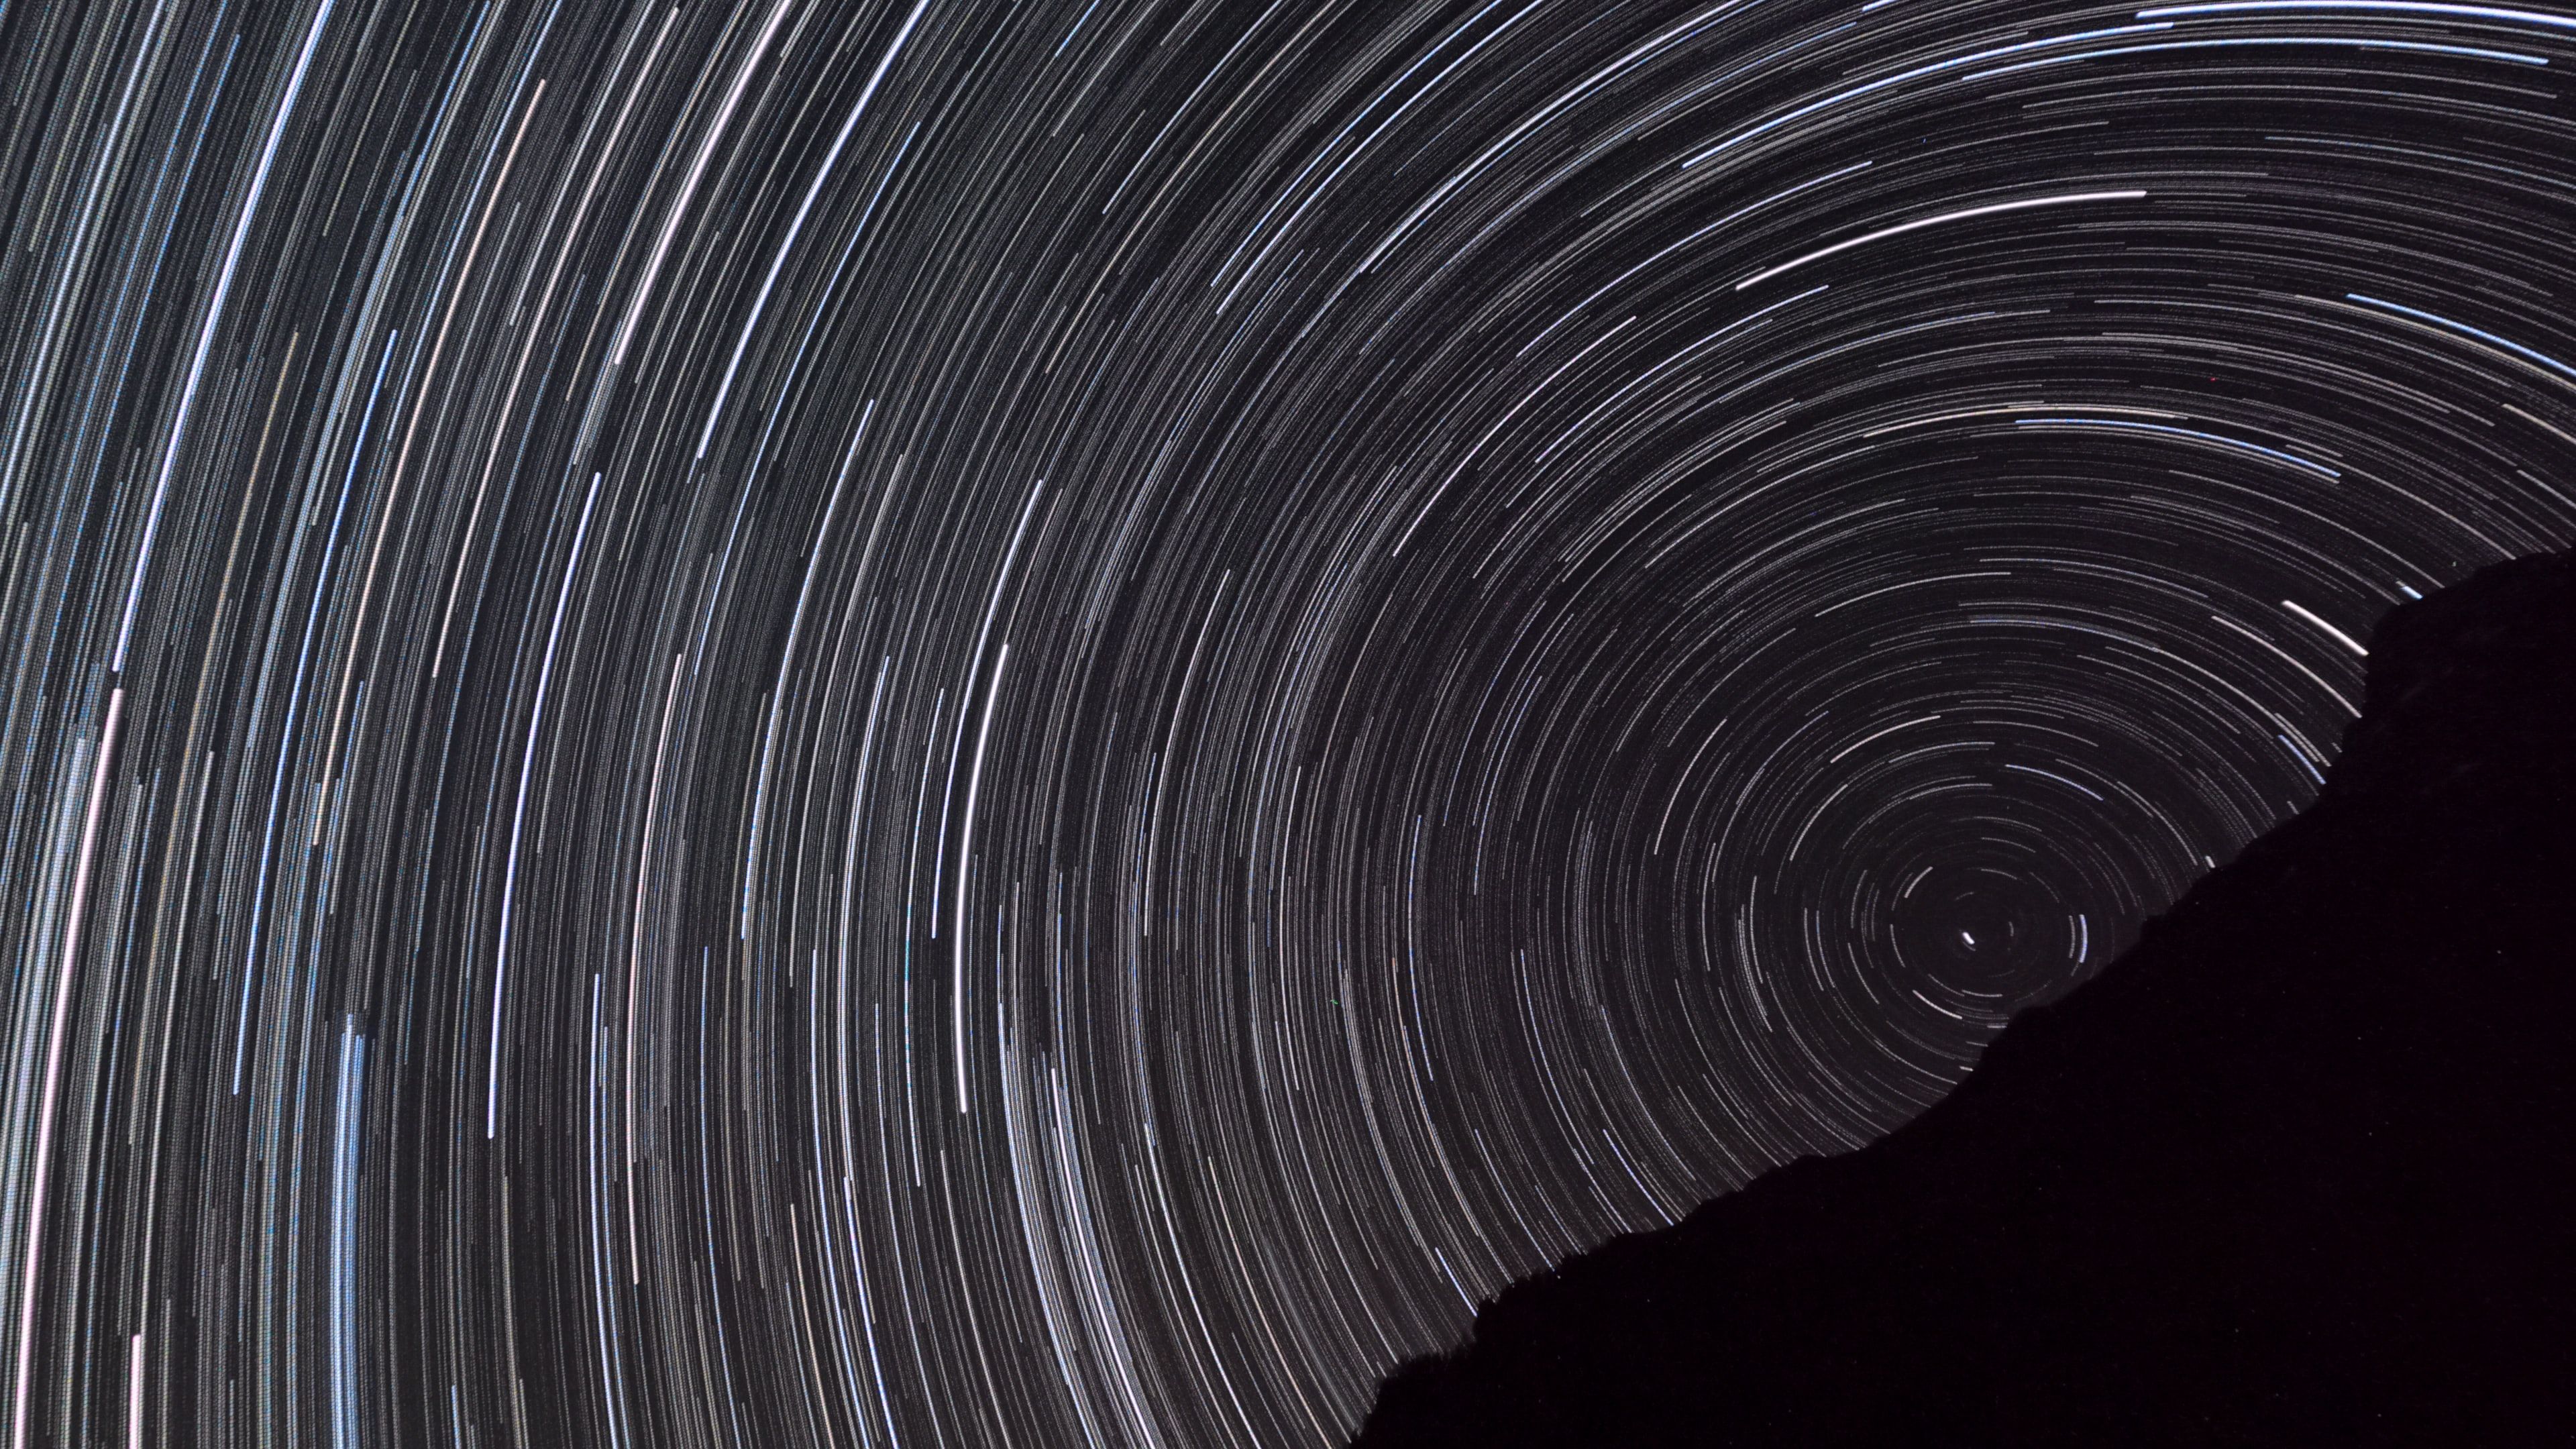
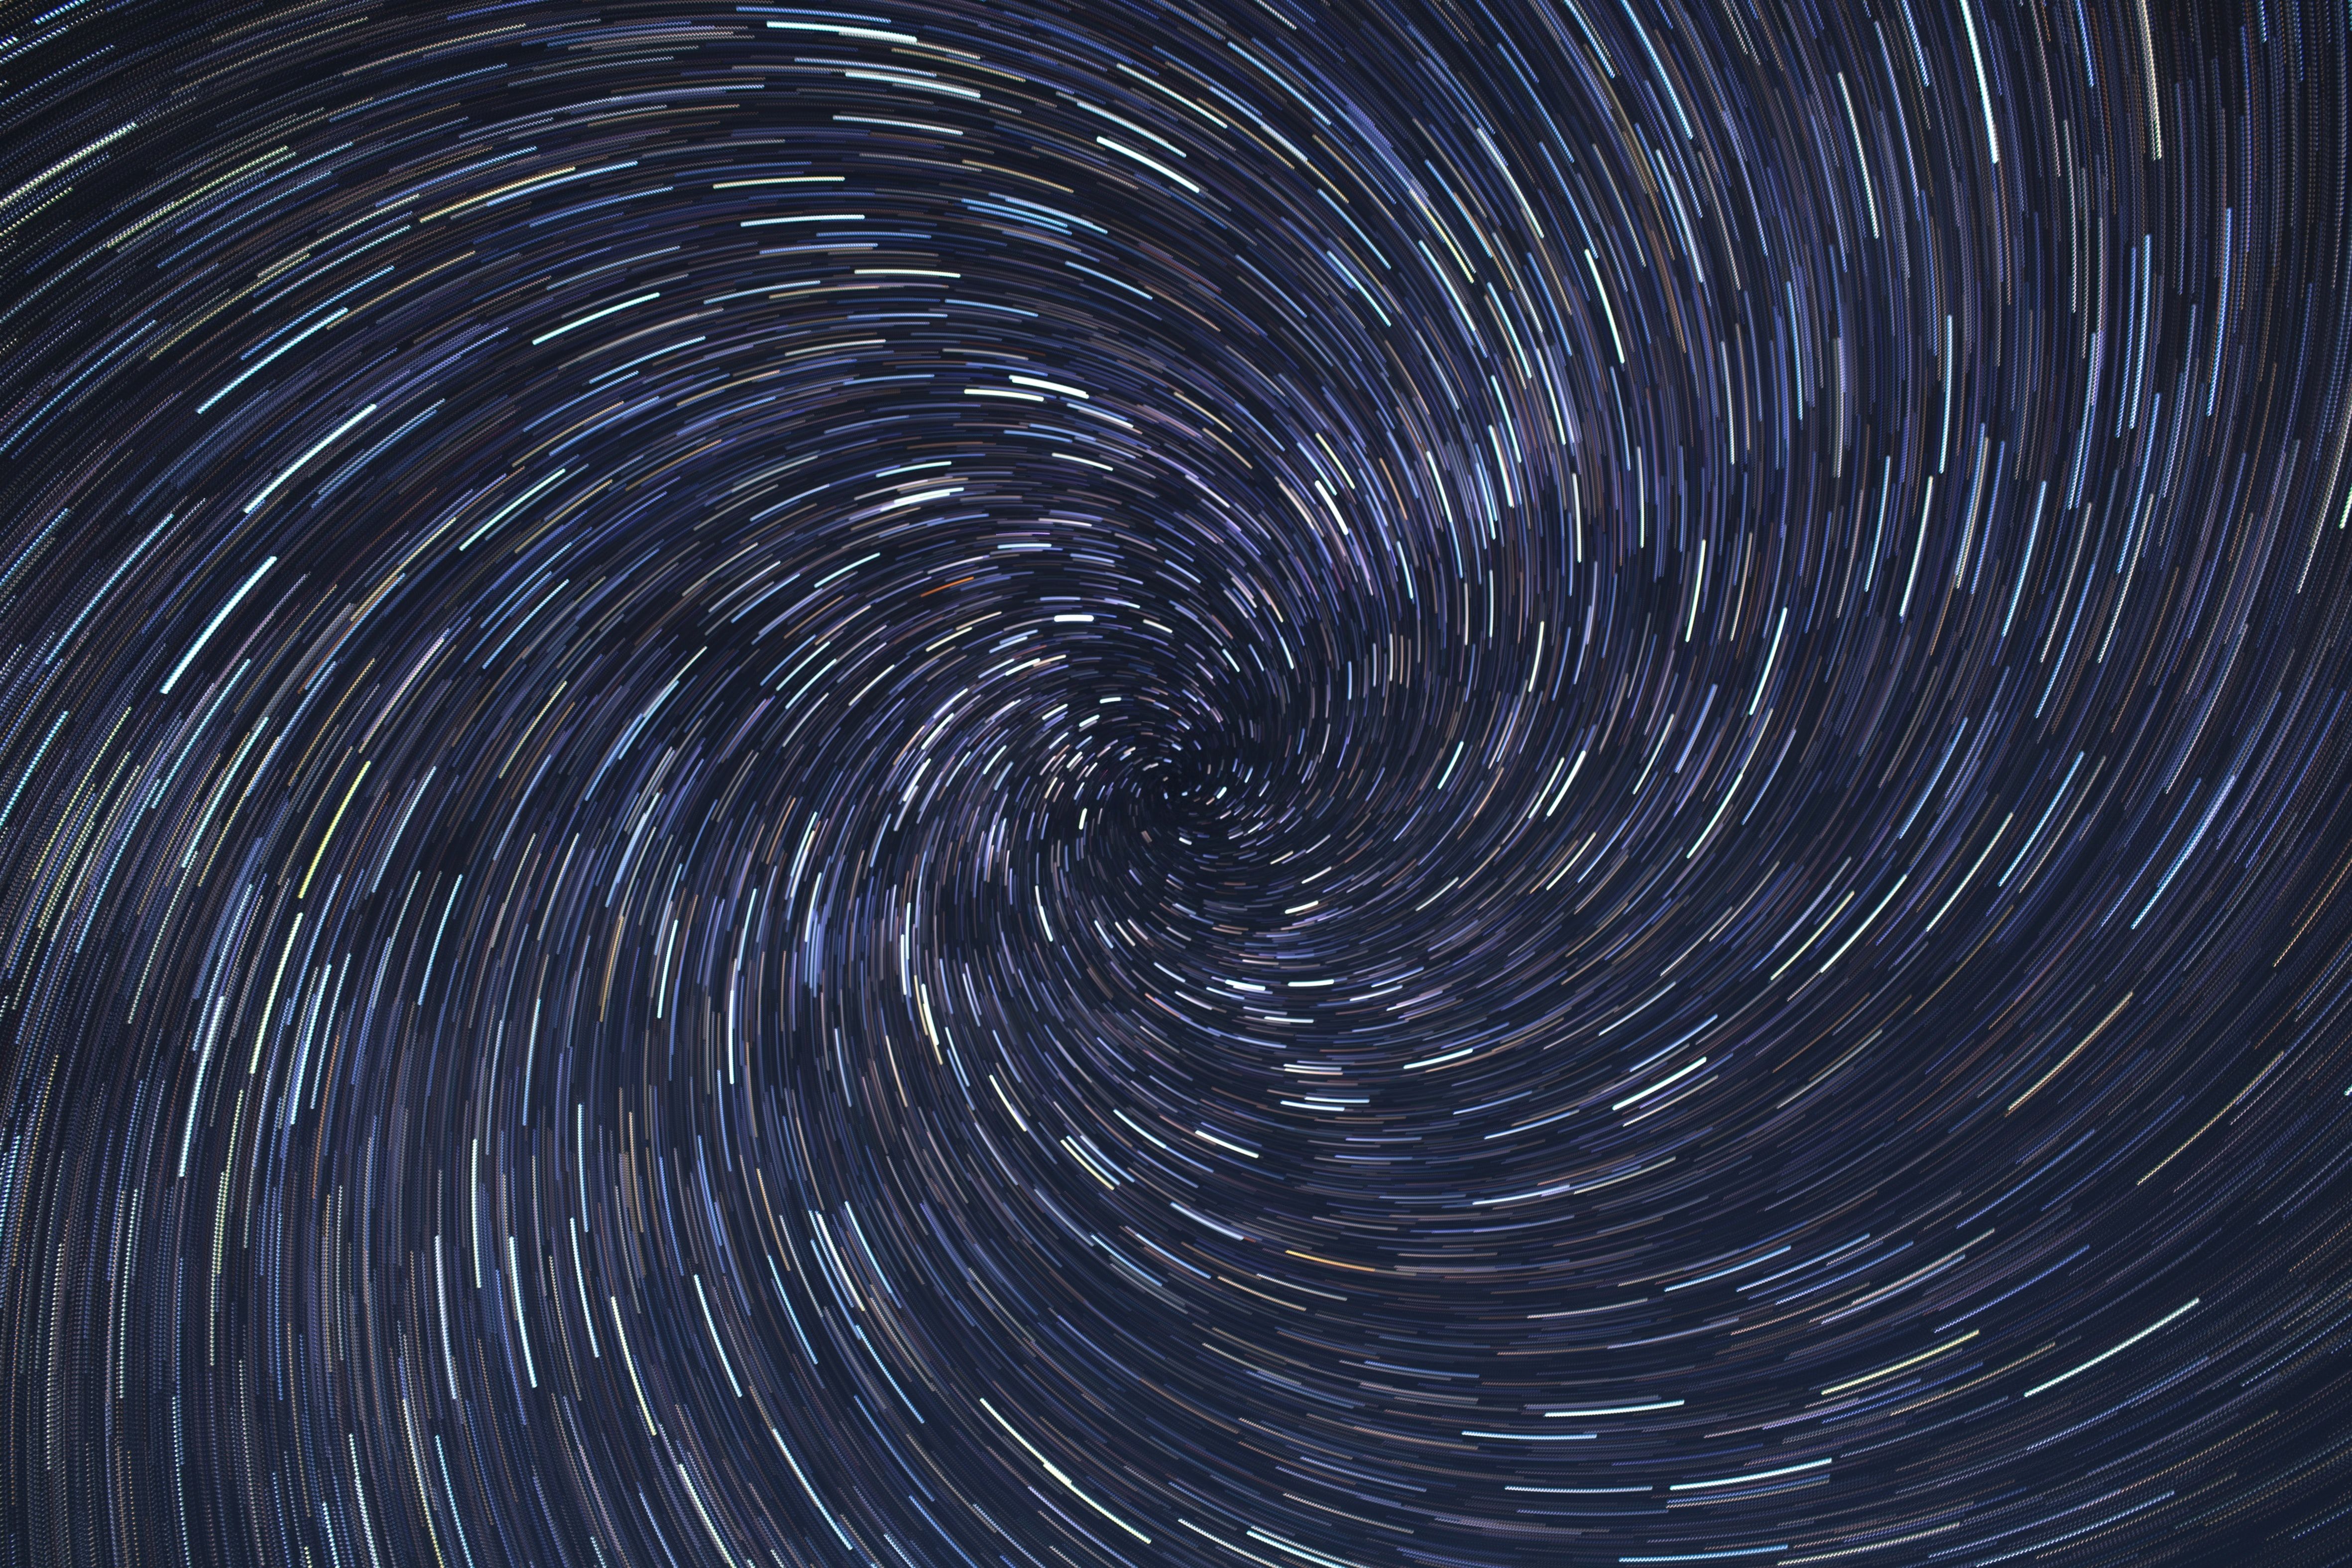
Star trail (or trails) photography is a technique that allows you to capture the path of the stars above by way of a long exposure photograph.
If you've never heard of it, you might think that the photo above was taken during a meteor shower some other rare celestial event. You'd be mistaken—photos like this can be taken on any ordinary night here on Earth. How?
The Science Behind Long Exposure: Night Sky Photography Explained
A quick recap from your high school astronomy class...
We live on a tiny rock orbiting a mid-range star called the sun. As we make our rounds, we rotate independently about our own axis, approximately 23.5 degrees off-kilter.
Throughout the day, the sun moves from the horizon to the east of you, eventually settling into the horizon to the west. This is an optical illusion. The position of the sun has nothing to do with the movement of the sun itself. It's related directly to the rotation of the earth. The same can be said for the similar gradual "movement" of the night sky above us.
When you take a photo exposed for only 1/500th of a second, it's going to look a lot like what we see. If you mount your camera on a tripod and extend that exposure to, say, one hour, you're going to end up with a significantly different final product.
When Is the Best Time to Take Photos of Star Trails?
The best time to photograph star trails is at night, but we probably didn't have to tell you that.
When shooting a long exposure of stars, you're essentially taking what you see with your eyes and photographing it in motion as the world turns. If you can see lots of stars in the sky, your camera will be able to see them too. Your time to strike has come to pass.
If you can't see anything above you, there's something occluding your view—weather or air conditions, cloud coverage, and light ricocheting off of the atmosphere are all common culprits to look out for.
You can certainly try to compensate with your exposure settings; you might be able to draw starlight through the obstruction, but these star trail pictures won't convey the same sense of awe that photos taken under ideal conditions express.
Does the Time of Year Matter in Star Trail Photography?
Are there certain stars that you'd like to photograph in particular? They've all got names, even if they do all look suspiciously similar.
Some constellations are only visible from our planet during certain times of the year. If you're an astro-buff on the hunt for something specific, you'll need to so some research beforehand and time things out accordingly. The lunar calendar and even your latitude and longitude will also influence what exactly you're seeing in the night sky at any given time.
Location Is Everything
If you live in an urban area, you're out of luck. Light pollution, the same light preventing you from seeing the starry sky in all of its glory by eye alone, will do nothing but contaminate your photos.
Our best piece of advice? Plan a little camping trip. Get away from light pollution of any kind—street lights, industrial sites, and the sprawl of your nearest neighboring city should all be avoided if you want these photos to look incredible.
Equipment Essentials for Star Trails Photography
You need two pieces of equipment to shoot long exposure star trails:
- A DSLR or mirrorless camera; anything that lets you set your exposure length manually.
- A tripod, or any other sturdy mount that you can trust to keep things rigid and steady for the duration of the exposure.
If you plan on including a few foreground elements in the shot, a speedlight would be the best way to snatch them alongside the main attraction. For now, though, we'll focus on the most important part of this process: the stars themselves.
Recommended Camera Settings for Capturing Star Trails
When planning a long exposure of any kind, balance is absolutely everything. You can compensate for anything—starlight intensity, the span of movement you're interested in capturing, and even the length of time that you choose for your long exposure.
Shutter Speed
The length of the exposure should arguably be top-of-mind before anything else comes into play. The shutter speed will determine how long your star trails are—the longer that you hold, the more extravagant they'll end up being.
Try to aim for at least a thirty-minute exposure in order to capture something stunning.
In this case, longer is better, but you don't necessarily need to leave your camera agape all night long. More important than the length of the exposure is the rigidity of your camera mount. As long as the camera stays perfectly still, even a relatively shorter exposure time will still yield the intended effect.
Aperture
You might find yourself in a tight corner here; when shooting astrophotography in general, you'll want to use the narrowest aperture possible without underexposing the image. This will act as an extra layer of insurance, guaranteeing you a perfectly sharp image.
ISO
Of course, you always have your ISO settings to fall back upon, but if perfect clarity is what you're after, low-balling it here will help you reduce the noise that your camera picks up as it exposes the image. This is especially the case when you expose the image for longer spans of time.
Focus
Before you set out, try to find the hyperfocal distances for every lens that you plan on using. If you're not sure how to do that, there are charts that you can use to calculate your hyperfocal distance after your aperture has already been set.
Keep this info on-hand for easy and convenient reference during the shoot itself; you won't even have to think about it in the field, all that you'll have to do is dial it in.
Tips and Tricks for Star Trail Photography
Aside from the aforementioned, we've got a few miscellaneous points to share that might give you some additional insight:
- Arrive on-site organized and ready to roll—things like your camera's battery should be taken care of in advance.
- Conduct a couple of short test exposures at the beginning of the evening; this is one way for a beginner to get on their feet when first trying this technique. Gradually increase your exposure time until you're in the ballpark of where you'd like to be.
- Composition is vital, even with a subject as vast and arresting as the night sky. And if you've got nothing but sky in the frame, you should still be working to cradle the lines and curves that you capture. After nailing one or two star trail photos, you'll be able to refine your framing, adjusting as you go.
- In some cases, you might be able to stack several sequential exposures. This mimics the appearance of a much longer and more drawn-out exposure time, just in case your longest didn't quite work out.
As with any beginner photography project, you're free to deviate and make these shots completely your own. With these simple guidelines in mind, you'll be well-equipped to capture some of the most breathtaking images of your life.
Capture the Moving Sky
These surreal and uncanny astro-vignettes are some of the most satisfying types of photos to perfect—you can even use this approach for other niche areas of photography. Solar photography, lunar photography, and any other form of astrophotography are all fair game and excellent pastimes.
Star trails photography is also the perfect excuse to kick back at midnight with your crew out in the wild. What's not to love?

