Working in Excel can present a whole load of frustrations when it comes to grammar. Unlike Microsoft Word, Excel does not make automatic grammatical changes to your work. It can be rather embarrassing when you submit substandard work.
Luckily, there are numerous ways you can correct errors within your worksheets and workbooks in Excel. In this article, we'll provide some tips on how to spell and grammar check in Microsoft Excel.
Manually Activating the Grammar Checker
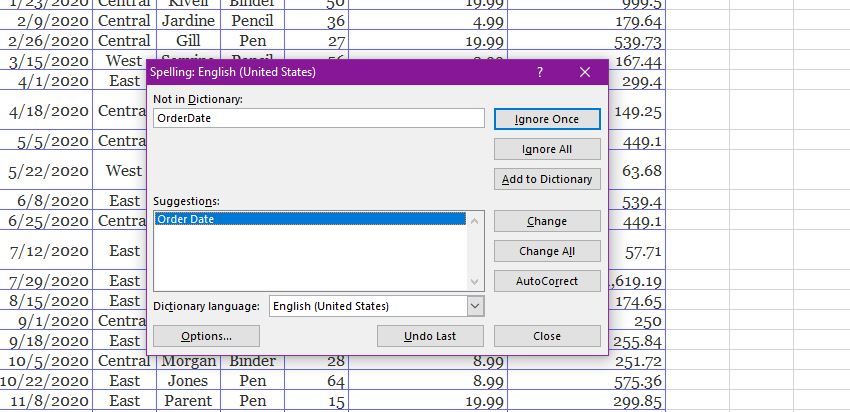
You can activate the spelling and grammar checker by pressing F7 while still on your Excel worksheet. If that does not work on your computer, follow these steps to activate the grammar checker:
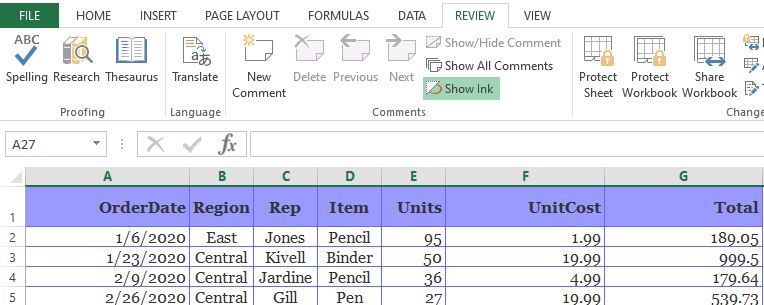
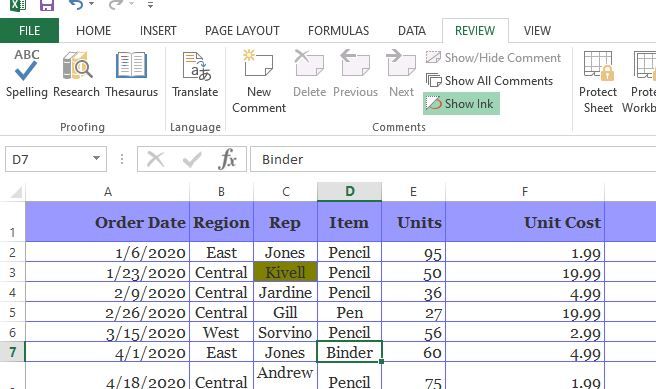
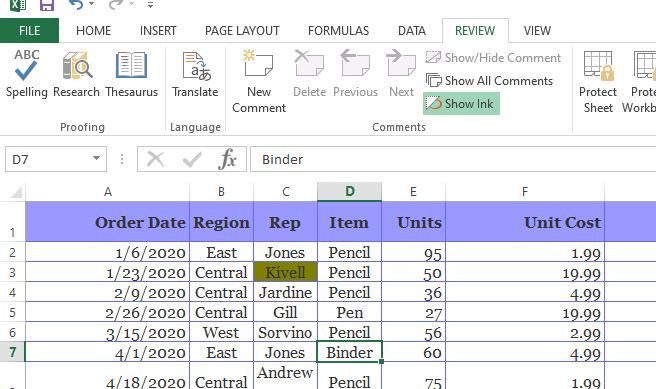
1. While still on your Excel file, select the Review tab.
2. Click on Spelling.
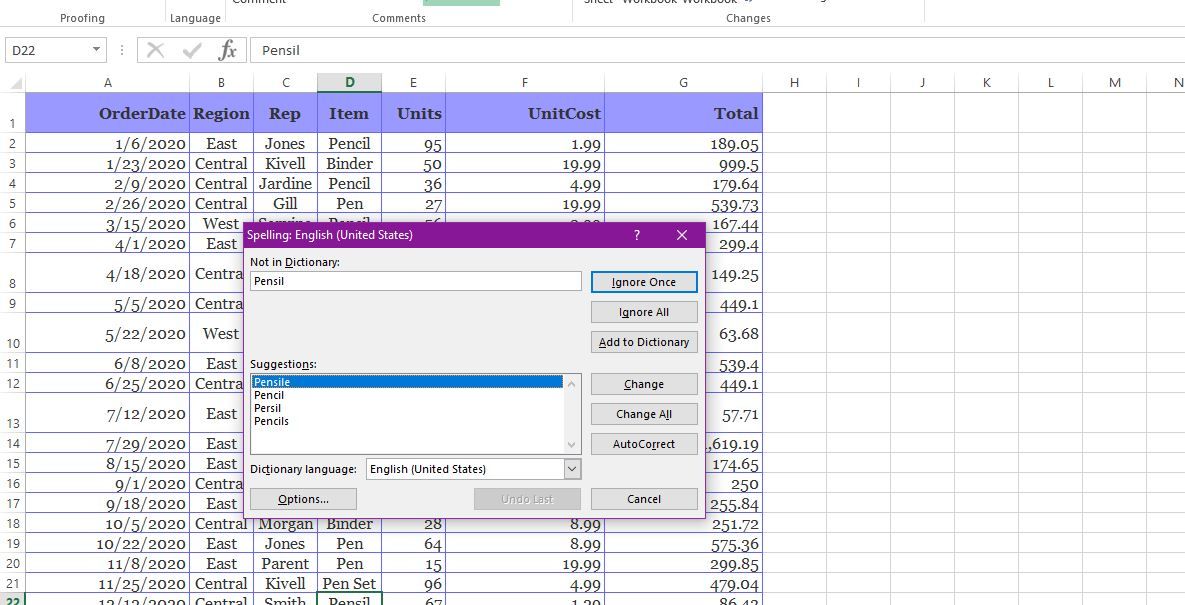
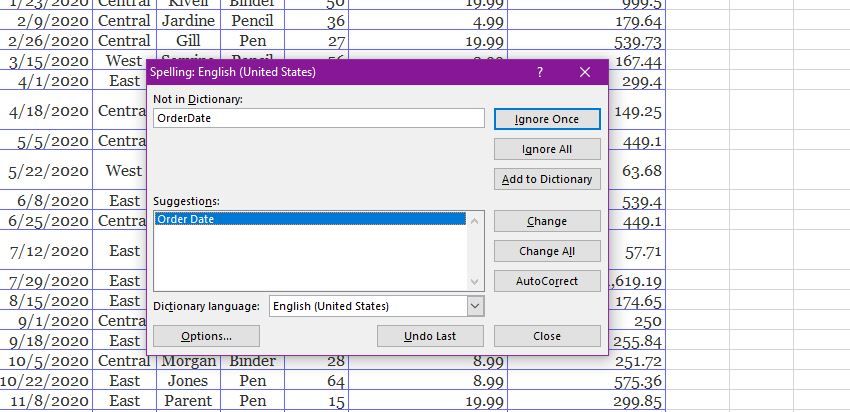
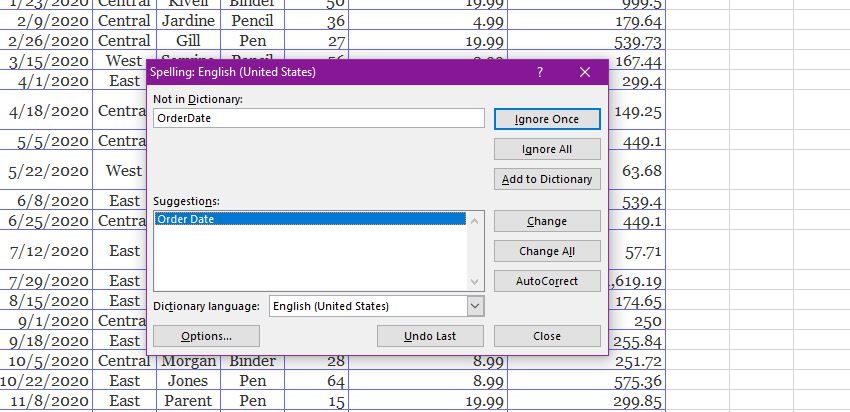
3. You will see a dialog box containing the first misspelled, with options to change, ignore, or add it to your custom dictionary.
4. Resolve the spelling mistake, and the dialog box will automatically display the next error.
Different Grammar Checking Options
Depending on the nature of your file and the amount of data in it, you may opt for three different ways to grammar-check your work. Depending on your urgency and need, you could check individual cells and ranges, selected worksheets, or the entire workbook. Here is a step-by-step guide for each category:
1. Checking Individual Cells
- Select your intended cell and click the F7 shortcut on your keyboard to spell check it.
- A dialog box will display spelling suggestions. Choose how to resolve the error by either correcting, ignoring, or adding the word into your dictionary.
2. Checking a Range of Cells
To spell-check multiple cells in a single worksheet:
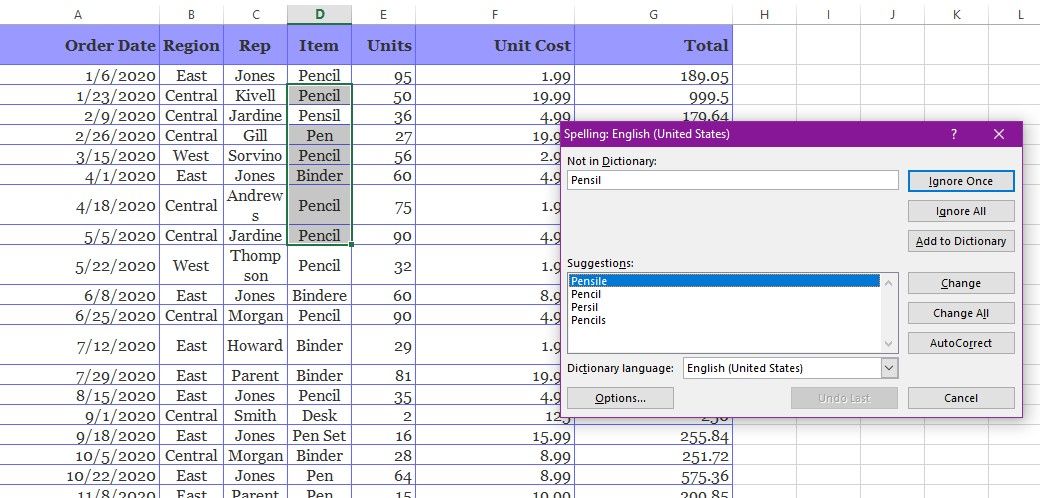
1. Select the cells you wish to spell check, i.e., D3:D10.
2. Activate the spelling checker by using F7 or selecting the Review > Spelling.
3. Resolve the spelling errors by either changing them, adding to your custom dictionary, or ignoring them.
3. Checking Spelling in Selected Sheets
You can check the spelling in specific worksheets by selecting them at the bottom tab.
1. Press down the Ctrl key on your keyboard while simultaneously clicking on the sheets that you want to spell-check.
2. Activate the spelling checker by pressing the F7 key on your keyboard.
3. A dialog box will appear. Resolve the spelling error displayed. The box will then show the next error successively until the whole range of worksheets is error-free.
4. Spell Checking the Entire Workbook
When working with an entire workbook, you can ease your work by spell-checking it collectively.
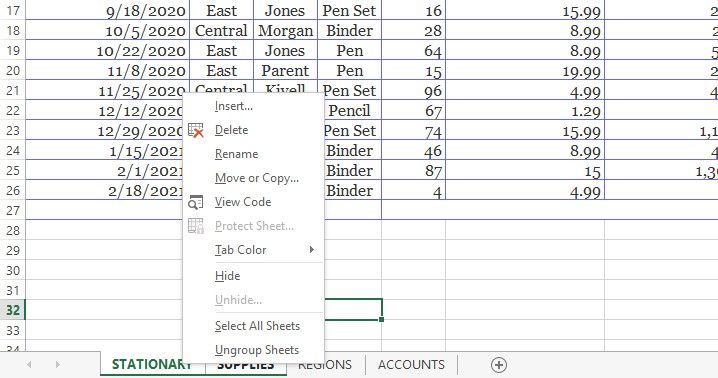
1. Select any worksheet on your workbook and right-click on it to prompt a pop-up menu.
2. Click on Select All Worksheets.
3. Press the F7 key on your keyboard, a spelling dialog box will appear.
4. Resolve the spelling errors as they are displayed until you reach the last correction.
Grammar Checking Using VBA Macros
If you are out for a more automated method, then you should use VBA Spell Checking Macros. These Macros are lines of code within Microsoft Excel that allow you to identify and replace misspelled words.
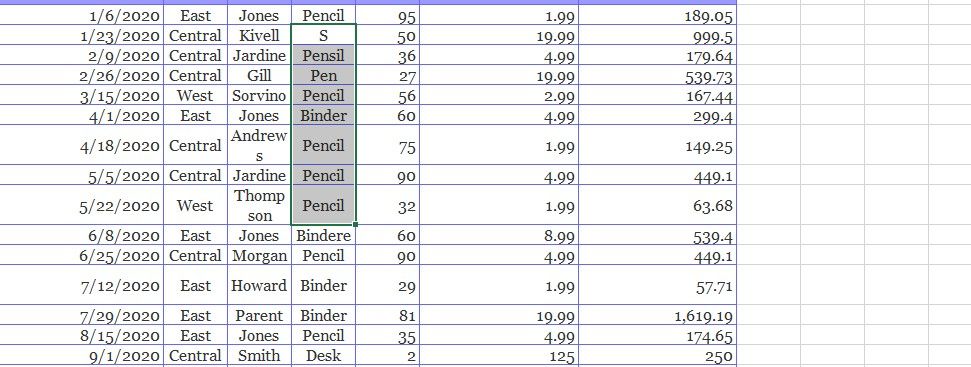
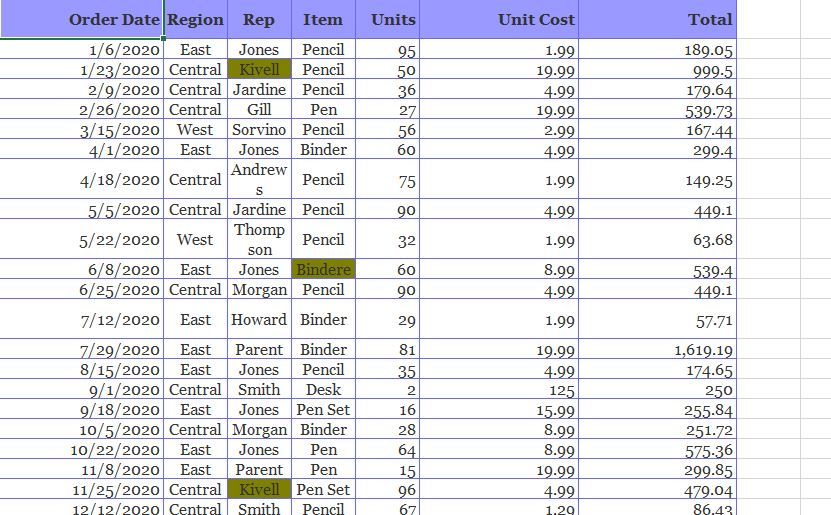
VBA macros are particularly helpful since they use visual colors to highlight misspelled words, making them more pronounced and easy to locate. To use VBA Macro, you will need to create your VBA Macro in the Excel editor:
1. Open your intended Excel file.
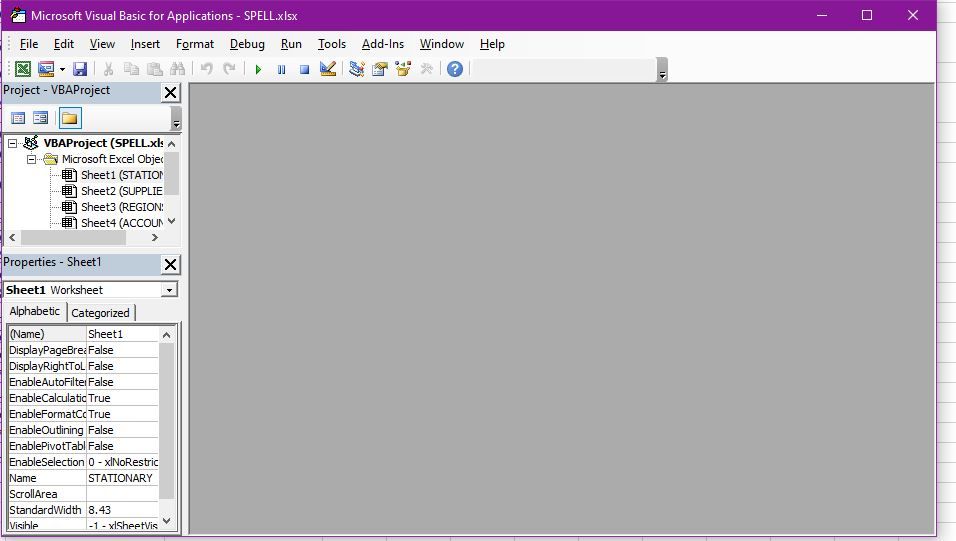
2. Press on Alt+F11 keys. This will open an Excel VBA Editor window.
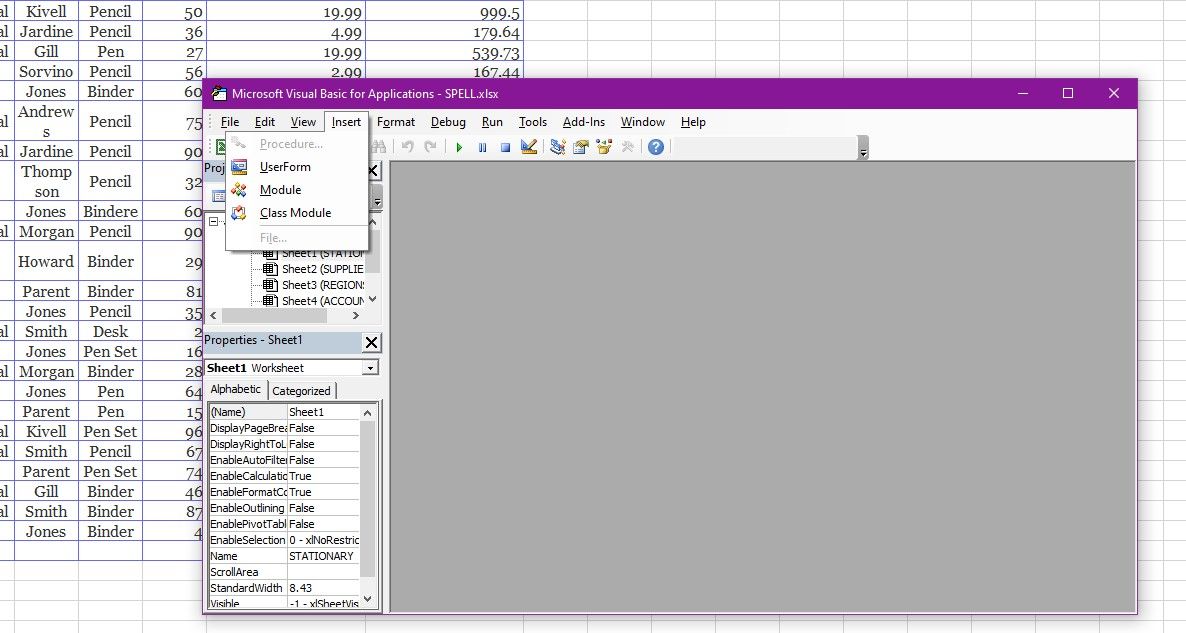
3. Click on Insert > Module.
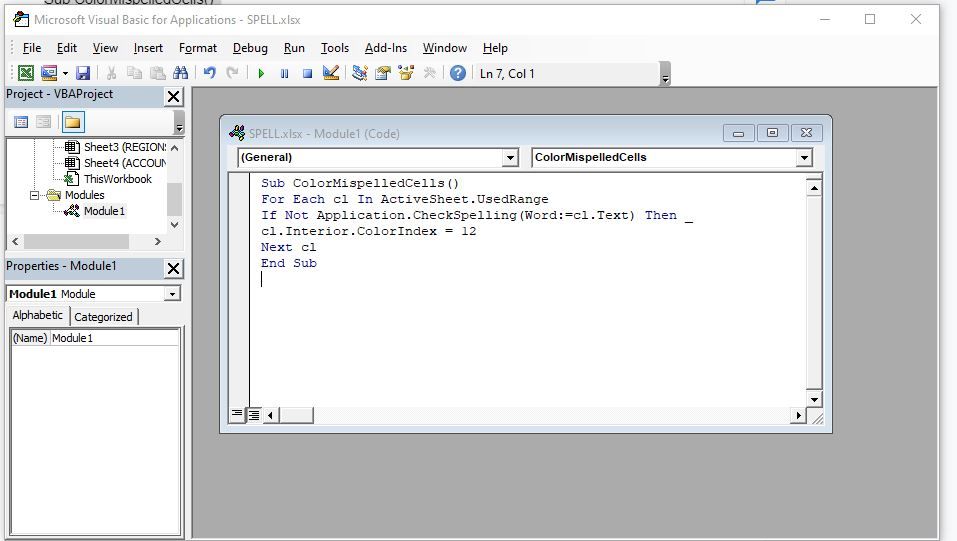
4. Paste this code into the Module editor:
        Sub ColorMispelledCells()
For Each cl In ActiveSheet.UsedRange
If Not Application.CheckSpelling(Word:=cl.Text) Then _
cl.Interior.ColorIndex = 12
Next cl
End Sub
5. Press the F5 key on your keyboard to run the Macro.
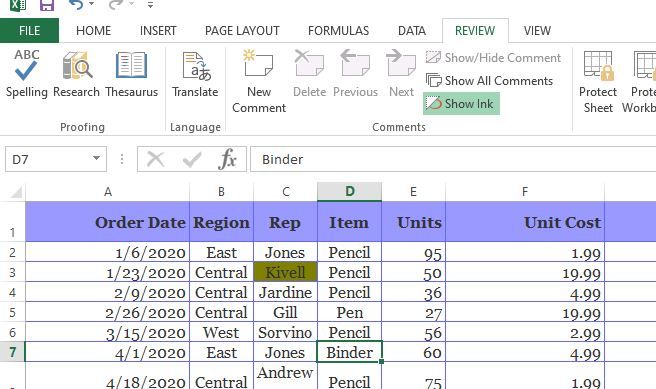
6. All misspelled words in your worksheet should now be highlighted, as shown in the image below.
Correcting as You Type
The best way to save time in Excel is to correct the errors as you go. This way, you will not take additional time to correct misspellings accumulated throughout the entire workload. To correct errors as you type, you can use AutoCorrect and AutoComplete features in Excel.
AutoComplete feature is often on default on most Excel programs. It maintains your accuracy when typing matching entries throughout different cells in your worksheets.
AutoCorrect, on the other hand, will fix errors as they occur. However, you will need to activate it beforehand. Here is how you can activate it.
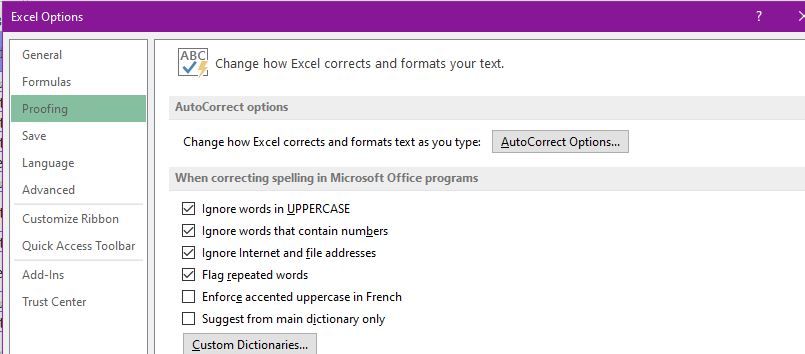
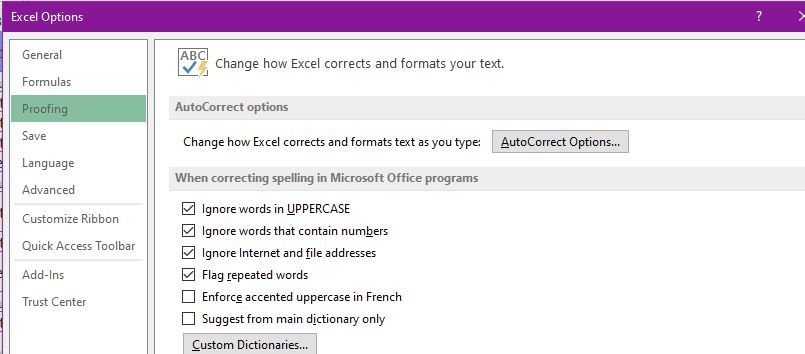
1. Click on File > Options.
2. An Excel Options window will appear. Click on the Proofing category > AutoCorrect Options > check the common errors.
3. Click Ok.
Adding Words to Your Custom Dictionary
When typing foreign words that are not in the dictionary, i.e., a company’s name or a person’s native name, Excel will flag it as incorrect. To avoid that in the future, you should add the word to your custom dictionary.
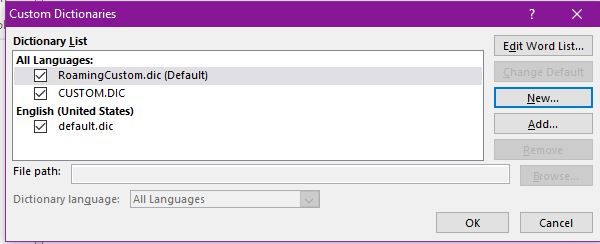
1. Click on File > Options > Proofing.
2. Click on Custom Dictionaries.
3. Select your custom dictionary or create a new custom dictionary.
Once your custom dictionary is ready, you can add words into it by clicking on the Add to Dictionary button any time Excel flags a correct word as incorrect. Note that Excel will ignore the error for as long as the word is still in your custom dictionary.
Grammar Checking Different Languages
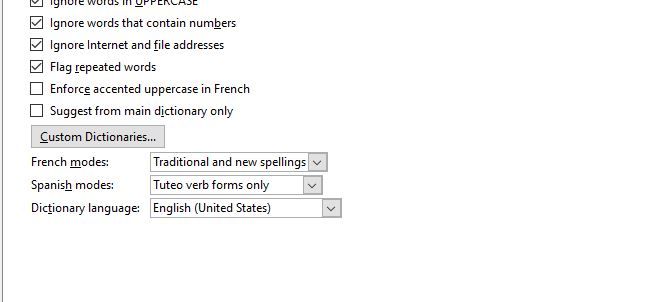
You can also grammar-check text and entries that are in different languages other than your default system language. To do this:
1. Click on File > Options.
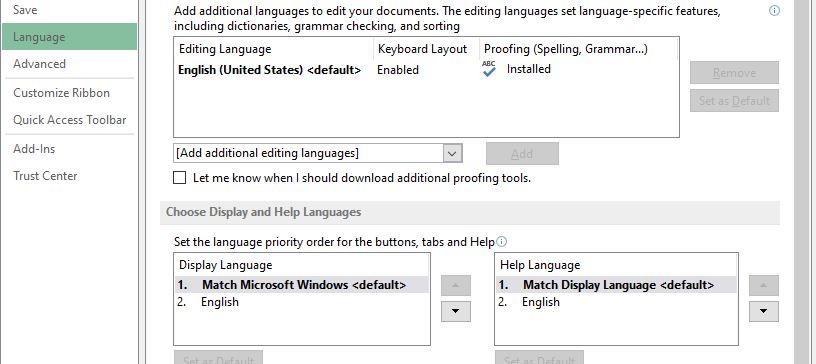
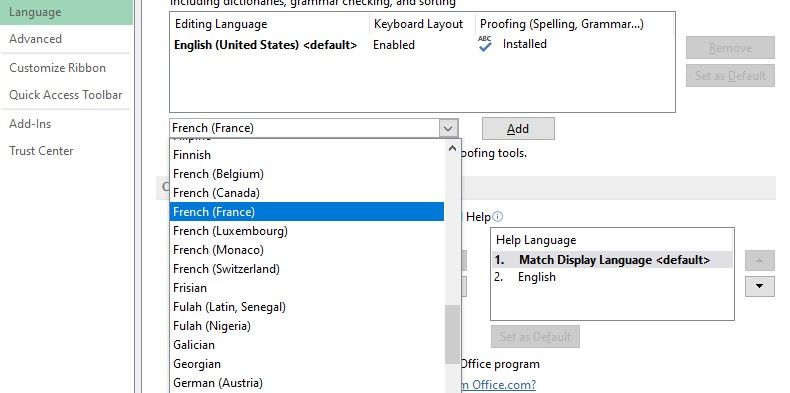
2. On the Excel Options dialog box, click on Languages > Add additional editing languages.
3. Select a language from the drop-down menu, select Add.
4. Click Ok.
Additional Grammar Resources in Excel
Thesaurus
The Excel thesaurus is an invaluable tool if you want to look up synonyms within the Excel program. You can use it to spice up boring chains of repetitive data. To use the Thesaurus:
1. Click on the word whose synonym you want to find.
2. Click on Review >Thesaurus.
3. Select the word that is most appropriate and choose Insert.
The Thesaurus feature is beneficial in enhancing grammar within your worksheet.
Translate
The translate feature is essential when working with data entries in different languages. Sometimes, Excel may flag a word as misspelled while, in the real sense, it is in a foreign language. To translate a foreign word:
1. Click on the word you want to translate.
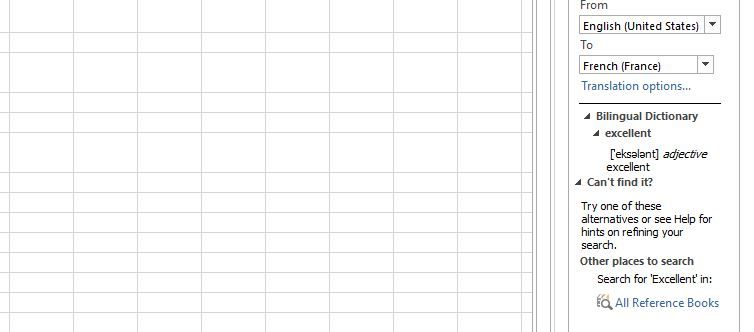
2. Select Review > Translate.
3. Select the Source language and Target language from the menu that appears.
4. Then select Insert.
Research
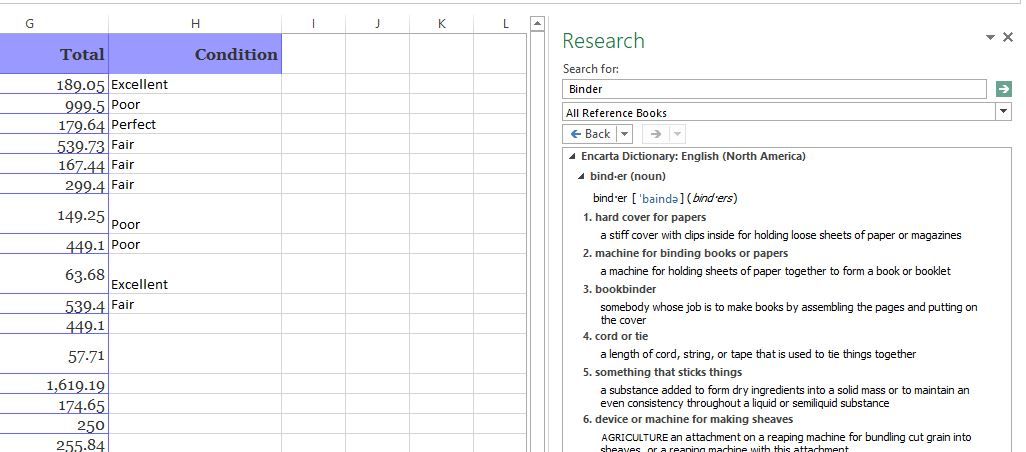
You have probably encountered a new word or two while working on Excel. The Research button allows you to use the available online resources to get more information on any subject.
This tool can be very helpful if you are unsure about what a word means. To look up a word:
1. Click on Review > Research.
2. On the Search For pane that appears, type the word you want to research on.
3. Choose your preferred online references.
4. Select on Start Searching.
What to Do if Excel Spell Check Is Not Working
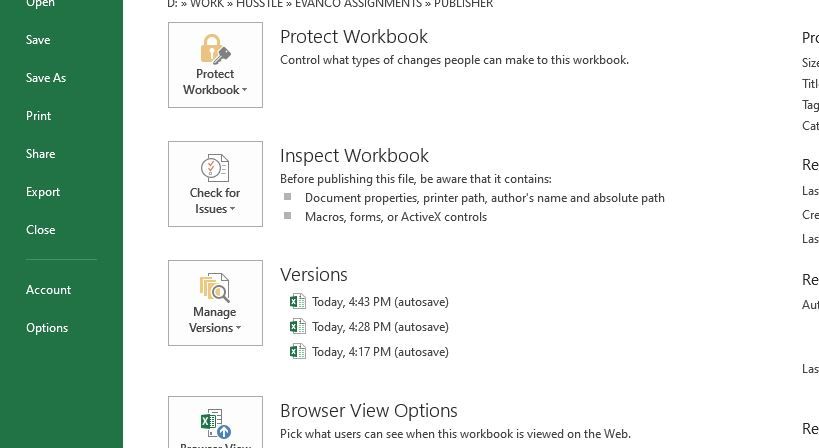
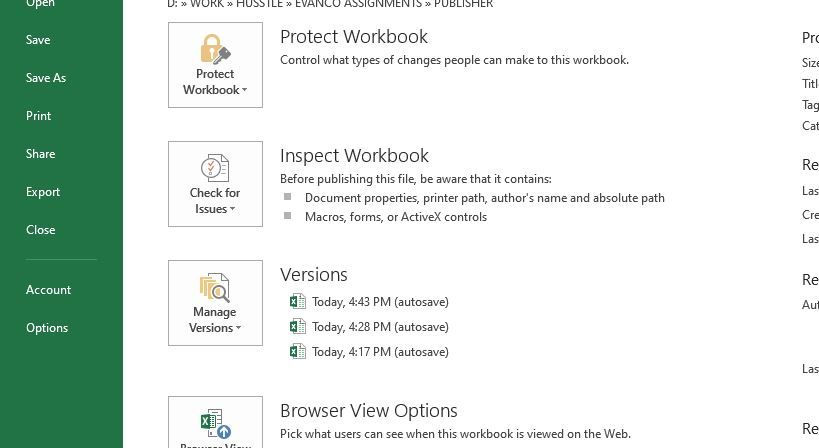
You may have been unable to activate your spelling checker because your Excel file is password protected. In this case, you will need to either undo this protection or check your spelling using a macro.
Another reason your spelling checker may fail to work is if you have selected a single cell in editing mode. In this case, the spelling checker will only proofread the selected cell rather than the entire worksheet. To solve this, click on the worksheet tab before running your spell checks.
Note, also, that Excel spelling and grammar checkers will not work on cells containing formulas. For cells with formulas, you will have to click on the particular cell then correct it from the formula bar.
Lastly, your spell checker may not work if you have not activated the Microsoft Custom Dictionary. There are many ways to customize your dictionary and ensure it works best in all your Microsoft programs.
Proofreading Made Simpler
Manually proofreading your Excel files has never been easy. Luckily, you can create custom shortcuts that will help you automate entire processes, ensuring they are much simpler and manageable.
Combining all the methods in this article will ensure your work is perfect without any trace of gross grammar errors. So now you can say goodbye to substandard worksheets!

