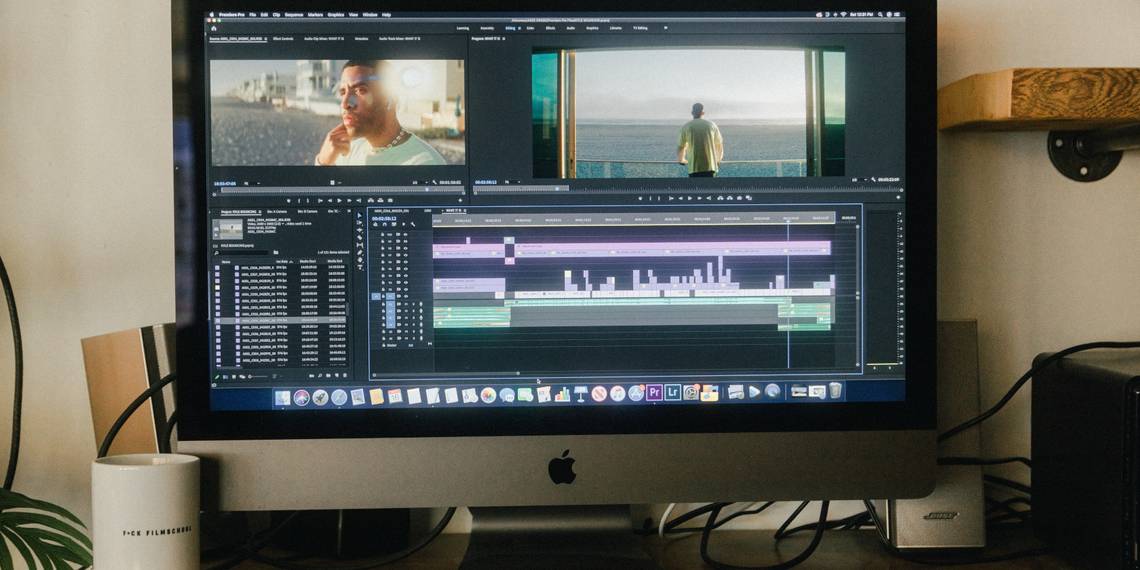
Two windows greet you as you hop into Adobe Premiere Pro: the Source Monitor and the Program Monitor. Where to begin?
Before getting ahead of ourselves, let's get situated where we stand. The Source Monitor and the Program Monitor organize your workspace into areas dedicated to the project as it exists in both your bins and in the main Timeline panel itself. Let's get into how they work, and the key differences between them.
Why Use Two Monitors?

Your viewer is your guest; we set the proverbial stage for the audience, and captivate them with what we have to share. In the throes of production, however, the professionals need some way of navigating two things candidly: the source material, and the timeline of the piece itself.
You'll find that a clear view into both sides of the coin, and room to play without running out of space, will make working much more comfortable. You're able to use one monitor to scrub furiously through what you're dealing with, separating your final calls from your library of raw source material.
This is so much more efficient than fiddling with a mounting heap through a cramped and totally inaccessible portal, such as through thumbnail-scrubbing. Few ever look back once committing fully to this style of working.
The aforementioned Source Monitor, previously called the Clip window, is actually where the first part of the action transpires. You can either pull directly from it using source patching or sub-clip out of it and work from a library of selects.
What Is the Source Monitor For?
Basically, anything that you bring into the program, you will pull up here. Included here will be any media generated within the program itself, such as bars and tone or generic color mattes.
Nothing is off-limits here. This covers stills, nested sequences, media featuring only audio or video, and the rest. Double-clicking on anything in your Project panel calls it forward; so does dragging it in with your mouse.
Once you've got something in front of you, you can start finding the good stuff. The viewing area will show the currently-selected frame, allowing you to drop a couple of In and Out points along the timeline below.
What Is the Program Monitor For?
Consider the Program Monitor to be your ticket directly into the viewer's shoes. Everything that ends up here will be found in the Timeline panel, making it your base of control for everything that you have planned ahead in the pipeline.
We go through the song and dance in order to separate our area of planning from the actual timeline of the Timeline panel itself. This is the way to do it if you're working with bulk that needs to be organized, such as in a live event or mass broadcast context. Everything in your inventory stays neatly in place and ready to rumble.
Choosing a Display Mode
Premiere's primary concern: keeping playback quality consistent without asking the user to make a compromise on resolution. The trade-off to be found here will be obvious for some—for others, jacking things up may not slow down the program's performance unduly.
Any compression artifacts acquired during playback will not remain embedded into the fabric of the source material itself. When you play it forward again, the footage will be re-produced as it first existed.
To select the zoom level in either your Source Monitor or Program Monitor, direct your attention to the dropdown, initially labeled "Fit." From here, you can inspect your material up to 400 percent, all within the panel itself.

You can also adjust both your Playback and Paused Resolution separately, which is great when you would like to savor each moment without taxing your system. You can choose between one-half, one-fourth, and full-scale.

Clicking into the wrench icon will reveal all of your display settings for whichever monitor you're looking at. A composite video display is just the video as you would watch it normally, while the Alpha Transparency toggle will unveil the lack of backing behind pieces of material with an incomplete Alpha layer.
Also under this menu will be your Looping toggle, perfect for working with things like ads and other short-form content. You can choose whether or not the accompanying timeline includes markers and time-ruled labels. Overlays such as your Safe Margins can also be found here.
Navigating Your On-Screen Controls
To shuffle material to and fro, most employ the use of their Insert or Overwrite hotkeys.
Inserting something sticks it in at the playhead, shoving everything in front of it forward in the process.

An Overwrite just lays the new footage right over; everything that was there previously will now be overwritten by this latest addition.

Doing so continuously will leave no trace of what was done before. An additive workflow tends to become very messy, but serves as an excellent way of letting yourself author the piece creatively and freely as you go.
Lifting and Extracting are sort of the opposite; from the Program Monitor, you grab parts of the project using Ins and Outs. This allows you to pull directly from the timeline, either leaving a gap behind in your wake or pulling everything in front of it in to compensate. Your selection will be saved right to your clipboard to drop elsewhere.
Two icons, one resembling a segment of film, and the other looking like an audio waveform, also come in handy here. They act as two handles that allow you to grab either the picture or the sound from a piece of source material, isolated from its partner. You can drag either into the Timeline directly if you prefer this to targeting tracks.
Two Portals That Help You Make Sense of It All
Working with both the Source Monitor and Program Monitor comes with a host of benefits that will become obvious once you start.
The best part? How cool it feels to do it like the pros. We recommend giving it a try if you're looking to up your game in the suite. The freer your hand, the more fun it is to explore.