The Silver Efex Pro plugin is part of the Nik Collection and has been available for Photoshop and other photo editing platforms since 2012.
In this tutorial, we will demonstrate the various ways that this incredibly versatile plugin can be used to convert your color images into fantastic black-and-white renditions.
Let’s begin!
How to Create Black-and-White Portraits
Compared to other genres of photography, people photography and portraiture are open to a wide array of editing techniques and experimentation.
Consider the multitude of genres out there, ranging from fashion and high-end beauty retouching to street photography and yearbook photos. Add artistic editing into the mix, and the sky’s the limit as to the number of looks a photographer can achieve during the editing process.
For black-and-white conversions, it stands to reason that you would want a versatile tool to handle the job. Let’s take a look at a few ways that Silver Efex Pro can be used to treat portraiture and people photography in general.
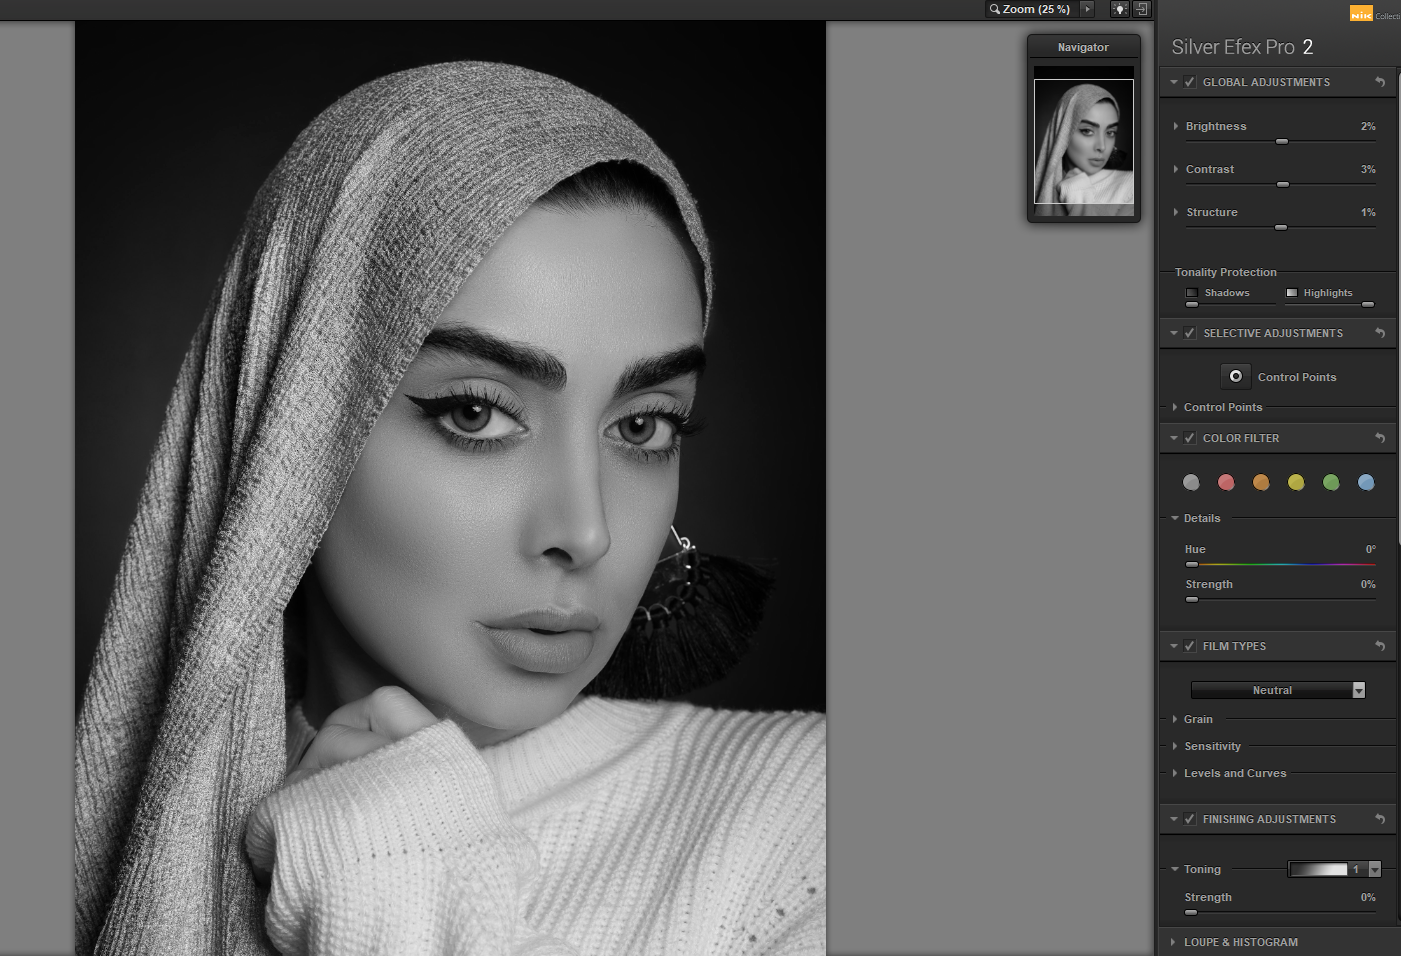
For studio portraiture and professional settings, Silver Efex Pro offers many global and local controls to make subtle black-and-white conversions.
In the above example, we see a few of the adjustment panels that are available on the right. But for an image like this, where professional studio lighting and skin retouching has been employed, only subtle adjustments are needed. This is especially true for female subjects.
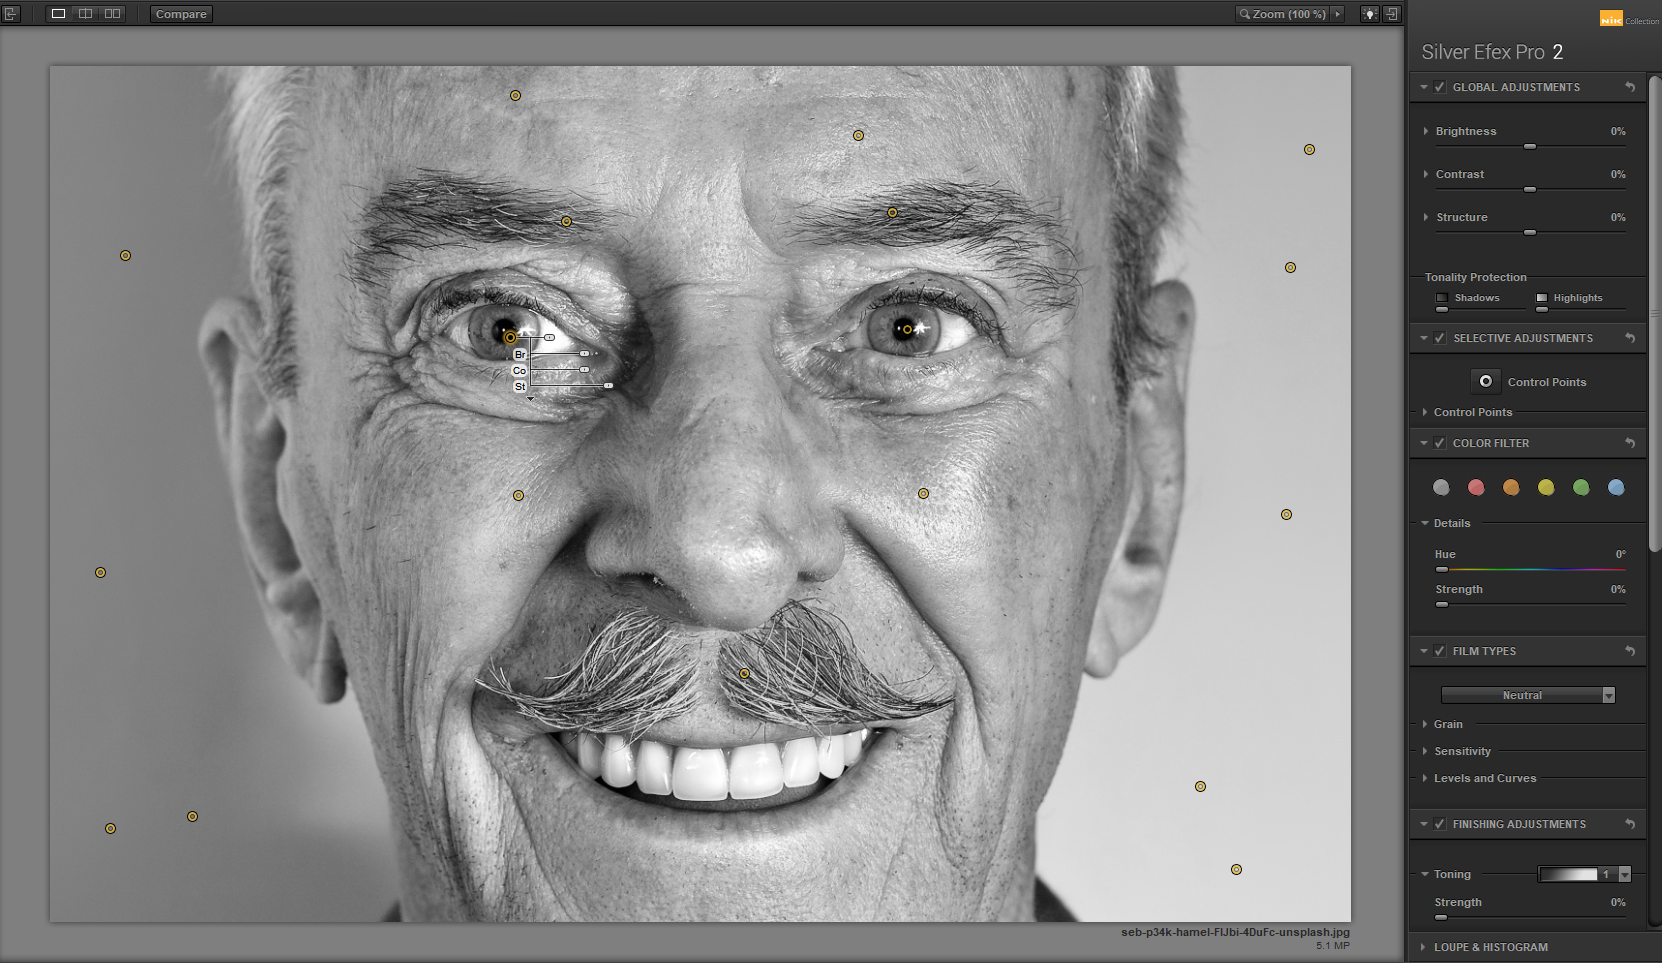
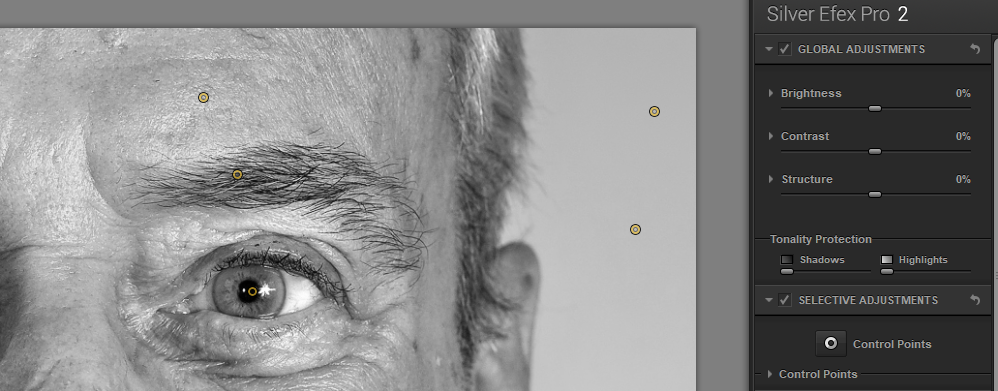
On the opposite side of the spectrum, it's often common practice to showcase the facial features of older male subjects. In cases like these, Silver Efex Pro offers a very useful local adjustment tool called Control Points, located in the Selective Adjustments panel on the right.
Control Points can be placed anywhere on the image to enhance several features: Brightness, Contrast, Structure, Amplify Whites, Amplify Blacks, Fine Structure, and Selective Colorization.
Once you place Control Points, a menu box opens up to reveal those options. Sliders can then be manipulated to increase or decrease the effects, while the top slider on each Control Point controls the radius of the effect.
It's useful to note that Control Points can also be used to negate or minimize the effects of other Control Points. This comes in handy when you don't want to introduce structure, contrast, or other heavy effects to a clean or blurred background.
Using the Preset and Color Filter Library
Photographers new to photo editing will find Silver Efex Pro's collection of presets and color filters extremely helpful. Both of these tools can be used as starting points to further enhance black-and-white images.
Preset Library
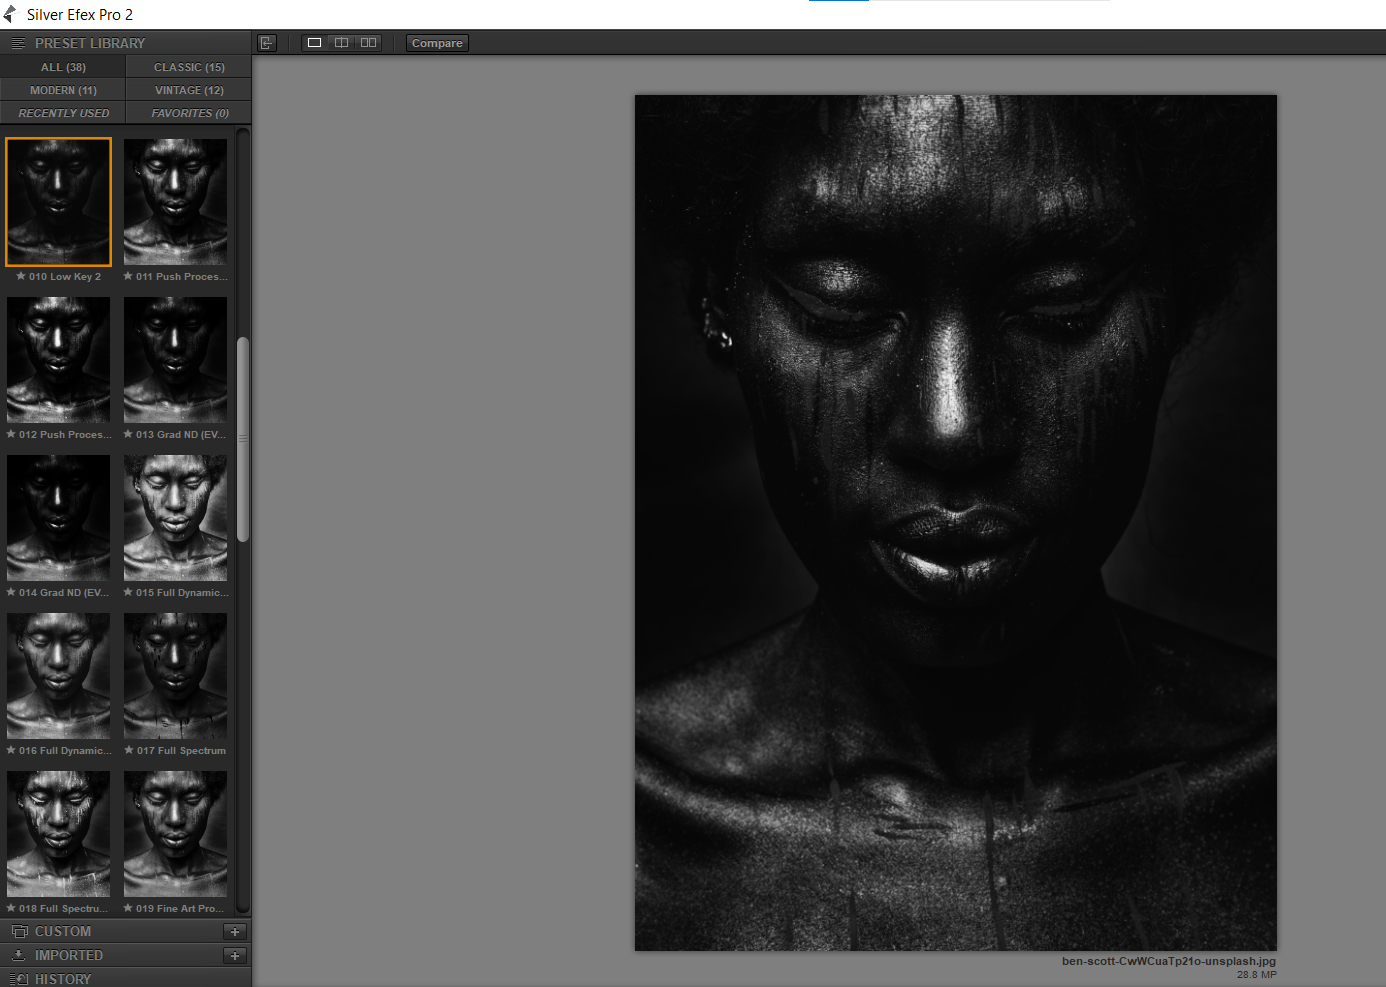
Located on the left-hand side of the Silver Efex Pro panel, there are more than 30 presets in the library divided into preview groups. Your color image will automatically populate the preset previews, with a large version of the currently selected preset in the main editing panel.
Any adjustments from your previous black-and-white conversions in Silver Efex Pro will carry over whenever you import a new image. Likewise, whenever you select a preset, most adjustments will reflect in one or more of the five adjustment groups in the right column.
You can reset the adjustments at any time by clicking the arrow icon at the top of the Global Adjustments panel.
Color Filters
Color Filters have their own group nestled under Selective Adjustments and directly above Film Types. Contrary to the name, color isn't introduced to your black-and-white image when adjustments are made. Instead, the existing colors from your original color image are rendered further strictly in black-and-white.
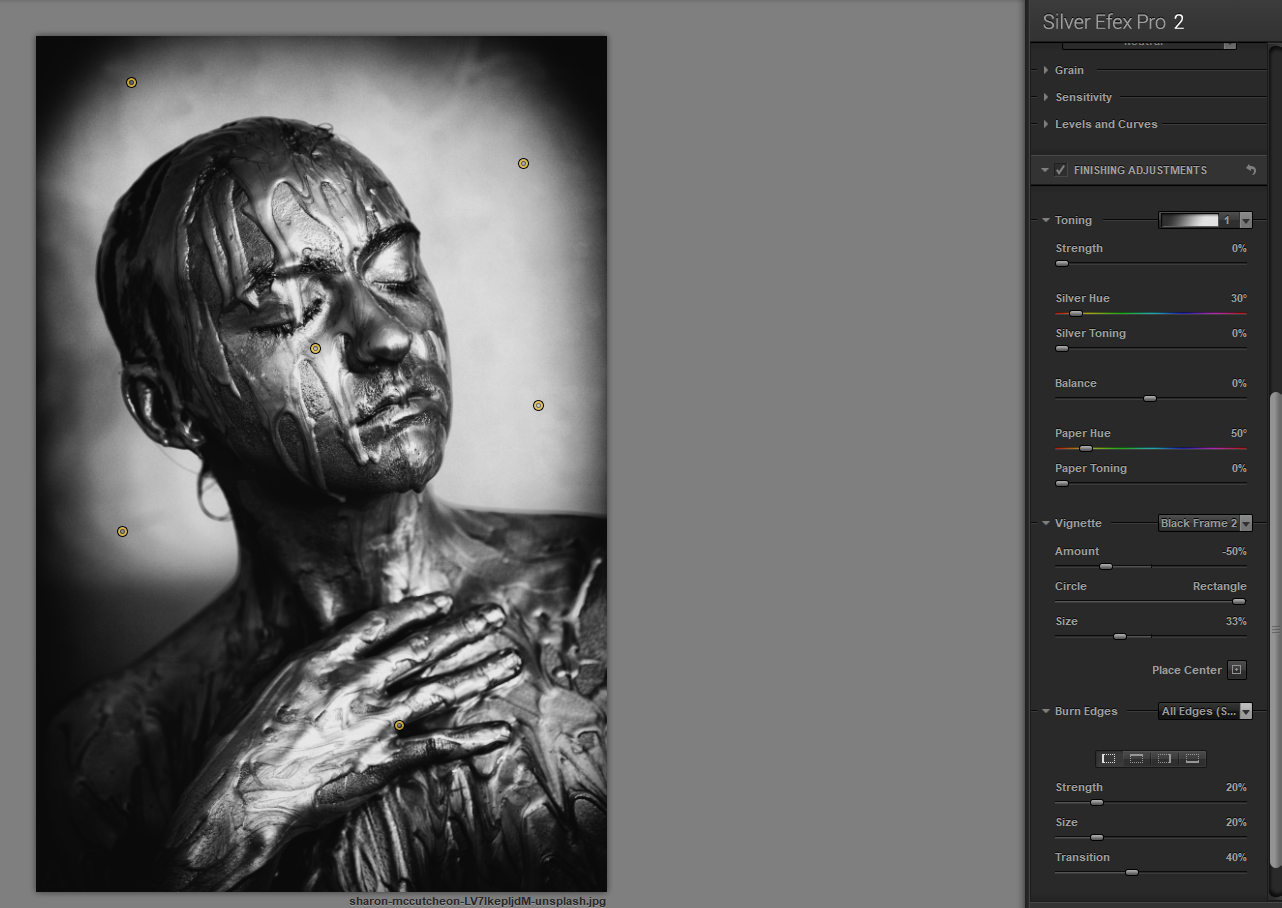
In the above example, we selected Red as the starting point, which is then reflected on the Hue slider. At this point, you can adjust the Strength slider to increase or decrease the effect.
In the original color image, the streaks on the subject's face were red and rendered in various shades of white. We selected 67 percent Strength in the Red channel in this example.
How to Create Black-and-White Landscapes
Landscapes and other natural images are handled well in Silver Efex Pro conversions. Besides the Color Filters panel, we will also explore Film Types and Finishing Adjustments as final touches that may be applied under the right circumstances.
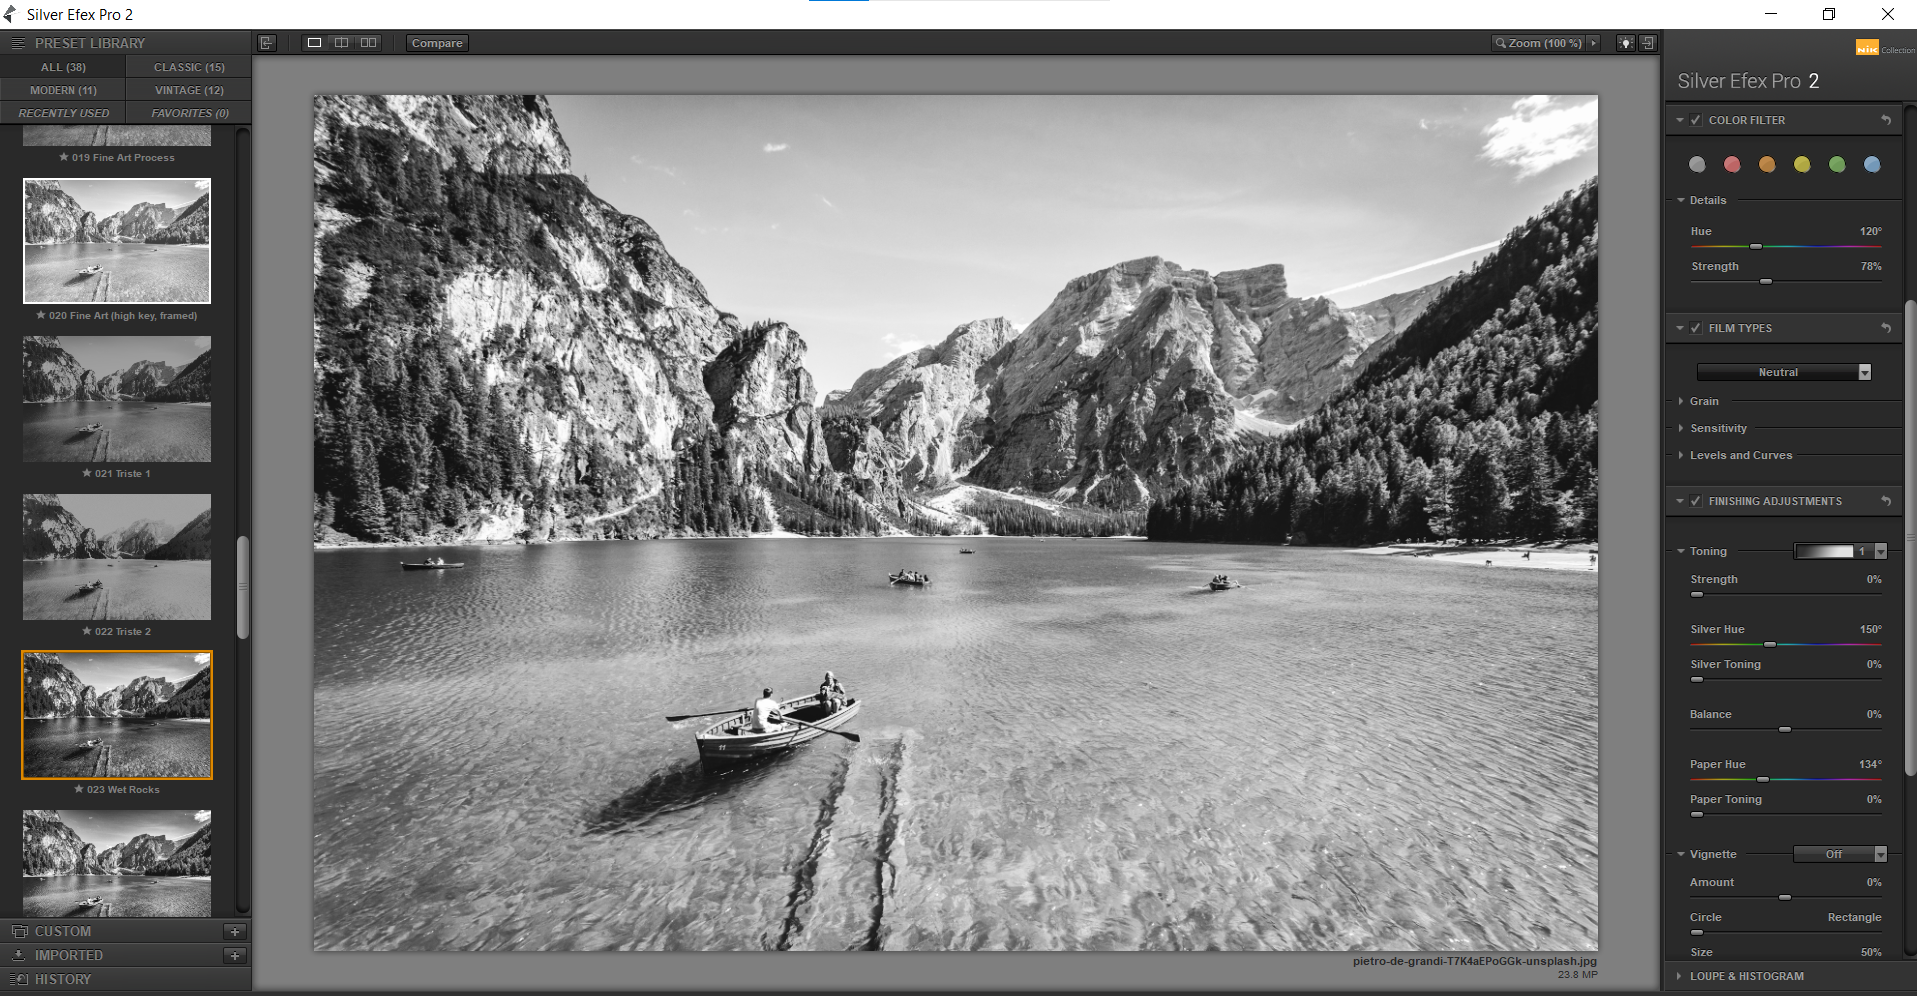
In the above example, the Wet Rocks preset was selected as the starting point, and Green was chosen in the Color Filter panel.
These were deliberate choices because the preset added nice contrast to the overall image. The green in the trees and water in the original color image are both highlighted in the black-and-white conversion.
In the below example, we will show how you can color tone your black-and-white image.
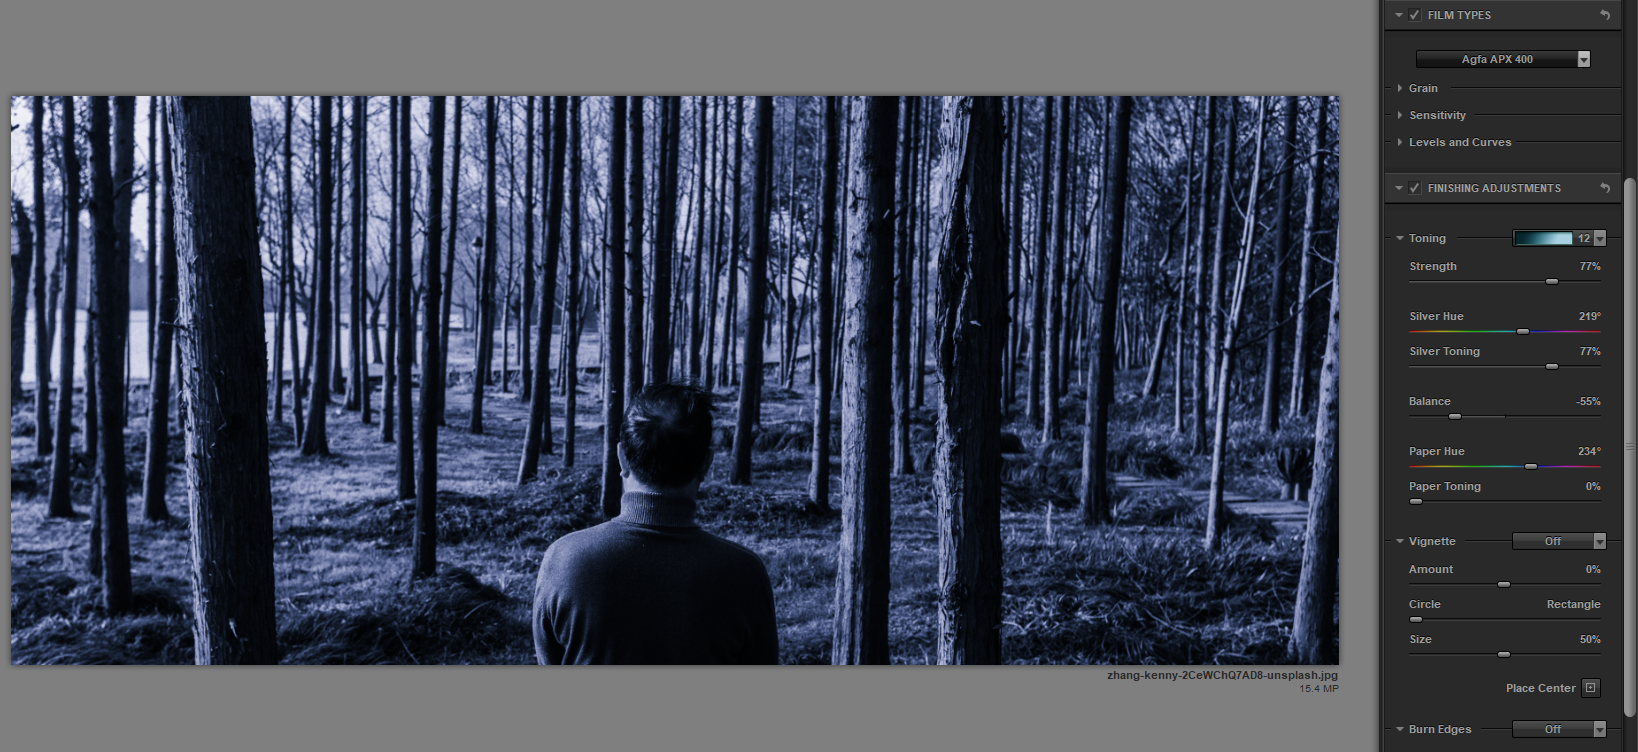
First, select the Full Spectrum preset as a starting point, and then choose Agfa APX 400 in the Film Types dropdown menu.
You can colorize the photo under Finishing Adjustments, where you'll select 12 in the Toning menu. From here, make adjustments on the Strength, Silver Toning, and Balance sliders to fine-tune the blue effect.
Adding the Finishing Adjustments to Your Image
There are several options available in the Finishing Adjustments panel. Apart from the toning effects that we just covered, there are also options to add Vignette, Burn Edges, and to insert Borders.
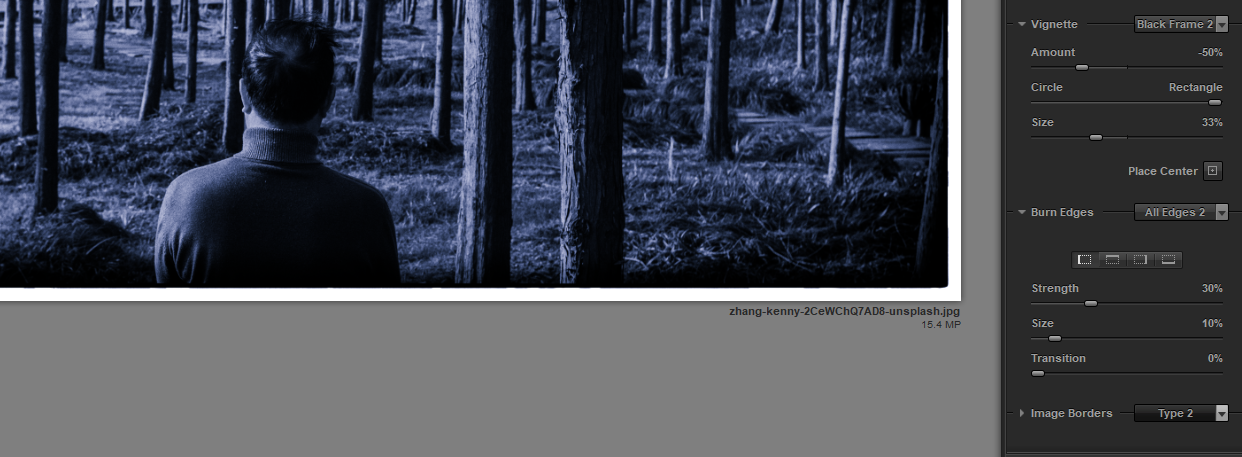
In the above example, we selected Black Frame 2 under Vignette, All Edges 2 under Burn Edges, and Type 2 in the Image Borders menu.
This creates a dark vignette around the entire image, which helps showcase the subject and the forest. We also added a stylized white border around the image.
Take Your Black-and-White Images to the Next Level
It's often mentioned that beginners find plugins like Silver Efex Pro useful as starting points in the post-production phase of editing.
But the truth is, many professional photographers also use Silver Efex Pro both as starting and finishing points in many of their black-and-white conversions.
With a host of presets to choose from, along with all the local and global effects options in the right panel, there are countless versions you can make of a single black-and-white image in Silver Efex Pro.
The allure of plugins is that a host of powerful edits can be made without ever leaving Photoshop. Silver Efex Pro works well within this architecture to deliver top-notch results.
Silver Efex Pro can also be used with other Photoshop plugins, as layers allow for such flexibility. For portraits, plugins like PortraitPro would allow you to put the finishing touches on your color copy, which could then be run through Silver Efex Pro to produce a black-and-white version.
Image Credit: Robert Lukeman/Unsplash

