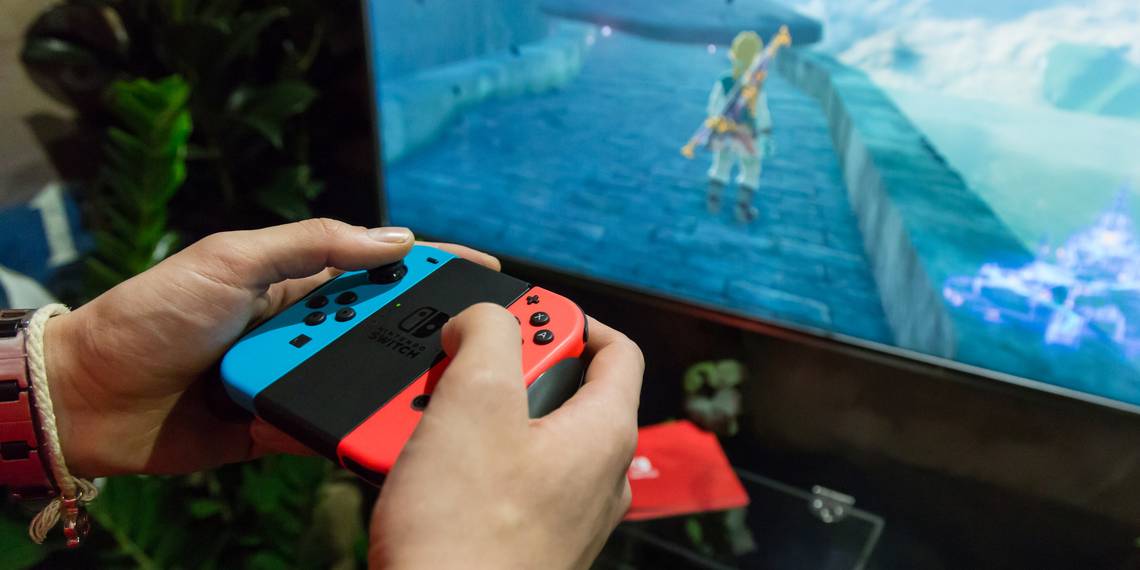
With the Nintendo Switch's 11.0 firmware update, released in November 2020, it's now easier to share your gameplay screenshots and videos than ever before.
The update added two new ways to export screenshots and videos. We'll show you how to use these tools, plus other methods, to send your Switch captures to other devices and platforms.
First, Update Your Switch Firmware
In case your Switch hasn't updated yet, you'll need to install the latest software update to use these features. You'll know you're on a compatible version if you see a Nintendo Switch Online icon on your home screen.
To update your Switch, head to System Settings > System > System Update. After installing the latest version (at least 11.0), you can try out these sharing features.

1. How to Share Switch Captures to Your Phone Using a QR Code
If want to access your Switch media on your phone, you can generate a QR code for easy connection and sending between devices.
To do so, first open the Album from the home screen to show all your captured media.

To filter your captures, press the Y button. There, you can choose to show only screenshots, only videos, or all the media from a specific game. Now, press A on the image you want to share to open it, then hit A again to open its options panel.
If you'd like, you can choose Add Text for a screenshot or Trim for a video. When you're ready, hit Send to Smartphone.

Next, for sending screenshots, you can select Only This One or Send a Batch. If you choose to select multiple, you can send up to 10 images at a time. However, you can only send a single video at once.
Connecting Your Switch to Your Phone
Once you've selected all the images to send, you'll see a QR code on your Switch's display. Use your smartphone's camera to scan this QR code, then tap on the prompt that appears to connect your phone and Switch using Wi-Fi. This may vary a bit depending on your device.

If you have trouble with this connection, hit the Plus button on your controller. This will bring up a panel with a network name and password that you can enter in your phone's Wi-Fi settings to connect to your Switch instead.
Once the connection starts, you'll see a second QR code appear on the right side. Scan this and tap the resulting prompt to open a webpage containing the media that you shared.
From here, you can press and hold on each image or video to download it to your device (or share it using another app as desired).


Select End on your Switch when you're done, and your phone should disconnect from your console after a moment. If you're at home, make sure that your phone reconnects to your usual Wi-Fi afterward so you don't waste data.
2. How to Share Switch Media to Your PC Using a USB Cable
The 11.0 update also allows you to copy Switch screenshots and videos right to your computer. To do this, connect your Switch to your desktop or laptop using a USB-C cable. Note that you must connect the Switch directly to do this. You cannot connect the Switch's dock to your PC to transfer files.
The process is simple on Windows (and should be on most versions of Linux), but you'll need additional software on a Mac. Android File Transfer is Google's official tool for browsing Android files on your Mac via USB, but it's not perfect. Thankfully, there are other ways to transfer files to your Mac, such as OpenMTP or MacDroid.
Once connected, on your Switch, head to System Settings > Data Management. On this page, scroll down and choose Manage Screenshots and Videos. And on the resulting menu, select Copy to a Computer via USB Connection.

This will connect your Switch to your PC using MTP, which is the same protocol that a connected Android phone lets you use to browse its content. Once you see the Connected to the computer screen on your Switch, open up This PC on your computer and you should see a Nintendo Switch entry.
Select this, followed by Album, to browse the contents of your Switch's media library. You'll see a folder for each game, making it easier to find what you want to copy. If you want to find just screenshots or videos, use Sort by > Type in the right-click menu for convenience.

Copy and paste the files anywhere onto your computer for easy transfer. When you're done, choose Disconnect on your Switch to end the connection so you can safely disconnect the cable.
3. How to Share Switch Screenshots on Social Media
If you'd rather not use one of the above methods, you can also share Switch screenshots to Facebook and Twitter, thanks to the console's integration with them.
Follow the steps in section #1 above to locate the image/video you want to post in the Album menu, then hit Post on its options page. Choose whether to share just one image or a set.
After this, you'll see a page where you can edit your social media post, depending on what you've linked to your Nintendo account. Choose Change Posting Location at the top if you want to link or send to a different service.

Once you're connected, edit the text of your capture and hit Post to share it to social media.
4. How to Share Switch Media Using Your SD Card
There's one other way to share your Switch media. If you have a microSD card in your system and store your images on it, you can remove the card and put it in a computer to access the images. We cover this in our guide to sharing your Switch gameplay online.
This method is near-obsolete, since you can just connect your Switch directly to your PC via USB now, but it's still an option in case you need it. It might come in handy if you can't get the #2 method above to work on your Mac, for example.
On the Filter screen for your media, you can choose to filter by images on the System Memory or microSD Card. If there's an image on your system storage, select it and choose Copy from the options menu on the item to duplicate it on your SD card.

To move all images from your system storage to the SD card, follow the steps in #2 above to visit the Manage Screenshots and Videos page. Hit System Storage, followed by Copy All Screenshots and Videos to microSD Card.

Share Switch Media Everywhere
We've gone over all the ways to export your Switch screenshots and videos to other devices and services. This makes it easy to share your coolest gameplay moments wherever you like.
For more Switch tips, why not tweak the user interface so it's more useful?
Image Credit: Tinxi/Shutterstock