Virtual Private Networks (VPN) offers anonymity, security, and privacy online. There are typically two types of VPN connections. The most popular is a VPN service, provided by a third-party company, and typically requires a paid subscription. The second type is a private VPN, installed and configured manually by an individual or workplace.
Setting up your own private VPN can seem like a daunting task. However, there is an easy way to set up your own VPN server using a pre-configured solution from Turnkey Linux. So how can you install a private VPN at home or at your workplace?
Why Should You Create a Private VPN?
Choosing a VPN service hosted by a third-party has many benefits. They are easy to set up, involve little user configuration, and generally provide good support if you get stuck.
However, traditional VPN services have some disadvantages too. They can become congested if there are too many people using them, and suffer from limited connection speeds as a result. VPN services are often detected and blocked by online providers. Major service providers can also be blocked completely by some networks.
Using a private VPN means you have total control over users and the network behind it. Private VPNs can also be set up on personal home networks, allowing you access to locally connected devices. A private VPN is also free to use!
Setting up a private VPN can seem intimidating, but thanks to TurnKey Linux Appliances, it is easier than you think...
What Is TurnKey GNU/Linux?
TurnKey GNU/Linux is an open-source, free project that provides pre-configured and easily deployable servers and software. These servers are known as “virtual appliances” and be used on a wide range of platforms. The developers of the appliances aim to provide users with simple, ready-to-use solutions to common iterations of servers and software. The appliances are based on Debian Linux and come with a complete stack of components.
The appliances are designed to be easy to use, pre-secured, and optimized for performance. This type of ready-to-use system is commonly known as “out-of-the-box” or “off-the-shelf.” They can be deployed and left to run with very little configuration.
TurnKey GNU/Linux offers a huge variety of virtual appliances. Content managers like WordPress and Joomla, web servers, e-commerce, and even a domain controller are all available for use.
There are over 100 different virtual appliances, including an easily configurable private VPN server.
Setting Up Your Own Private VPN Server With TurnKey GNU/LInux
Setting up the VPN appliance is pretty straightforward, but there are a few steps you will need to perform before rolling it out and getting online.
Choose Your Setup
The first step in setting up your own VPN server is to decide where you will install it. Virtual appliances need little in the way of resources to run. Your VPN server can run on a small hard disk and doesn't require much computing power to function.
In fact, you can run the VPN appliance on just 256MB of RAM, although you should really have at least 1GB to avoid speed issues. You can even breathe some new life into an old PC or laptop and re-purpose it for your VPN appliance.
Another option is to use virtualization technology (such as a hypervisor like VirtualBox) or setting up your own Virtual Private Server (VPS). A VPS has the added potential for installing the VPN server in a country of your choice. This might be an ideal solution for travelers who need to maintain a connection back home.
Limitations
There are some limitations if you plan to host the VPN server at home. If your home internet connection is behind a carrier-grade NAT (CGNAT), then you will not be able to host a VPN server. You may wish to opt for a VPS instead. If you are using a VPS, ensure the service can deploy with a custom ISO before committing. See our explanation of static IPs for more info on this.
Download and Prepare the Appliance
Once you have chosen a platform on which to install the TurnKey VPN appliance, you need to download the ISO image. There are two options available for your VPN appliance—OpenVPN and WireGuard. WireGuard is regarded as a more modern VPN protocol and is much easier to configure and install than OpenVPN.
You can download the ISO image from TurnKey GNU/Linux.
To prepare it for installation, you'll need to mount the image on a USB flash drive. You will also need to set the boot priority on your hardware or virtual machine to USB first.
How to Install the TurnKey GNU/Linux VPN Appliance
Installing the appliance is much like installing other Linux operating systems. You will need to boot from either the USB flash drive or mount the ISO onto your virtual machine. You can initiate the installation by selecting Install to hard disk.
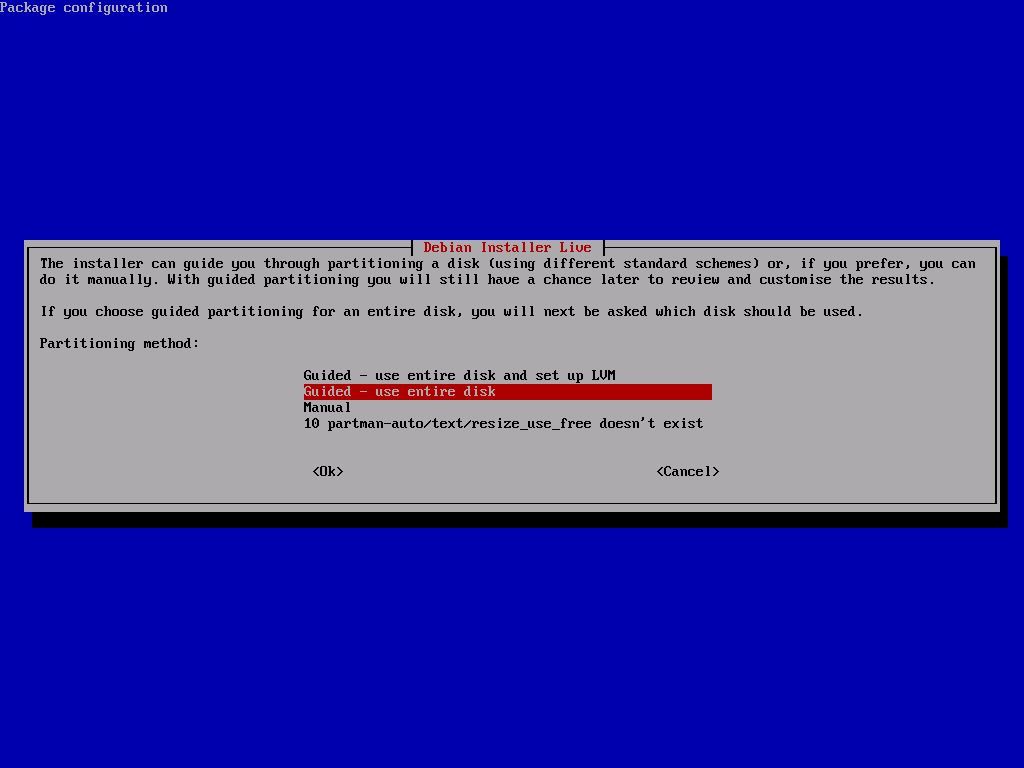
Run the installer and select default options unless there are specific requirements for your environment. Using Guided partitioning with the entire disk is the simplest way to breeze through the installation.
After that's completed, eject the USB flash drive, or un-mount the ISO and reboot.
Configure the TurnKey GNU/Linux Appliance
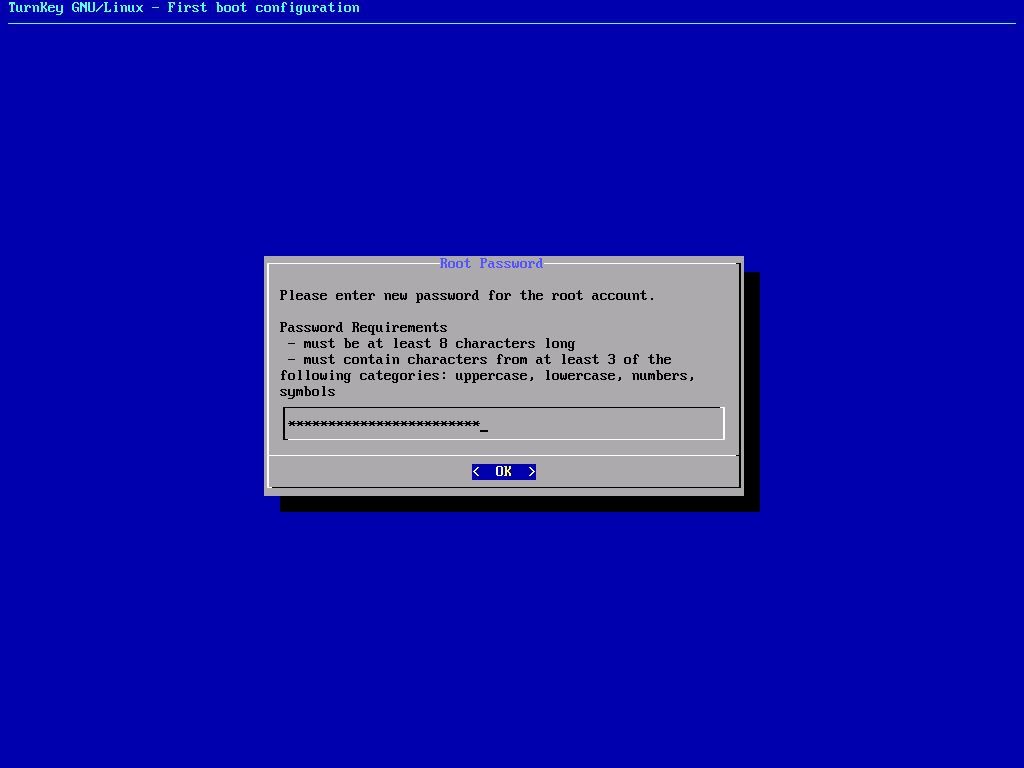
After a successful restart, there are some additional options to configure before you get up and running. First, you will be required to set a root password; make it a strong password you won't forget.
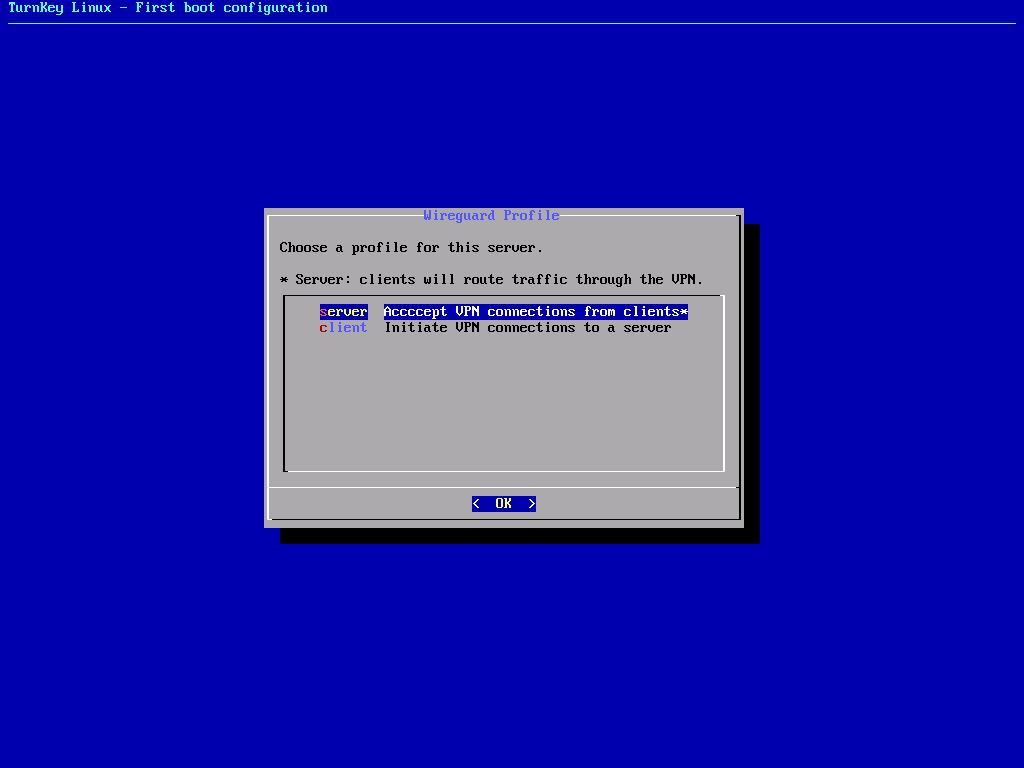
When asked to select a Wireguard Profile, select the Server option.
On the Wireguard Virtual Address screen, you will need to enter a Classless Inter-Domain Routing (CIDR) subnet pool to be used by your VPN clients. This address must not actually exist on your network. Using 10.125.5.0/24 is a safe bet; however, this address will be specific to your network setup.
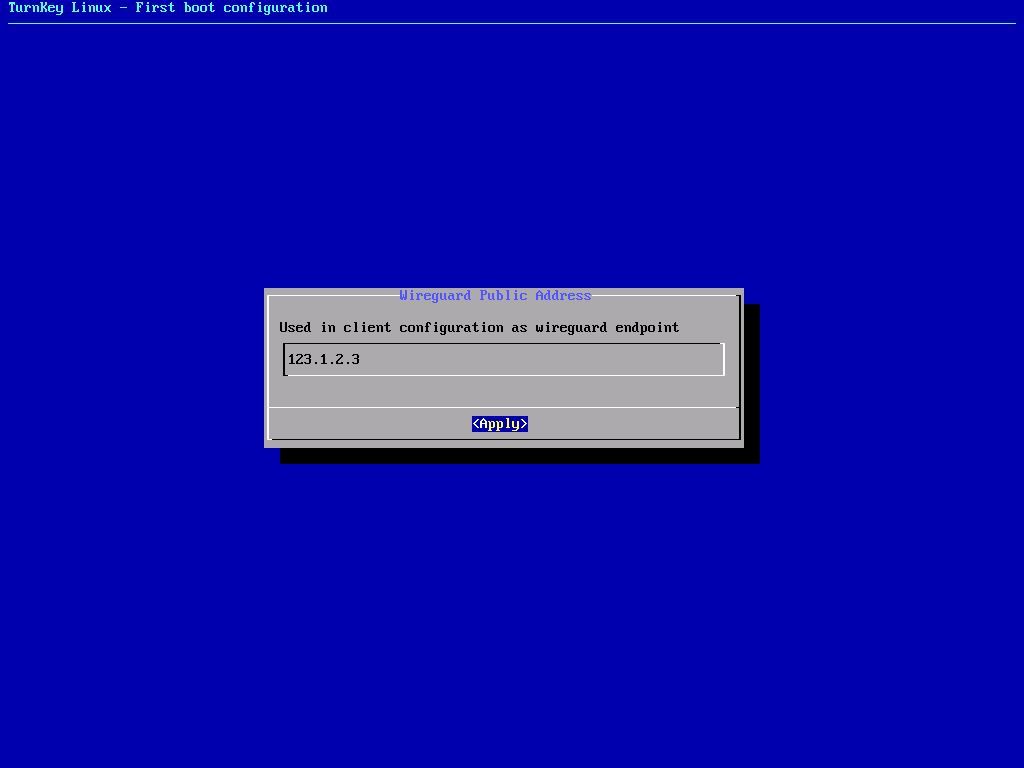
The Wireguard Public Address is your publicly facing IP address, and the address your devices will use to connect to the VPN server. It's up to you whether you enable the remaining options—but we recommend that you install the updates during the installation. These can take some time, so grab a coffee and kick back.
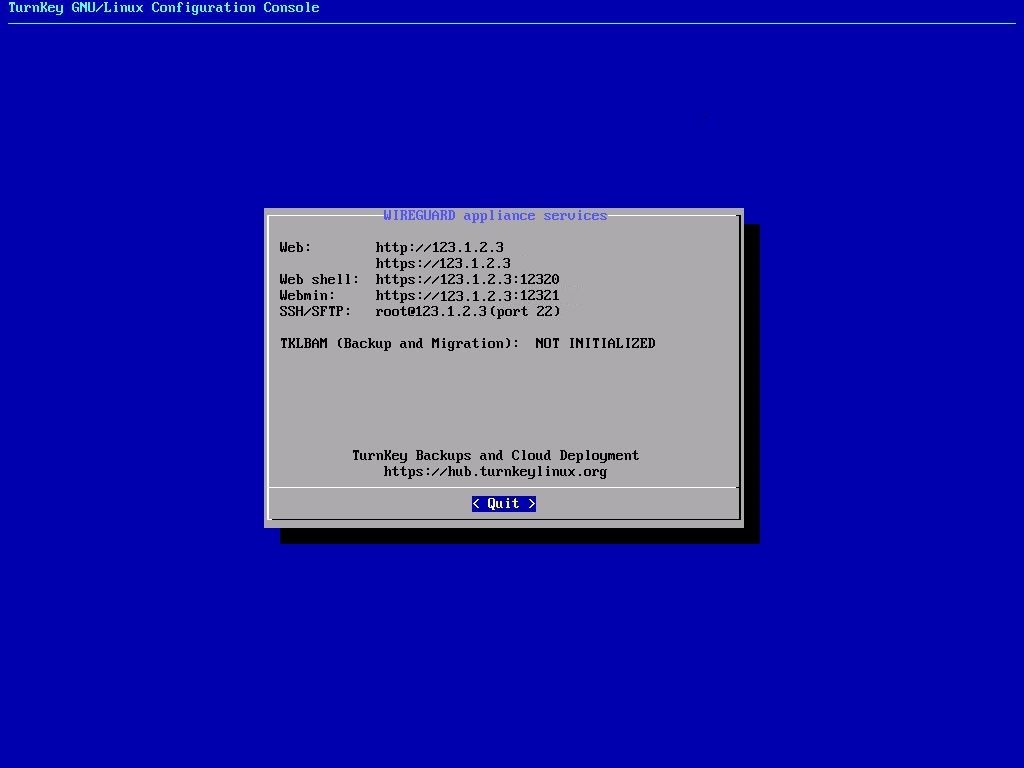
When the configuration is completed, you will be presented with a screen containing the information you will need to access your VPN. It is a good idea to jot down these addresses, as you will need them at the next stage.
At this point, installation is complete. We recommended that you reboot the server one more time.
Making Your First VPN Client Connection
Before making your first VPN client connection, it is important you get aquatinted with the appliance features. TurnKey makes things particularly easy with a built-in web interface.
Wireguard VPN Appliance Services
The web interface can be accessed by browsing to the publicly facing IP address of the server. In your favorite browser, enter “https://<your ip address>”. You will most likely receive a warning about the self-signed certificate; you can ignore it and continue.
You are presented with two options:
- Web Shell: This is a web-based SSH client to connect with your appliance.
- Webmin: This is a browser-based tool for administering your appliance.
The user credentials for logging into both the web shell and webmin is: “root” and the password you set during the installation.
Adding Your First VPN Client
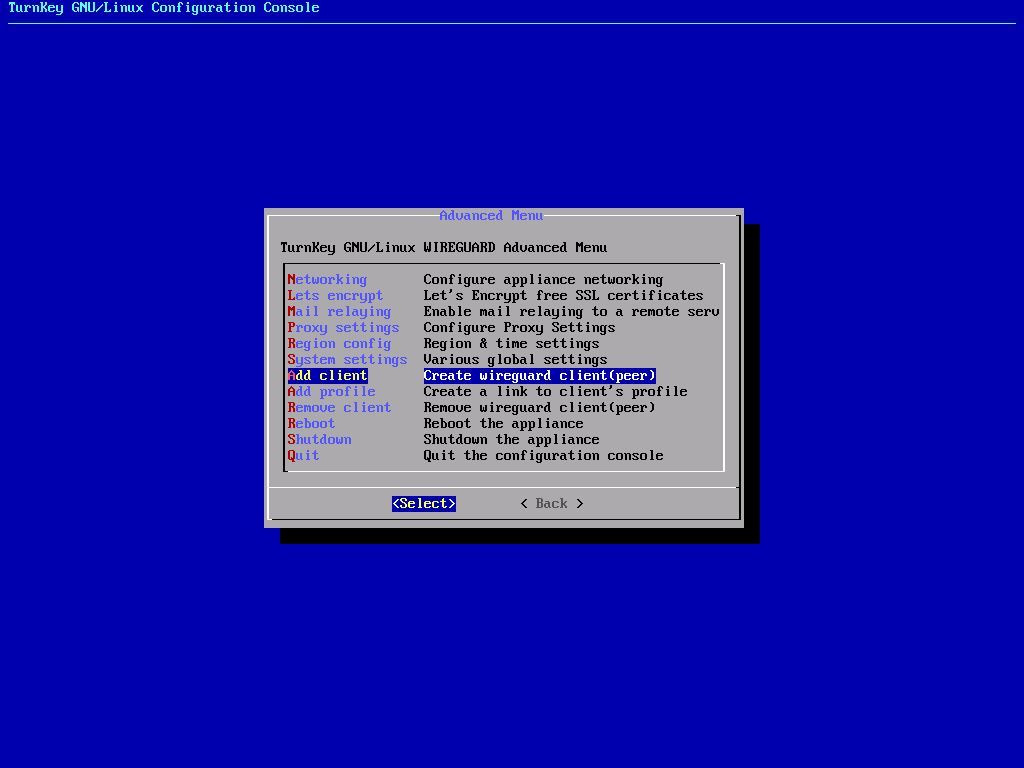
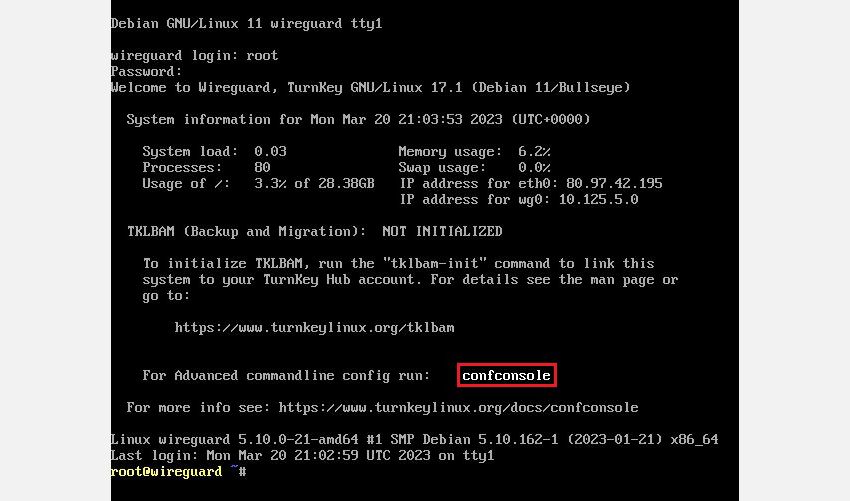
Adding a VPN client is also an easy process. You will need to log into the web shell using your root account and enter the command:
confconsole
Now, select Add client from the list and enter the name you want to give to the client. This can be anything, but it is best to avoid spaces and symbols. Next, you will need to specify the IP addresses that are allowed access to the VPN server. To allow any address, simply enter:
0.0.0.0/0
The VPN server will now generate a URL where you can download the configuration for the VPN. This URL will also give you access to a QR code for easy installation for mobile applications.
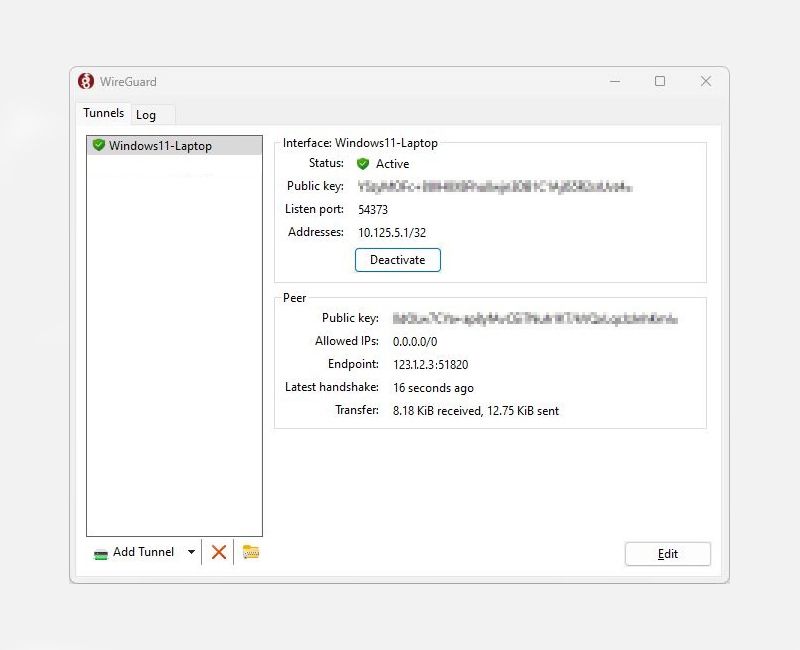
You can download the profile and import using the Wireguard application from Wireguard.com, available on a huge range of platforms.
You Can Now Set Up and Use Your Own Private VPN
Setting up a private VPN is quick and easy with the Turnkey GNU/Linux Wireguard VPN appliance. By using a private VPN, you are afforded more control and privacy than using a paid VPN service from a third party provider. Deploying a private VPN is also a great way to become more familiar with the principles behind networking—and it's great fun too!


