Python has much to offer in the way of automation, and you can achieve a lot of functionality with just a few lines of code. The language has gained in popularity across many domains, from data analysis to system administration.
Outlook is a popular email client, and you can use Python's Outlook automation features to send emails quickly without too much effort.
You must read on to learn how to send automated emails from Python using Microsoft Outlook.
Fulfilling a Few Prerequisites
To get started, download and install the following:
- Microsoft Outlook: You must have the MS Outlook application installed and running on your system. You can use Outlook with a Gmail address or any other email provider.
- win32com.client: This third-party library is essential to connect to your Microsoft applications. Since Microsoft Outlook is one such application, you need this library within Python to connect to the Outlook exchange server.
Installing the win32com.client
win32com.client is an integral aspect of this code, and you need a fully functional library to establish a connection between Microsoft Outlook and Python.
Check win32com.client Version
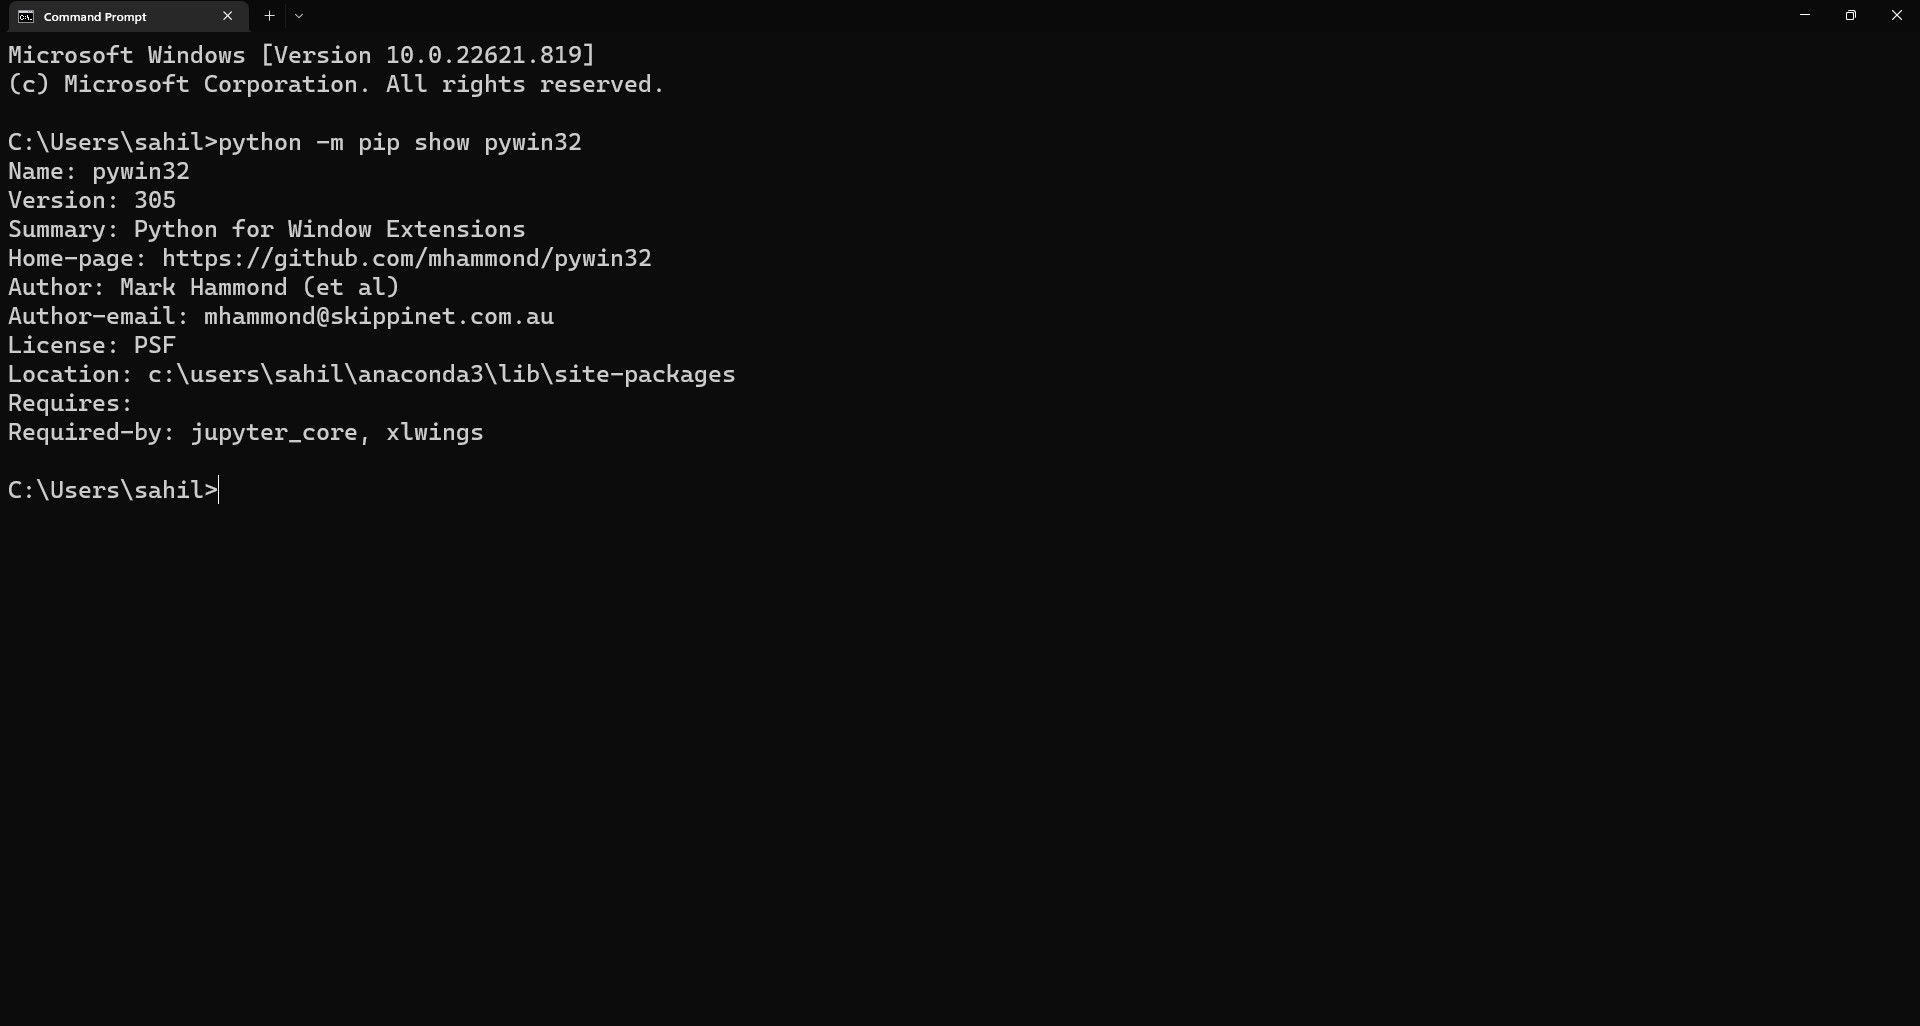
Before installing, you can check if win32com is already installed on your machine. Some IDE versions offer this package by default. You can check if it is available with the following command.
python -m pip show pywin32
If you get a “'pip' is not recognized as an internal or external command” error, you should install pip on Windows, Mac, or Linux.
After running the above command, if you receive a version number, you don't need to install it again.
Subsequently, if you get the following error message, you need to install the win32com library on your system:
'pywin32' is not recognized as an internal or external command, operable program, or batch file.
Installing the win32com Library
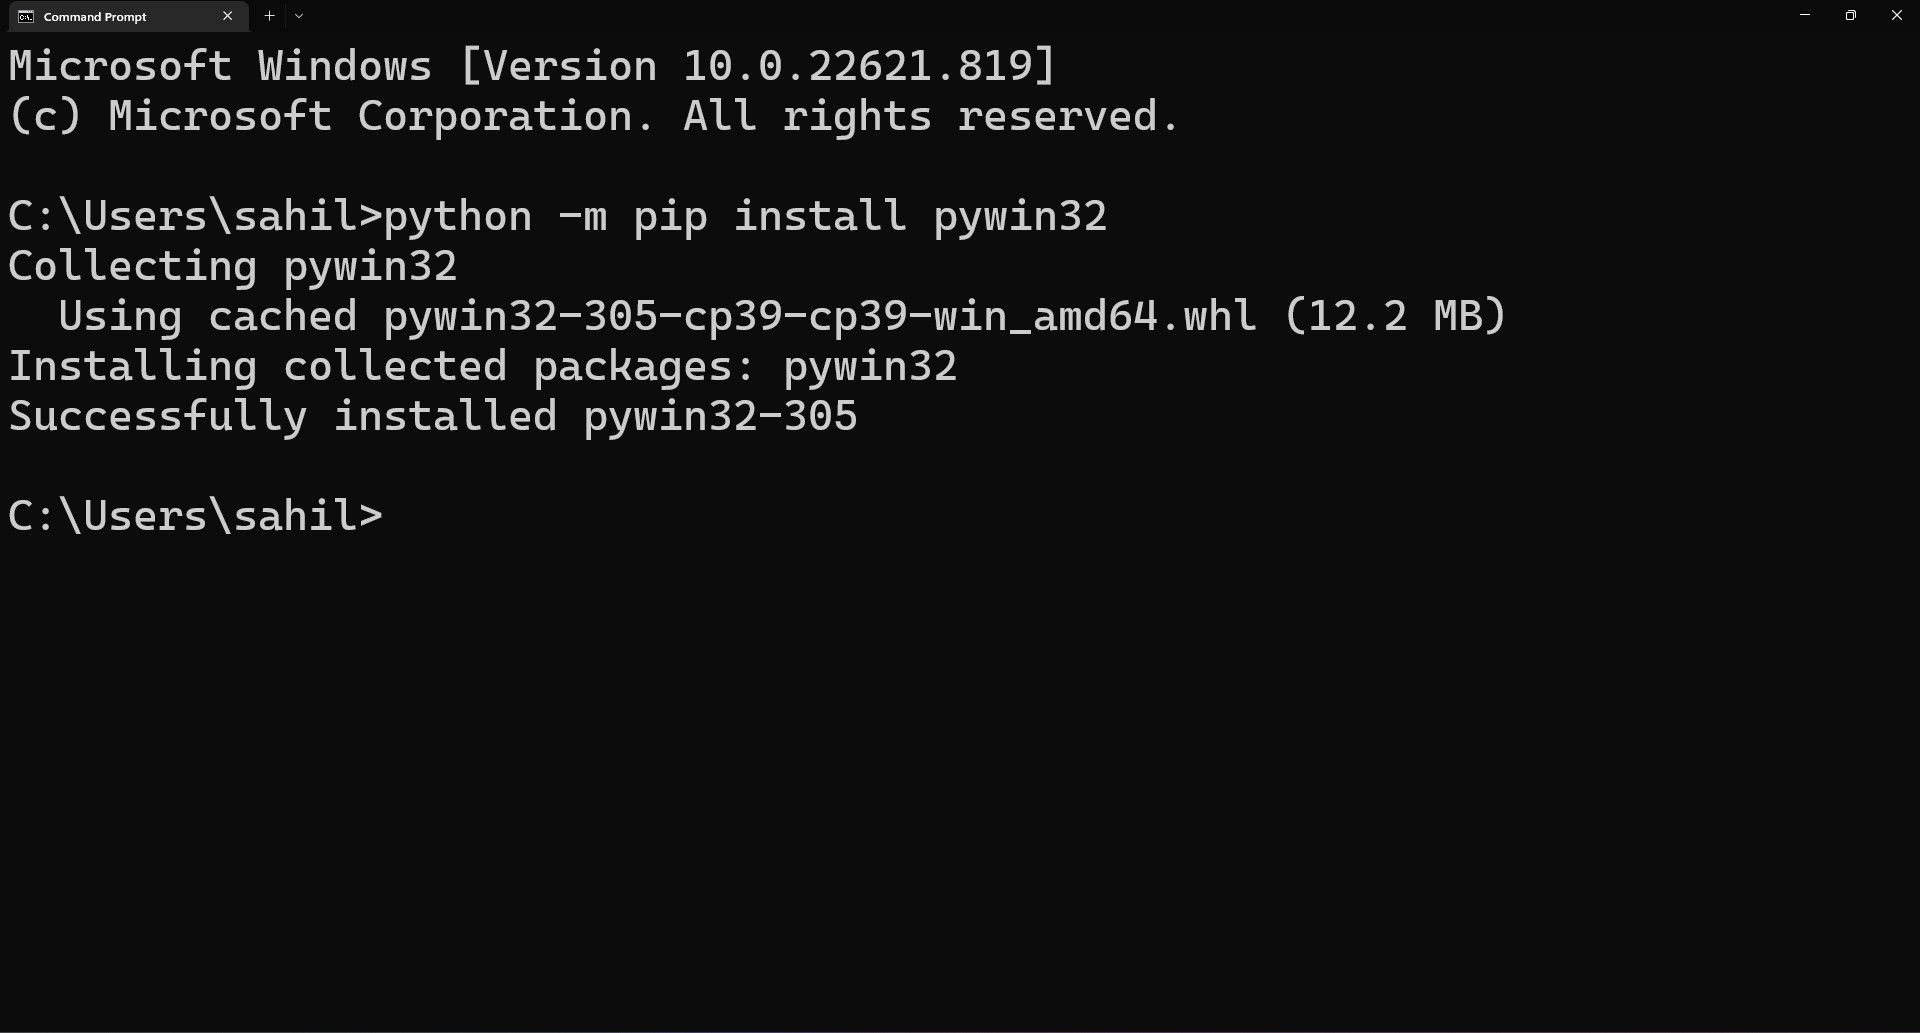
Open the prompt and type in the pip command to install the library from the terminal window.
python -m pip install pywin32
Follow the onscreen instructions to complete the process. You can use the show command post-installation to verify whether win32com is successfully installed on your system.
python -m pip show pywin32
Sending Emails From Python Using Outlook
Microsoft Outlook is one of the oldest and most widely used email clients, which ranks in the email application in the list of most popular email providers after Gmail and Yahoo. Python's automation linkages with Outlook come as no surprise, as with a few basic tweaks, you can easily send emails on the go.
After completing the above prerequisites, it’s time to start writing the code to automatically send emails from Outlook using Python. To start with, you need to import the win32com.client library by using the import statement.
import win32com.client
You can now write code to connect Python and Microsoft's email application, Outlook.
ol = win32com.client.Dispatch('Outlook.Application')
Where:
- ol stores the connection reference.
- win32com.client is a Windows library you can use to establish a connection between Python and Outlook.
- Dispatch is a function that creates the connection.
- Outlook.Application is the name of the application to connect to.
Next, it is necessary to define the dimensions of the new email message so that Python understands where the content needs to be updated.
        # size of the new email
olmailitem = 0x0
Where:
- olmailitem: New variable to store the dimensions.
- 0x0: Dimensions of the new email message in Python’s memory.
Python’s functions pop-open a new email item, as soon as you define the email body dimensions.
newmail = ol.CreateItem(olmailitem)
Where:
- newmail: New variable to store the new email reference.
- ol: Reference of the previously created connection between Python and Outlook.
- CreateItem(olmailitem): Command to create a new email draft.
Every email needs a subject line, and you can define it within the code so that Python adds it automatically before sending the email to the recipient.
newmail.Subject = 'Testing Mail'
Where:
- newmail: Variable to store the new mail item reference.
- Subject: This can vary, depending on what you wish to have as the subject for your email.
You can add the intended recipients within the To and CC keywords as follows:
        newmail.To = 'xyz@example.com'
newmail.CC = 'xyz@example.com'
Where:
- To: Main recipient’s email address.
- CC: Copied email recipients.
Similarly, you can even add the BCC names, in case you want to send emails anonymously to the recipients. All you have to do is pass the following statement after the CC command:
newmail.BCC = 'xyz@example.com'
Python's Outlook automation doesn't restrict Outlook's native capabilities and features. For instance, even when you are using Python to manage your email client's responses, you can still send emails to multiple recipients. Simply add a semi-colon (;) separator between email IDs within the To/CC/BCC column, and you're set.
Finally, once you define the subject and the recipients, you can add the email body to the new mail item before sending it to the recipients within the To and CC columns.
newmail.Body= 'Hello, this is a test email to showcase how to send emails from Python and Outlook.'
To add attachments to your email, you can use the following commands:
        attach = 'C:\\Users\\admin\\Desktop\\Python\\Sample.xlsx'
newmail.Attachments.Add(attach)
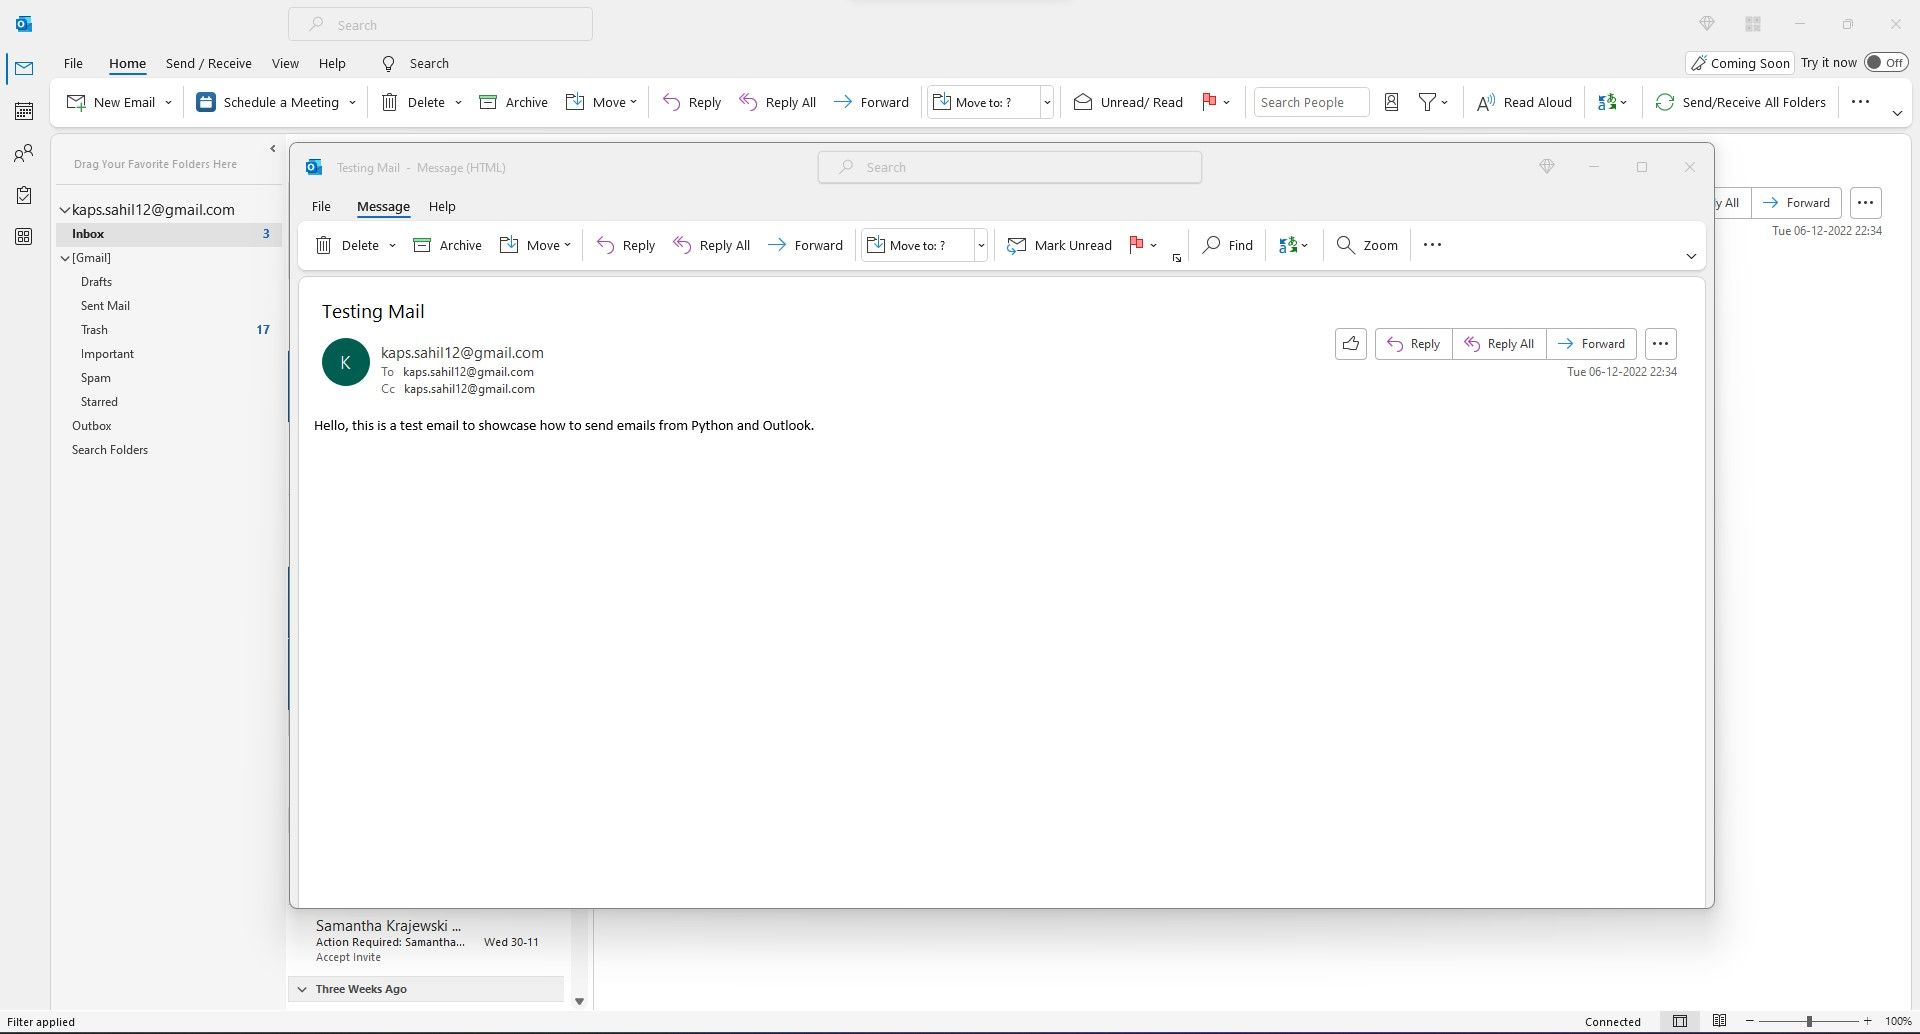
Now the email is ready to send; there are two options you can use. If you want a preview of your email before sending it to the recipients, you can use the Display() command as follows:
newmail.Display()
Alternatively, if you don't want to preview the email and wish to send it directly, you can replace the Display() command with the Send() command.
newmail.Send()
Using the Send() command is a bit tricky, as you won’t see a preview of the email. Use this command wisely if you are changing your email body content regularly.
Here’s the complete code:
        import win32com.client
ol=win32com.client.Dispatch("outlook.application")
olmailitem=0x0 #size of the new email
newmail=ol.CreateItem(olmailitem)
newmail.Subject= 'Testing Mail'
newmail.To='xyz@example.com'
newmail.CC='xyz@example.com'
newmail.Body= 'Hello, this is a test email.'

# attach='C:\\Users\\admin\\Desktop\\Python\\Sample.xlsx'
# newmail.Attachments.Add(attach)

# To display the mail before sending it
# newmail.Display()

newmail.Send()
Once the code successfully executes, you should be able to send emails automatically. In case there is an issue, and you get errors at the time of sending emails, there might be a configuration issue within Outlook. You should start your investigation by troubleshooting the most common Outlook errors.
The Benefits of Python Email Automation
Automating your emails using Python lets you send them directly without opening MS Outlook. If you are an avid user of Python and not too keen on opening an email client repeatedly to type out emails, you can let the programming language do it for you.
Why spend hours doing repetitive tasks, when you can send automated emails using Python with just a few lines of code?


