The ESP32 from Espressif Systems is a powerful dual-core microcontroller with built-in wireless that makes it a perfect fit for many creative Internet of Things projects. The ESP32-CAM development board takes it one step further by combining that speedy microcontroller with a camera module!
One project that takes advantage of this powerful combination is Alvaro Viebrantz's library for reading QR codes. The library is self-contained and runs entirely on the ESP32-CAM, making it a good choice for IoT projects and robots. Let's take this library for a test drive and see what we can do with it!
Gathering Supplies
For this project, you will need the following items:
- An ESP32-CAM board with either a programming daughter board or a built-in USB port
- A micro USB cable
Choosing a Suitable ESP32-CAM Board
For this project, you will need a way to program the ESP32-CAM board from your computer and to power it once it has been programmed. You should buy either an ESP32-CAM with an ESP32-CAM-MB daughterboard or a newer ESP32-CAM-CH340. Either one will give you the USB port needed for programming and power. Avoid purchasing a bare ESP32-CAM board, as this will require additional components you may not have.
Downloading and Prepping the QR Reader Library
The first step is to download and prepare Alvaro Viebrantz's QR code library. Head over to the source code repository on GitHub and click on the green Code button. Then, select Download ZIP.
If we try to load the zip file as-is into the Arduino IDE, we will encounter an error. To fix this, we must move the files in the "include" directory into the "src" directory. This is how you do it:
- Find the zip file you downloaded (it will be called ESP32QRCodeReader-master.zip).
- Unzip it by right-clicking the file and selecting Extract All. Then check the checkbox Show extracted files when complete and click Extract.
- Double-click the folder ESP32QRCodeReader-master.
- Double-click the folder include.
- Select both files and click Cut from the toolbar.
- Click the Up Arrow on the toolbar to return to the ESP32QRCodeReader-master.
- Double-click the folder src.
- Click the Paste button from the toolbar.
Setting Up the Arduino IDE
To program the ESP32-CAM, you will need the Arduino IDE. At the time this article was written, 1.8.19 was the current version. Once the download is complete, launch the application. The first time you run it, you might get an unrecognized application warning from Windows. It is safe to click More info, followed by Run Anyway.
Once the Arduino IDE starts up, it will look like this:
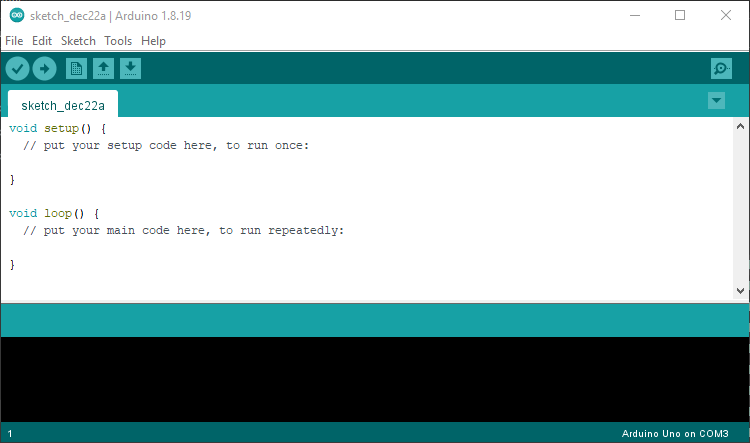
You will need to make some changes to allow the Arduino IDE to recognize the ESP32-CAM. First, open Preferences from the File menu. Where it says Additional Boards Manager URLs, paste in the following line:
https://raw.githubusercontent.com/espressif/arduino-esp32/gh-pages/package_esp32_index.json
Then, click OK.
Now, open the Tools menu and hover your mouse over the menu item that starts with Board: (it may be something like Board: Arduino Uno). From the submenu that appears, select Boards Manager. This will bring up a new window with a search bar at the top. Type ESP32 in the search bar. Doing so should allow you to select esp32 by Espressif Systems. Click Install. When the download finishes, click OK to exit the Boards Manager.
Now, return to the Tools menu and again open the submenu that starts with the word Board. This time, you should see an ESP32 Arduino item that was not there before. This is a submenu with a long list of board names. Find AI Thinker ESP32-CAM and select that.
Finally, we will load the QR code library. From the Sketch menu, select Include Library and then Add .ZIP library. Then, select the ESP32QRCodeReader-master folder. There is likely an ESP32QRCodeReader-master folder inside the first ESP32QRCodeReader-master; make sure you select the innermost one!
If you get the error message Specified folder/zip file does not contain a valid library, make sure you are selecting the innermost directory and that you moved all the files from the include folder to the src folder.
The Arduino IDE will show the message Library added to your library. Check "Include library" menu once this step has been completed successfully.
Compiling and Loading the QR Code Reader
Alvaro Viebrantz's library comes with two examples. We will try out the first one. From the File menu, select Examples and find the section called Examples from Custom Libraries. Underneath that, select ESP32QRCodeReader, then basic.
Connect the ESP32-CAM to your computer using a USB cable. Then, go to the Tools menu and look for an item that begins with "Port:" and choose a serial port from the submenu. Then click the button that looks like an arrow in a circle from the Arduino toolbar (alternatively, select Upload from the Tools menu). The Arduino IDE will recompile, say Uploading for a while, and then finally say Done Uploading.
If you get an error that says your board is not connected, go to the Tools menu and select a different serial port from the submenu. Try each until you find one that works!
Now, click the button that looks like a magnifying glass in a box on the right side of the Arduino toolbar (alternatively, select Serial Monitor from the Tools menu). This will bring up a new window on your computer for output from the ESP32-CAM.
After completing the above steps, push the small reset button on the right side of the ESP32-CAM-MB. This button should be labeled RST. As soon as you do this, you should see text in the Serial Monitor window. Look for the lines that look like this:
        Setup QRCode Reader
Begin on Core 1
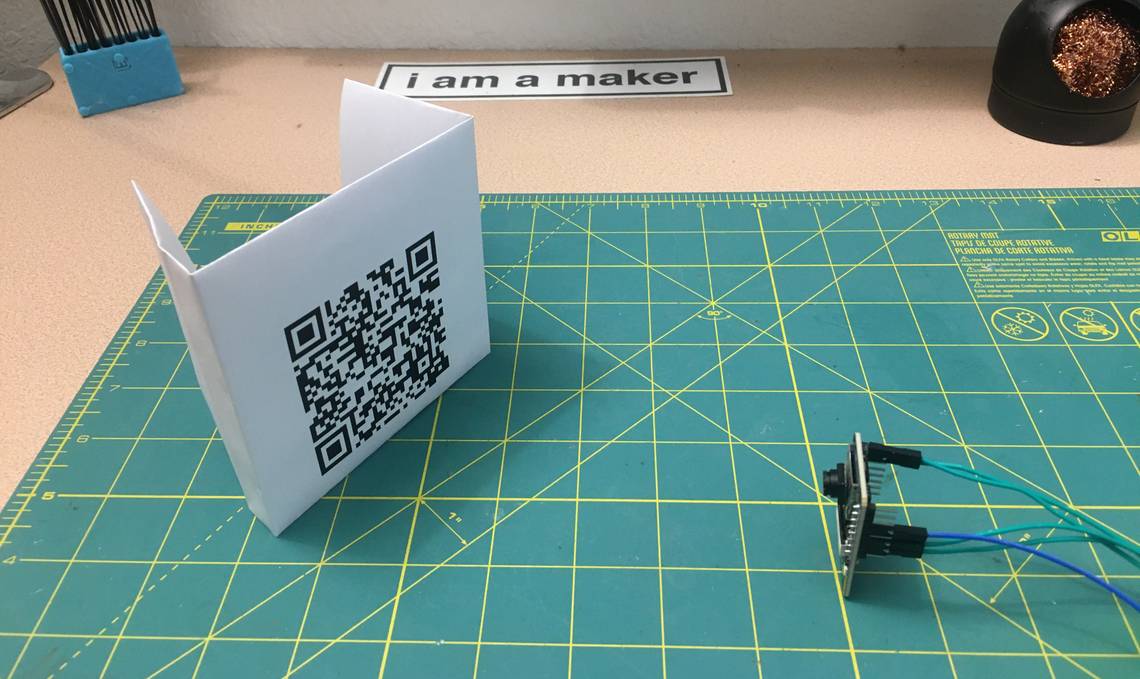
At this point, you are ready to scan some QR codes. Give this QR code (created using qrcodemonkey) a try:

For best results, we recommend printing the QR code on a blank sheet of paper rather than trying to scan it off your screen. Right-click on the image and select Open Image in New Tab and then print it. You will very likely see messages like this at first:
        Found QRCode
Invalid: ECC failure
Move the QR code forwards and backwards slowly until it prints the content of the QR code correctly. Once it works, it will look like this:
        Found QRCode
Payload: https://www.makeuseof.com/author/marcio-teixeira
You can even use one of several online websites to create custom QR codes. For instance, find out how to use QRCode Monkey to create a custom QR code.
Success: Use the ESP32-CAM to Read QR Codes
So there you have it! You now know how to use the versatile ESP32-CAM to read QR codes! You can generate your own custom QR codes, read them with the ESP32-CAM, and maybe even incorporate this into a larger, more sophisticated smart home project!