Have you ever taken a family photo that would have been perfect were it not for a small detail you just can't ignore? Maybe there's a person in the background whom you wish was not there, or someone is holding a can of soda.
Rather than gathering everyone again to retake the photo, you can just use Samsung's Object Eraser tool in your photos app to quickly cut unwanted details from your favorite photos.
If you own one of the latest Samsung devices, this tool is readily available in your gallery. Using Object Eraser is incredibly straightforward, so let's break it down.
What Is Object Eraser?
Object Eraser is a standard editing tool available in your Samsung phone's gallery and is an alternative to Google's Magic Eraser tool that you find on Pixel phones.
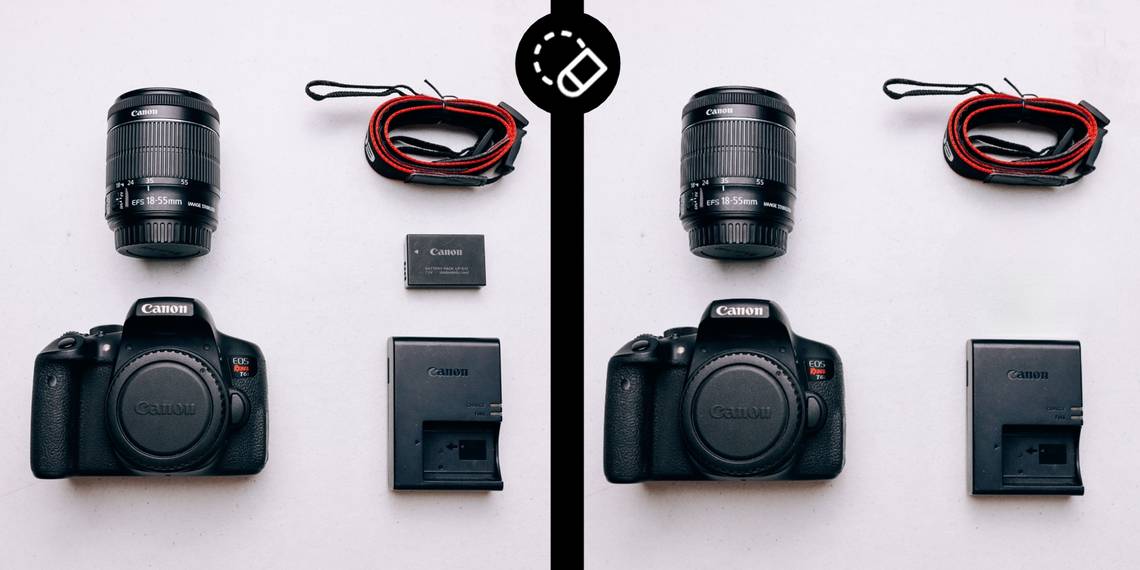
The tool does exactly as you'd expect—you use it to highlight the object you wish to remove, and the tool will attempt to cut that object out of the image while rebuilding the newly created hole based on the surrounding space.
You can use this to fix small blemishes, like distracting objects or people, but more complex images may leave some artifacts behind.

Nevertheless, if you're looking to clean up some minor details in your photos, Object Eraser should work great. The tool launched with the Galaxy S21 series, and implementation is currently rolling back onto older devices through updates.
If these tools aren't enough, perhaps you could check out some beginner-friendly photo editing software to step up your photo-fixing game.
Finding and Using Object Eraser
Object Eraser is available on Android 11 and 12, and there is one minor difference in using these two Android versions. To use Object Eraser with Android 11, you'll first have to activate it. We'll be detailing the Android 12 process, as it is largely the same as Android 11, but we won't neglect to cover the enabling process for Android 11 users.
How to Enable Object Eraser on Android 11 and One UI 3
Enabling Object Eraser on your Android 11 (One UI 3) device will only take you seconds.
- Open your gallery and pick a photo you want to edit.
- Select Edit, then tap the three dots in the top right corner.
- Select Labs from the dropdown options list, and you'll be presented with the option to toggle on Object Eraser.
Once you've enabled it, using it is almost identical to Android 11.
Using Object Eraser on a Samsung Galaxy Phone
With Object Eraser enabled, choose a photo with objects you'd like to cut and tap the Edit icon.
- On Android 11, the Object Eraser icon will appear alongside your other editing tools. On Android 12, you'll have to tap the three dots button to bring up all the tools. Here, you'll find Object Eraser.
- You'll be prompted to tap or draw over the things you wish to remove from the image.
- After highlighting the objects you want to remove, tap Erase. You can select and cut everything at once, or in multiple erases.
- Once you're happy, tap Done. Now you can save the newly edited image.


It's really that simple. You'll quickly learn the limits of Object Eraser if you continue to use it. Some things can be more easily removed from photos, but you really can't ask for a better tool to use quickly on the go. Before you launch Photoshop, try using Samsung's Object Eraser—it just might get the job done.
Making the Most of Samsung's Photo Editing Tools
Our phones are many things, but they are especially great for taking and editing photos on the fly. Now that you know how simple and useful Samsung's object removal is, perhaps you can spend more time enjoying the photo-taking process. Don't sweat the details.
Editing photos after you've taken them is essential to get the absolute best images you can. Another thing to try is to ensure you're shooting in RAW mode—this is an absolute must if you want to work with photos in the highest quality.