
Windows 11 still has the minimum requirement of TPM 2.0 and Secure Boot to run on any operating system. After it launched, enthusiasts quickly discovered a registry hack to bypass both of these requirements and install the operating system without any difficulty.
There are even tweaked ISO files of Windows 11 available which bypasses both requirements before installation. However, Rufus has a better solution. It can help you prepare a Windows installation media while bypassing these requirements and adding more tweaks. Want to know more? Let’s begin.
Why Is Rufus the Tool for the Job?
In Rufus version 3.2 and above, you can create a tweaked Windows 11 bootable media. The main attraction is that it can remove the 4GB RAM, TPM 2.0, and Secure Boot requirements while creating the bootable USB drive.
Apart from that, it can also remove the infuriating requirement of signing in using a Microsoft Account before setting up your Windows 11 PC. These two requirements deter a lot of users from trying out Windows 11, but Rufus can now bypass both of these. All you need to do is configure Rufus to create a bootable USB drive.
Apart from these two tweaks, Rufus can also speed up the installation process by avoiding the setup pages for tracking, disabling BitLocker encryption, and settings the same language and region options as the computer you are using to create a bootable USB drive. So, you can prepare a Windows 11 bootable drive that takes less time to install and set up on a new system.
How to Create a Bootable USB Drive Which Bypasses Windows 11 Requirements Using Rufus
Firstly, you need to download the latest version of Rufus. It is available on Microsoft Store, GitHub and even has an official website where they post the details about new and upcoming releases. We suggest you download the portable version of Rufus to avoid the installation process altogether. You will also need the latest version of the Windows 11 ISO image file. Visit the official Microsoft webpage and download the ISO file from there.
After downloading the portable version of Rufus, repeat the following steps:
- Go to the downloads folder and double-click on Rufus to run the tool.
- UAC will pop up. Click on the Yes button to continue.
- Insert a USB drive into your Windows 11 system. Ensure that the USB drive has a capacity of 8 GB or more. Rufus will automatically recognize the USB drive.
- Click on the Select button in the Boot selection section. Browse your computer for the ISO file and select it.
-
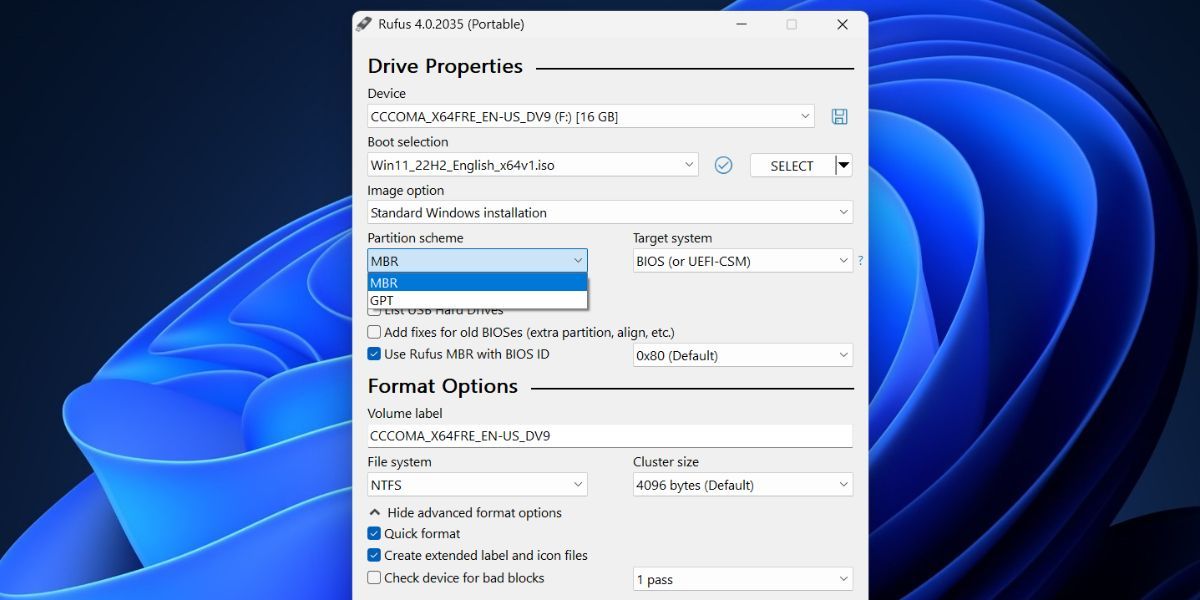
Next, click on the Partition scheme option. Select MBR if you want to use this USB drive on a system with BIOS or UEFI. Leave the Target system and Partition scheme untouched if you plan to use this bootable USB drive on a UEFI system.
- Navigate to the bottom of Rufus' window and click on the Start button.
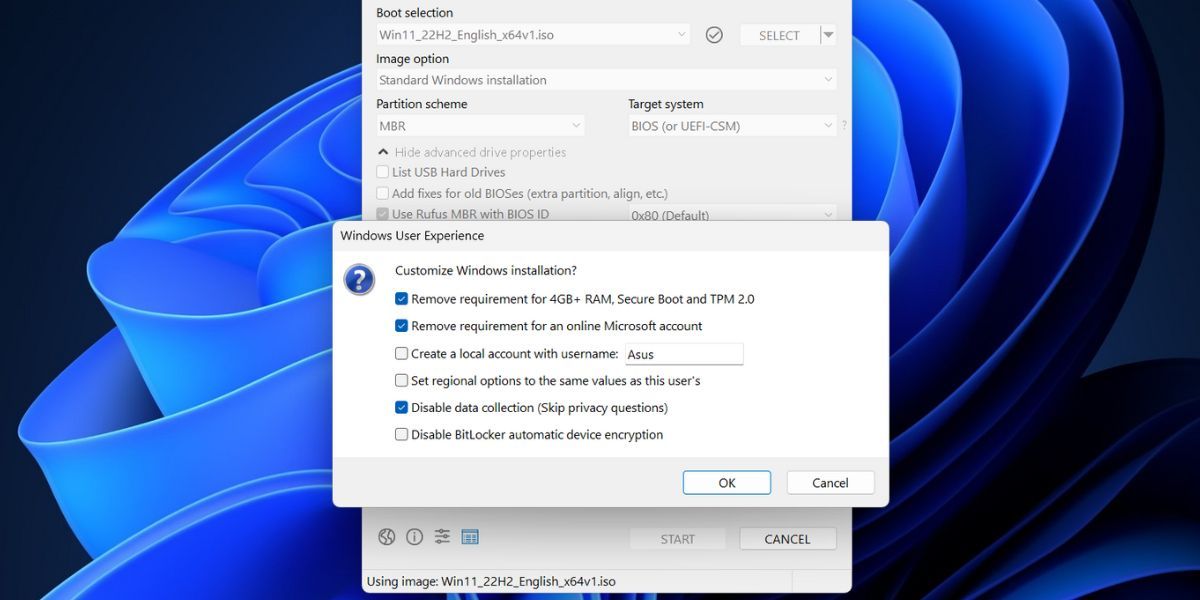
- A Windows User Experience box will open. Here, you can apply all the customizations you want to the Windows 11 bootable USB drive. Click on the checkbox in front of the Remove requirement for 4GB+ RAM, Secure Boot, and TPM 2.0 option.
-
Similarly, select the Remove requirement for an online Microsoft account checkbox and Disable data collection (Skip privacy questions) checkbox.
-
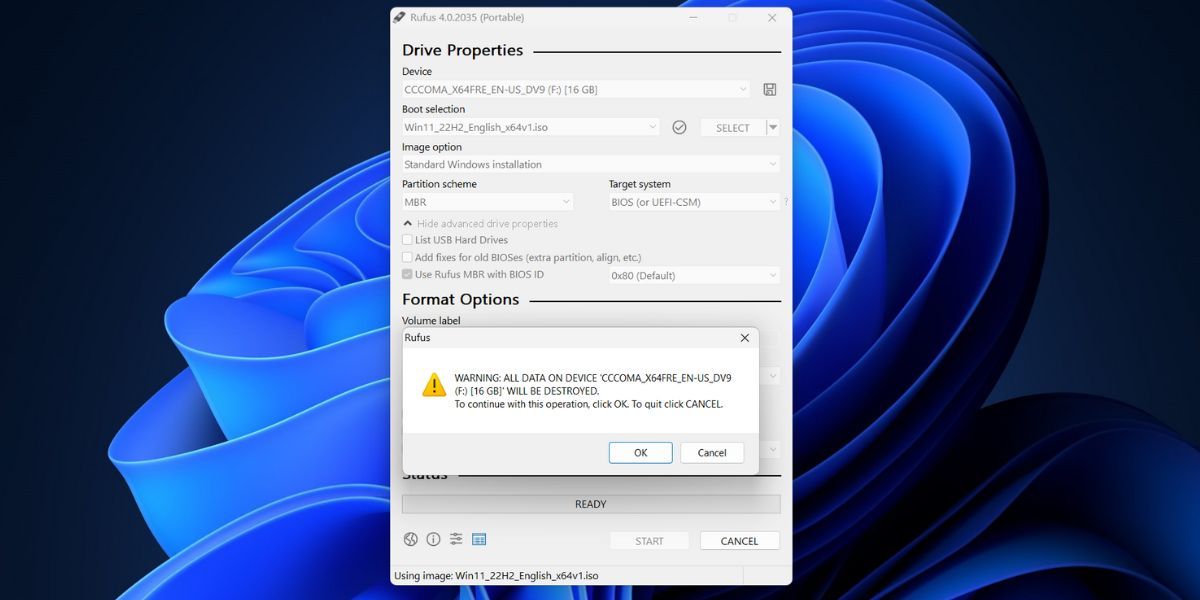
Click on the OK button. Rufus will generate a warning about deleting all data on the USB drive.
- Lastly, click on the OK button and wait for Rufus to create the bootable Windows 11 USB drive. Eject the drive after you see a “Ready” message.


How to Install the Modified Windows 11 on Your System
Repeat the following steps to install Windows 11 while bypassing its system requirements:
- Plug the bootable USB drive you created with Rufus into the target system. Press the designated F-key repeatedly (F10, F12, F2, or Esc) to enter the boot devices menu.
- Select the USB drive from the list using the arrow keys and press the Enter key to boot.
-
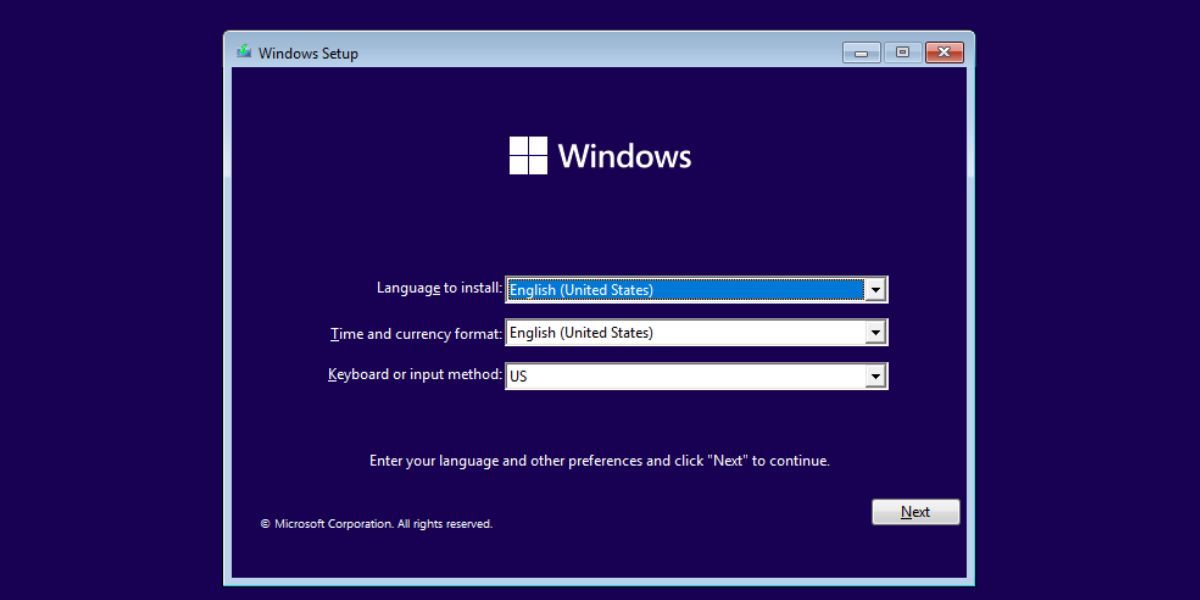
Select the language and region and click on the Next button. Then, click on the Install now button.
-
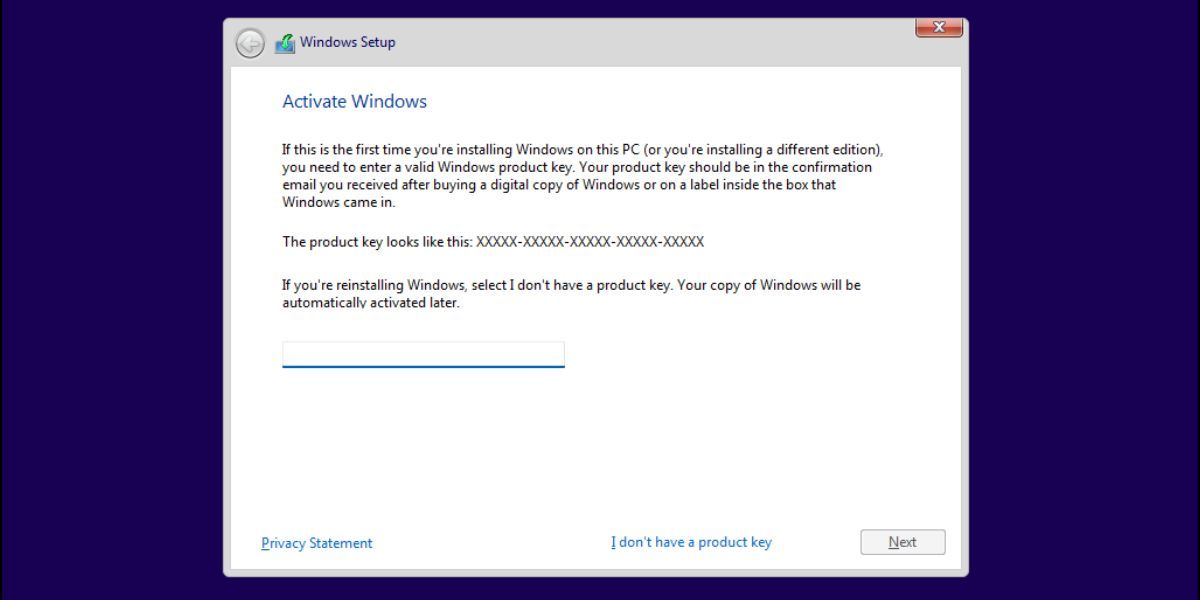
Click on the I don’t have the product key option.
-
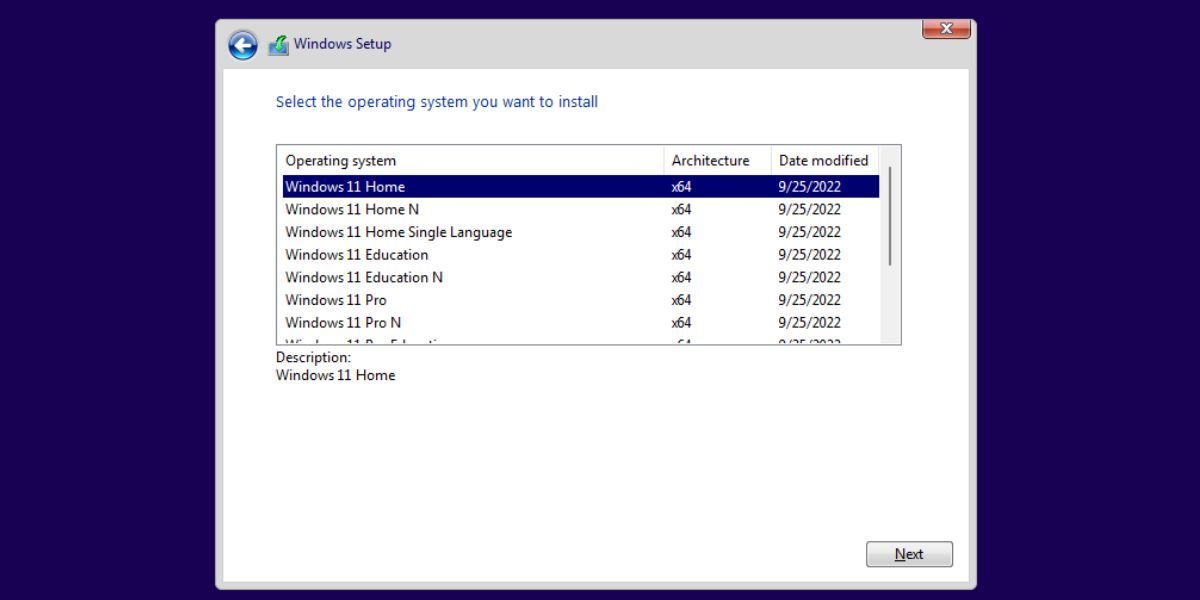
Select the version of Windows 11 you want to install (Home, Pro, Enterprise, or Education) and click on Next.
- Accept the EULA and click on the Next button. Then, click on the Custom option.
- Pick the drive where you want to install Windows 11. Click on the Format button to format the drive and click on Next.
-
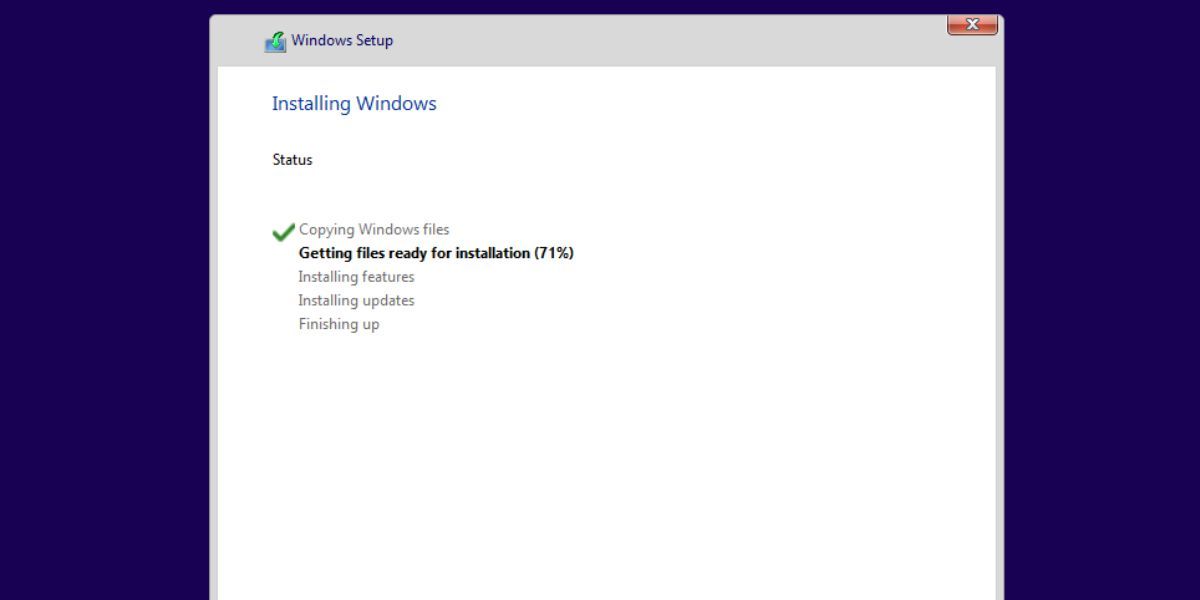
The setup will begin installing Windows 11 automatically. However, if TPM and Secure Boot bypass weren’t in place, you would never make it past the Enter product key page.
- Your system will restart a few times and then boot to the Windows 11 setup page. Disconnect your system from the internet otherwise, it will attempt to check and download updates which can take a long time.
-
Enter your Name and select three security questions and their answers as well. Click on Next.

-
Windows will prepare your system for the first boot. After a short while you will boot to the desktop.


Benefits of Using Rufus to Create a Custom Windows 11 Installation Media
Rufus isn’t just a means to bypass the Windows 11 stern requirements on an unsupported system. It can also help you avoid the excessively long route Windows 11 setup forces you to take while installing the operating system. Forcing users to sign up or sign in using a Microsoft Account, downloading and installing updates, and not allowing them to proceed with a Windows installation without an internet connection end up ruining the user experience.
Moreover, confusing privacy and tracking settings take up a whole page. You need to disable the six-eight toggles to opt out of it and have to deal with pop-ups like Microsoft 365 and Xbox GamePass.
But you can avoid all these things by selecting the Disable data collection (Skip privacy questions) checkbox in Rufus. If you want to keep the PC name and region settings on the target system the same as your primary system, you can select the Set regional options to the same values as this user’s and Create a local account with username checkboxes.
However, you will need to set up a new PIN if you plan to inherit the same username and region options as your main Windows computer. Otherwise, you won’t be able to log in.
A Frictionless Windows 11 Installation With Rufus
Rufus can help you create a custom Windows 11 bootable drive that bypasses all the unnecessary requirements and setup pages. It is much better than using a tweaked ISO file with questionable security. Plus you don’t have to pay a dime because Rufus is completely open-source.