Building a REST API is often a mechanical task, involving lots of boilerplate design and rote programming. Thankfully, tools like FastAPI can relieve a lot of the tedious detail.
Using FastAPI, you can quickly build an efficient, complete REST API for your CRUD application. With MongoDB as the data source, this tutorial will guide you toward setting up your own API in no time.
What Is FastAPI?
FastAPI is a fast and open-source Python web framework for building APIs. It provides built-in support for asynchronous requests, automatic validation of data, and automatic documentation of API endpoints.
The Advantages of FastAPI Over Other Python Frameworks
- FastAPI is relatively faster than other frameworks like Django and Flask. This is because FastAPI builds on top of asyncio, an asynchronous I/O library for Python that can process concurrent requests more quickly.
- FastAPI provides a clean and simple way to build APIs with minimal effort since it requires less code than Flask or Django.
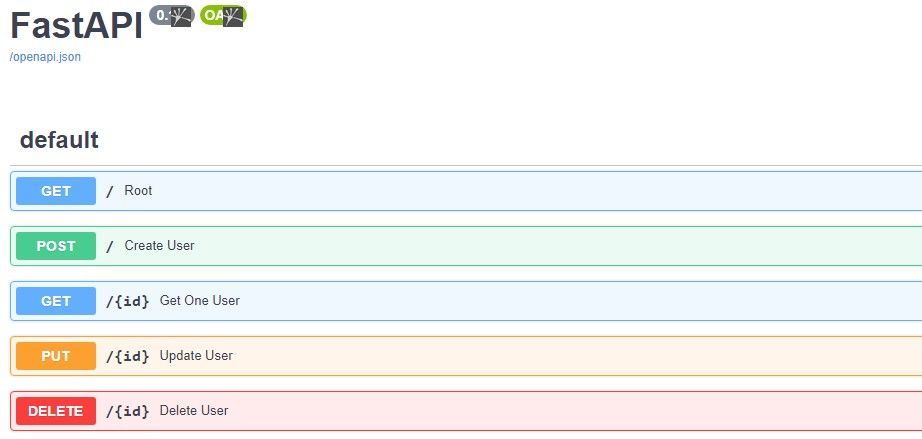
- Finally, FastAPI makes it easy to generate documentation for endpoints. It uses Swagger to produce documentation that you can use to test endpoints by running requests and viewing responses.
Set Up a MongoDB Database
To get started, you will need to set up MongoDB Database locally. Alternatively, you can opt for the easier option of setting up a MongoDB cluster in the Cloud.
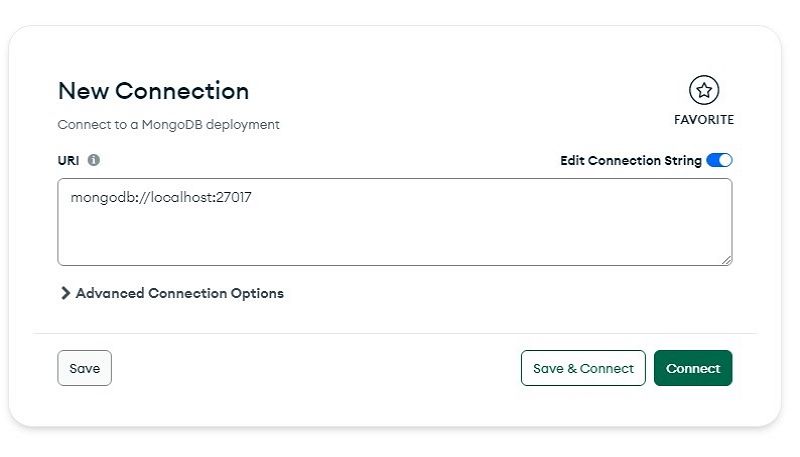
Next, using the installed MongoDB graphical user interface tool, Compass, create a database connection. Click the New Connection button and provide the connection URI to establish a connection with the MongoDB server running locally.
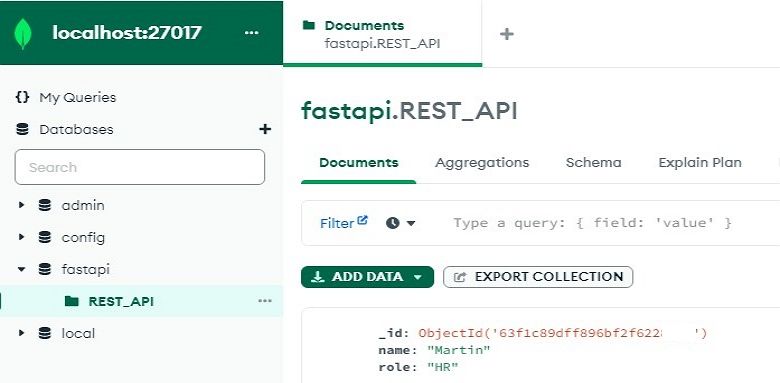
Finally, create a new database and collection to hold your test API data.
Set Up a FastAPI Server
Using a terminal, create a project folder, and enter that new directory.
You can find this project's code in its GitHub repository.
Next, check to see that you are running Python version 3.6+. If not, install the latest Python version.
python --version
Afterward, install Virtualenv to create an isolated virtual development environment. This is highly recommended because it enables you to avoid conflicts, especially if you’re using different versions of packages for different projects.
pip install virtualenv
Next, create a virtual environment called "venv" within your current directory:
virtualenv venv
Finally, activate the virtual environment.
        # On Unix or MacOS:
source venv/bin/activate

# On Windows:
 .\venv\Scripts\activate
Once you’ve configured the virtual environment, install the FastAPI, PyMongo, and Uvicorn packages.
pip install fastapi pymongo uvicorn
PyMongo is a Python-based library for working with the MongoDB database. It provides an API that supports all the features of MongoDB and allows you to interact with MongoDB without having to write raw MongoDB queries.
Uvicorn, on the other hand, is an asynchronous web server based on the Python asyncio module. Its main feature is hot reloading your FastAPI servers on the go. Using Uvicorn, is similar to working with Nodemon.
Create the FastAPI Server
Finally, create a simple FastAPI server that listens to get requests coming from the home route. In the root directory of your project folder, create a server.py file and add the code below.
        from fastapi import FastAPI
app = FastAPI()

@app.get("/")
async def home():
    return {"message": "Hello World"}
Lastly, run the command below to spin up the development server. Uvicorn will serve your application on port 8000.
uvicon server:app --reload
Go ahead and view the server response on your browser at http://localhost:8000.
Create the REST API With CRUD Operations
Now build the REST API that implements the CRUD methods (create, read, update, and delete). In the root directory of your project folder, create four folders: config, models, routes, and schemas.
        ├── config
├── models
├── routes
├── schemas
└── server.py
1. Configure the Database Connection
In the config directory, create a new file, db.py, and add the code below.
        from pymongo import MongoClient
db_connection = MongoClient("mongodb://localhost:27017")
db = db_connection.database_name
collection = db["collection_name"]
- Use the MongoClient() method to create a connection to a MongoDB database. It takes in a connection URI string as an argument that specifies the host and port of the MongoDB server.
- The two variables specify which database and collection in your MongoDB server the server should access.
2. Define a Data Model
This model will define the structure of your data in the database including the fields and data types.
In the model directory, create a new file, user_model.py, and add the code below.
        from pydantic import BaseModel

class User(BaseModel):
    name: str
    role: str
- The code above creates a class called User, which is a subclass of the BaseModel class from the Pydantic library. The User class has two fields, name, and role with their data types set to strings.
- You can use the Pydantic library with FastAPI to create data models. You can also use it to validate data, serialize it (JSON to Python), and de-serialize it (Python to JSON).
3. Define a Data Schema
From the created data model, you can define the schema for your data. In the schemas directory, create a new file: user_schema.py, and add the code below.
        def user_serializer(user) -> dict:
    return {
        'id':str(user["_id"]),
        'name':user["name"],
        'role':user["role"]
    }

def users_serializer(users) -> list:
    return [user_serializer(user) for user in users]
4. Define the API Routes
Finally, define the routes for the different CRUD operations.
In the routes directory, create a new file: user_routes.py, and add the code below.
Add Data With the Post Method
Create the post route to add data.
        from fastapi import APIRouter
from models.user_model import User
from schemas.user_schema import  users_serializer
from bson import ObjectId
from config.db import collection

user = APIRouter()

@user.post("/")
async def create_user(user: User):
    _id = collection.insert_one(dict(user))
    user = users_serializer(collection.find({"_id": _id.inserted_id}))
    return {"status": "Ok","data": user}
- FastAPI provides the APIRouter() method that defines a router object which provides an interface to make API requests to a server.
- Specify a post route that creates a new user object in the database by inserting the data into the collection after serializing it. Next, store and pass the inserted_id to find the associate data in the collection, and finally, return a status of "Ok" with the data in the response, if the post request is successful.
- The insert_one and find methods are defined by the PyMongo client.
Now, add the code below to the server.py to initialize the routes.
        from routes.user_routes import user
app.include_router(user)
Go ahead and test out the post route on your browser using the Swagger UI API tool provided by FastAPI.
Read Data With the Get Method
After defining the post route and initializing the routes, define the rest of the other routes.
        @user.get("/")
async def find_all_users():
    users = users_serializer(collection.find())
    return {"status": "Ok","data": users}

@user.get("/{id}")
async def get_one_user(id: str):
   user = users_serializer(collection.find({"_id": ObjectId(id)}))
   return {"status": "Ok","data": user}
Define two get routes that retrieve all the data in the collection and retrieve specific data from the collection based on the ID.
Update Data With the Put Method
Create the put route to update the stored data in the database.
        @user.put("/{id}")
async def update_user(id: str, user: User):
    collection.find_one_and_update(
        {
          "_id": ObjectId(id)
        },
        {
         "$set": dict(user)
        })
    user = users_serializer(collection.find({"_id": ObjectId(id)}))
    return {"status": "Ok","data": user}
The put method uses the ID to find the specific data in the collection and updates the value of the fields in the document with the new data passed from the API. You can then search for the updated data by ID and return it in the API response.
Delete Data With the Delete Method
Create the delete route to delete the stored data in the database.
        @user.delete("/{id}")
async def delete_user(id: str):
   collection.find_one_and_delete({"_id": ObjectId(id)})
   users = users_serializer(collection.find())
   return {"status": "Ok","data": []}
The delete route takes in the ID of the specific document you want to delete from the collection.
Create REST APIs With FastAPI
FastAPI provides a great way of conveniently building backend Python web APIs. Its built-in tools for database integration and automatic API production make the process a simple one.
You can even take this a step further and build fully-fledged apps. Try integrating a front-end client using popular technologies like React, Angular, or Vue.


