
PowerPoint can be challenging to use if you want to include many pictures. However, resizing these images makes it easy to manage, which can be done using a macro.
When you plan to upload your images to a presentation, you need them to look balanced and organized. Moreover, it makes a difference when it comes to the file size of your PowerPoint presentation. Uploading close to 15 images without resizing them will result in a larger PowerPoint presentation than if you did some resizing.
What Is VBA?
VBA stands for Visual Basic for Applications and is a programming language that functions in Microsoft Office processes and applications. You can extend and automate PowerPoint by using VBA in PowerPoint, which offers two primary options:
Extending PowerPoint: When dealing with a task whose completion needs the use of a PowerPoint extension feature, using VBA code allows for such PowerPoint extensions to actually perform.
Automating PowerPoint: It allows you to avoid repeating a task several times by enabling you to save a particular process, then perform it on multiple slides. This saves you time and effort.
The Basics and Functions of Macro
A macro is a guiding tool or pattern that steers functions and their performance. They are used in automating tasks, for instance, in PowerPoint, where their application allows the software to demand less repetition in its function.
You can use macros for a number of purposes, such as: Sequencing keystrokes on the keyboard in Word, PowerPoint, Excel, and assembly language. PowerPoint 2013, 2016, 2019, as well as Microsoft 365 PowerPoint support this feature.
What Can You Do With a Macro?
- Macro is capable of enhancing any task that can be performed manually with a mouse or keyboard.
- It is easier and more efficient to perform repetitive tasks since you can repeat operations repeatedly without going through the initial hassle.
- Allows for the performance of a similar task on different objects and presentations.
- They are generally employed to manipulate operations and format objects.
- It can be manipulated to improve the aptitude of your PowerPoint operations.
For you to use VBA to automate PowerPoint processes, you will need to click on the Developer tab on the menu ribbon. This allows your Visual Basic Editor to set up your macro so that it is ready to use.
Activating the Developer Tab
Here are the steps to follow in order to add the developer tab on the menu ribbon of your PowerPoint presentation:
-
Open PowerPoint, and in the upper right corner of the PowerPoint toolbar, click on File > Options.
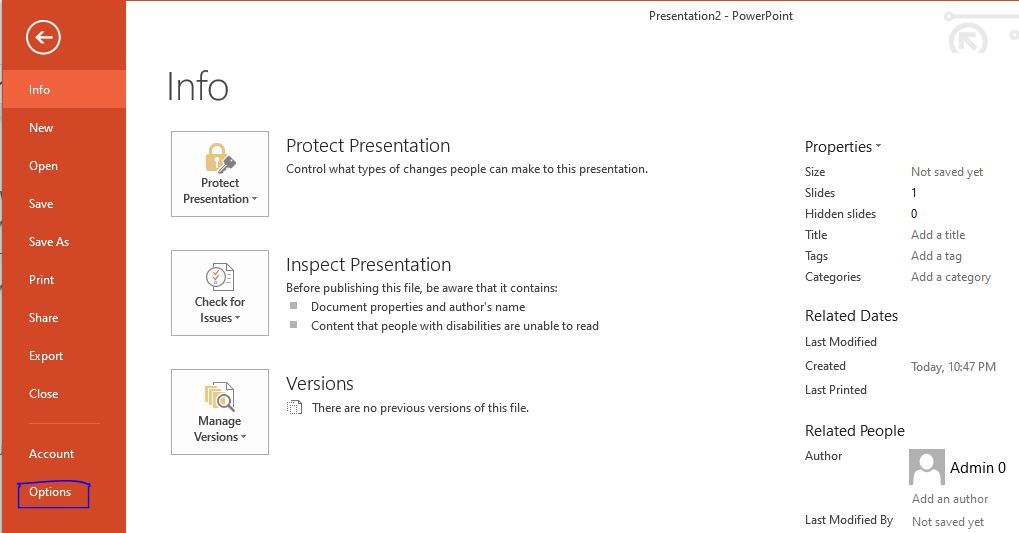
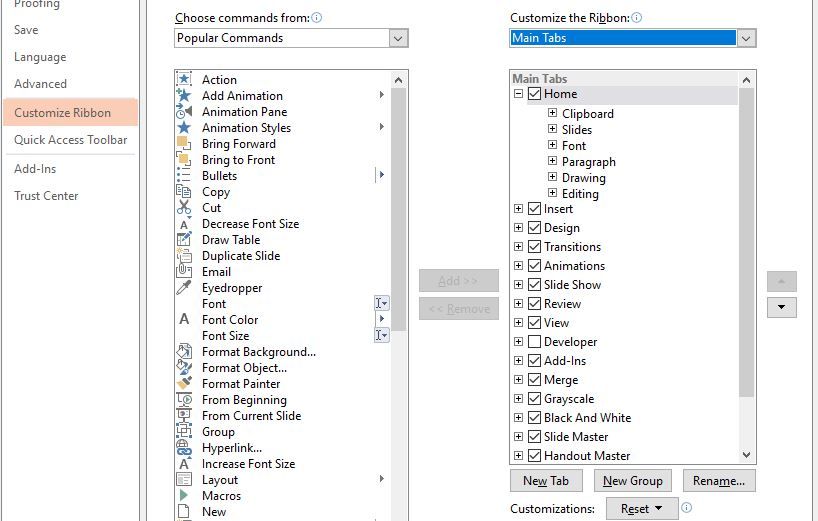
- Once you click Options, a pop-up window will appear with a list of commands. Find Customize Ribbon and click on it to open another menu on the right side.
-
Select Main Tabs.
-
From the dropdown menu, locate and click on the checkbox next to Developer.
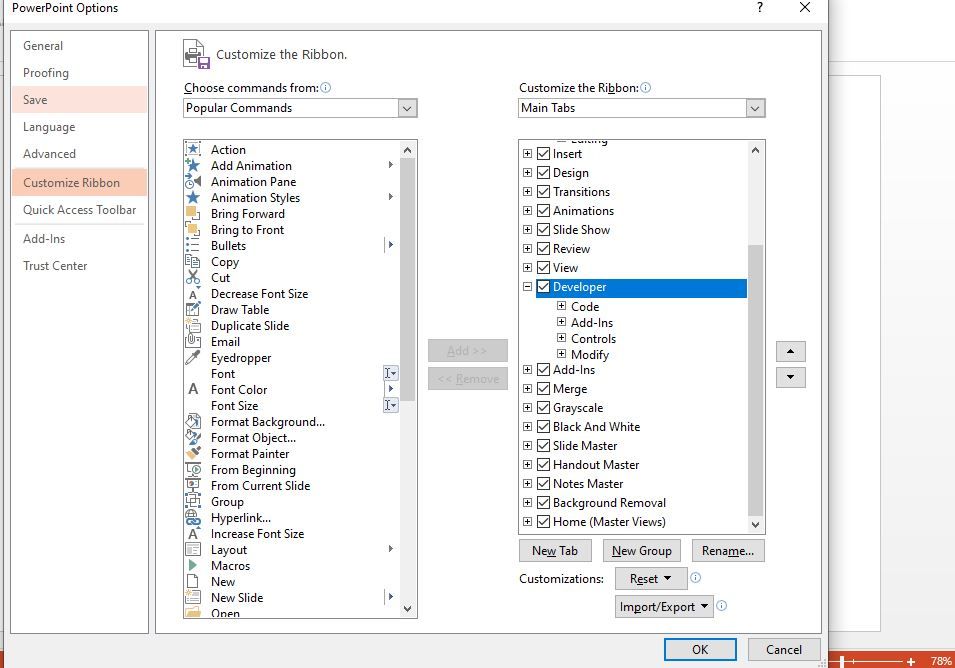
- Select OK. The PowerPoint ribbon will add a Developer option to its list.
-
You can now use the Developer box to create a macro in the next step.


Creating a Macro for Your PowerPoint Presentation
Once you have the Developer tab, you can proceed to create a macro. To do this, follow the steps below:
- Click on the Developer Menu that is now displayed on your PowerPoint ribbon, then select Macros to display the dialog entry for macro.
-
Choose a name to type in the name box to describe the action you want for the macro. For instance, since you want to resize your slides, you can use ResizeSlidePowerPoint.
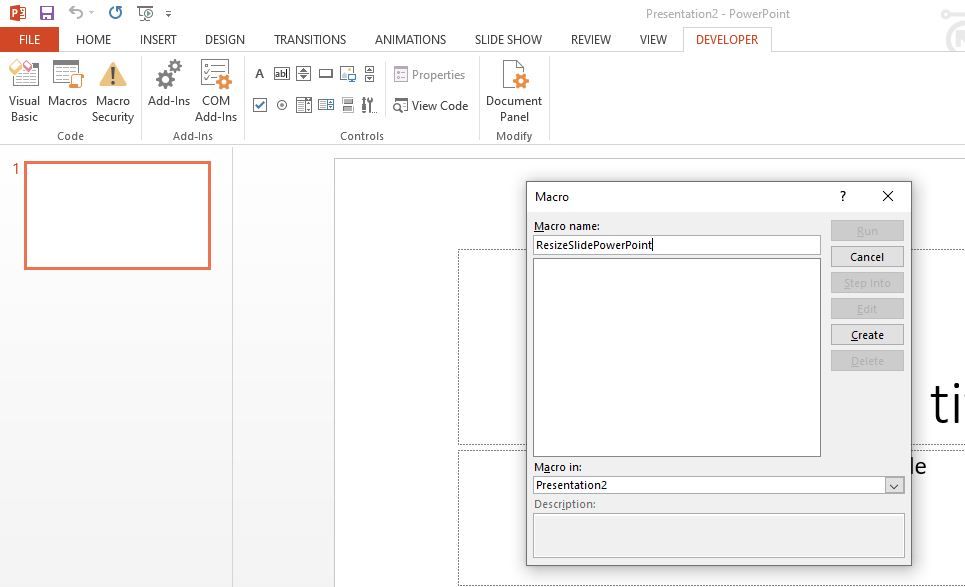
- When inserting a name for the macro in the dialog box, ensure that there are no spaces in the name you provide. You can use an underscore where space is needed. The title will be displayed on the macro you're working on.
-
Click Create and open Visual Basic Editor.
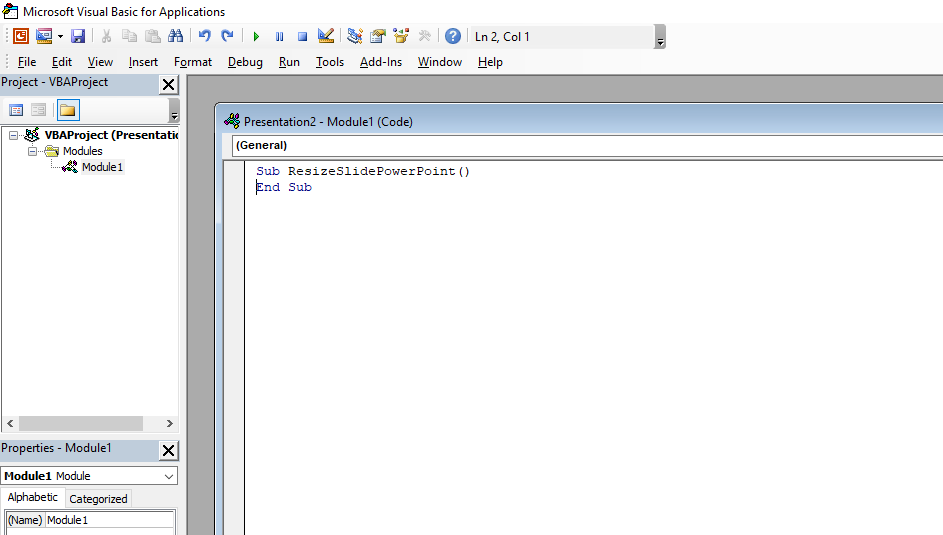
- You can now enter your VBA code to perform the action you selected.
-
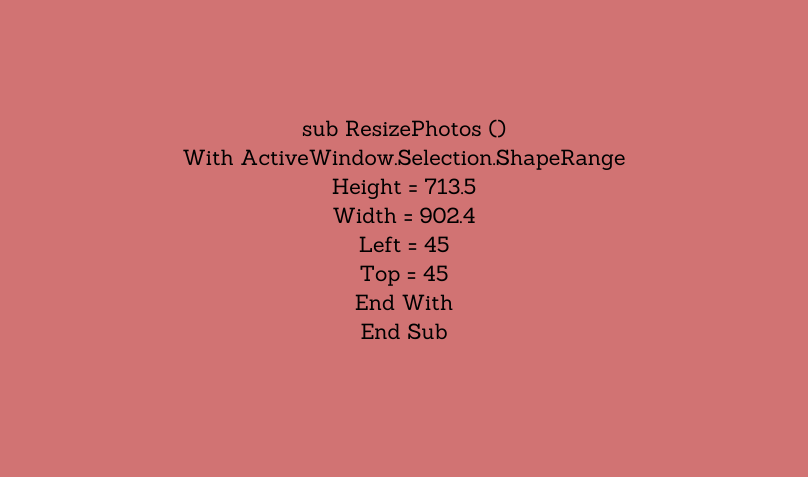
Replace the following input with the size you want for your images. For example, the information displayed will look like this:


Saving the Macro for Use
The next query will be saving your information.
-
Click on the Save as option on the list and select PowerPoint Macro-Enabled Presentation.
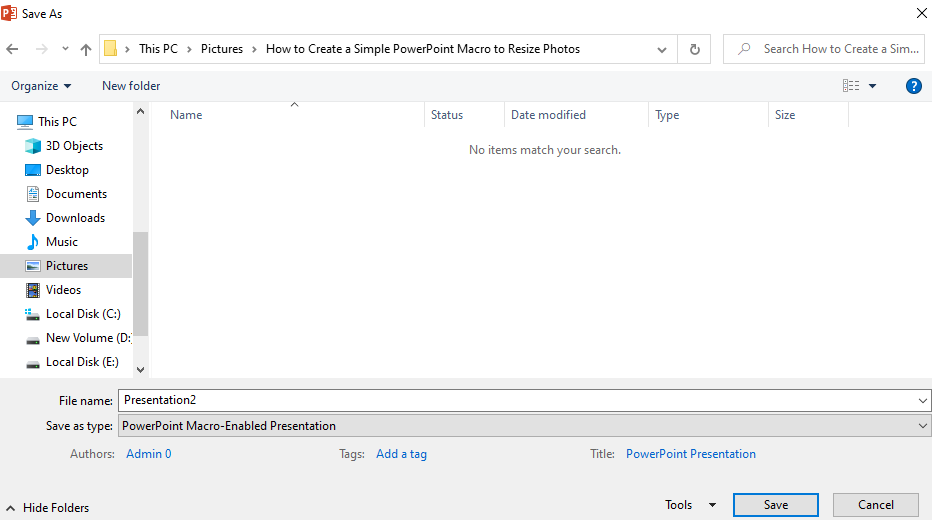
- Click on Save and close the window on Visual Basic Editor.

Application of the Macro in Your PowerPoint Presentation for Image Resizing
Select a few images which you'd like to resize by doing the following:
-
On the top bar menu, select Insert, then click on Picture and choose an image from your file.
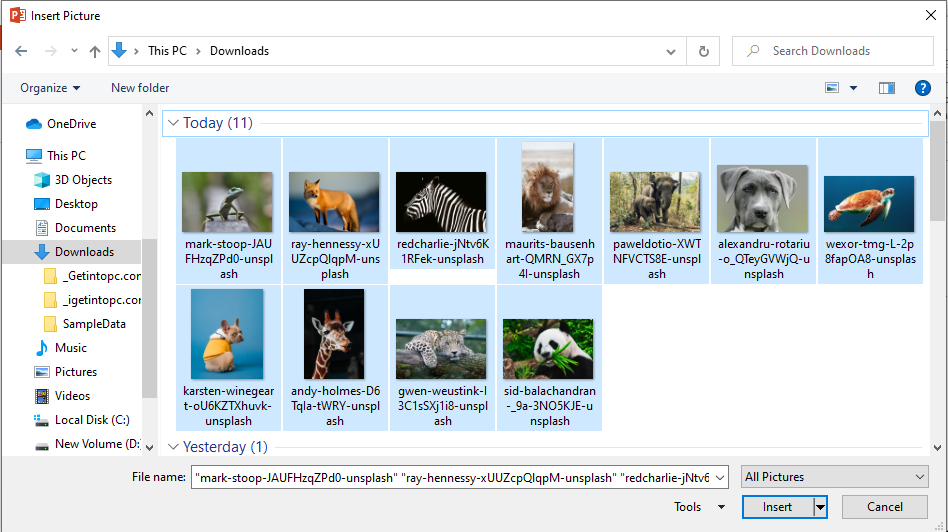
- Repeat the action; add more pictures to your slide until you are done. The size of the pictures may vary from large to small at this stage, but this should not worry you as they will all be resized to equal sizes by the macro.
- Once you have chosen an image for resizing, click on View on the top ribbon and select Macros.
-
Click on the macro you had saved and press Run.
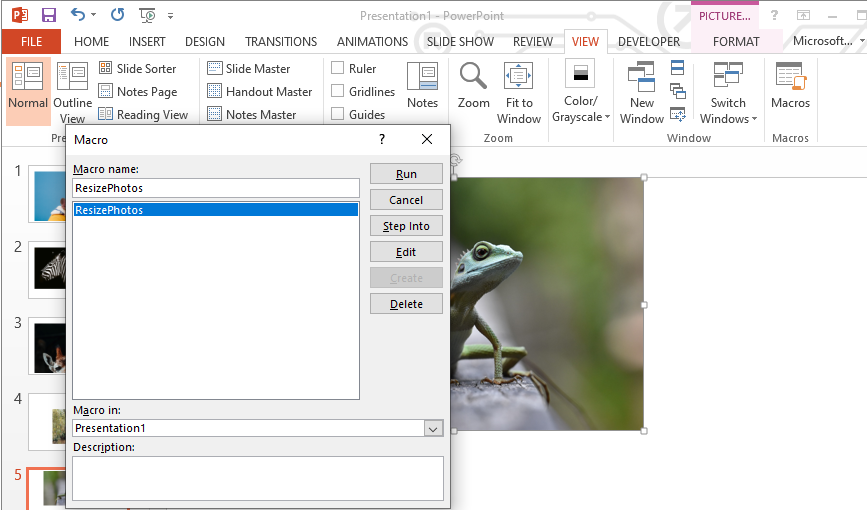


Your photos will be resized instantly. Continue to apply the macro to the other images in your presentation.
Understanding the Effectiveness of Using Macro in PowerPoint to Resize Images
To create a uniform and consistent look in your presentation, you should resize your images. It is the fastest and easiest way to accomplish such small tasks with PowerPoint macros. You only need to create the macro, save it, and apply it to your presentation.
Macro is the best tool for automating repetitive tasks for improved efficiency and productivity. You can avoid repetitive processes in extension by recording an action that can be repeated to achieve the same results. This will save you a great deal of time.