Unlike FDM 3D printing, which uses slicers like Cura to generate G-code for the 3D printer to follow, resin 3D printing requires a specific type of slicer that can produce a stack of images corresponding to each layer cured instead of G-code. This is because resin 3D printing works by curing a liquid resin layer by layer with a light source.
The stack of images generated is needed to tell the printer how much light to expose to each print layer to cure the resin properly. An excellent example of a resin 3D slicer is Lychee.
What Is Lychee Slicer?
Lychee is an easy-to-use 3D slicer that you can use to prepare your designs for resin 3D printing. Mango 3D developed it, and it runs on Windows, macOS, and Linux. There is a free version and two paid ones: €5.99 (approx. $6.40) for the Pro version and €9.99 ($10.70) monthly for the Pro bundle (which adds slicing for filament 3D printers). With the Lychee slicer, you can change the model's orientation, add 3D printing supports manually or automatically, and have the option to preview the 3D model before sending it for 3D printing.
In addition to an option for 3D slicing the designs, Lychee comes with other interesting tools like the island detector, real-time hollowing, batch tool, and even an advanced support edition. The user interface is easy to use and available in several languages, and users have total control of the printing process.
Follow along to learn how to use this sophisticated piece of software.
Download and Install Lychee Slicer
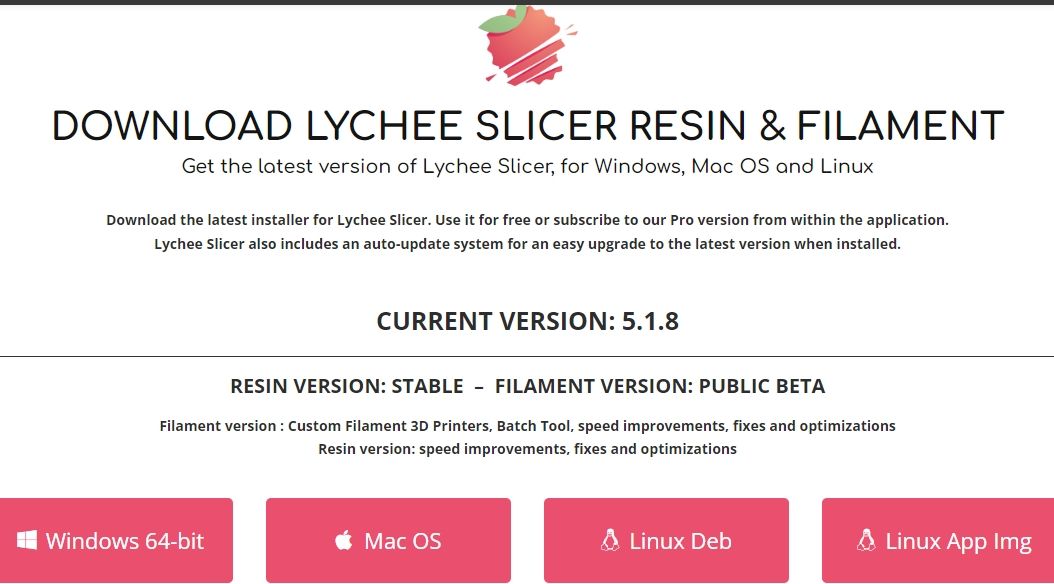
To download the slicer, go to the Mango3d website and choose the version compatible with your computer. Once you've downloaded it, run it as an administrator and then select Install. After launching Lychee, you will need to wait a few seconds for it to load.
During installation, you may see a prompt from the Windows Defender Firewall blocking some app features; if this happens, you should click Allow access.
The next step is accepting the license agreement and the General Conditions of the Sale Agreement. Thereafter, you will see an option to create an account and log in. After registering and activating your account, you can add your 3D printer.
Adding Your 3D Printer to Lychee
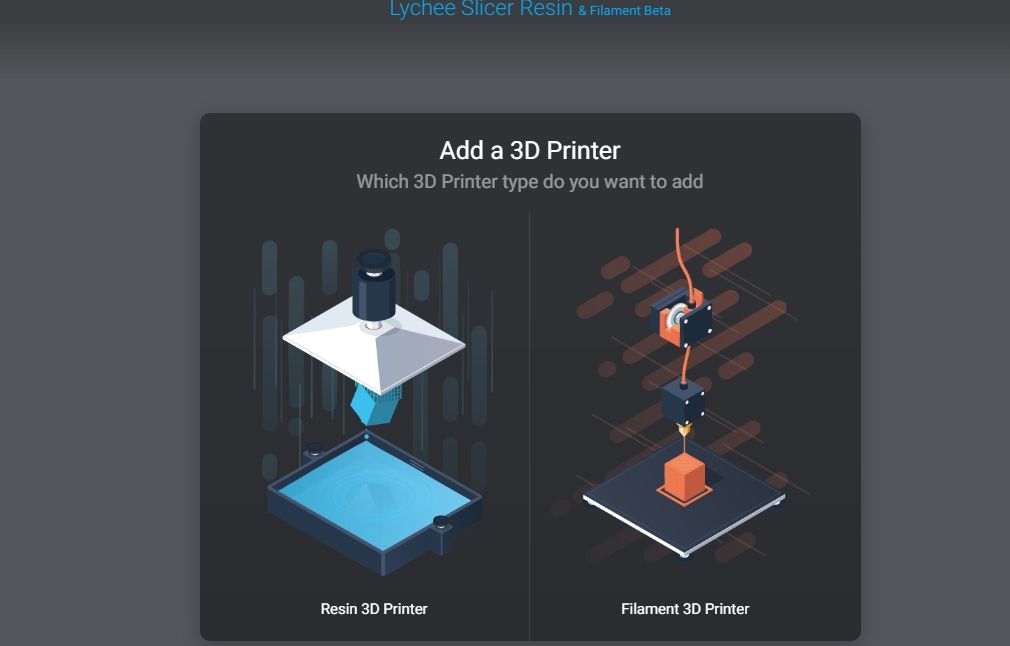
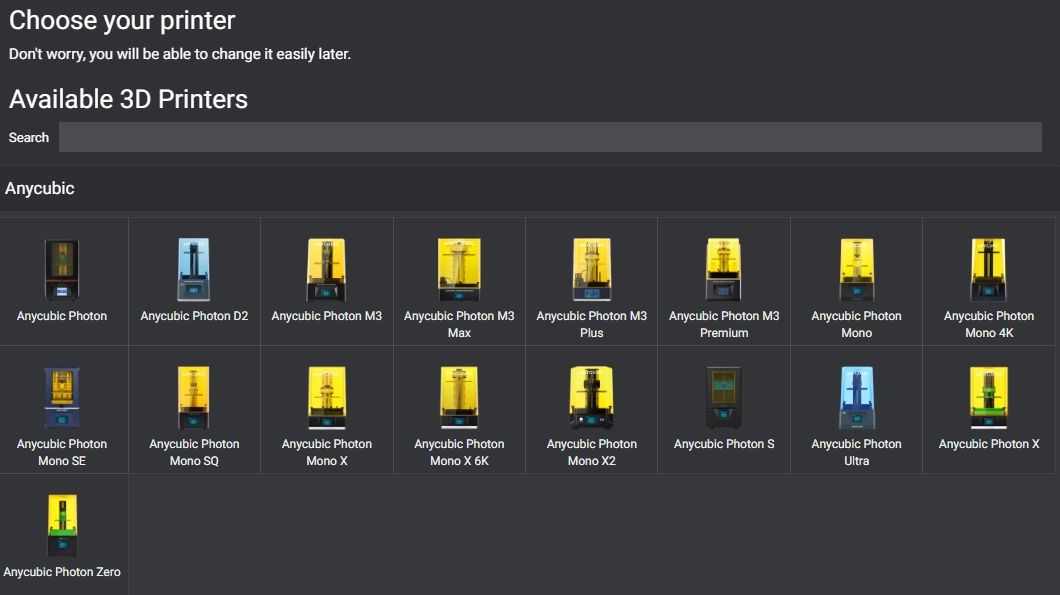
To add your 3D printer, click Resin 3D Printer, as we want to use the Lychee slicer for resin 3D printing.
You will then see a range of 3D printers listed. There is also an option to search for your 3D printer. In our case, after selecting Anycubic, a list of Anycubic printers will be shown.
After choosing the printer, you will see video tutorials for the slicer and its features. You can play them to learn how the software and various tools work.
Understanding the Workspace of the Software
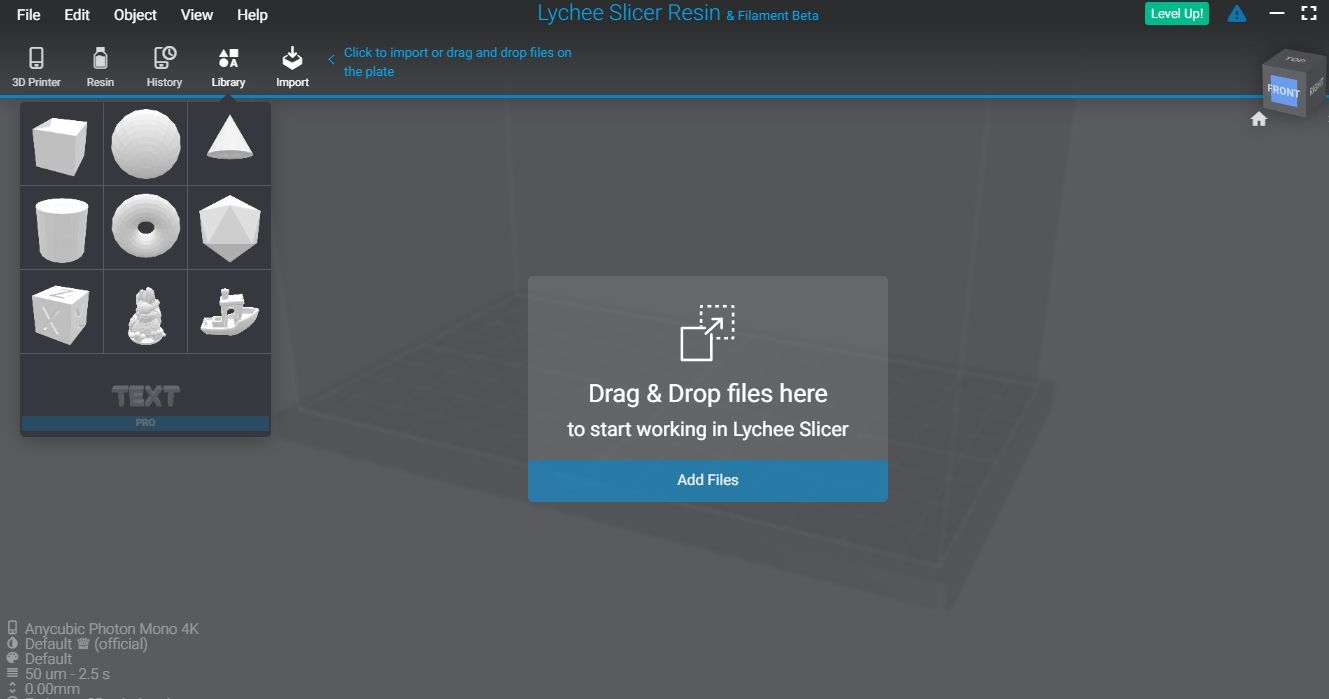
The interface of the software is simple and easy to understand. In the top section, we have various menus for creating a new scene or opening an existing one. There is also an option to import and save your designs. In the Edit section, you will see options for undoing or redoing your actions and an option to check the history of your activities.
In the Object section, you can change your design's orientation, and move, select, rotate, or mirror an object. There is a View option also, which you can use to view your 3D model from different angles.
On the left-hand side, you will see tools for arranging, moving, rotating, scaling, copying, and mirroring designs. In the middle top section is an option for adding supports and exporting the model once you finish 3D slicing.
How to Import Your Design to Lychee
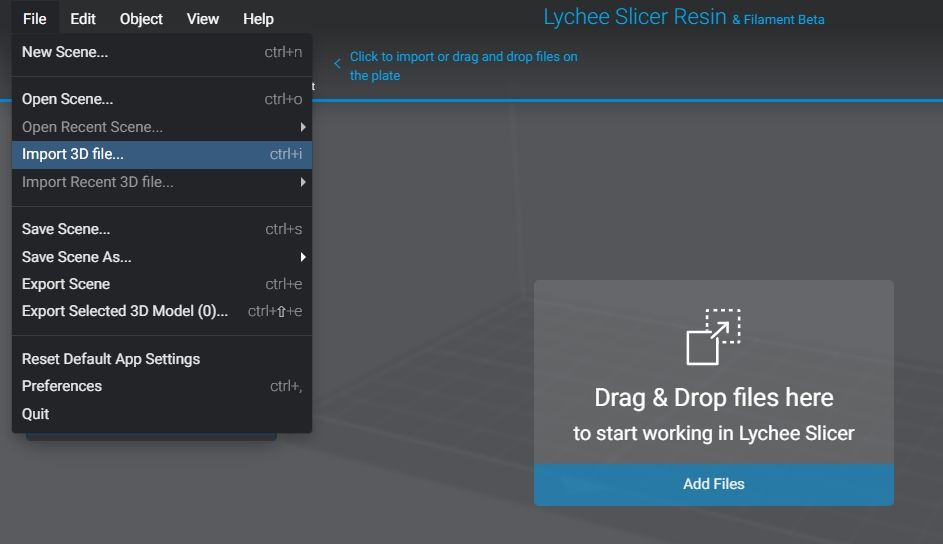
Go to File > Import 3D file. You can then browse to where you have stored your 3D model on your computer and click on it, then import it into the software. Once you import it, the model will appear in the workspace. Alternatively, you can drag and drop files from your computer to the workspace.
Working With Supports in Lychee
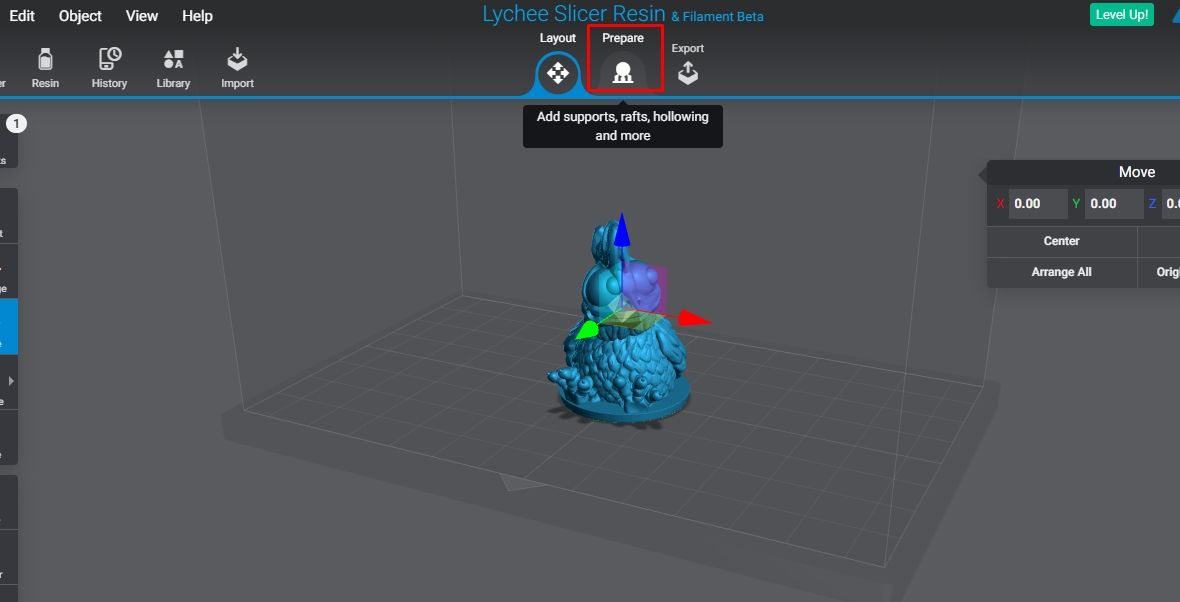
To add supports, select the Prepare option from the middle of the top section.
You will see a menu on the left-hand side that you will use to modify your supports. The first option is to choose the support type; you can select Cone, Cross, Cube, or Cube. To customize the supports, you will need to upgrade your account to the Pro version.
After choosing the support type, you can adjust the Tip Diameter, Tip Length, and Diameter options based on the structure of your 3D model. There is also an option to add light, medium, heavy, or custom supports.
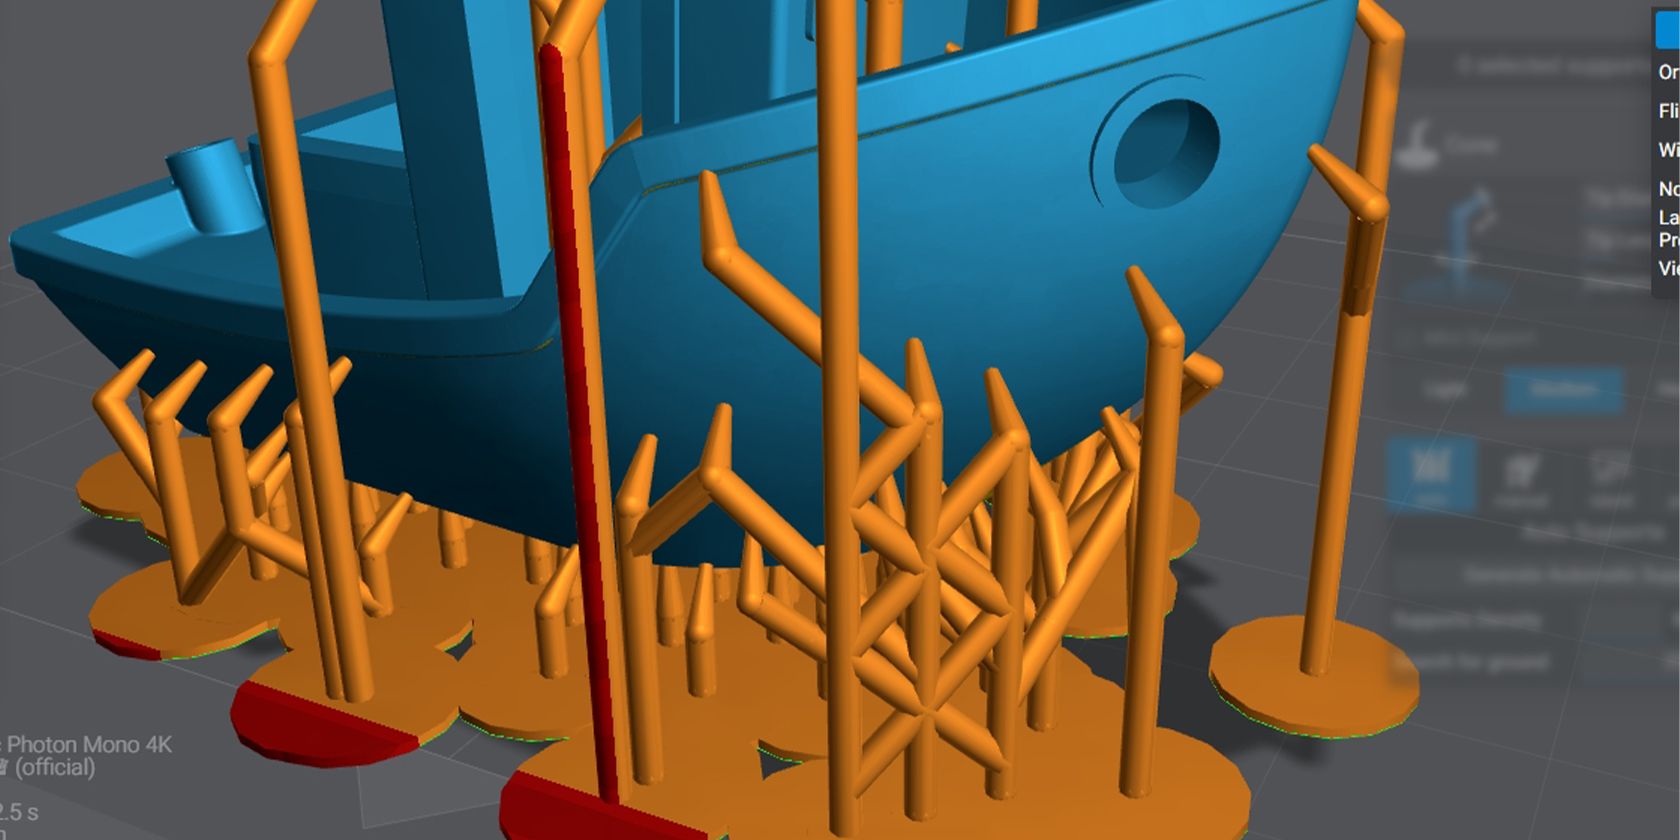
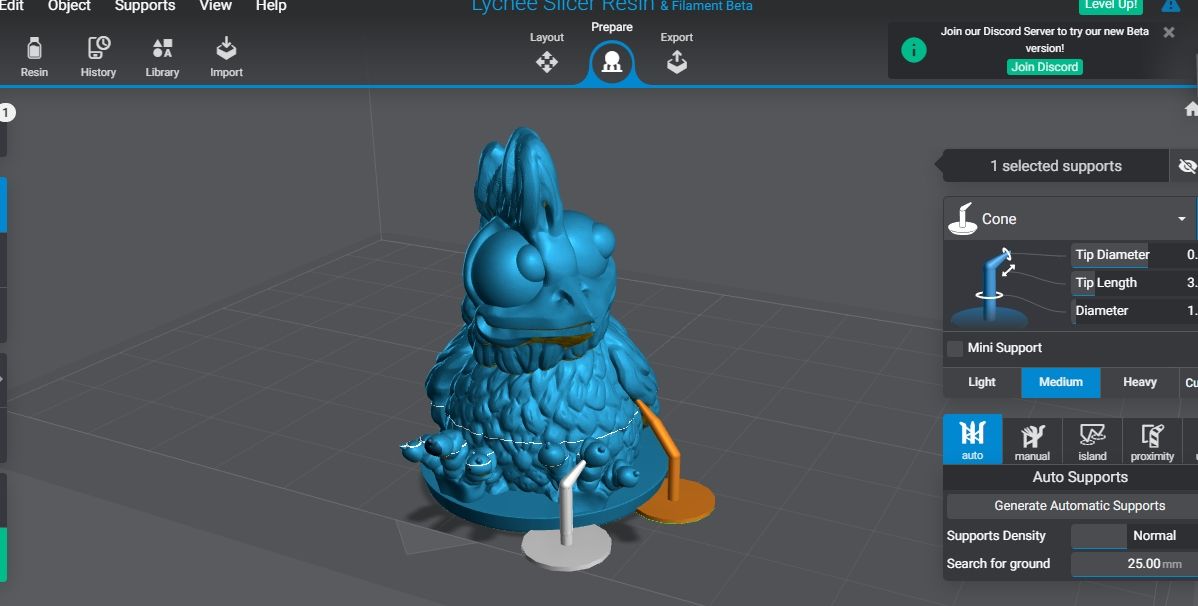
After inputting your settings, you can either generate the supports automatically or manually. To use the manual option, you simply select the parts on which you would like the supports to appear; they will then be displayed, as shown below.
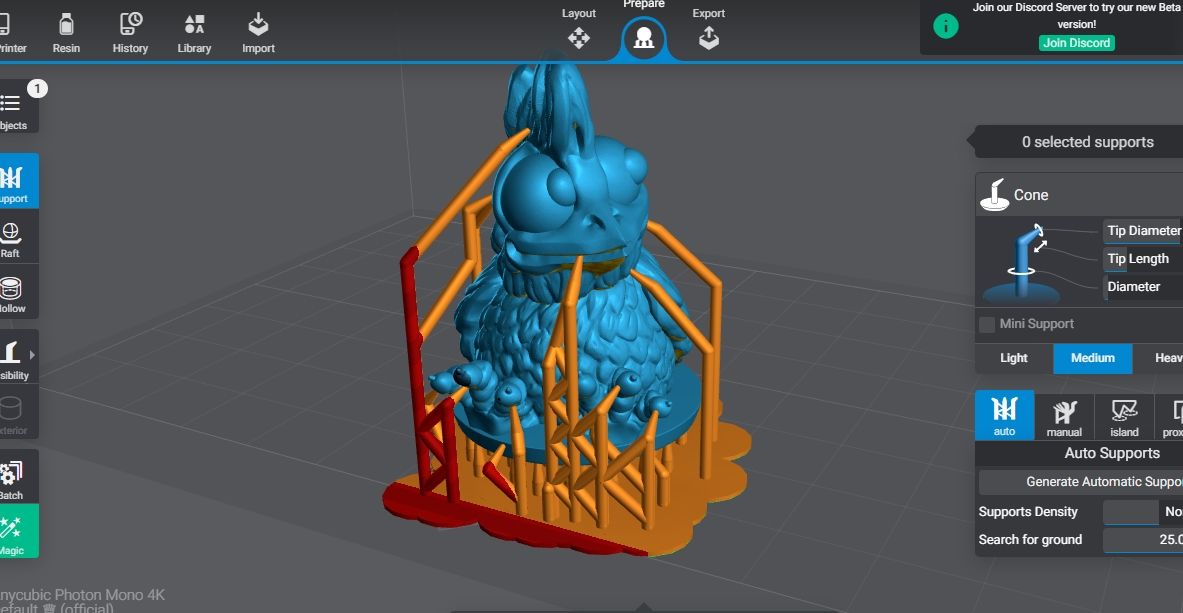
When you choose Generate Automatic Supports, the software will analyze the model and try to place the supports in all the possible sections, as shown below.
You can always modify the supports based on your requirements and preview to see if everything is OK.
Adding Rafts in Lychee Slicer
Rafts are support structures printed a few layers below the object to provide a stable foundation to build on, allowing the design to be printed without encountering first-layer woes and other distortions. The rafts also help reduce the risk of the object becoming detached from the build plate during printing.
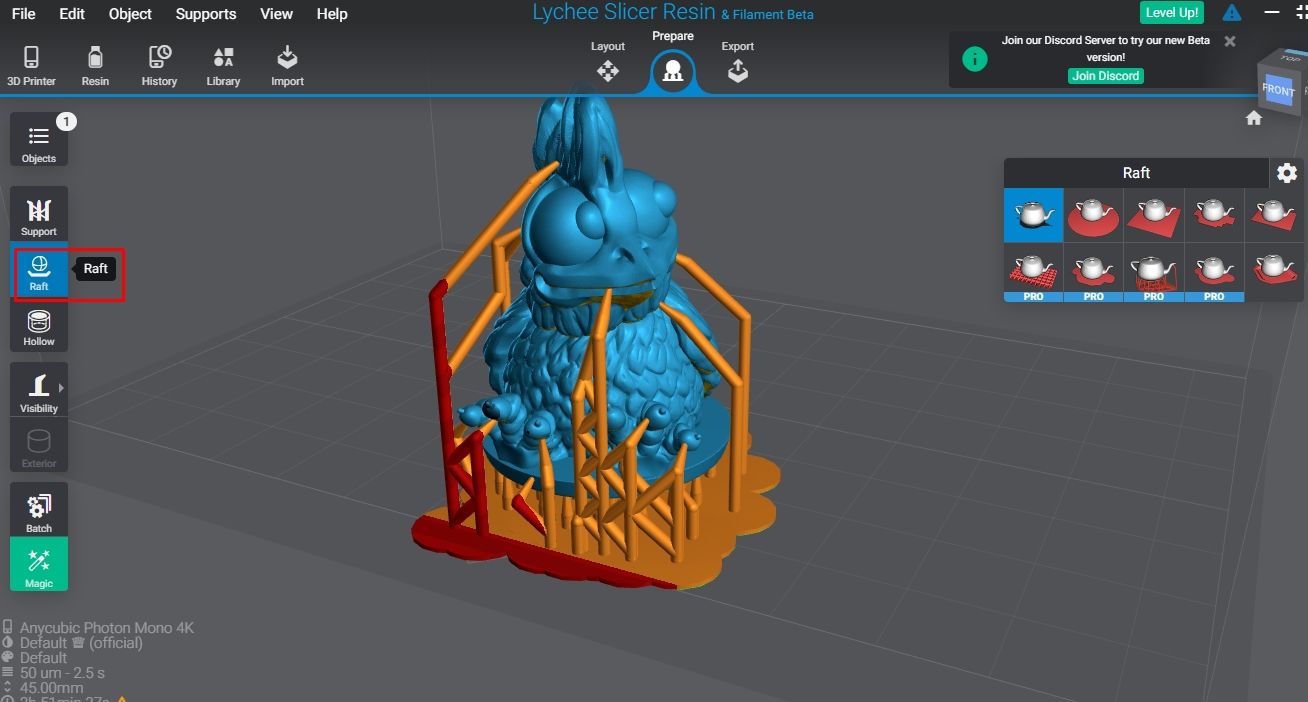
To add rafts, select the Raft option from the left-hand menu.
When you click it, you will see different shapes of rafts appearing on the right-hand side, and you can choose the one suitable for your design. You can also specify the size by adjusting the Scale and Thickness options.
Hollowing 3D Models
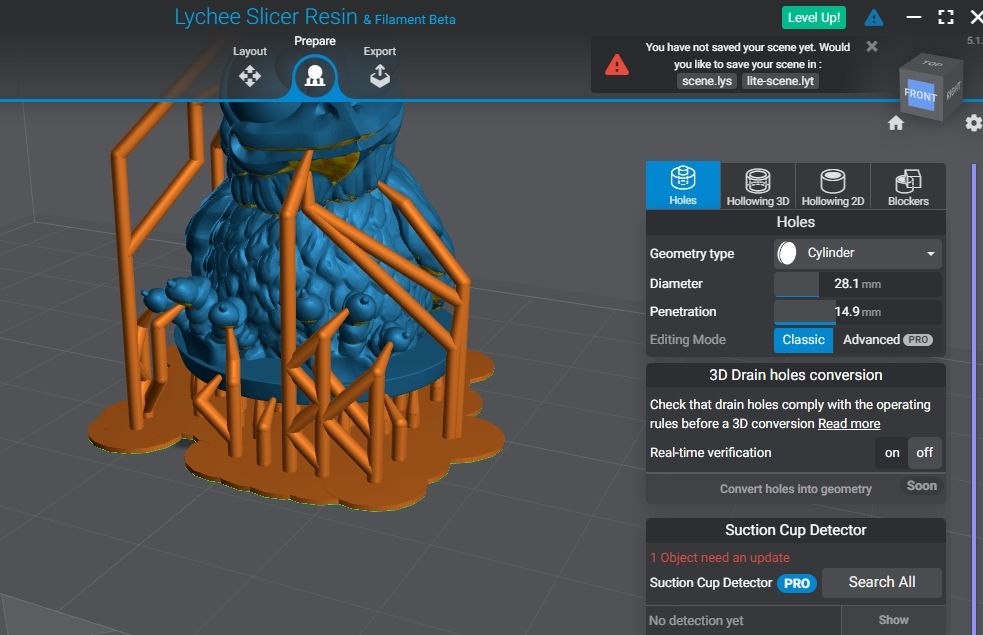
To hollow out 3D designs in Lychee, click the Hollow option from the Prepare section. This tool removes materials inside the design, based on the specified shape and size. When you click it, a menu will appear on the right-hand side.
You can choose the geometry type by selecting Cylinder or Cube, then specify the size of the diameter and penetration of the hole by moving the Diameter and Penetration sliders. If you would like the object to have a hole that goes beyond the base, you can turn on the Object is a hole option. Remember, when you choose this option, all the supports and rafts will be deleted.
Previewing an Object in Lychee
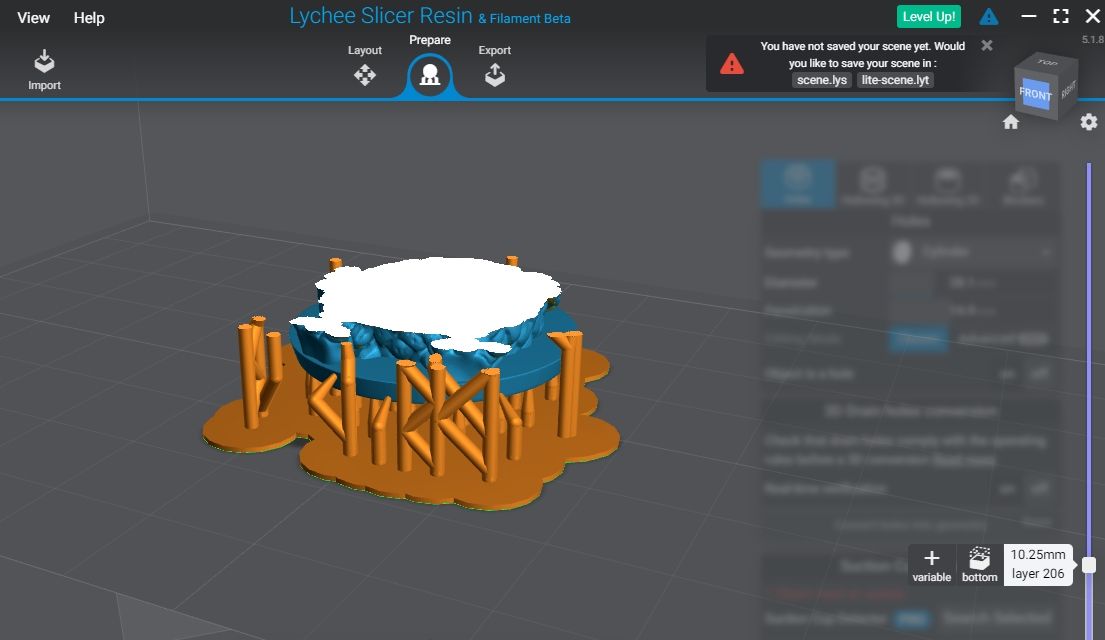
With Lychee, you can preview your model and see how it will be 3D printed. This is important as it can help you check if there are any imperfections that could affect your 3D print. To preview the model, select Prepare; you can then use the layer preview slider on the right-hand side to see how it will be 3D printed.
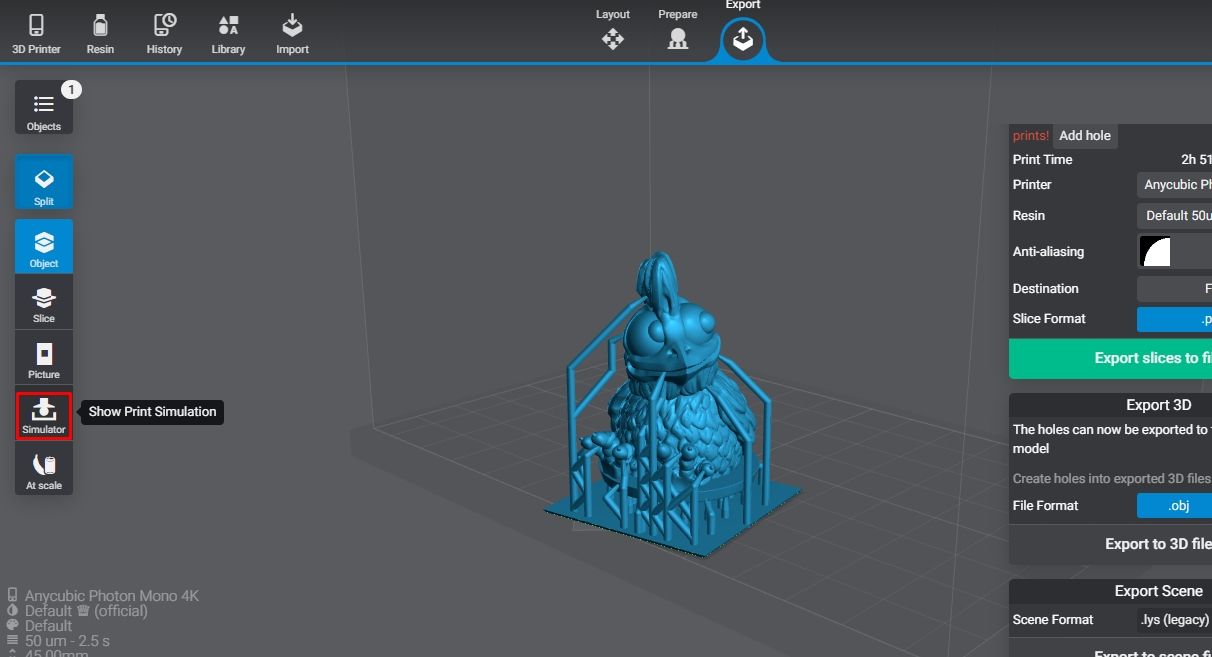
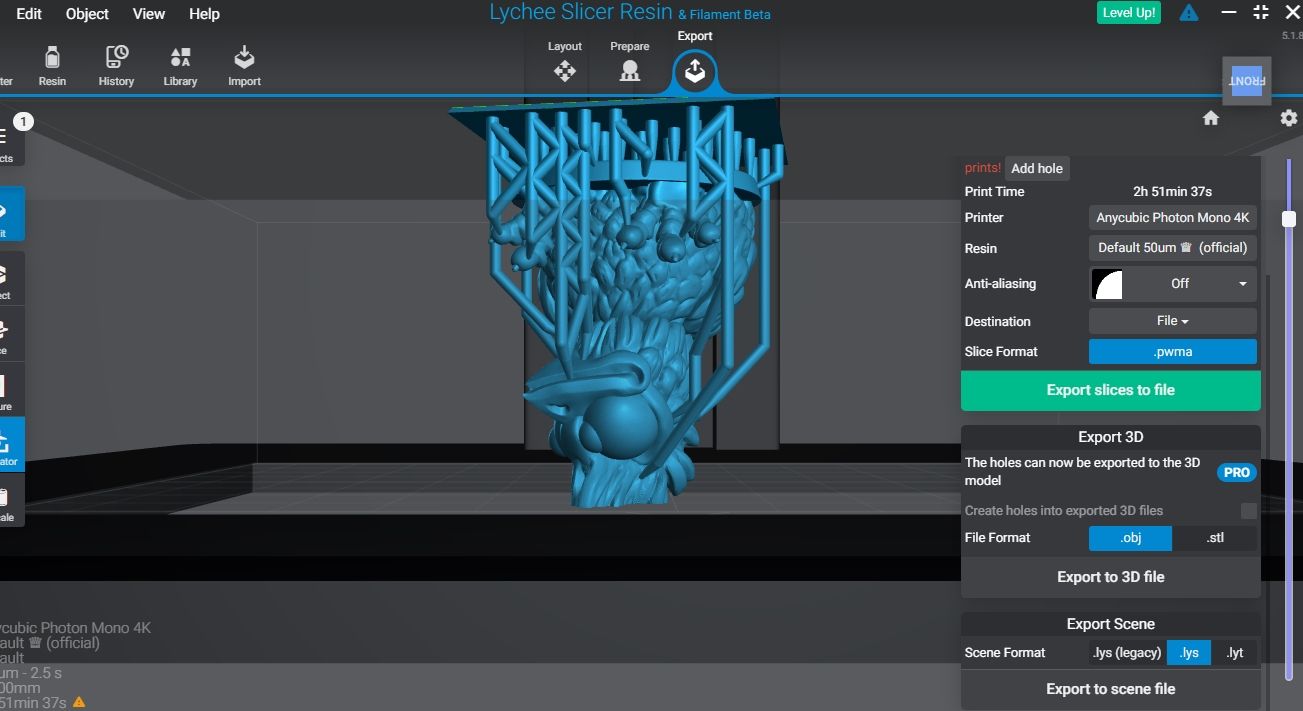
Lychee also has the option to simulate the 3D printing process. You can access this option by going to Export > Simulation and selecting Layer Preview.
You can then move the slider up and down, as shown below.
When everything is good, you can then proceed to export it.
Exporting Your Model
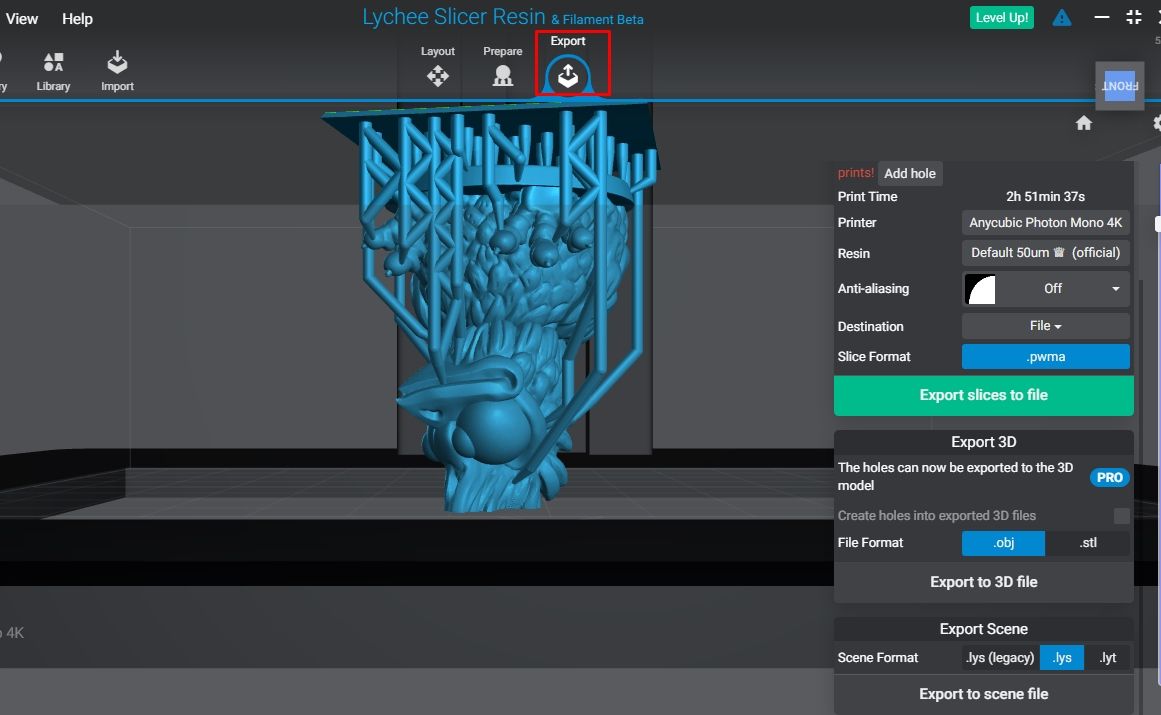
When you finish 3D slicing, you can start exporting your design by selecting the Export option in the middle-top section.
A window will appear, offering several options for exporting your design. Choose Export slices to file if you would like to export it directly to your resin 3D printer. When you select it, you will see an option to choose where to save your file, and you can select the name too. The software will then start rendering your 3D model, and you must wait a few seconds for it to finish.
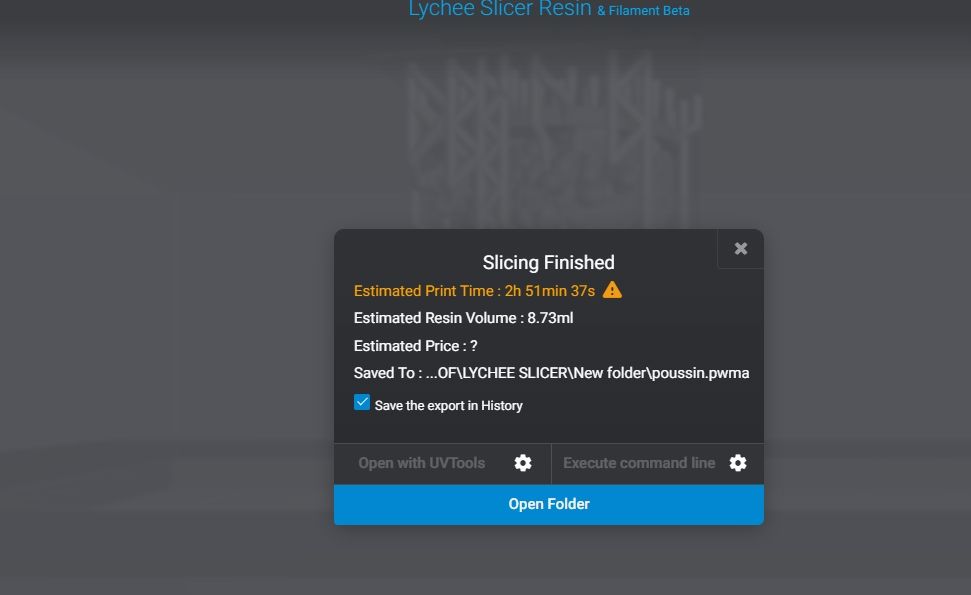
When the rendering process completes, you will see a window pop up with the details of your design, such as the 3D printing time and the file's location.
You can transfer the file to a USB flash drive and insert it into your 3D printer.
Slice 3D Models Easily With Lychee
Lychee is popular among users of resin 3D printers because of the simplicity of the interface and the support it offers for a wide variety of 3D printers. Regardless of the complexity of your 3D model, you can easily prepare it for 3D printing with this slicer.
While we have described how you can use this slicer for resin 3D printing, it’s also important to know that you can also use it with your filament-based 3D printer.

