If you are already familiar with the leveling process of FDM 3D printers, it’s essential to know that the process is a bit different in resin 3D printers. This is because of the differences in how those two types of 3D printers operate. In FDM 3D printers, leveling involves adjusting the build plate to be at the correct distance from the nozzle. But for resin printers, it typically consists of changing the height of the build plate and the position of the resin vat.
Before we look at the steps for leveling your machine, you might be wondering why you need to do it in the first place.
Why You Need to Level Your 3D Printer Bed

You need to level your resin 3D printer to ensure that the resin in the vat is on the same level in all corners during 3D printing and that it is cured evenly, so that the print comes off as intended. Sometimes, you can experience the resin running out on one side of the vat, forcing you to begin the printing process again—this occurs when leveling has not been done appropriately. Moreover, if you fill the vat, it’s essential to level it so that the resin may not leak out of it during the 3D printing process.
Items Required for Leveling
Here are the items you'll need to level your resin 3D printer:
- A piece of paper.
- Allen key kit: It helps loosen the four screws on the build plate.
- Sandpaper: This is used to ensure the build plate is as flat as possible.
- Isopropyl alcohol and a piece of cloth: For cleaning the build plate and resin vat.
- Protective gear: You must wear gloves and a mask to protect yourself when cleaning resin 3D printers.
To begin the standard leveling process, you should follow the steps below.
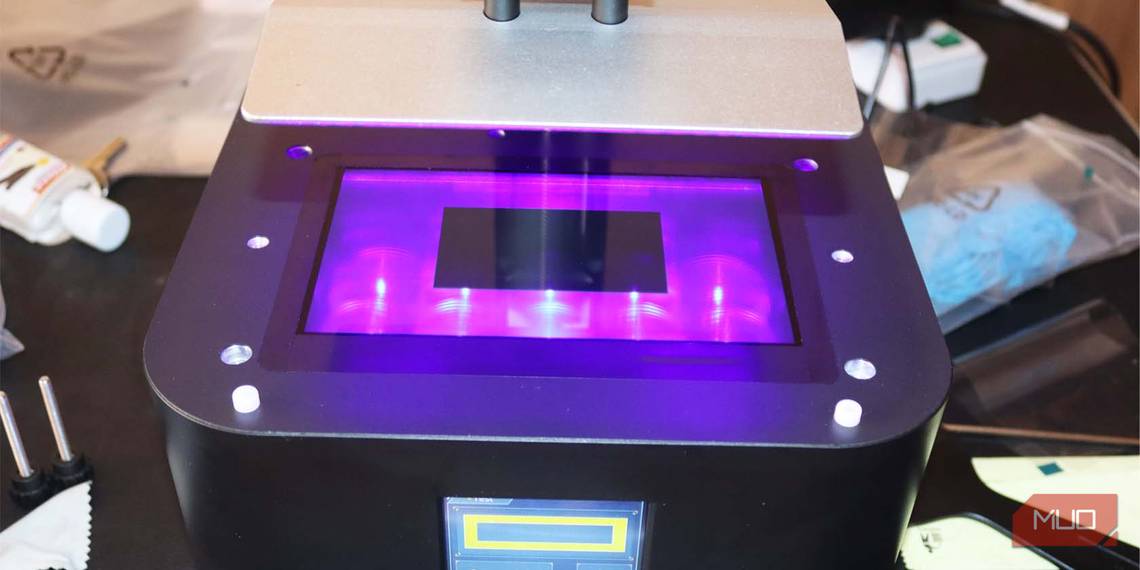
Step 1: Turn On the Machine and Raise Z Axis

If your machine is new, plug in the power cord and turn it on. Once on the screen or control panel, click Tools, then select Move Z > 10mm to raise the Z axis. These settings might differ on your 3D printer, but the process is similar.
However, if you have been using your 3D printer for a while, you should begin by removing the resin vat and cleaning it so that you remove any remaining resin on it.
Step 2: Loosen the Screws on Top of the Build Plate
Loosen the four screws on the top of the build plate platform with an Allen key, as shown below.

This will allow you to adjust the height of the build plate so that it is level in all directions. As you do so, ensure you do not remove the screws altogether.
Step 3: Place the Leveling Paper on the Curing Screen and Start Leveling

Take the paper that came with the printer and place it on the curing screen. You can use any thin sheet of paper. Next, on the screen, go to Tools > Move Z and click the home icon. Wait a few seconds as the build plate descends until it stops automatically. Then, press the platform gently using one hand and the other hand to tighten the four screws you loosened earlier. Ensure that the paper doesn’t move at all.
Step 4: Finalize the Leveling Process
After tightening the screws, you must set the Z-axis value to 0. To do this, on the touchscreen, click Z=0. In the popup window that appears, click Enter.

You have now successfully leveled the printer, and can start 3D printing. If you have done it correctly and your first layer is squished or you face other common first layer woes, there might be issues with the Z-axis. It might be moving much lower or higher when you start printing, even if you had set it in the correct position when leveling. To address this issue, you can consider leveling using a test print.
Leveling With a Test Print (Optional)

You can create a 3D model that you can use to level your printer. You can use any 3D modeling software and design any model. After designing, use a slicer to slice the model and ensure the layer height is 0.01 mm. Save the G-code file and send it to your 3D printer.
Before you send the sliced file to the printer and begin printing, clean any resin and debris on the build plate and the resin vat. Also, loosen the screws on the build plate a bit, just like we did in the first method.

Next, import your file and start the 3D printing process. When the first layer is exposed, pause the print and turn off the 3D printer. The build plate will now be at the starting point of the first layer. Hold it with one hand and use the other to tighten and secure the screws; the printer will now be perfectly leveled.
Always Ensure That Your Surface Is Flat Before Printing
Even if you have perfectly leveled your 3D printer, sometimes you might get inconsistent results, mostly from a build plate that is not flat enough. Sandpaper is useful for remedying this as it will remove any build-up that might have accumulated on the build plate, resulting in raised sections on the surface. You can begin with 120 grit sandpaper; afterward, take 60 grit sandpaper and use it to achieve a perfect finish.
As you sand the build plate, rotate the build plate differently and move around until you ensure all the sections are flattened. Clean debris or dust on the build plate using isopropyl alcohol and a cloth. After that, reinstall the plate back on the printer and level again, even if you have done it before, so any changes that might have occurred can be corrected.
Leveling a Resin 3D Printer Is Easier Than You Think
Leveling your resin 3D printer is vital if you would like to avoid issues down the road. When you have done it right, your resin is cured evenly, and the final print will eventually come out well.
You don’t need to level your machine every time you want to print a design, but you should do it whenever you experience any problems with your prints, like if they are coming off with issues or when they don’t stick properly to the build plate.