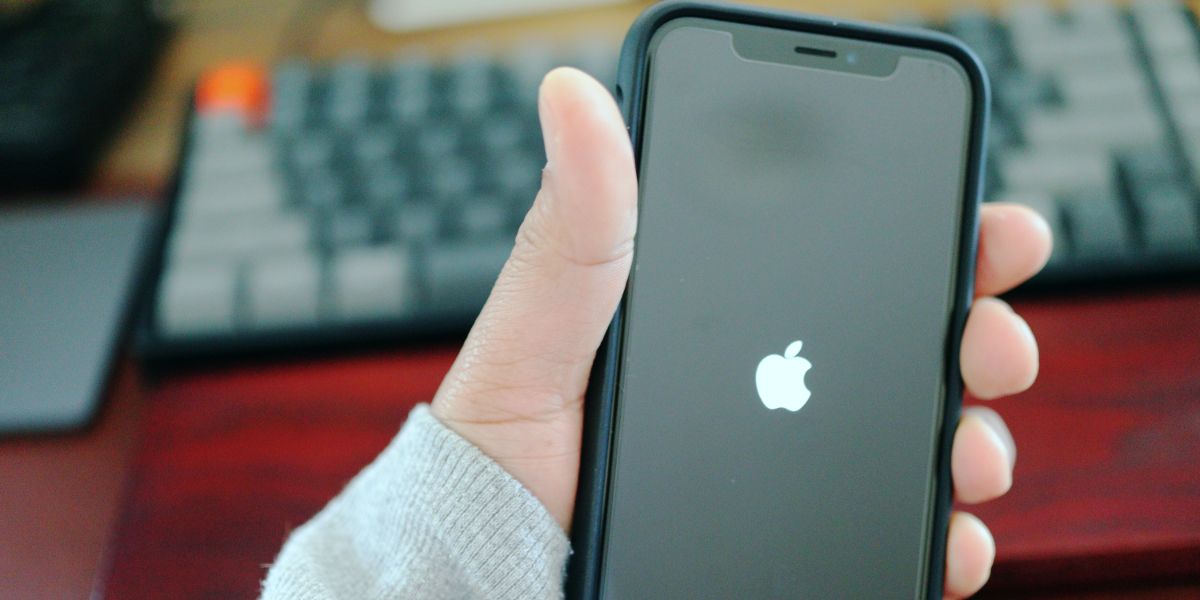
If your iPhone doesn’t boot past the Apple logo, then you’re probably pulling your hair out trying to fix it. In this guide, we’ll show you how to fix this annoying problem so that you can get back to enjoying your Apple device.
What Causes Your iPhone to Get Stuck at the Apple Logo?
When your device refuses to boot past the Apple logo, this is called a boot loop. It usually happens for one of three reasons:
- You’ve Tried to Jailbreak, But Something Failed. If you’ve tried to jailbreak your iPhone and something glitched, it will often put your iPhone into a boot loop.
- Updates, restores, or data transfers from your computer were somehow corrupted or weren’t completed. If you unplugged your phone from your computer during an update or had a power surge, it’s likely that the update files somehow became corrupted. In this case, the device may be searching for files that aren’t available or accessible. Hence the boot loop.
- Internal Hardware Issues. If you’ve dealt with smartphones, you know that hardware can sometimes fail for many reasons. Moisture, overheating, impacts, and sometimes manufacturing issues can all create hardware problems. If the hardware of your phone is damaged, then it can cause the dreaded boot loop.
Note: While this information deals primarily with the iPhone, it is essential to note that the boot loop problem also affects some iPads. That’s why we’ve chosen to include information for the iPad as well as the iPhone in this article.
How to Fix a Stuck iPhone or iPad
First, you’ll want to try and force restart your phone. The great thing about force restart is that it does not cause data loss. Whenever you have a problem, it’s always best to try this initially as it is the least invasive of all the reset procedures. If this is a minor problem, forcing a restart will almost always solve the issue. It’s also easy. However, if forcing a restart doesn’t work, and your phone is still stuck at the Apple logo, you’ll need to put your device into recovery mode.
How to Force Restart Your iPhone or iPad
For iPhone X or later, iPhone SE (2nd Generation), iPhone 8, and iPhone 8 Plus - Quickly press the volume up button, followed by the volume down button. Then hold the power/side button until the phone reboots.
For iPads with Face ID - Quickly press the volume up button, followed by the volume down button, then hold the top button until the iPad reboots.
For iPhone 7, iPhone 7 Plus, or iPod Touch (7th Generation) - Press and hold the top or side button and volume down button until the device restarts.
For iPads with Home Button, iPhone 6s or earlier, and iPod Touch (6th Generation) - Press and hold the top button and the home button until the device restarts.
How to Put your iPhone or iPad Into Recovery mode
Recovery mode allows you to use your computer to restore your iPhone to the factory settings. It’s important to note that you may lose some data during this process. If you don’t have anything important on your phone, then this shouldn’t be a problem. (However, if you want to save your data, there is a way to do so, which we’ll discuss in the next section).
For this, you’ll need a computer and an original Apple USB cable. The iPhone must have enough charge to complete this process, so we recommend charging it for at least an hour. Finally, you’ll need to plug your phone directly into your computer, so if you use a USB hub, you’ll want to bypass the hub until this process is complete.
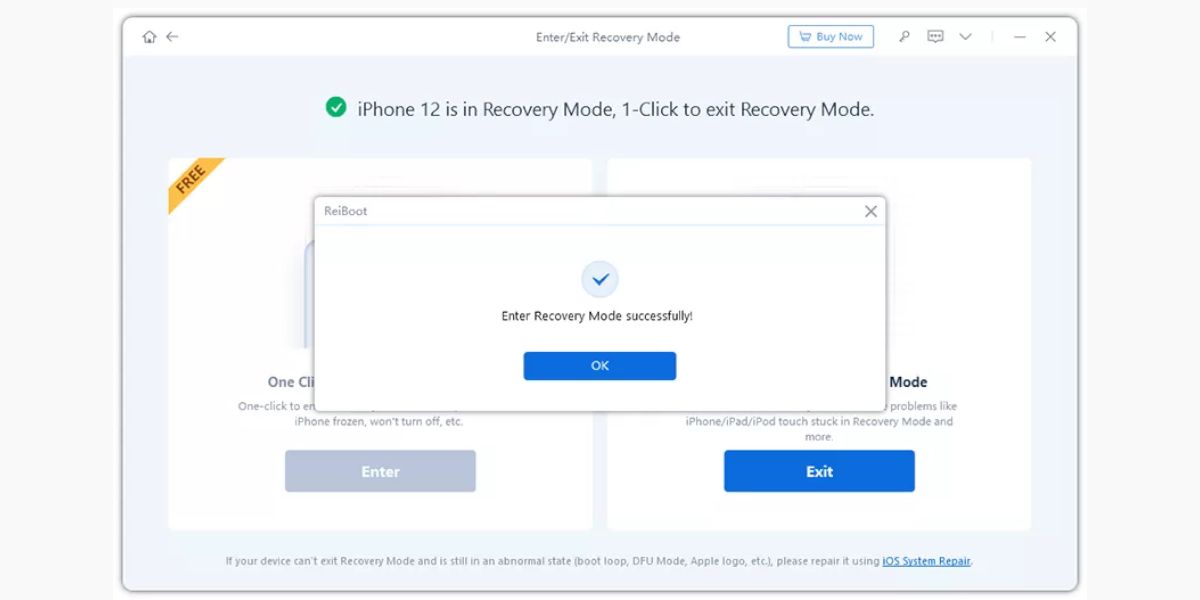
The only problem here is that if you’ve tried a hard reset and it didn’t work, you also won’t be able to access recovery mode. Instead, the phone will reset but will still be stuck in the boot loop. In this case, you’ll need a software solution to help. We like to use ReiBoot, as it allows you to put your iPhone in recovery mode with a single click. This feature is free.
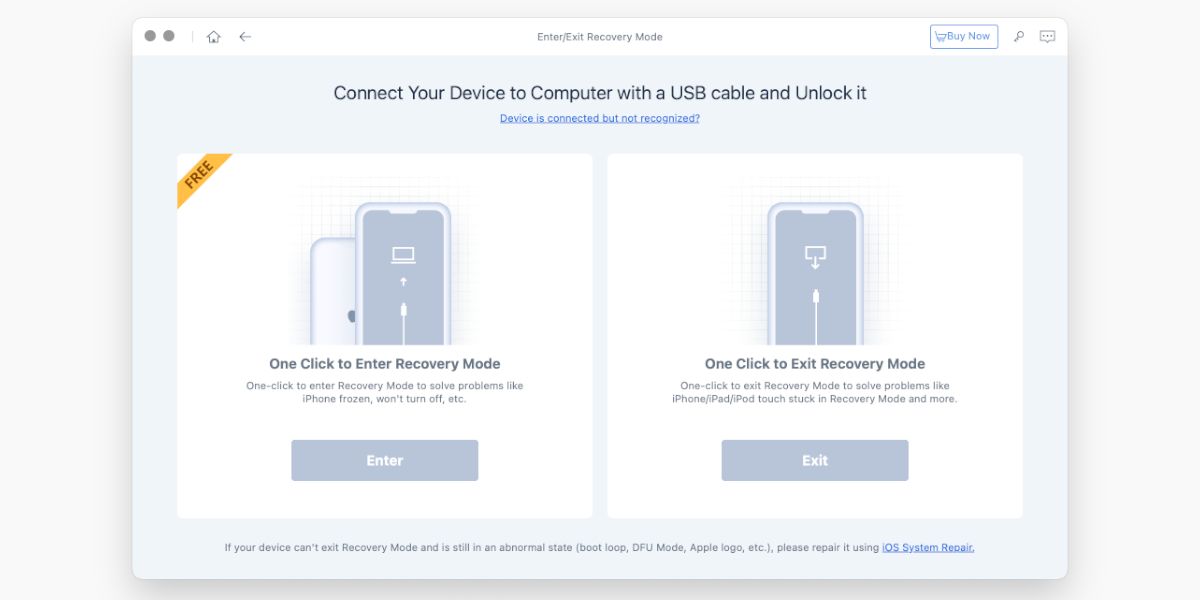
To use ReiBoot, first, download either the Mac or Windows version from the tenorshare.com website. Then, plug in your iPhone or iPad and launch the ReiBoot software. Click on the Enter Recovery Mode pane in the lower left of the screen. Connect your device, and ReiBoot should recognize it.
Next, click the lower right pane that says One Click to Enter Recovery Mode. Your device should enter recovery mode. From there, you’ll receive a message that indicates ReiBoot worked.
Note: ReiBoot can be used to exit recovery mode if your iPhone is ever stuck on that screen. However, this is a paid feature. Now, you should be able to restore your iPhone or iPad using iTunes or Finder.
Download: ReiBoot macOS |Windows (Free to Download, Subscription and Lifetime License offers)
If Force Restart and Recovery Mode Don’t Work
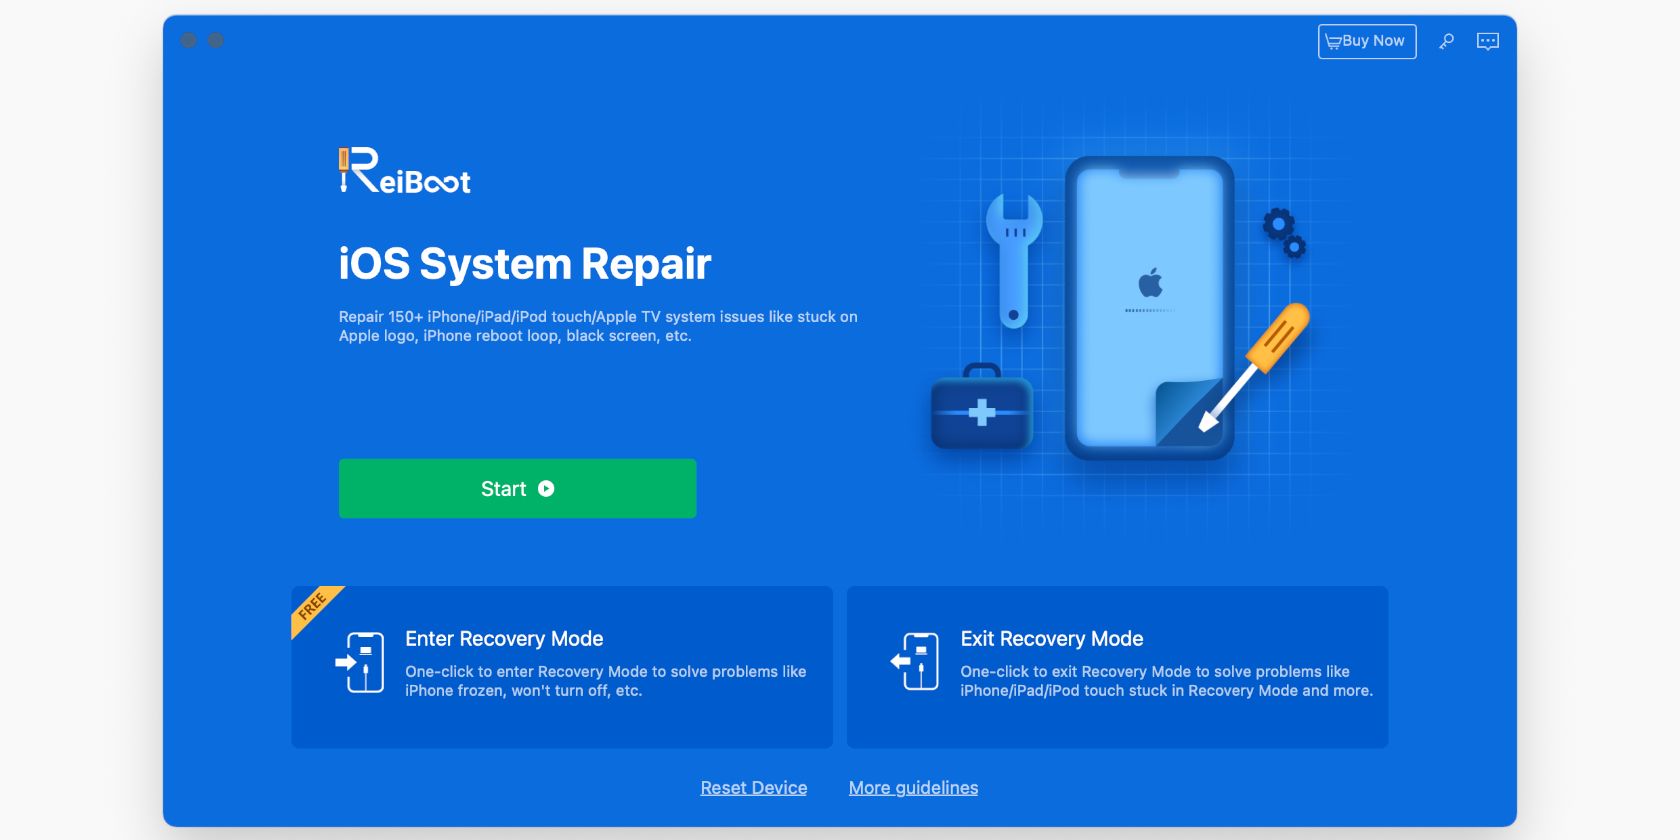
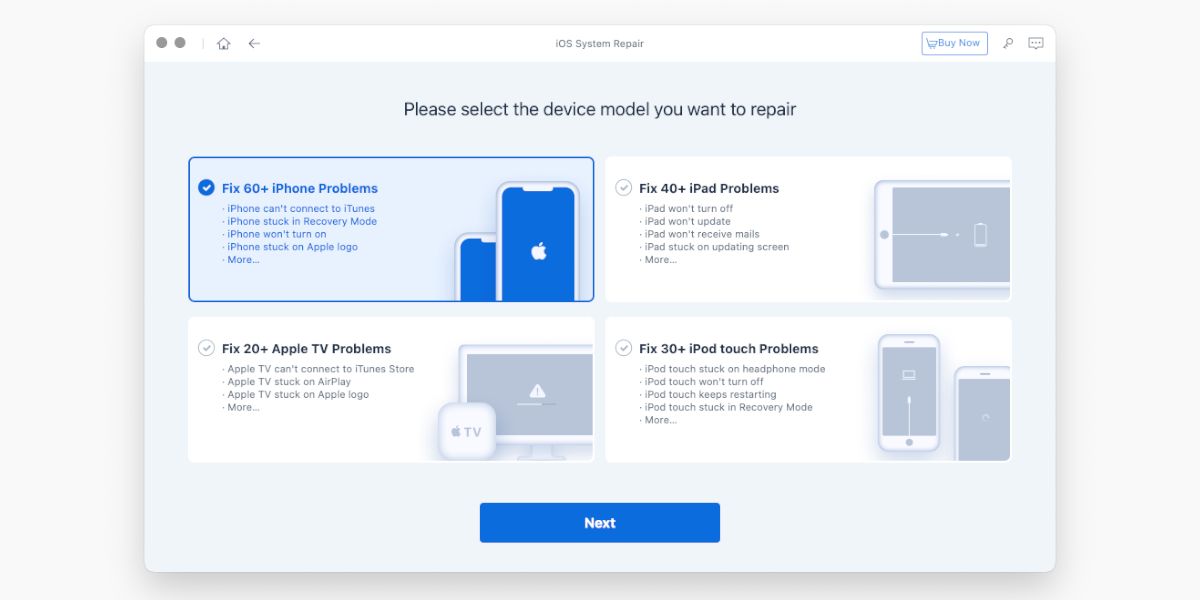
If none of these methods work, then there is one more solution that works 100% of the time. Included in ReiBoot is an iOS System Repair function that can get your phone unfrozen. This solution is often called a DFU (device firmware update). The firmware of your iPhone controls the hardware of the device. Unfortunately, Apple doesn’t have instructions on repairing the firmware of your iPhone on their website because it doesn’t usually need repair.
But, if you’ve gotten to this point, then a DFU is the last step we’d recommend before sending your phone in. If you own an older iPhone out of warranty, trying a firmware update could also be less expensive than going back to Apple. This is where ReiBoot comes in clutch. The software’s “iOS System Repair” function can be used to repair an iPhone or iPad without losing data. Now, iOS System Repair is a paid feature, but it’s important to note that the ReiBoot software cost is often much less than what it might cost to have your phone repaired by Apple.
Using iOS System Repair
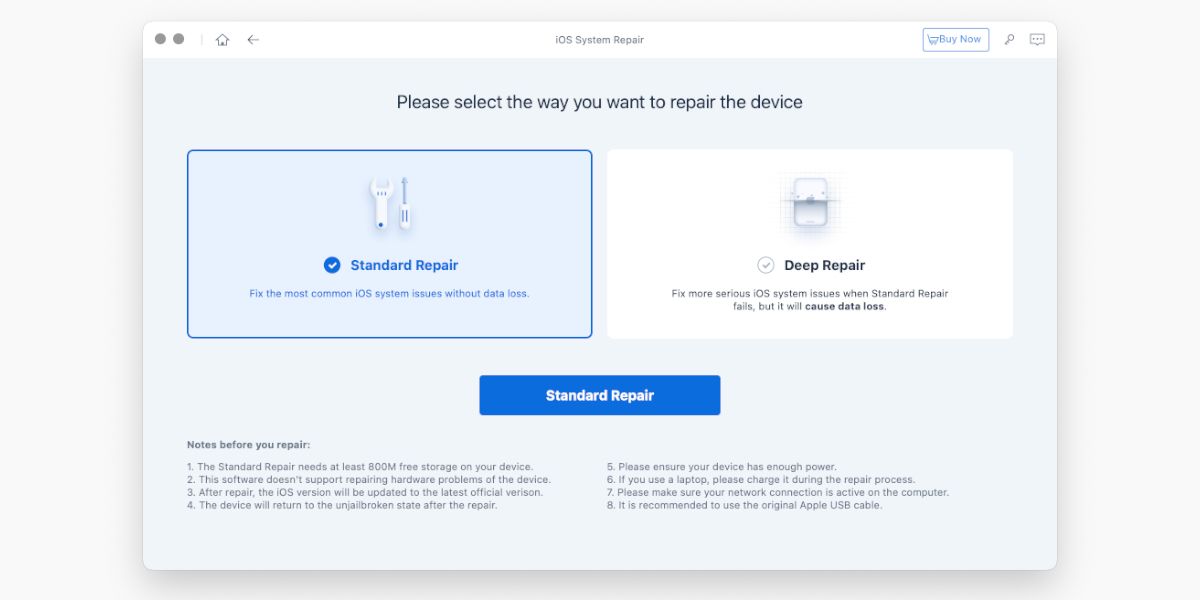
ReiBoot has two repair options, first is Standard Repair which refreshes the firmware on your device without data loss. The second is the Deep Repair function, which, unfortunately, causes data loss. If the Standard Repair feature does not work, then Deep Repair will, but you might as well accept that you’ll need to start over with your device or restore from an older backup if a current backup isn’t available.
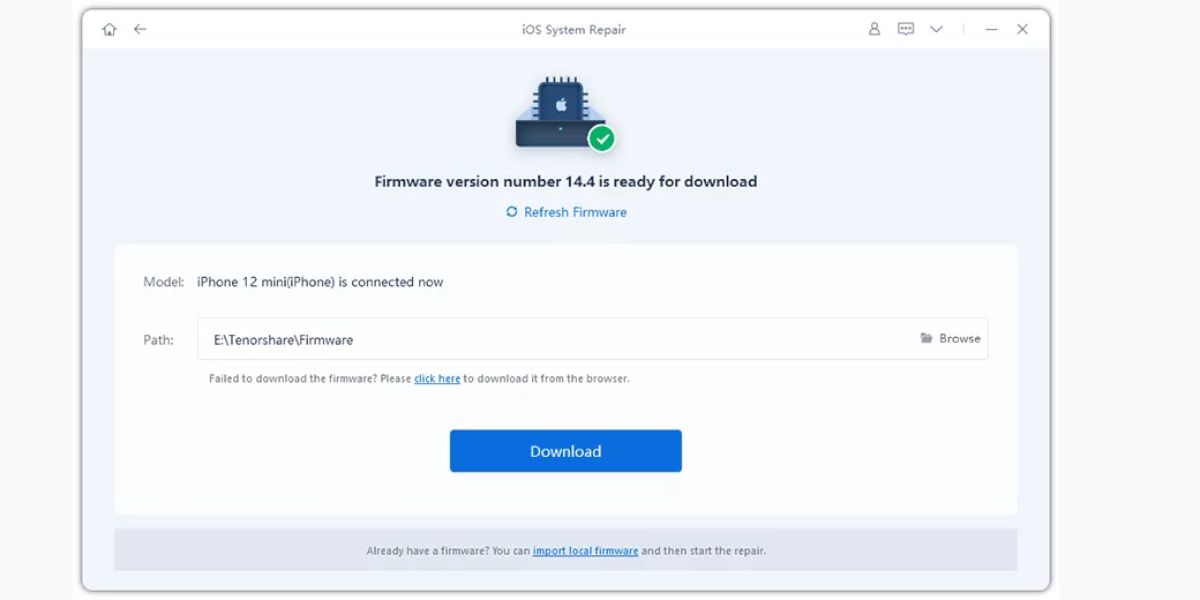
Use the iOS System Repair feature, open the ReiBoot app, and connect your phone via the USB cable. Then, click the green Start button on ReiBoot’s main screen. From there, select Standard Repair. If your device isn’t detected for some reason, ReiBoot will help you get your device into DFU mode. Once your device is detected, you’ll be given the option to download the Apple firmware. Do this by clicking on Download. If this firmware does not start downloading, you may use the on-screen link to download via your browser.
Once the firmware is downloaded, click Start Standard Repair. This process may take a little while, so get another cup of coffee and relax for a few. Once the process is complete, your device should reboot. If this process fails for some reason, the Deep Repair is option is the next step. Deep repair follows the same procedure as Standard Repair. The only difference is the data loss.
Finally, if none of these solutions work, then you’ll need to send your device to Apple. In this case, you may have serious hardware issues that cannot be repaired via software alone.
Fixing iPhone Frustration For Good
Trying to reset a misbehaving iDevice can often be frustrating. But, with a few simple tools and some patience, you can restore that bad apple to its pre-frustration state. By following the tips in this guide, you can quickly be back to enjoying your iPhone or iPad the way it was meant to be enjoyed.

