A PowerPoint Presentation is a great way to get an idea across. Whether you're pitching a product or teaching kids, you'll find slideshows helpful.
However, if your presentation is long, or you have many visuals, you might find that your PowerPoint file has become too large. That makes it difficult to attach it as an attachment. And it could even take too long to download for your clients.
To solve this problem, here are seven tips to reduce your presentation file size.
1. Use Insert Picture—Don't Drag and Drop
When you want to add a photograph from your hard drive to your presentation, the easiest and most common way is to copy it off File Explorer and paste it onto PowerPoint. Alternatively, you can also drag and drop it from your folder to your slideshow.
However, doing this potentially increases your presentation's file size. That's because when you copy-paste or drag-and-drop a file directly into PowerPoint, it converts your image to either a BMP or PNG file type.
Although these file types allow you to retain transparent backgrounds, like the ones you find in icons, they also increase your photo's file size. But if you use the Insert Picture function, PowerPoint will add your image without changing its file type, thus avoiding larger file sizes.
2. Crop Photos With an Image Editor
There are times when you don't have to use the entire image you just added. You may want to remove a section to make it more impactful. But if you do that, don't crop it using PowerPoint's built-in cropping tool.
When you crop an image inside PowerPoint, the app will simply hide the part of the image you cut out. Although this is helpful if you want to undo the crop you made in the future, if you're final with the cut you made, this just adds to your presentation's file size.
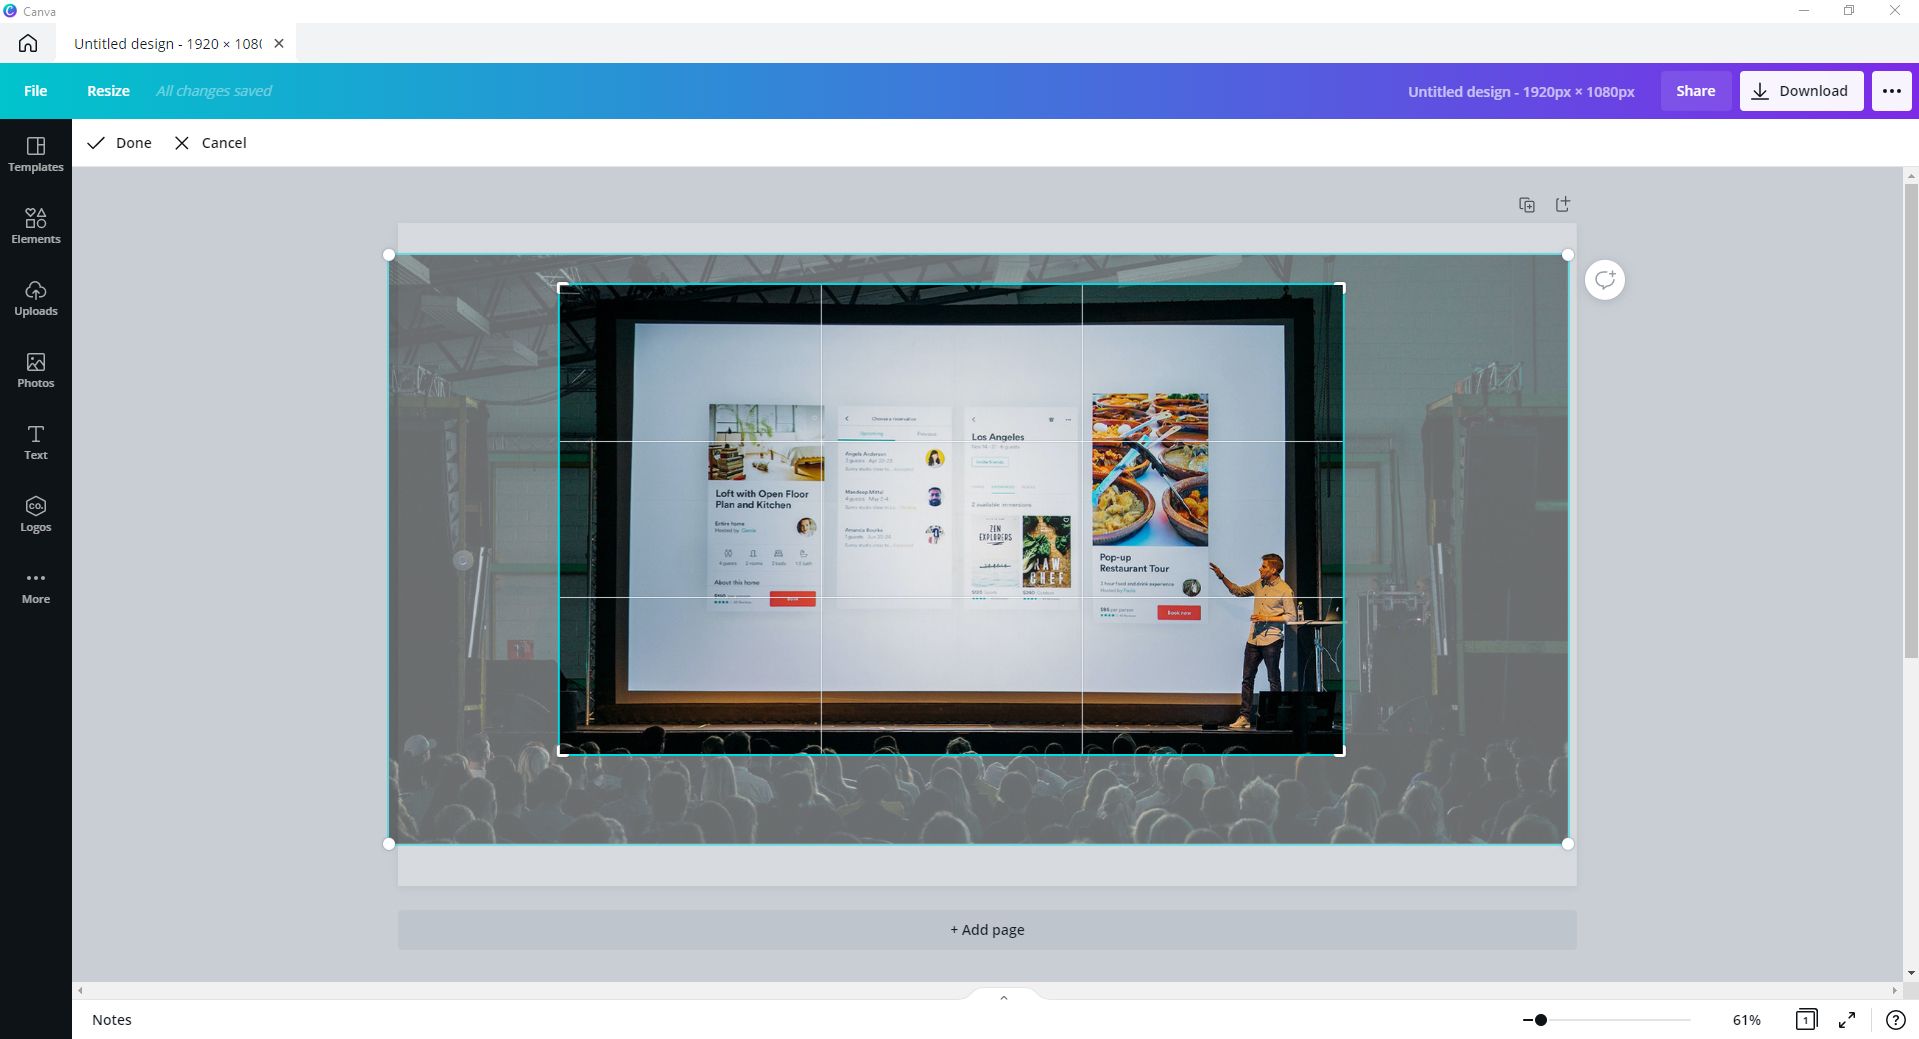
Instead of cropping images in PowerPoint, you can use dedicated image editors. You can use Microsoft's built-in Paint app for simple crops, or you can use free online tools, like Canva. Once you've cropped your photo to your liking, you can then use the Insert Picture tool to add it to your presentation.
Remember to save your file as JPG or JPEG, not PNG or BMP. JPG files provide the most compression on your images while retaining reasonable quality. This way, you get to save a few more kilobytes per photo. This adds up to a lot of space when you have many pictures.
3. Edit Images Outside PowerPoint
Building upon the previous point, you should edit your photos using an image editor instead of PowerPoint. While the app does provide relatively advanced photo editing tools, it's still not as powerful as dedicated photo editing software.
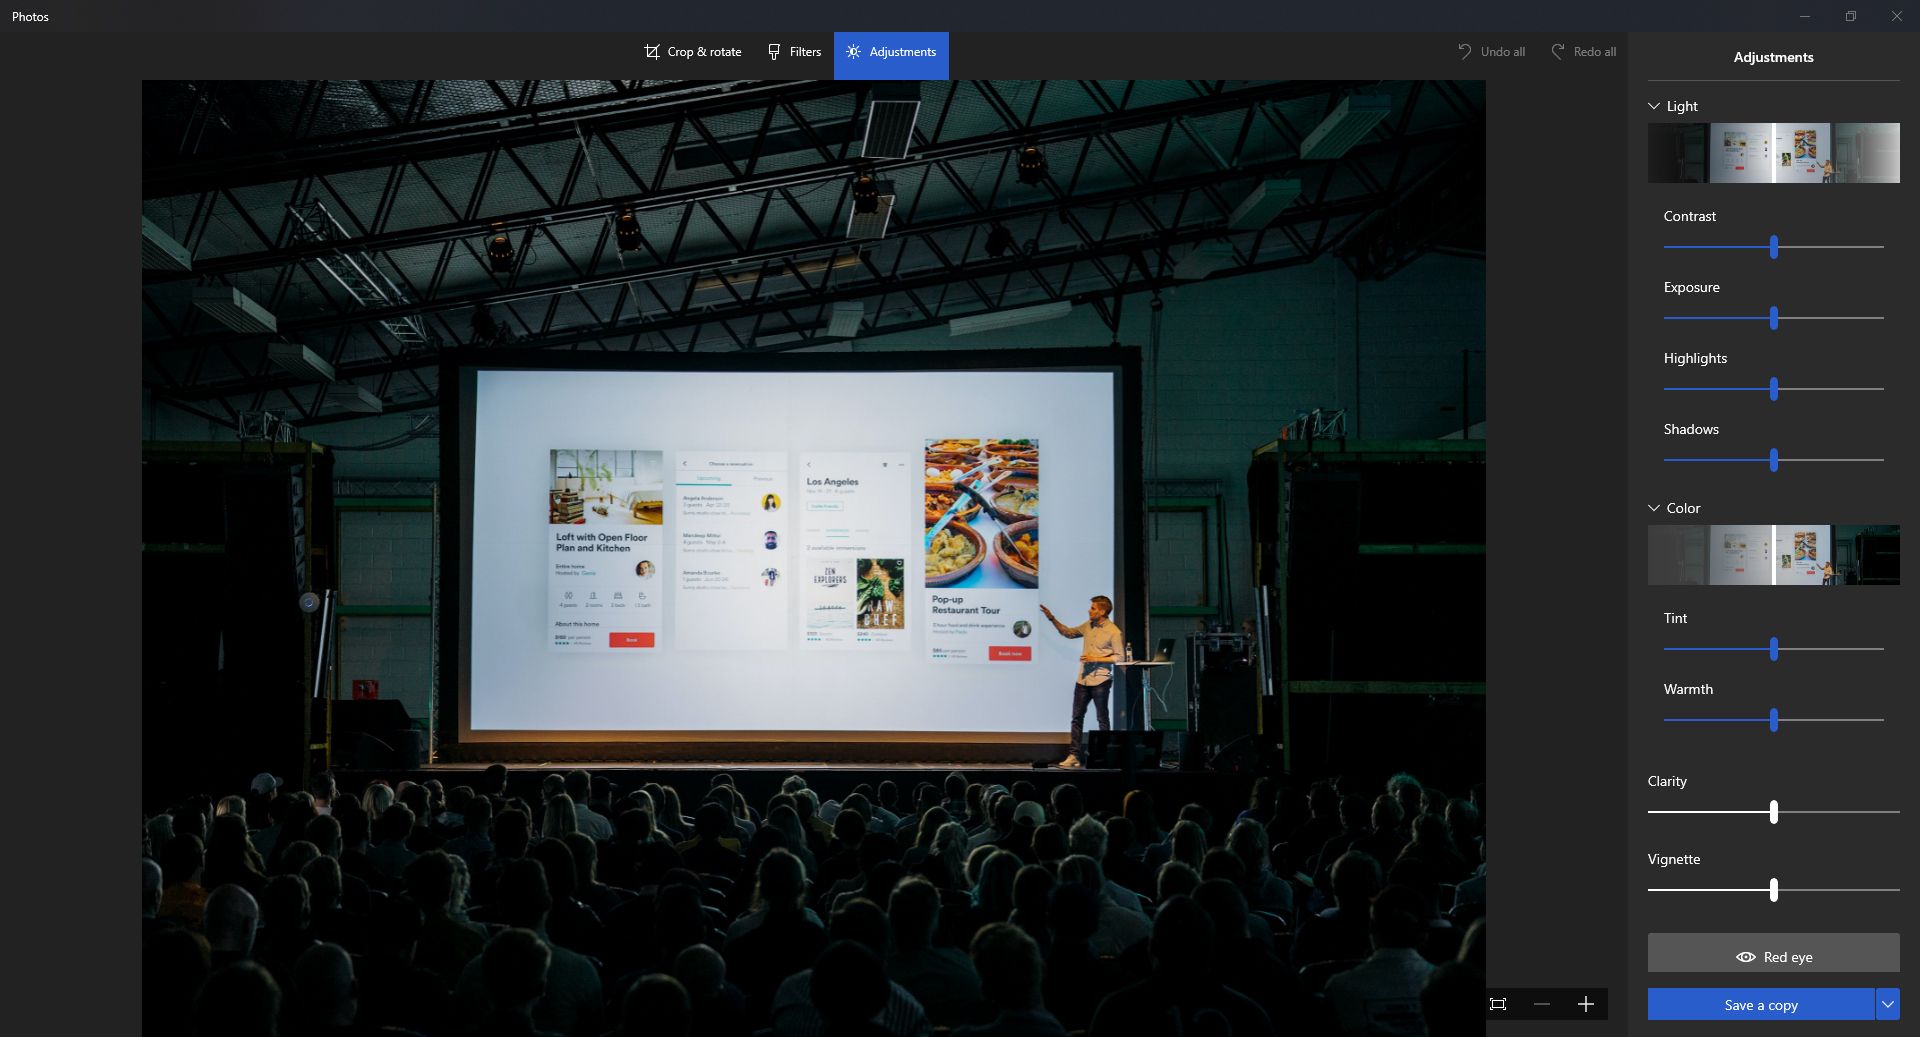
You can use Microsoft's built-in basic photo editing function to edit your image. Alternatively, there are several easy-to-use photo editing software to give you advanced edits while remaining simple to use.
You should do this because PowerPoint retains all your photo's information. For example, if you convert an image from colored to black and white, the app will still keep all the color information of your file, thus making it larger. But if you convert it using an image editor, all color information is lost once you save the file, thus making it smaller.
4. Compress Your Pictures
Even if you've done all the above, there is still a way to reduce your presentation's file size further. You can do that by optimizing all your slideshow images for the screen size you expect to show your presentation.
This is because PowerPoint tends to keep your images at the maximum allowable quality. After all, the app is preparing your slideshow for all types of display sizes. It's even considering that you're going to print it. That's why it keeps your photos at the best possible quality.
And while this is a good thing, it does add a lot of size to your presentation. That's why you need to optimize your file for your intended audience.
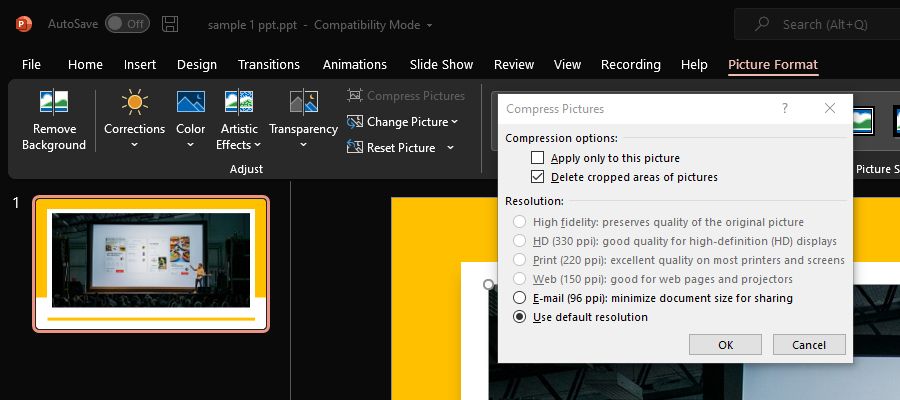
To do that, click on any image in your slideshow. Then, in the menu ribbon, select Picture Format. Press the Compress Pictures button, and a Compress Pictures window will pop up. Under Compression options: remove the tick mark for Apply only to this picture to compress all images.
Under Resolution:, pick the appropriate points per inch (PPI) for your application. If your presentation is for personal consumption—i.e., for viewing on smartphones, tablets, and computer monitors only—then a 96 PPI resolution is enough.
But if you plan to display it on a medium-sized projector or a screen larger than 50 inches, then you should choose 150 PPI. If you're planning to print your presentation as a handout, then go for 220 PPI. Finally, if you're going to use a large-format projector or LED screen board, go for 330 PPI.
5. Link Videos
Videos are the most significant items in your presentation that will bloat its file size. A typical 1-minute full HD video has an approximate 124MB file size. So instead of embedding your videos into your PowerPoint file, you can link them instead.
Upload your videos on a video hosting website like YouTube, then just link it into your slideshow. Once you've uploaded the video, don't forget to copy its web address to add it to your presentation.
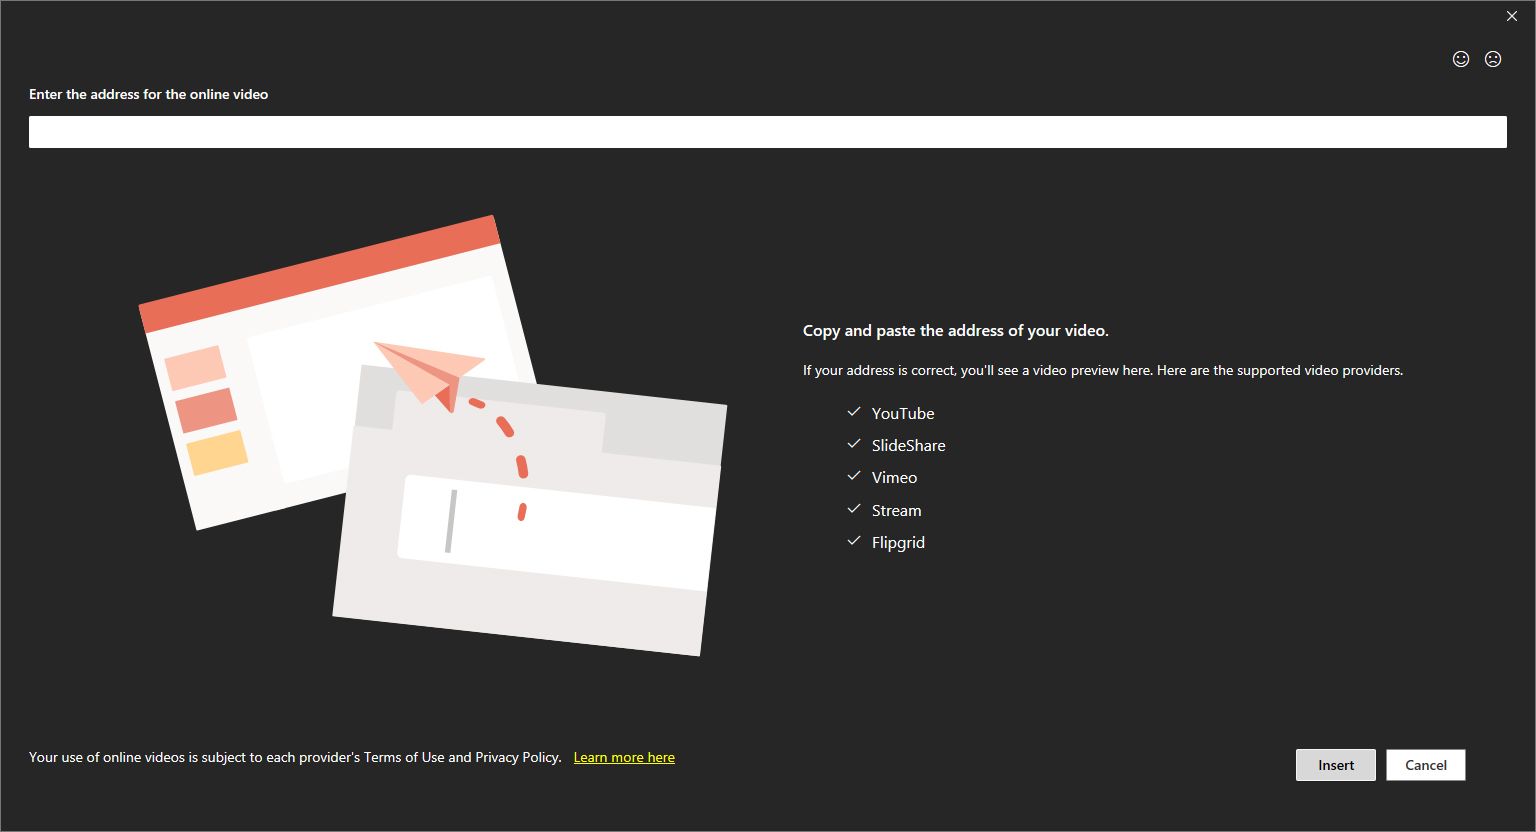
To add it to your slideshow, go to Insert on the menu ribbon, click on Video, and in the dropdown menu, choose Online Videos…. A new window will pop up and in the Enter the address for the online video bar, paste your video link.
Once your selected video has loaded, you'll see a preview of it on the main screen. If you're satisfied that it's the correct video, click on Insert. You will now find your video embedded into your slideshow.
You have to note, though, that your viewer or audience must have an active internet connection for them to see your embedded video. Otherwise, they won't be able to see it.
6. Use the Latest Formats
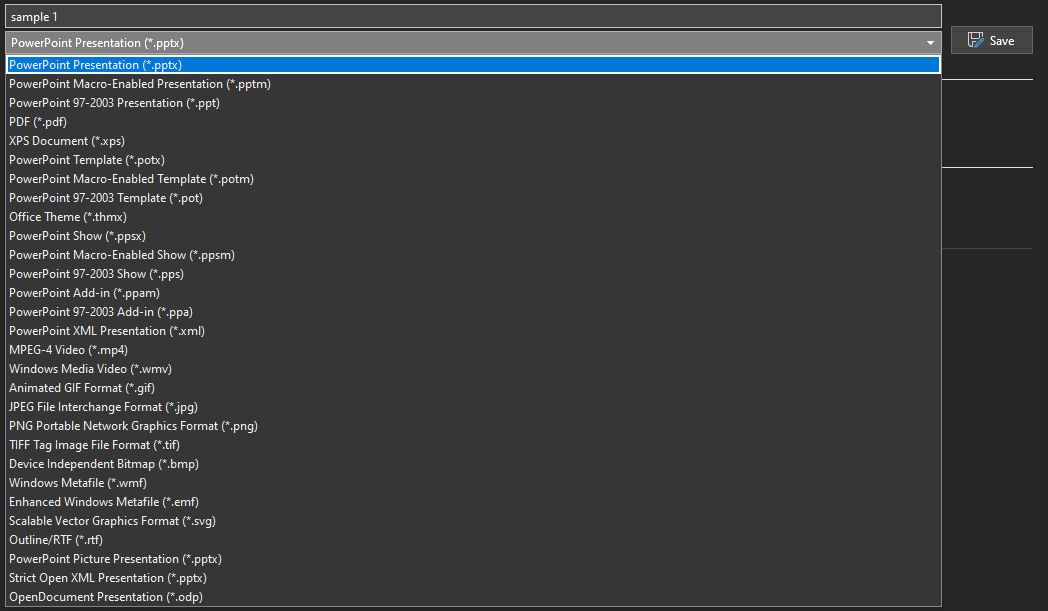
If you're using the latest version of Microsoft Office, it's best to use the latest file formats. The old file format called PPT, designed for Microsoft Office 2003 and older, uses up more space than the newer PPTX file format.
While older versions of PowerPoint may not be able to open your file, the smaller file size means your presentation would fit in your email as an attachment. Furthermore, those who don't have the latest version of PowerPoint can instead use Microsoft Office Online, or even Google Slides, to view your presentation.
7. Zip It
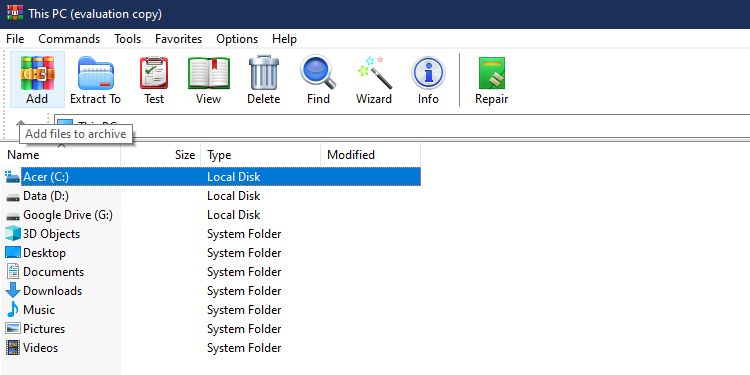
As a last resort, you can compress your presentation's file to reduce its size. You can use several free tools to do just that. They're also widely popular, so your recipient won't have much trouble decompressing your file.
Save on Space
If your PowerPoint presentation is too large to attach to your email, you can reduce its size by following the above steps. They're simple, quick, and easy to do. And if in case you find your presentation's file size bigger than your allocated limits, you still have a couple more solutions.
The first one is to upload it onto the cloud and just share the file's link with your recipient. The second is to cut your presentation into two and then send them in two separate emails. Be sure to add a slide to your first file indicating there's a part two!
But no matter what you choose, reducing your file's size should be the last thing on your mind. Focus on your content and make it your best presentation ever first. All the other things you need to do will soon fall into place once you've finalized your output.


