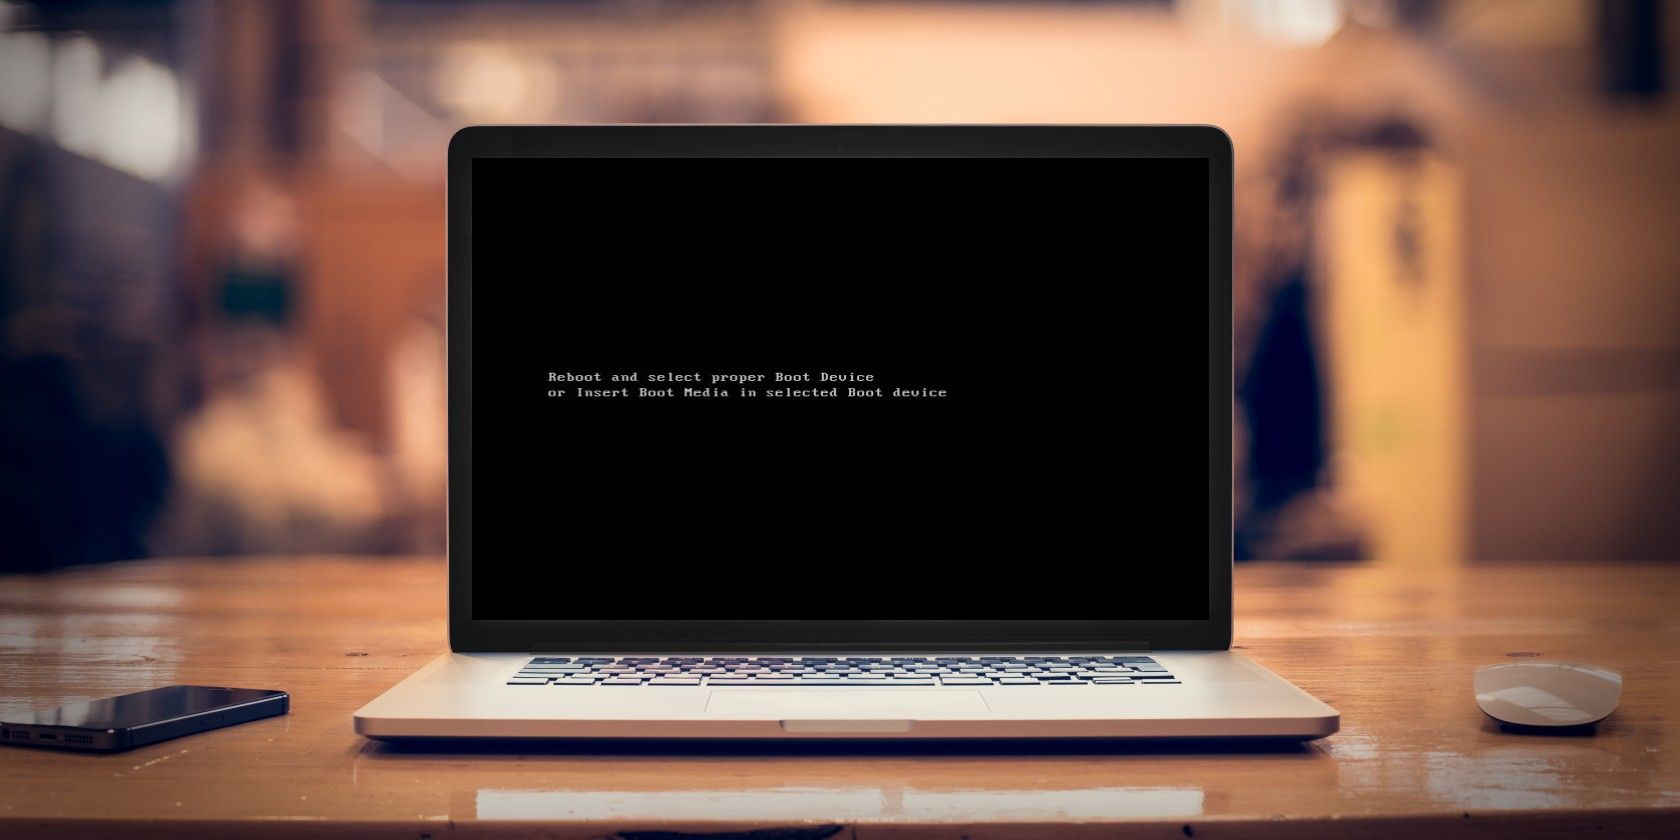
You're just settling down for a mega work session. You switch your computer on, and an error appears: Reboot and Select Proper Boot Device. Hold on, what does that even mean? The computer was working fine when you switched it off, and now it isn't working at all? If your system throws up the reboot and select proper device error, check out the fixes below.
What Is the Reboot and Select Proper Boot Device Error?
The "reboot and select proper boot device" error is your computer's way of telling you that it cannot find the operating system.
During the boot process, your system BIOS/UEFI figures out which hard drive your operating system is on. It then boots the operating system, and you arrive at the Windows 10 login screen. That's an extremely simplified version of events, but you get the gist of it.
If the BIOS fails to recognize where the operating system is, it won't load.
The reboot and select proper boot device error have a few possible causes:
- Corrupt BIOS/UEFI installation
- Corrupt hard drive
- Broken bootloader
- Damaged hardware
These aren't the only causes, but the root of a reboot and select proper device error usually relates to one of these areas.
So, how can you fix the reboot and select proper boot device error?
1. Check Your Connections
The first thing to check is the connection between your hard drive (or SSD) and your motherboard inside your computer. If your hard drive is not communicating with your motherboard correctly or has become completely disconnected, your operating system will not load.
Checking inside your computer case can seem a little overwhelming. You must unscrew the case, then check for disconnected cables.
Give Your Computer a Clean
While you have the side of your computer open, you should take this opportunity to clean your computer. Cleaning your computer might not resolve the reboot and select proper boot device error, but it can help protect against overheating and the issues that stem from that.
2. Wrong Drive Selected in BIOS/UEFI
If your hard drive is connected to the motherboard properly, you'll have to try a different fix. The next step is to check if your BIOS/UEFI recognizes your hard drive and your system boot order. From here, you can understand if the hard drive is the first thing your computer looks for when trying to load the operating system, or if something has replaced it.
To check this, you'll have to enter the BIOS.
- During the boot process, you must press the BIOS/UEFI access key. The specific key differs between computers, but commonly used keys include F2, F10, DEL, and ESC.
- Once the BIOS loads, locate a menu or tab named Boot or similar. Check for a menu named Boot Device Priority, Boot Option Order, or similar. The name varies between different motherboard manufacturers and the BIOS in use, but the menu content is the same.
- In the device priority menu, you need to check for two things. First, check your hard drive is on the list. If it is there, that's a good sign. The second thing to check is its boot position. The hard drive containing the operating system should be the first thing to load, and therefore should be Boot Option 1 or the BIOS equivalent. Ensure your operating system hard drive is in the first boot position.
- Now, save your BIOS settings, then restart your system.
After restarting your system, your operating system should load properly.
3. Windows Startup Repair
If you fix issues with the BIOS, or there wasn't an issue with the BIOS and boot order to begin with, you can try out two more solutions.
Windows Startup Repair from Advanced Options
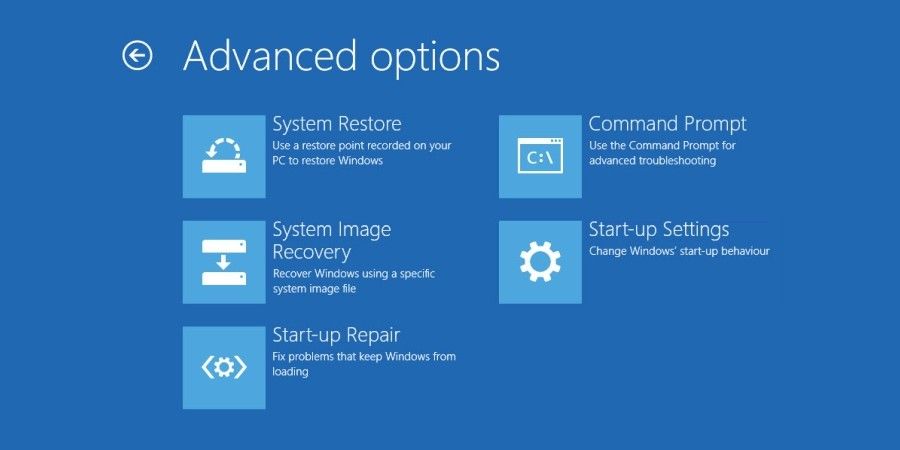
Use the Windows integrated Startup Repair feature. Windows Startup Repair will repair your boot issues automatically---but only if it runs.
When Windows has booting issues, it should launch Startup Repair automatically. When this happens:
- The Advanced boot options menu will open.
- Head to Troubleshoot > Advanced Options > Startup Repair.
- You'll then have to enter your password, after which the startup repair process will begin.
The Startup Repair process might take a while to complete, but it should fix your boot device error.
Fix Startup Using the Command Prompt and Windows Installation Media
If the advanced boot options don't open automatically, you can still access it using your Windows 10 installation media. That's the USB drive or disc with Windows 10 on it. If you don't have Windows 10 on a USB drive or disc, check out our guide on creating Windows 10 installation media, then head back for the next part of the tutorial.
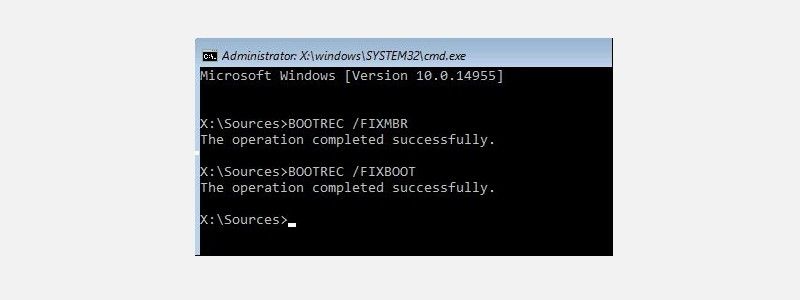
Once you have Windows 10 installation media ready, you can force your system to load the installation process. From there, you can repair the boot process manually, using the bootrec.exe tool.
- Insert the Windows 10 installation media, then switch your computer on.
- Tap either F2, F10, F12, or ESC to enter the system boot menu. These are some of the common buttons, but it does vary between systems.
- The Install Now button will appear. At this point, press Shift + F10 to open the Command Prompt.
-
Now, you must enter the following commands in order, pressing Enter each time:
        exe /fixmbr
bootrec.exe /fixboot
bootrec.exe /rebuildbcd - Once the process completes, you can restart your computer, removing the Windows 10 installation media and booting as normal.
Exporting and Rebuilding the Master Boot Record
If neither of these fixes works, there is a third fix that you can attempt. Microsoft recommends exporting and rebuilding the BCD store (the place your boot data is kept). You'll have to enter the Command Prompt using your Windows 10 installation media, as per the steps in the previous section.
When you arrive at the Command Prompt, you must enter the following commands in order:
        bcdedit /export c:\bcdbackup
c:
cd boot
attrib bcd -s -h -r
ren c:\boot\bcd bcd.old
bootrec.exe /rebuildbcd
The export and rebuild process should repair your reboot and select boot device error.
4. Set Active Partition
While you're using the Command Prompt via the Windows 10 installation media, there is another fix you can attempt. Windows DiskPart is an integrated system tool you can use to manage your hard drives and disk partitions. In this case, you can make sure your operating system hard drive is active.
Again, enter the Command Prompt using your Windows 10 installation media, as per the steps in the previous section. When the Command Prompt opens, complete the following process:
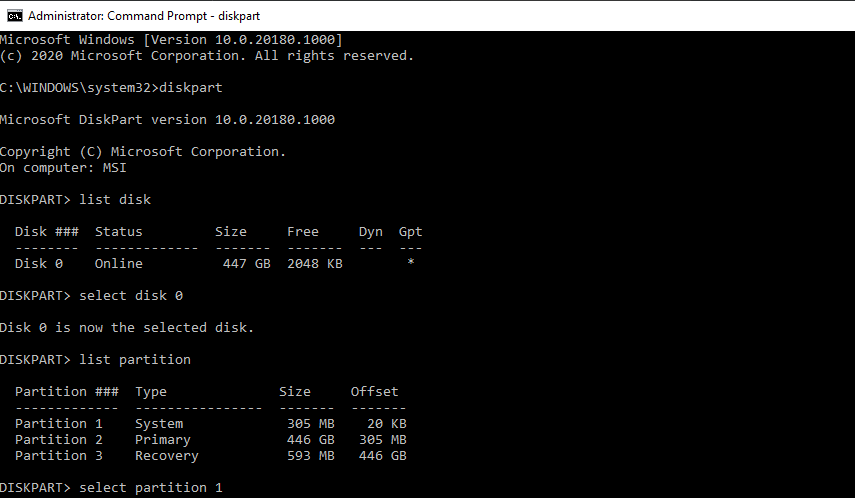
- Input diskpart to enter the diskpart tool.
- Now, input list disk to see a list of disks on the machine. You need to figure out which drive contains your operating system. The drive letter for your operating system is usually C.
- Once you find the correct disk, input select disk X (where X is the corresponding disk number).
- Input list partition to list the partitions on the disk. You need to select the system partition, which contains the bootloader (the bit of code that launches the operating system). In my case, I would input select partition 1.
- Now, input active to mark the system partition as active.
Reboot your system, and you should no longer encounter the boot device error.
Fixing the Reboot and Select Proper Boot Device Error
The reboot and select proper boot device error is frustrating. It appears without warning and can cripple your computer, leaving you locked out of your important files. You can use one of the fixes to restore your boot devices to their proper order and regain access to your computer.


