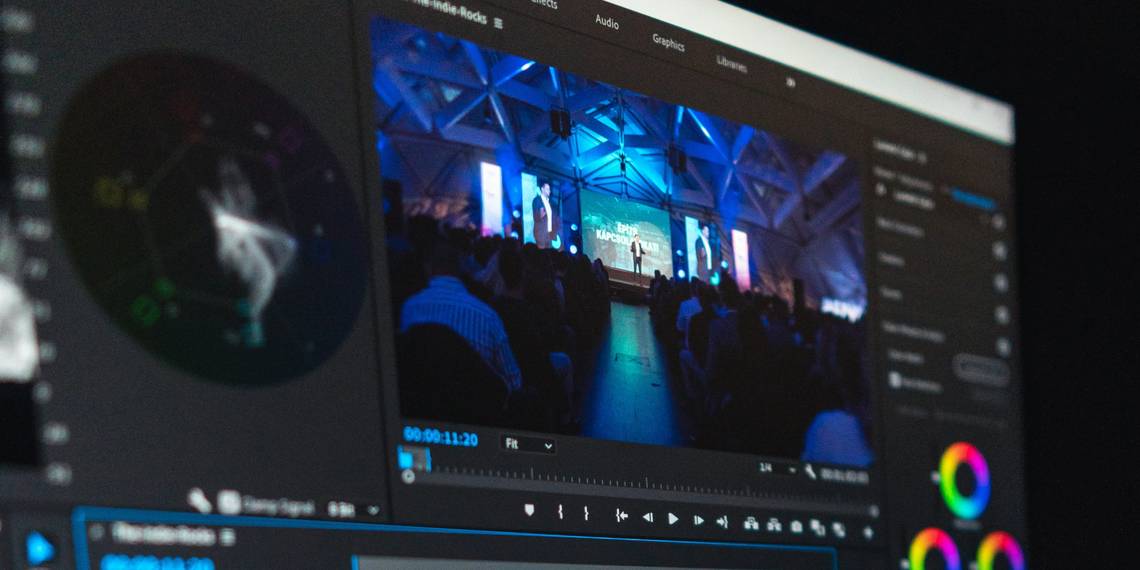
Coloring video footage can sometimes feel like a gamblin' man's game. Sure, the grade of the video feels correct, but, how would it look on, say, an iPhone?
Are you often coloring footage covertly, in public, and on an uncalibrated laptop? If so, the fear of delivering something that looks sub-par is likely a constant source of inspiration for your work. Thankfully, Adobe Premiere provides several scopes for the faint of heart—the Waveform, the Histogram, and the Vectorscope.
In this explainer, we'll go over each one briefly and discuss how all of them can aid you in your quest for the most attractive frame possible.
What Are Lumetri Scopes?
The Waveform, the Histogram, and the Vectorscope are scopes used as calibration tools whenever you color footage in Premiere. They stand strong as an objective source of information about the color and tonal values present in the image.
Why bother using the Lumetri Scopes? Human sight is a finicky thing—most technicians know better than to trust their own eyes when grading. These scopes are free of the bias of a poorly-calibrated laptop and screen-fatigued eyes after another long night in the suite.
With your scopes up and in your face, you never really have to decide for yourself whether or not a highlight is clipping or if a shadowy area in the frame is dropping out. The program just tells you.
What Is a Waveform?

The Waveform scopes in Premiere are used to assess the image for luminance—the lightness or darkness of each value represented in the frame. The strength of the signal of each pixel is represented on the Waveform accordingly.
You'll notice that the brighter an area of the frame is, the higher up within the scope it will be. The idea is to fill the scope as evenly and fully as possible without hitting the top or the bottom with any of the values in the frame.
You've got two Waveforms to refer to in Premiere: the composited RGB Waveform and the RGB Parade. The RGB Parade Waveform pulls each of the image's three chromatic channels apart from the rest so that they can be read side-by-side.

Clicking on the wrench icon at the bottom pulls up a context window that shows all of the other scopes that you can refer to in Premiere; right-clicking on the Lumetri Scopes panel itself will call up the same list of options. You'll notice that the Waveform option is ghosted, but that's just because it's the only one up currently. Click on the Parade (RBG) Waveform to see them both at once.

Aside from these two variations, you've also got a few additional options for each. You'll find them in the aforementioned context menu by hovering over Parade Type or Waveform Type.
You can choose to display your Waveform in RGB mode, the default, Luma mode, and YC mode with or without Chroma values included.

Your YC Waveform shows the chrominance and the luminance of the frame in blue and green, respectively; the YC no Chroma scope shows the green of the image's luminant values only.

Luma mode expresses the brightness of each pixel as they relate to one another in the frame.

The Parade can be shown in terms of either the RGB or YUV color space. Both of these versions can be displayed with color or without.
What Is a Histogram?

Much like the Levels adjuster in Photoshop, the Histogram conveys the relationships between your highlights, midtones, and shadows. If you're used to metering your levels as you shoot with your camera's Histogram, you already know how to read this scope.
Along the side will be a scale from 0 to 255, the standard scale used to evaluate any 8-bit image. The graph sprouting outward from this scale shows how prevalent any of these values are in the image. Your RGB channels are represented as well.
Saturation is not taken into consideration here, nor is hue or tone. Instead, the Histogram is useful for determining whether or not any part of the image is "peaking".
What Is a Vectorscope?

A Vectorscope is concerned with the color in an image. In Premiere, you can choose between the YUV Vectorscope and the HLS Vectorscope. YUV refers to the YUV color space, and HLS stands for hue, lightness, and saturation.
The Premiere YUV Vectorscope is labeled with all of your different color values—red, green, blue, magenta, yellow, and cyan. These boxes show you the levels that you should be aiming for as you grade your footage.
To read the HLS Vectorscope, you will refer to the very dim color wheel behind the live reading in white. The further that each point of data is from the center of the Vectorscope, the more saturated the value that it represents. Extremely saturated areas of the image will cause the appropriate values to spike on either Vectorscope. Black and white images will score a zero in all categories.
How to Use Lumetri Scopes in Premiere

After selecting a clip in your Timeline or in one of your Bins, click into the Window dropdown. To pull up your scopes, select Lumetri Scopes. By default, the Waveform will be the first scope displayed.

To display all of your scopes at once, you can choose from several scope presets. These are also accessible through either the wrench button or by right-clicking.

Here, you can see the All Scopes (RGB) preset. When two or more scopes are on-screen together, you can rearrange them by double-clicking on any of them.
You have a couple of display options aside from these presets, including the ability to choose the color space that you would like to be working with and a choice in terms of the brightness level of the scopes themselves. You can also toggle the Clamp Signal option on or off to constrain any values lower than 0 and higher than 100 to fall within the gamut of acceptable values. As you prepare to make your final delivery, you're going to want to make sure that this option is unchecked. This way, you'll be able to assess each shot technically before exporting.
No matter what your preferred configuration of displays is, you'll likely be using these scopes both for evaluating footage immediately after ingestion or while coloring your project after you've locked the picture.
Each scope focuses on a different aspect of coloring footage. All of them are useful in their own unique ways.
How to Read Lumetri Scopes in Premiere

All of the scopes in Premiere shine during different parts of the post-production pipeline. The Histogram, for example, is the one that you should be using when adjusting the shadows, midtones, and highlights of the image.

Blowing out the exposure of the clip with Lumetri causes each value on the Histogram to cluster toward the top.

Doing the opposite pushes them all down. The effect will be more subtle when actually coloring, but the principle remains the same.
When you're watching the Histogram closely, any holes in your highlights or shadows will be apparent immediately. Doing things by eye will be enough to get your footage in the ballpark of where you want it to be in a general sense. Using your scopes to ensure that you're not pushing through the ceiling or falling through the floor serves as an added layer of insurance.

Another scenario: skin is one of the most important things to get right as a colorist, and it can be really difficult to nail it by eye. The Vectorscope will be especially useful any time you've got human beings in-frame.
Picture the big hand of an analog clock at approximately 10:30. If your footage is well-calibrated, any human skin on the screen should be creeping up along this line, no matter what the actor's ethnicity happens to be. If it isn't, this handy guide gives you something tangible to be working these values toward.
As for the Waveform, this scope will be the first to tell you when a shot is over-exposed or under-exposed. It gives you a very clear reading of your shot's luminance in a global sense.
The RGB Parade, on the other hand, is great when coloring chromatic tones for continuity. You're able to compare the look of all of your footage and adjust each shot to match easily when everything is laid out.
Using the Lumetri Scopes: Color Correction Will Never Be the Same
Which is the best Lumetri Scope? We've all got our favorite. As you advance as an editor and as a colorist, you'll find new ways of implementing each of them into your routine. What's most important is listening to them when they're telling you that something is awry.
A second pair of eyes in the editing bay never hurts. In lieu of that, however, the Lumetri Scopes stands solidly as a surrogate assistant.