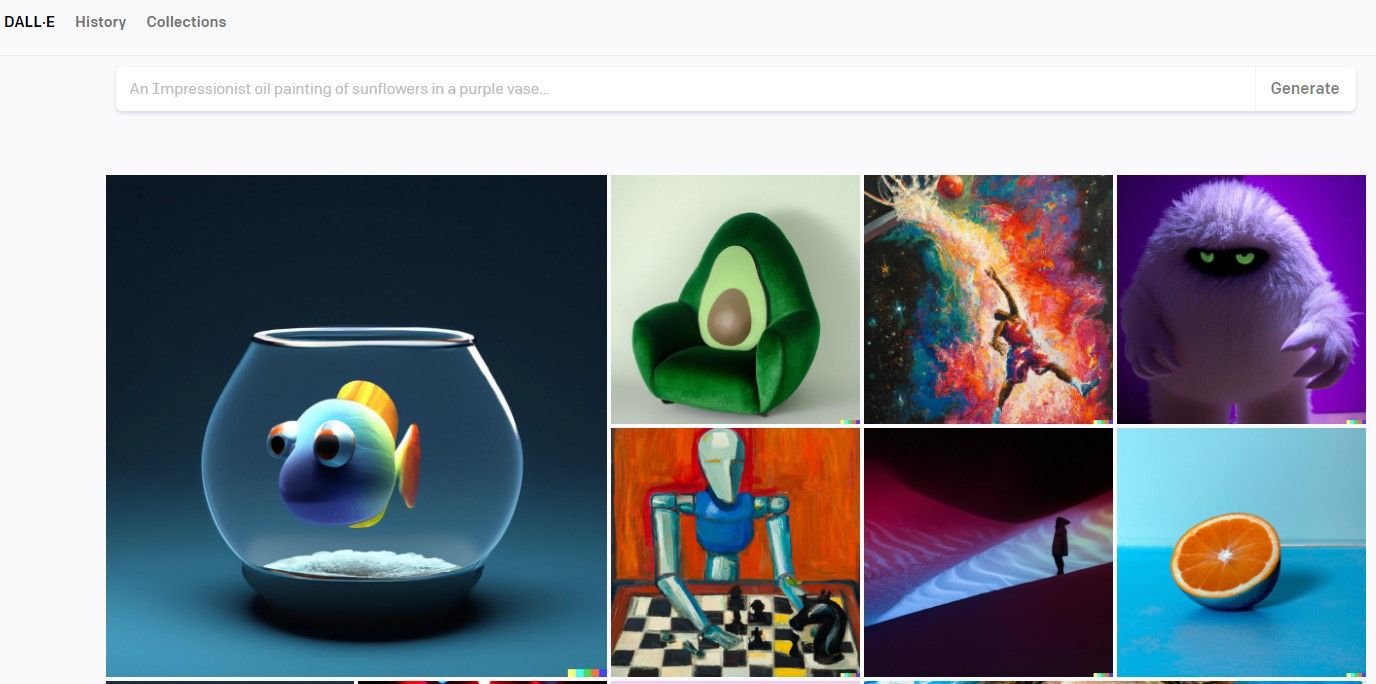
Artificial intelligence is continuously improving and can now create astonishing images. A recent viral example depicted the world's wealthiest and most influential individuals in torn clothes, living in a slum environment. What's impressive about the images is the high level of detail captured in both the people and their surroundings.
Language models like DALL-E and Midjourney power these image-generating capabilities, taking in textual descriptions as input and generating captivating images.
Learn how to integrate OpenAI's DALL-E API to generate images in a React application.
Image Generation Using OpenAI's DALL-E Language Model
How does the DALL-E language model actually generate images? Without digging too deep into the complexities of AI image generation, DALL-E first interprets the textual descriptions fed to it as inputs using natural language processing (NLP). It then renders a realistic image that closely matches the given description.
The input prompts can include textual descriptions of a person, object, or scene. Additionally, it can also include details such as a particular color, shape, and size. Regardless of the complexity or simplicity of the input text, DALL-E will generate an image that closely matches the input description.
It's important to note that the language model, just like other models, was trained on a large dataset with millions of image data to learn how to identify and generate photorealistic images from given inputs.
Getting Started With OpenAI's DALL-E API
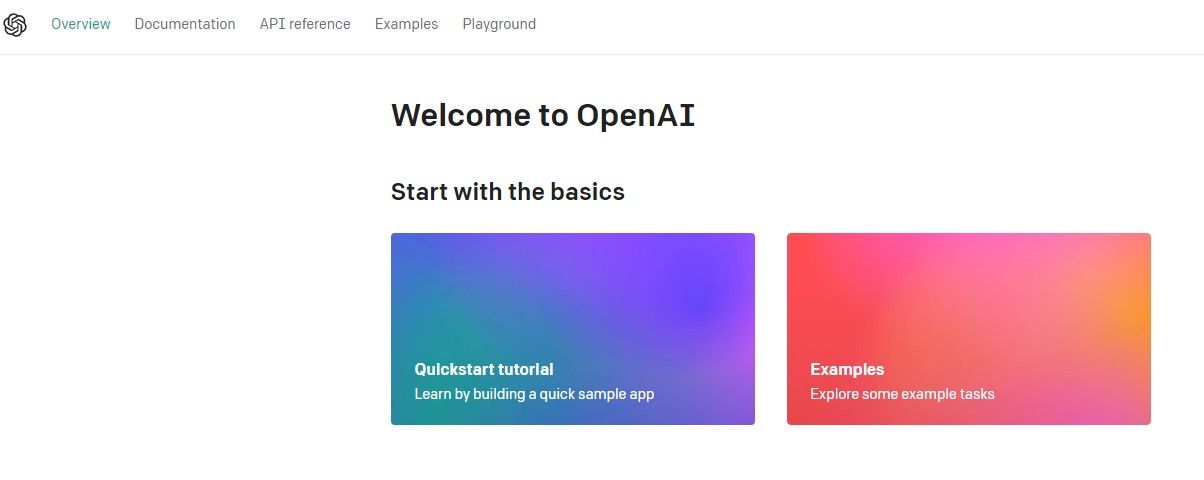
OpenAI's DALL-E API is available for usage as a public beta. To integrate the API for usage in your React application, you will need a key for OpenAI's API. Head over to OpenAI and sign in to your account overview page to grab your API key.
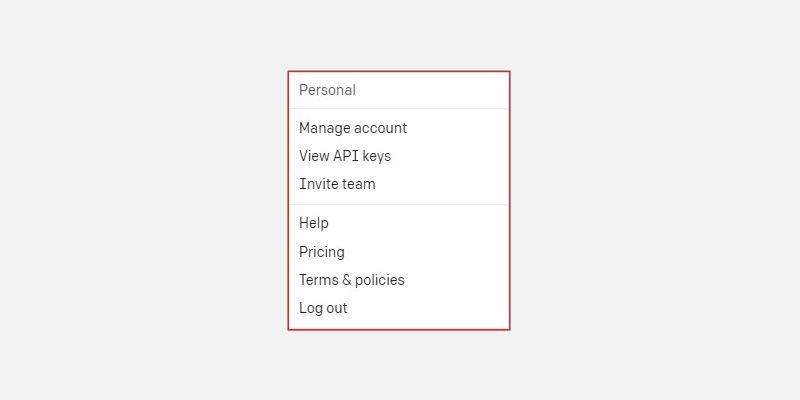
Once you sign in, click on the user profile icon on the top-right section of your overview page. Next, select and click on View API keys.
On the API Keys settings page, click on the Create New Secret Key button, provide a name for your API key, and click on Create Secret Key to generate your API key.
Create a React Project
Run the commands below on your terminal to create a new React project locally. Note, you should have Node.js installed.
Refer to these two articles to learn how to install Node.js on Windows and how to install Node.js on Ubuntu.
        mkdir React-project
cd React-project
npx create-react-app image-generator-app
cd image-generator-app
npm start
Alternatively, instead of using the create-react-app command, you can use Vite to set up your React project. Vite is a build tool designed for building web applications quickly and efficiently.
Integrate OpenAI's DALL-E API to Generate Images
Once you have your React application up and running, install OpenAI's Node.js library for usage in your React applications.
npm install openai
Next, in the root directory of your project folder, create a new .env file to hold your API key.
REACT_APP_OPENAI_API_KEY = "API KEY"
You can find this project's code in this GitHub repository.
Create an Image Generator Component
In the /src directory, create a new folder, name it components, and create a new file inside it named ImageGenerator.js. Add the code below to this file.
Start by importing the required modules:
        import '../App.css';
import { useState } from "react";
import { Configuration, OpenAIApi } from "openai";
The Configuration module configures OpenAI's API client for usage, while the OpenAIApi module provides methods to interact with OpenAI's API. These two modules make it possible to access and use DALL-E's features from the React application.
Next, define a functional component and add the following code to it:
        function ImageGenerator() {
    const [prompt, setPrompt] = useState("");
    const [result, setResult] = useState("");
    const [loading, setLoading] = useState(false);

    const [placeholder, setPlaceholder] = useState(
      "Search for a lion with Paint Brushes painting the mona lisa painting..."
    );

    const configuration = new Configuration({
      apiKey: process.env.REACT_APP_OPENAI_API_KEY,
    });

    const openai = new OpenAIApi(configuration);

    const generateImage = async () => {
      setPlaceholder(`Search ${prompt}..`);
      setLoading(true);

      try {
        const res = await openai.createImage({
          prompt: prompt,
          n: 1,
          size: "512x512",
        });

        setLoading(false);
        setResult(res.data.data[0].url);
      } catch (error) {
        setLoading(false);
        console.error(`Error generating image: ${error.response.data.error.message}`);
      }
    };
This code defines a React functional component called ImageGenerator. The component uses several state variables to manage the input prompt, output result, loading status, and placeholder text.
The component also creates a configuration object for the OpenAI API client, which includes the API key retrieved from the environment variable.
The asynchronous generateImage function will run when the user clicks a button, passing along the user prompt.
Then, it calls the openai.createImage method to generate an image based on the given prompt. This method returns a response object that includes the generated image URL.
If the API call succeeds, the code updates the result state variable with the URL, and sets the loading status to false. If the API call fails, it still sets the loading status to false, but also logs an error message to the console.
Finally, render the React JSX elements that make up the Image generator component.
            return (
      <div className="container">
        { loading ? (
        <>
          <h3>Generating image... Please Wait...</h3>
        </>
        ) : (
        <>
          <h2>Generate an Image using Open AI API</h2>

          <textarea
            className="app-input"
            placeholder={placeholder}
            onChange={(e) => setPrompt(e.target.value)}
            rows="10"
            cols="100"
          />

          <button onClick={generateImage}>Generate an Image</button>

          { result.length > 0 ? (
            <img className="result-image" src={result} alt="result" />
          ) : (
            <>
            </>
          )}
        </>
        )}
      </div>
    )
}

export default ImageGenerator
This component's code conditionally renders different elements based on the value of the loading state variable.
If loading is true, it shows a loading message. Conversely, If loading is false, it shows the main interface for generating an image using the OpenAI API consisting of a textarea that captures the user prompts and a submit button.
The result state variable holds the generated image URL which is later rendered on the browser.
Update the App.js Component
Add this code to your App.js file:
        import './App.css';
import ImageGenerator from './component/ImageGenerator';

function App() {
  return (
    <div className="App">
      <header className="App-header">
       <ImageGenerator />
      </header>
    </div>
  );
}

export default App;
Now you can go ahead and spin up the development server to update the changes and navigate to http://localhost:3000 with your browser to test the image generation functionality.
To get the best possible results when using an AI tool to generate an image, make sure to provide a detailed prompt in the textarea. This means describing the image as thoroughly as possible, leaving no detail out.
This process is called Prompt Engineering, and it involves providing detailed prompts so that the language model can produce the best results based on the provided user inputs.
Given the recent surge in AI software available on the market, pursuing a career in Prompt Engineering can be a lucrative opportunity.
Maximize the Power of Language Models in Software Development
AI tools powered by large language models have taken the field of Software Development by storm because of their incredible features and capabilities.
These tools possess the potential to improve the current software ecosystem by allowing developers to integrate cool AI features that enhance the usage of different products—utilizing AI technology presents a unique opportunity to build software in innovative ways.


