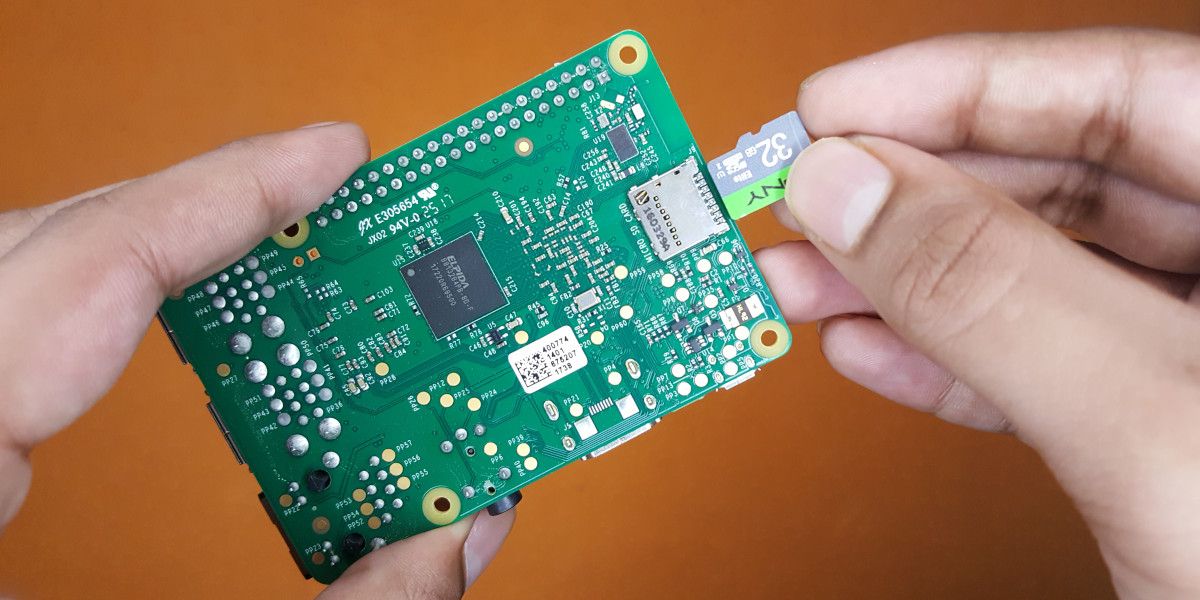
Despite its small size and low cost, a Raspberry Pi single-board computer can be used to run servers. In fact, server hosting is one of the most popular uses for a Raspberry Pi, and for good reason. They are cheap, power-efficient, and very powerful for their size. However, there are several factors that need to be taken into consideration when choosing a Raspberry Pi to run your server.
Benefits of Using A Raspberry Pi as a Server
First, let’s take a look at some of the benefits of using a Raspberry Pi as a server.
- Raspberry Pis are very affordable: The Raspberry Pi line of single-board computers ar renowned for their low cost. The flagship Raspberry Pi Model 4B is priced starting from $35. In contrast, the cheapest hosting plan offered by Bluehost, a popular hosting provider, is about $100 per year. Hosting on the Raspberry Pi 4B is much cheaper, even after factoring in the other add-ons included in the Bluehost package.
- Raspberry Pis consume a tiny amount of power: All Raspberry models are designed to consume as little power as possible. The Model 4B consumes around 2–4 watts (depending on available IO and background processes) while idle, and this can mean huge savings on your power bill. By being efficient as possible with your server setup and reducing the overall load on the Pi, you can save even more. There is also the consideration that hosting on a Raspberry Pi can be more sustainable and better for the environment than using a hosting service provider.
- You are in full control with a Raspberry Pi: The Raspberry Pi affords you full control of your server. You can make necessary upgrades, such as adding an SSD or updating the operating system, immediately and without hassle. Also, by introducing concepts such as virtualization and containerization, you can expand the capabilities of your Raspberry Pi further.
Now you know the advantages, read on to discover the seven main aspects to consider when using the Raspberry Pi as a server.
1. Raspberry Pi ARM Architecture
Raspberry Pis are based on system-on-chips with CPUs based on the ARM architecture. This means that x86 and x64 applications will not run natively on the Raspberry Pi. If the application you are intending on your Raspberry Pi server doesn’t have a version for ARM, you might run into some trouble. However, if you are looking to install Plex, set up a Minecraft server on your Raspberry Pi, or any other software that is compatible with ARM, you have nothing to worry about.
2. Raspberry Pi Security
When using the Raspberry Pi as a server, especially if exposing it to the internet, it's essential to consider security. The following are certain security measures you should take to secure your Raspberry Pi server:
- Change the default username and password. It’s not so much of a deal if you are only using your Raspberry Pi on your local network, but leaving the defaults on an exposed Raspberry Pi is almost like asking to be hacked. Therefore, it is recommended that you change the username and password before opening your Raspberry Pi up to the internet. Be sure to use a very strong password. A good way to protect yourself is by setting up a strong password on your system through the sudo passwd terminal command.
- Keep the operating system updated. An up-to-date operating system is more likely to contain all the necessary patches that will keep your server safe from malicious hackers.
- Make sure that sudo requires a password, since it allows users to perform operations with superuser privileges. By making a password mandatory, you can ensure that hackers are restricted in their ability to inflict damage on your system in the event of an attack.
- Install Fail2ban: this log-parsing application scans for malicious activity in order to prevent DDOS or brute-force attacks on your server.
You can also set up a Cloudflare tunnel on your server to secure the files and pages hosted on it. For a detailed guide on how to secure your Raspberry Pi, be sure to read the official documentation.
3. Raspberry Pi Processor/Server Load
Processor load is another factor you need to take into consideration when setting up a Raspberry Pi server. You need to come up with at least reasonable estimates of how many operations will be running on the server at a time and how CPU-intensive they will be, as well as the maximum number of users that will be accessing the server at a time.
Due to its support for external graphics cards, albeit somewhat limited, a Raspberry Pi Compute Module 4 seems to be a better option if you’re going to be rendering graphics or doing any other graphically-intensive task.
4. Cooling of the Raspberry Pi Server
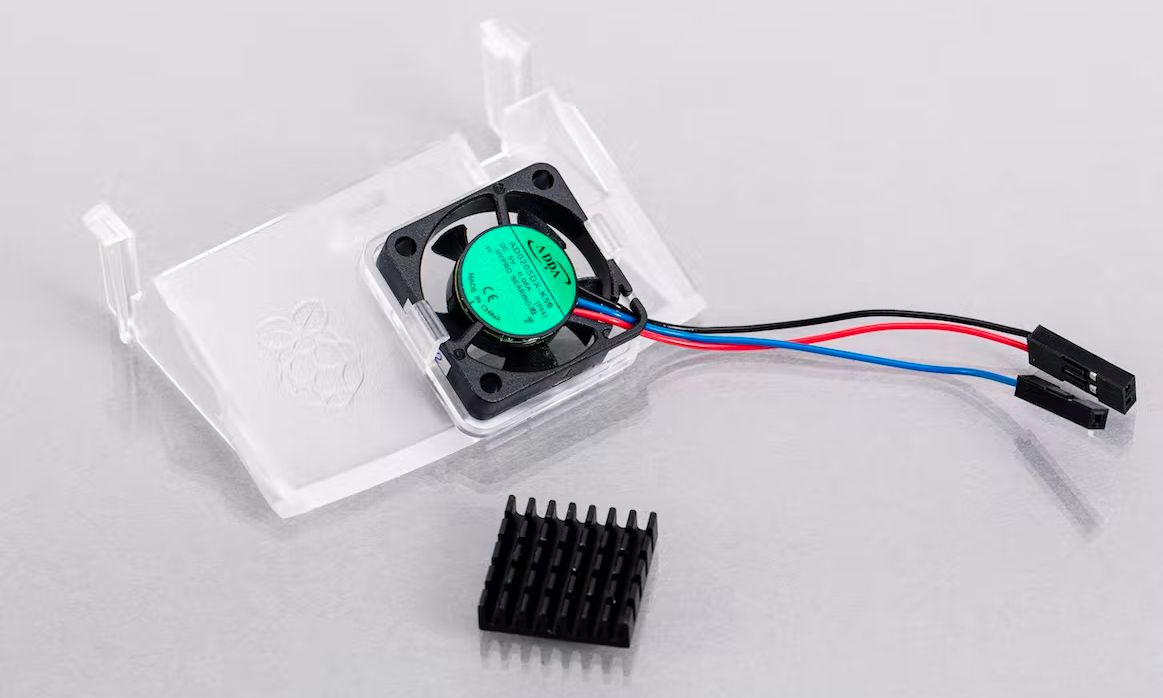
If you're going to be overclocking the CPU (running the processor at higher speeds than its rated maximum), then cooling becomes even more important. There are two main options when it comes to cooling: passive and active. Passive cooling utilizes metal heat sinks for heat dissipation and temperature regulation. Active cooling uses a fan blowing cool air at the processor to dissipate heat.
Active cooling is more effective than passive cooling, especially when running heavy loads. However, it consumes slightly more power, generates noise, and the fan is likely to wear out after some time.
You might not require cooling at all if you keep the load minimal, and you run the Raspberry Pi server without a case or simply use an open, plastic case.
5. Periodic Backups and Updates
Backups are an essential component in any server setup. Ideally, they should be automatic, stored on an external drive, and preferably encrypted. There are several ways you can go about backing up a Raspberry Pi server. For one, you can clone the entire SD card image and store it somewhere on your main computer or a USB stick. Other options include command-line applications such as rsnapshot, rsync, and rclone, which allow you to make periodic copies of your data.
6. Disk I/O of the Raspberry Pi Server
The storage media you choose will affect the overall speed of your server. Typically, an SSD (solid-state drive) is the best choice for storage on a Raspberry Pi. The benefits include a longer life span and much faster read/write speeds. If you opt for an SD card instead, be sure to choose a high-quality one for your Raspberry Pi.
Cheap SD cards are often slower and more prone to data corruption issues. When it comes to SD cards, reliability is much more important than read/write speed.
7. Scalability of the Server
It is crucial for a server setup to be scalable, especially if it’s hosting a growing website. A server that isn’t scalable will become overwhelmed by traffic and inevitably fail.
The most common way to scale a Raspberry Pi server is to add more Raspberry Pi boards to form a cluster. Sometimes known as a "bramble", a Raspberry Pi cluster can be set up to prevent server downtime or to allow for parallel computing.
These usually provide you with more processing power to handle spikes in website traffic at the expense of more electricity consumption. However, a Raspberry Pi cluster can only take you so far if your website traffic keeps growing.
Hosting a Server on a Raspberry Pi
It is possible to host a small web server on a Raspberry Pi as long as you keep the above factors in mind. Raspberry Pis are perfect for testing your web pages, hosting a media server, or a Minecraft server for you and your friends. You should keep in mind that the efficiency of your code also affects site performance, so keep this in mind when developing your website.

