Keeping track of everything you're supposed to know about your friends and family is hard work, and it's embarrassing when you introduce cousin Crystal's arm candy as her third husband, George, instead of her current spouse, Zach, at a family event. Getting these details wrong can precipitate all kinds of drama and feuds, and see your happy family dynamic devolve into a soap opera.
Monica is a self-hosted personal relationship manager which helps you to organize and record your interactions with loved ones. Here's how to install and use it on your Raspberry Pi server.
How to Install Monica Personal Relationship Manager on Raspberry Pi
Before you start, make sure your system is up-to-date, and install the prerequisites to set up your Raspberry Pi as a web server. Additionally, you should ensure your Pi is running at least PHP 8.1, along with some necessary mods:
sudo apt install -y php8.1 php8.1-bcmath php8.1-curl php8.1-gd php8.1-gmp php8.1-intl php8.1-mbstring php8.1-mysql php8.1-redis php8.1-xml php8.1-zip
Create a new directory for Monica in your home directory, then a subdirectory for storage:
        mkdir ~/monica
mkdir ~/monica/storage
Move into your Monica directory:
cd monica
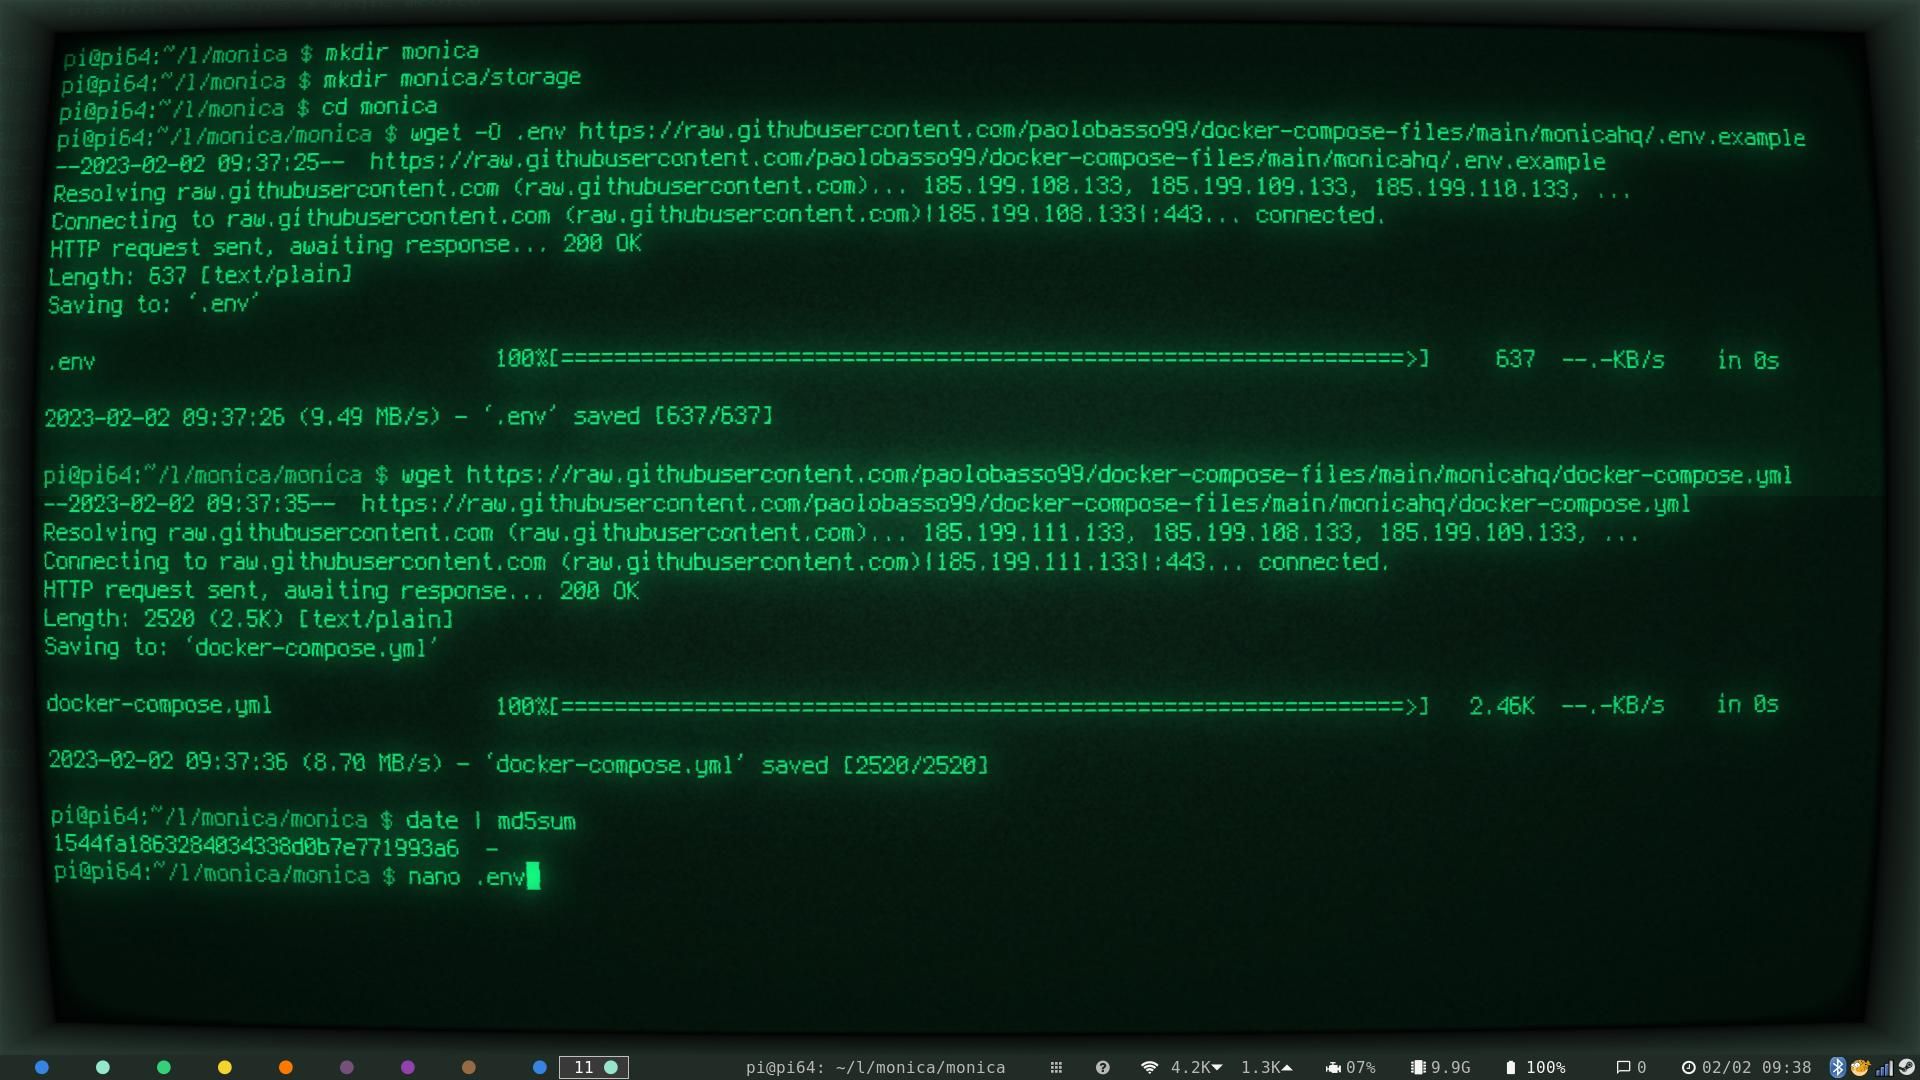
...and use wget to download two files:
        wget -O .env https://raw.githubusercontent.com/paolobasso99/docker-compose-files/main/monicahq/.env.example

wget https://raw.githubusercontent.com/paolobasso99/docker-compose-files/main/monicahq/docker-compose.yml
You will need to generate a 32-character app key. There are many ways you can do this, including typing in your favorite 32-character password. Our preferred option is to copy the output of the following command to the clipboard:
date | md5sum
Use the nano text editor to open the .env file:
nano .env
Change the TZ to your actual time zone, then paste your 32-character key into the MONICAHQ_APP_KEY field. Below this, you'll see fields for MONICAHQ_DB_ROOT_PASSWORD and MONICAHQ_DB_PASSWORD. Set appropriate passwords for each of these.
If you want your Monica instance to be able to send emails, consult your email provider for SMTP settings, and add them to the mail section here. Save and close nano with Ctrl + O then Ctrl + X.
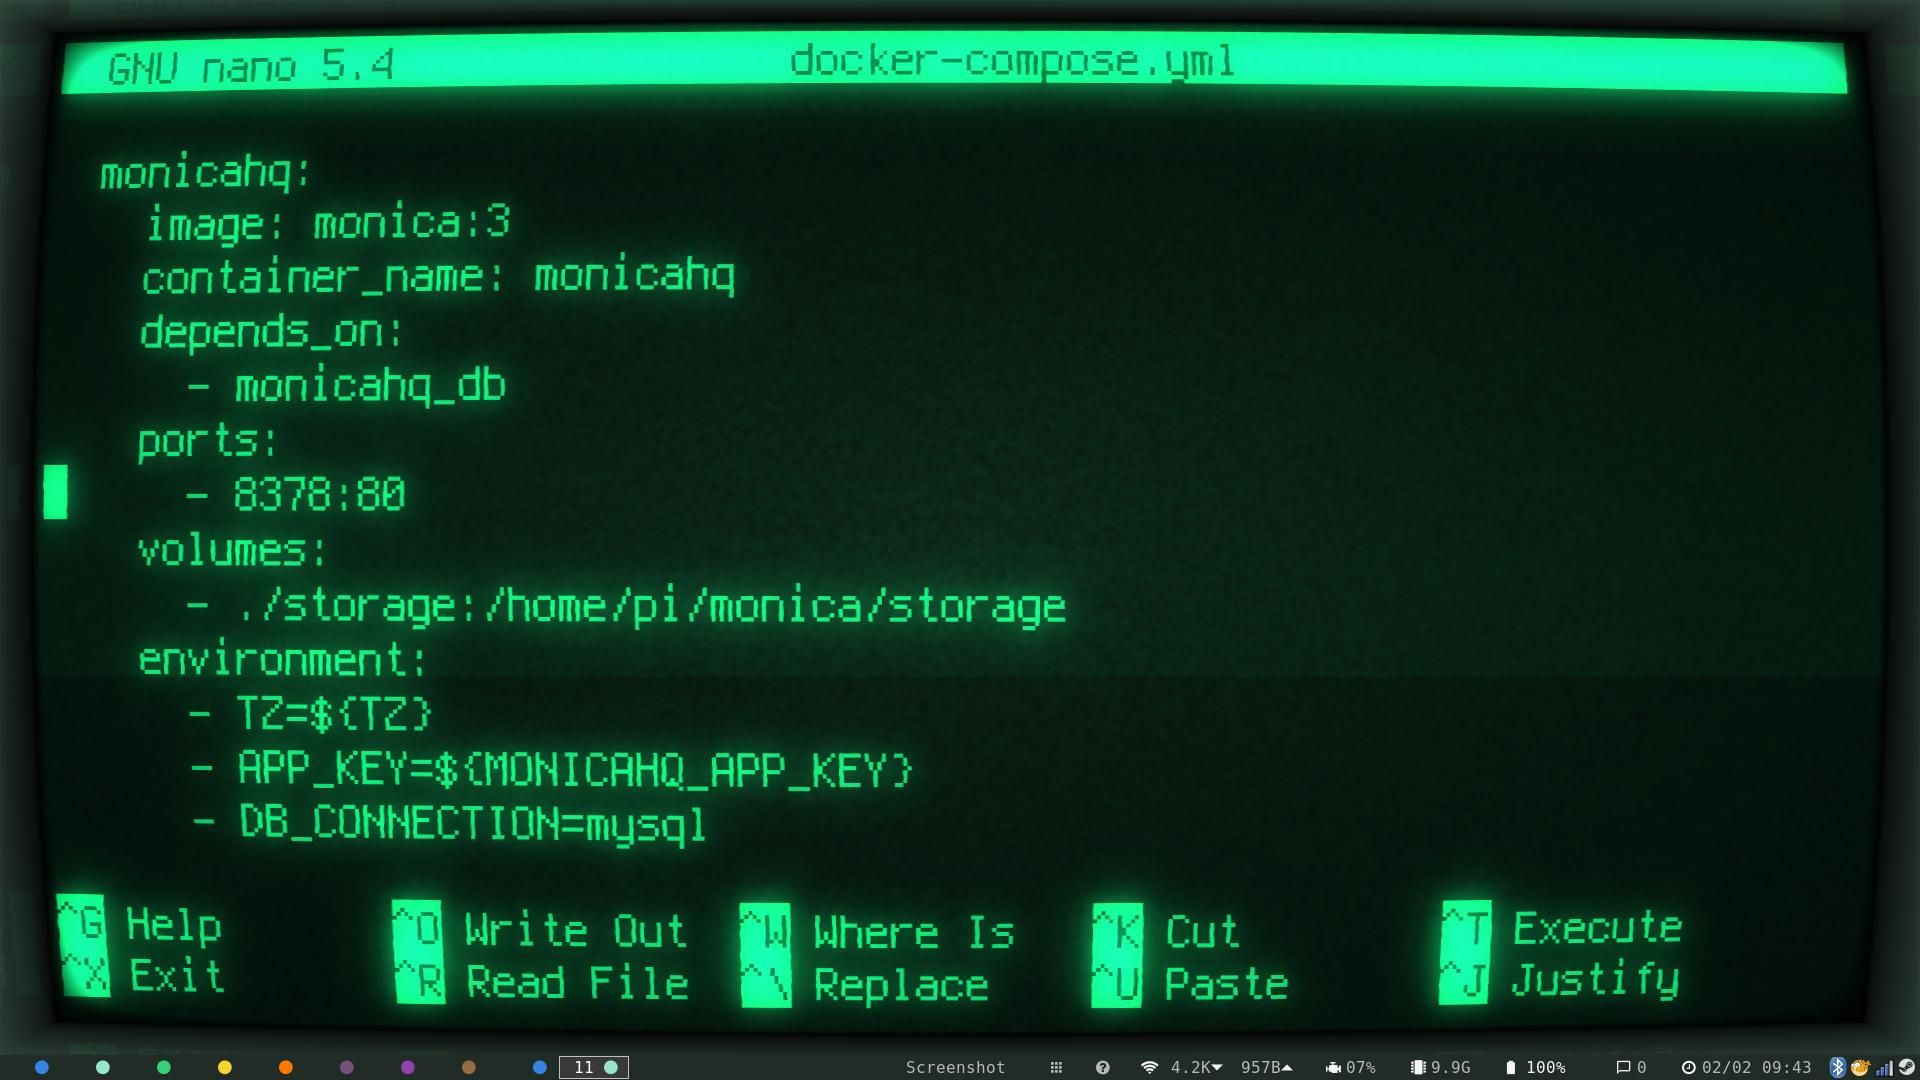
Next, you need to minimally edit the Docker Compose file:
nano docker-compose.yml
Look for the monicahq section; above the volumes entry, map an unused port to internal port 80:
            ports:
      - 8378:80
For volumes, change the storage path to that of the directory you created earlier. For instance:
- ./storage:/home/pi/monica/storage
Finally, at the top of the file, you'll see version: "3.9". This version has not yet trickled down into the default repositories used by Raspberry Pi OS. Change the value to 3.4. It will then work. Save and close nano with Ctrl + O then Ctrl + X.
The command:
docker-compose up -d
…will tell Docker Compose to download the necessary images, and set up containers.
You can now access Monica in any browser at http://your.local.pi.ip.address:8378. Visit the site and create a new admin user through the web interface.
Access Your Monica PRM From Anywhere
If you only ever contact your family and friends via telephone or Zoom video calling, running Monica on your local network is fine. But the situations where you need Monica the most are likely to be ones where you're away from your Raspberry Pi. We mean the kind of situations where you quickly have to hide behind a headstone while you try and work out how old your boss's kids are, or whether the exceptionally attractive individual gyrating at Uncle Bills birthday is your third cousin or only your second.
If you followed our initial guide, you already have the tools you need to connect to your Monica instance from anywhere you can get a signal. Create a new Apache config file for Monica:
        cd /etc/apache2/sites-available/
sudo nano monica.conf
In the new file, paste the following:
        <VirtualHost *:80>

   ServerName your-domain.tld

   ProxyPreserveHost On

   ProxyPass / http://localhost:8378/
   ProxyPassReverse / http://localhost:8378/

   ProxyPreserveHost On

   ProxyPass "/socket" "ws://localhost:80/socket"
   ProxyPassReverse "/socket" "ws://localhost:80/socket"

</VirtualHost>
Enable the new config, then restart Apache:
        sudo a2ensite monica.conf

sudo service apache2 restart
Use Certbot to fetch and deploy security certificates and keys:
sudo certbot
Select your domain name from the list, and restart Apache again:
sudo service apache2 restart
You can now visit your Monica instance from wherever you have ab internet connection, and all connections will be upgraded to HTTPS for greater security.
Use Monica to Help You Track Your Personal Relationships
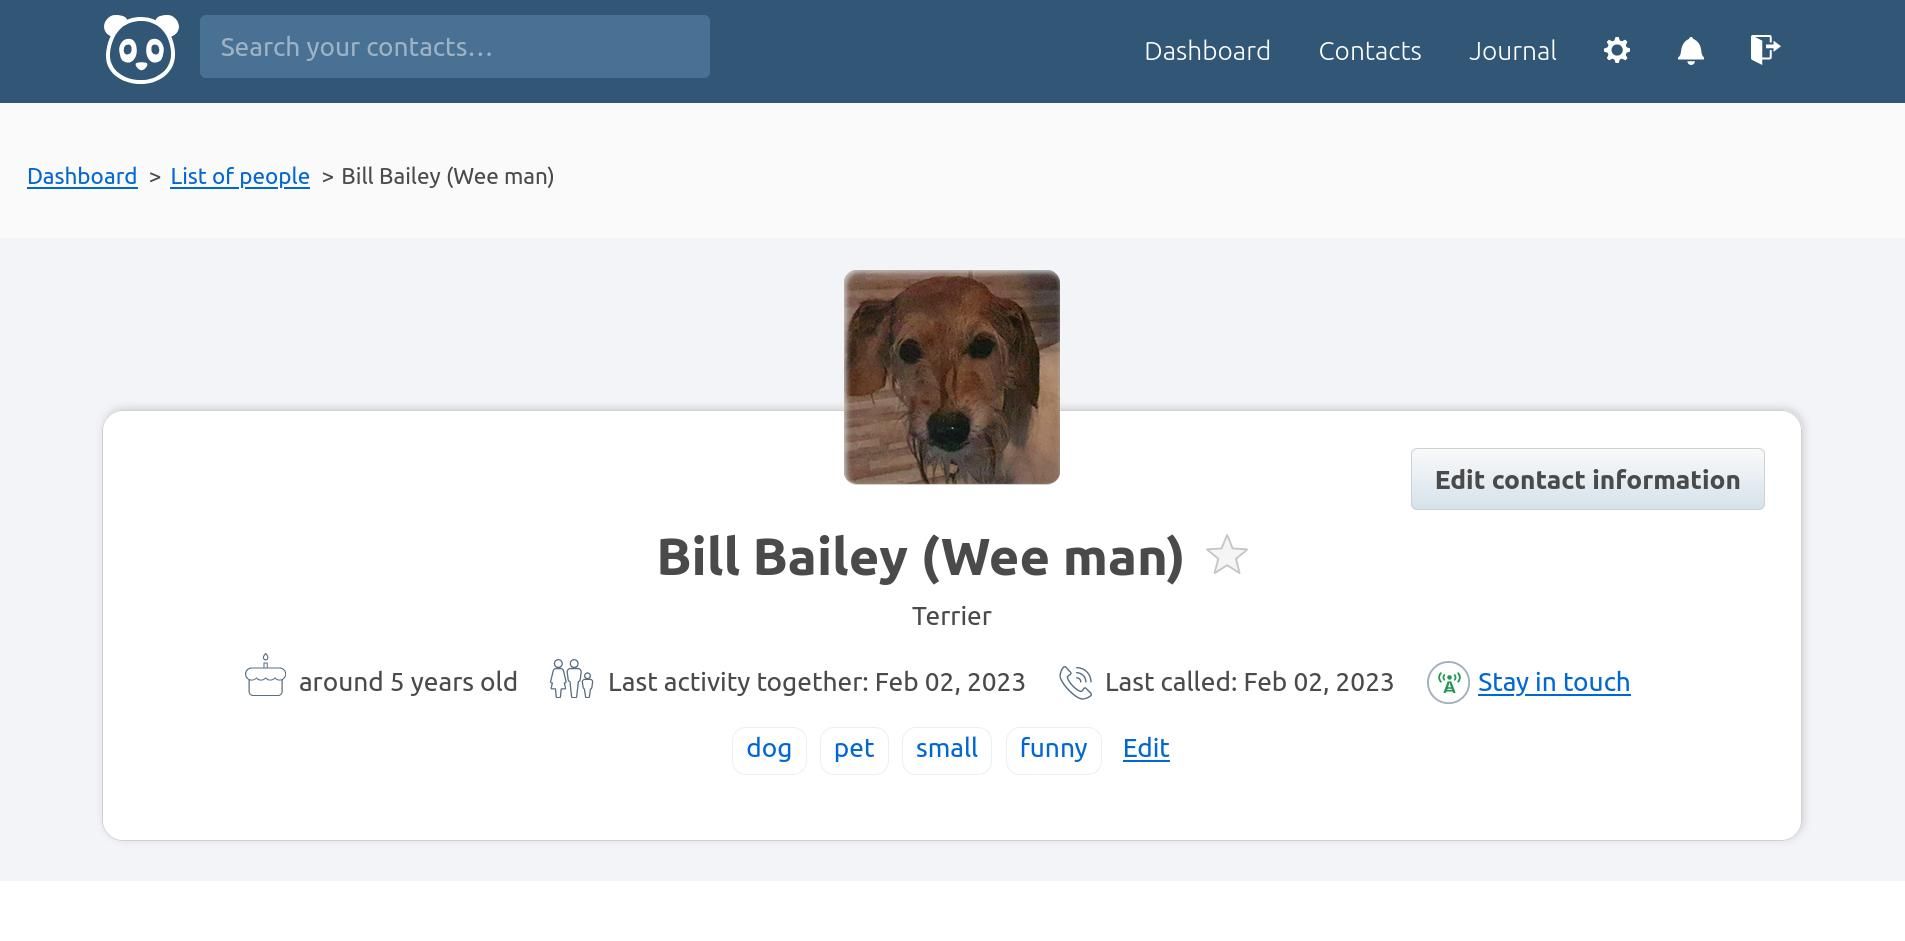
Once you've created your admin account, visit your Monica instance again, and log in using the details you supplied. The idea is simple: you create contacts for every person you interact with, then add everything you know about them, along with your relationships, friends in common, past interactions contact details, topics of conversation, and more.
Next time you meet or talk to them, you'll be able to prepare by pulling up the relevant details in advance. This is considerably better than fumbling around in the attic of your memory, and then dying of embarrassment in the awkward silence as you struggle to recall your old crush's high school nickname for you.
Right now, your Monica database has no entries. It's time to create some. In the top right of your dashboard, there's a big green button with "Add someone" written on it. Click it, and fill in the details on the next screen.
You can either add all of your contacts in bulk by importing a vCard (virtual business card), or fill out the basic name, email, and gender fields. Click the green Add button to start logging your interactions and other details.
You can easily add a photo of your contact by clicking on the empty avatar placeholder, and then add quick tags such as "school", "work", or "ex" for easy reference.
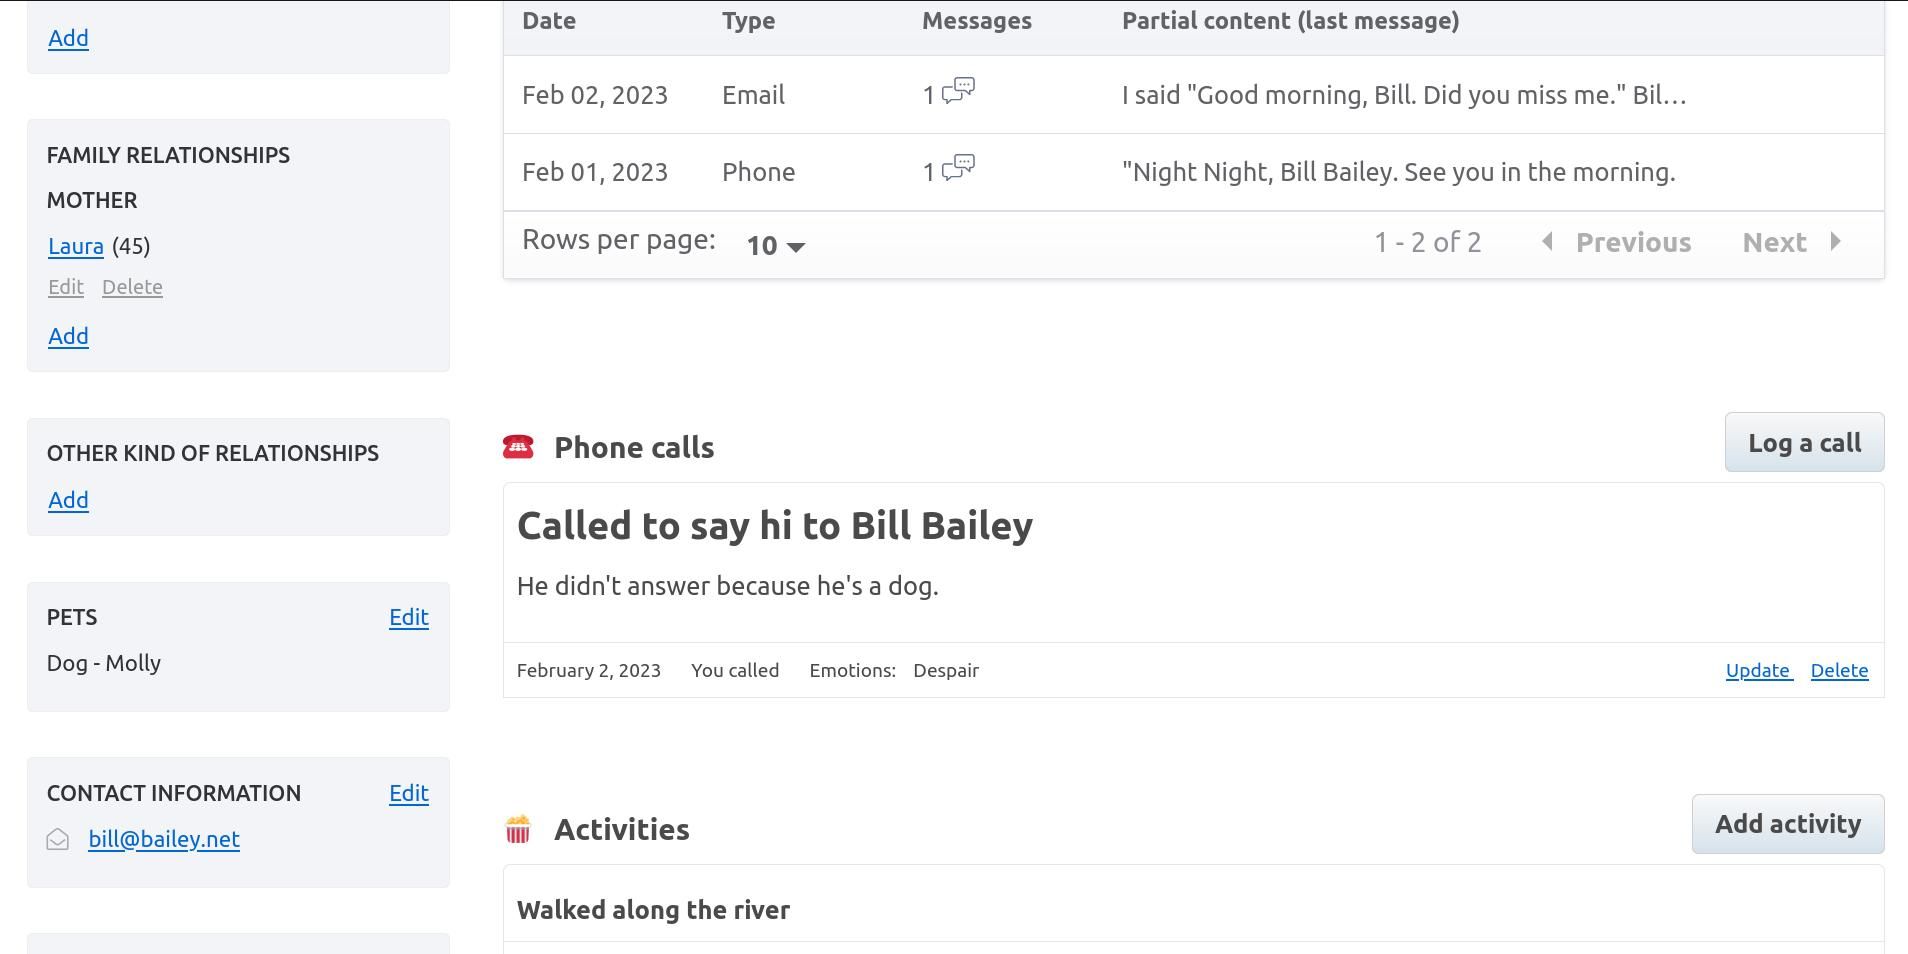
Logging conversations is simple. Click on Log conversation, then choose "yesterday", "today", or pick a date for when the conversation took place. You can also choose the means for it; options include email, Facebook, WhatsApp, or phone. There's no face-to-face or in-person option, but you can change this via the settings menu.
Phone calls are even easier. Click on Log call, and the section will expand to have today's date filled in, along with a radio button to select who initiated the call. You can jot down what was said, using either unformatted text or structured Markdown. You can also click through a categorized menu to record exactly how you felt during the call.
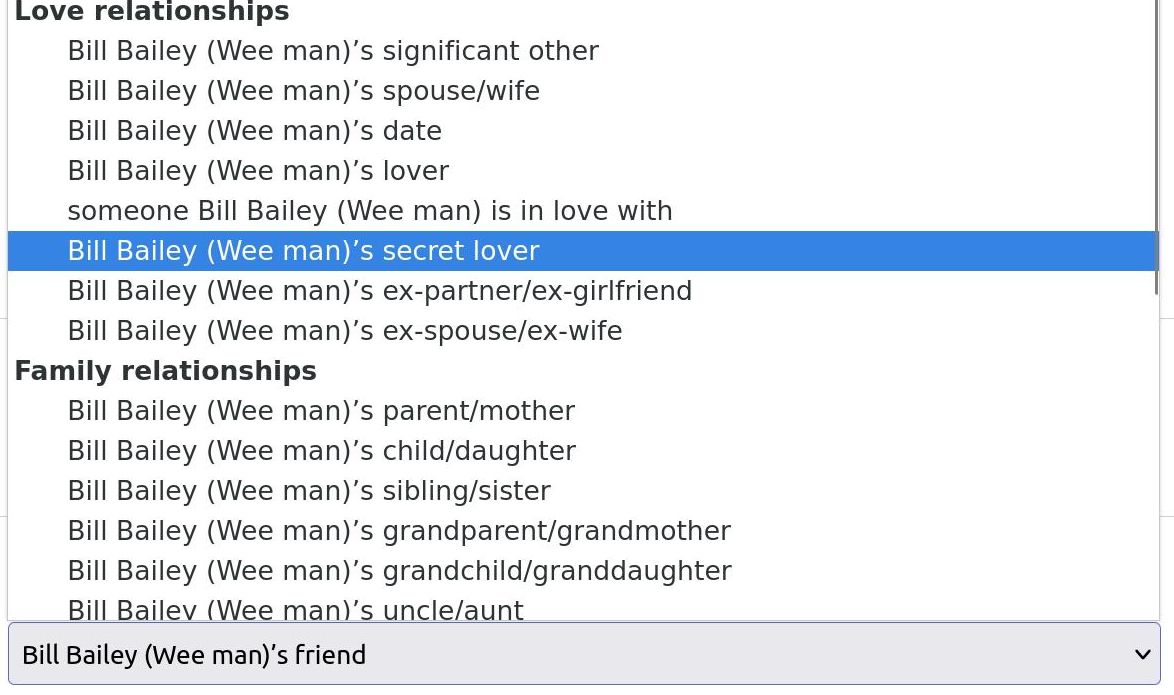
There are similar fields for activities, tasks, gifts, and whether your contact owes you money (or vice versa). Running vertically down the left of the screen are sections for your contact's relationships with other people. These include family relationships, love relationships, and work relationships. These are quick and easy to fill out. Click on Add a new relationship, and choose whether it's with an existing contact (already in your database) or someone new.
Monica knows that you may not yet have all the details of your sister's secret lover, so all you really need to put in is a first name. As gossip among your friends drips into your ear, you can update the profile. If you like, you can select gender, and there are age-related radio buttons to indicate that you don't know the person's age, that the person is "probably" a certain age, that you know the day and month of this person’s birthday, but not the year, or that you have their exact date of birth pinned down.
You can create a Contact entry, which will let you treat this person like any other contact, set a birthday reminder, and choose a relationship between your contact and their acquaintance. The default options are extensive, and you can add further entries to the dropdown menu in settings.
If you filled in the SMTP details of an email account in the .env file, Monica will automatically send you emails as reminders of upcoming birthdays. You can add other reminders for important dates for each contact by clicking the Add reminder button on the contact page.
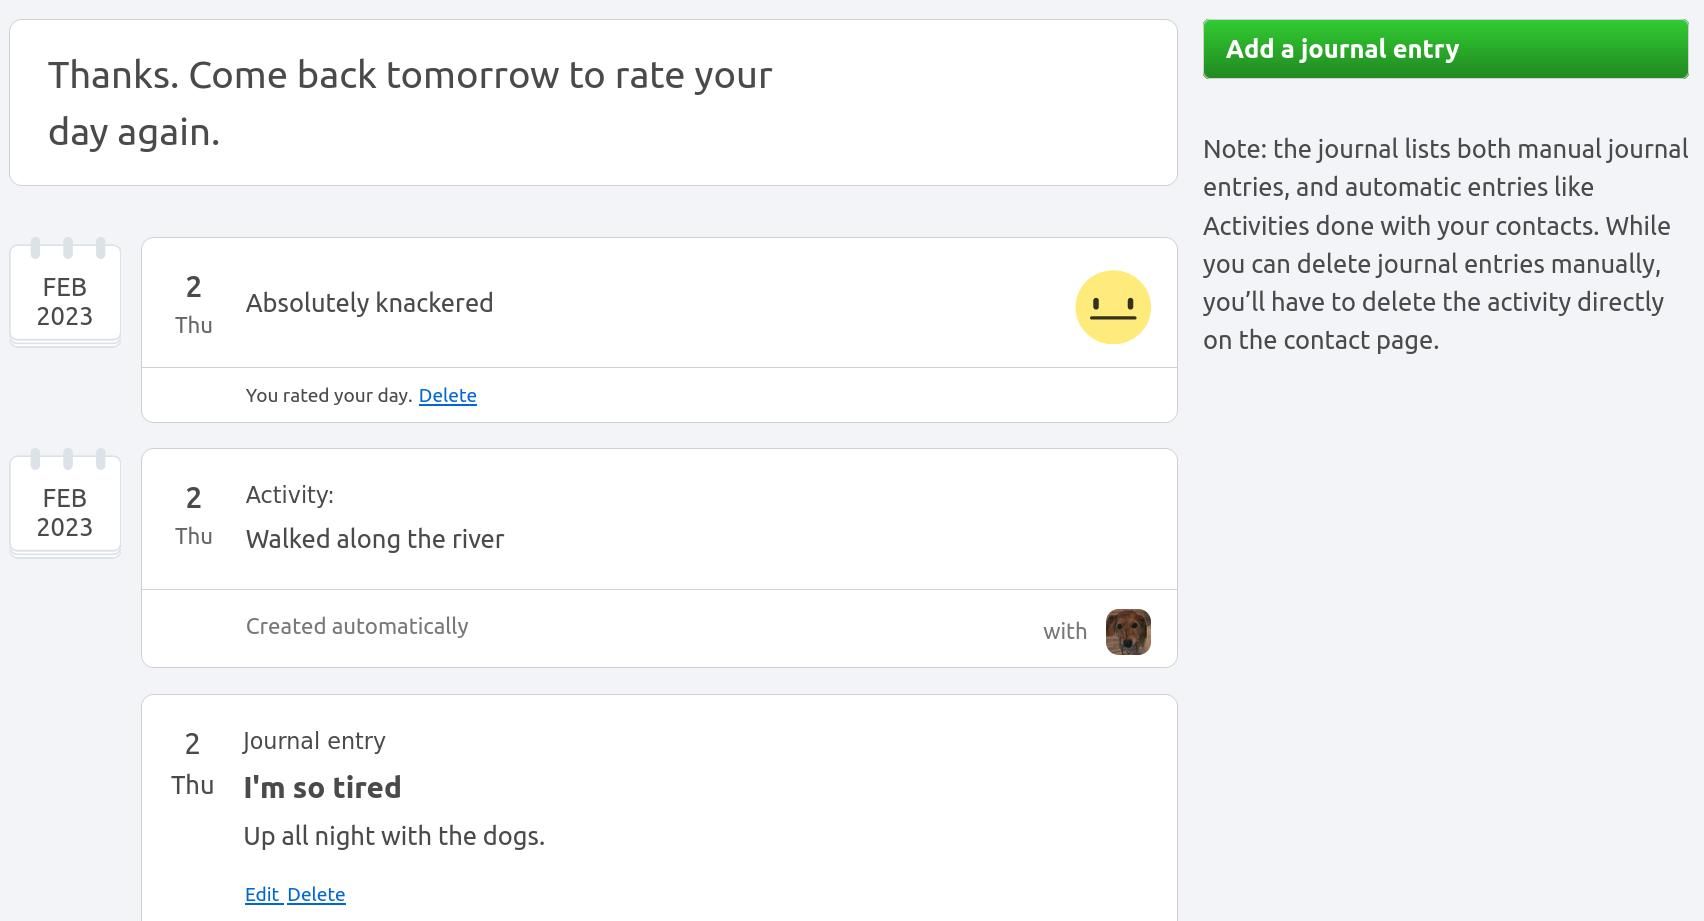
Monica also has a journal function, accessible through the menu bar of any page. The journal automatically populates with activities you've shared with others and recorded in Monica throughout the day. You can add activities and thoughts manually, and add a rating and comment for the day as a whole.
Everything in Monica everything is extensively linked together. You can click on a journal entry and leap to the profile of the contact with whom you shared an activity, then click on a tag in their tag cloud to find people with the same tag. You can jump to friends, lovers, work colleagues, and more.
When the sad yet inevitable eventually comes to pass, there's a checkbox at the bottom of the "edit contact" page which allows you to "Mark this as deceased".
Monica Helps You Maintain Good Relationships
Keeping track of a complex web of interpersonal relationships is easy with Monica, so long as you remember to keep your data updated and accurate. But first, you need to have relationships to keep track of. If you're looking for a romantic partner, checking out social media profiles is a great place to start!


