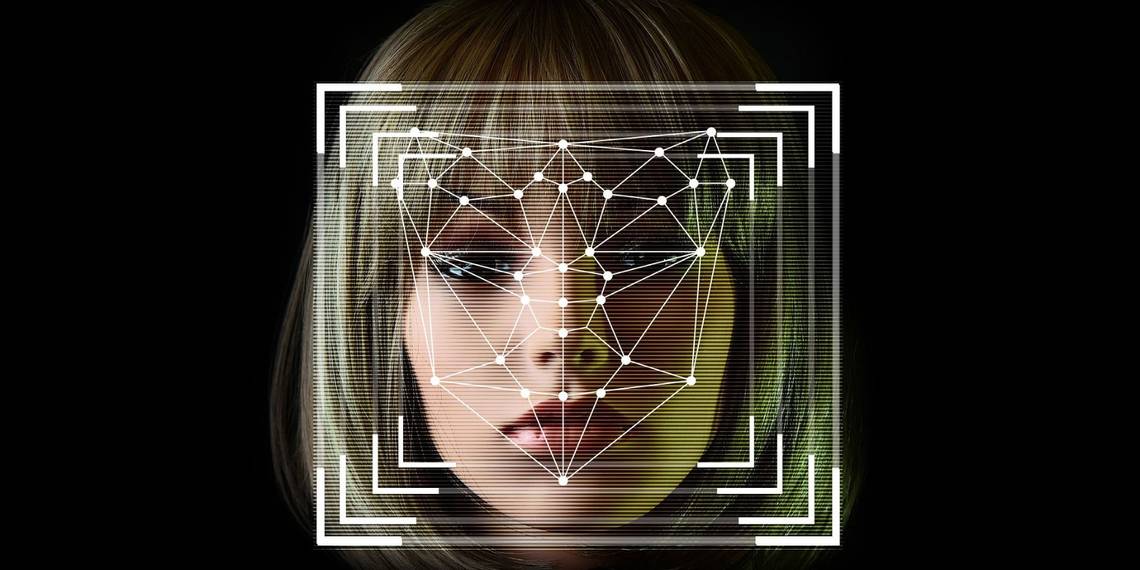
Have you ever wondered how Snapchat accurately applies various filters on your face? Is your smartphone performing magic when it unlocks using your facial features? No, you’re just watching Face Detection in action.
Face Detection is an Artificial Intelligence technology that can identify human faces in a digital image or video. Discover how you can build a real-time face detection program in under 25 lines of code with the legendary Haar Cascade algorithm.
What Is the Haar Cascade?
Haar Cascade is an object detection algorithm introduced by Paul Viola and Michael Jones to detect faces in images or videos. A cascade function is trained using many positive and negative images which can be later used to identify any object or face in other media. These trained files are available in the OpenCV GitHub repository.
Using a sliding window approach, a window of a fixed size iterates over an image from left to right, top to bottom. At each phase, the window stops and classifies if the area contains a face or not.
OpenCV, a computer vision tool, works with a pre-trained Haar Cascade model to classify the features. Each phase checks five features: two edge features, two line features, and one four-rectangle feature.

On observation, the eye area appears darker than the cheek area while the nose area looks brighter than the eye area. You can visualize these features in the below fashion.

Using these features and the computation of pixels, the algorithm identifies more than 100,000 data points. You can then use an Adaboost algorithm to improve accuracy and discard irrelevant features. Over many iterations, this approach minimizes the error rate and increases the feature weight until it achieves an acceptable accuracy.
However, the sliding window technique stops if a particular test case fails and it’s computationally expensive. To solve this, you can apply the concept of the Cascade of Classifiers. Instead of applying all the features in one single window, this approach groups and applies them in stages.
If the window fails the first stage, the process discards it, otherwise it continues. This leads to a drastic decrease in the number of operations to perform and makes it viable to use for real-time applications.
Workflow of Face Detection
Follow this algorithm to build your face detection program:
- Load the Haar Cascade Frontal Face Algorithm.
- Initialize the camera.
- Read frames from the camera.
- Convert color images into grayscale.
- Get the face coordinates.
- Draw a rectangle and put the appropriate message.
- Display the output.
What Is OpenCV?
OpenCV is an open-source computer vision and machine learning library. It has over 2,500 optimized algorithms for various applications. These include face/object detection, recognition, classification, and many more.
Privacy of your facial data is a separate concern. Hundreds of prominent companies such as Google, IBM, and Yahoo use OpenCV in their applications. Some people who aim to keep their data private have demonstrated there are ways to avoid facial recognition.
To install OpenCV in Python, use the command:
pip install opencv-python
How to Build a Face Detection Program Using Python
Follow these steps to build the face detector:
This example code, along with the Haar Cascade algorithm file, is available in a GitHub repository and is free for you to use under the MIT License.
- Download the Haar Cascade Frontal Face Default XML file and place it in the same location as your Python program.
-
Import the OpenCV library.
        # importing the required libraries
import cv2 -
Store the Haar Cascade Frontal Face algorithm file for easy referencing.
        # loading the haar case algorithm file into alg variable
alg = "haarcascade_frontalface_default.xml" -
Use the CascadeClassifier class to load an XML file into OpenCV.
        # passing the algorithm to OpenCV
haar_cascade = cv2.CascadeClassifier(alg) -
Capture the video from the camera. Pass 0 to the VideoCapture() function to use your primary camera. If you have attached an external camera you can use successive numbers 1, 2, and so on to use it instead.
        # capturing the video feed from the camera
cam = cv2.VideoCapture(0) -
Set up an infinite loop to read the camera input frame by frame. The read() function returns two parameters. The first value is of type boolean indicating if the operation is successful or not. The second parameter contains the actual frame that you are going to work with. Store this frame in the img variable.
        while True:
_, img = cam.read() -
Set the default text to appear as Face not detected. When detected, update the value of this variable.
text = "Face not detected" -
The input received from the real world is colorful, in the BGR format. BGR stands for blue, green, and red. This creates a lot of processing for computer vision applications. To reduce this, use a grayscale format.
            # convert each frame from BGR to Grayscale
grayImg = cv2.cvtColor(img, cv2.COLOR_BGR2GRAY) -
Use detectMultiScale() to detect faces. This method takes three parameters as input. First is the source image, grayImg. The second parameter is the scaleFactor. This specifies how much you have to reduce the image size at each image scale. Use the default value 1.3 as the scaling factor. The higher the scale factor, the fewer steps, and the faster the execution. However, there’s also a greater probability of missing faces. The third parameter is minNeighbors. This specifies how many neighbors each candidate rectangle should have to retain it. The higher the value, the lesser the chance of a false positive, but it also means missing out on unclear face traces.
            # detect faces using Haar Cascade
face = haar_cascade.detectMultiScale(grayImg, 1.3, 4) -
When you detect a face, you get four coordinates. x represents the x coordinate, y represents the y coordinate, w represents the width, and h represents the height. Update the text to Face Detected and draw a rectangle using these coordinates. The color of the rectangle is green (BGR) format with a thickness of two pixels.
            # draw a rectangle around the face and update the text to Face Detected
    for (x, y, w, h) in face:
        text = "Face Detected"
cv2.rectangle(img, (x, y), (x + w, y + h), (0, 255, 0), 2) -
Optionally print the text on the output console. Display the text on the screen using the captured frame as source, text as obtained in the above text, font style of FONT_HERSHEY_SIMPLEX, font scale factor of 1, blue color, two-pixel thickness, and line type of AA.
            # display the text on the image
    print(text)
image = cv2.putText(img, text, (50, 50), cv2.FONT_HERSHEY_SIMPLEX, 1, (255, 0, 0), 2, cv2.LINE_AA) -
Display the window with the title Face Detection and the image. Use the waitkey() method to display the window for 10 milliseconds and check for a key press. If a user presses the Esc key (ASCII Value 27), exit the loop.
            # display the output window and press escape key to exit
    cv2.imshow("Face Detection", image)
    key = cv2.waitKey(10)

    if key == 27:
break -
Finally, release the camera object from the python program and close all windows.
        cam.release()
cv2.destroyAllWindows()
Face Detection Using Python in Action
When a face is in view, you should see output like this:

When no face is present, you’ll see a message like this:

Limitations of Face Detection Using Haar Cascade Algorithm
While this algorithm is lightweight, with a small model size, and works fast, there are a few limitations:
- In a real-time video, the face needs to be in the line of sight of the camera. If the face is too far or too near or too tilted the algorithm fails to pick up the features.
- It is a frontal face algorithm, so you cannot detect side views.
- High false positive results. It often detects areas as faces even though there isn't a face present.
- Needs to have optimal lighting conditions. Excessive or dim lighting hampers the algorithm's accuracy.
The Many Applications of Face Detection
Face detection has a wide range of applications in today’s world. You can use it for face recognition in smartphones, homes, vehicles, and immigration checkpoints. Facial detection is already common in CCTV surveillance, social media filters, and automatic face tracking in cinematography.
It’s just the beginning of this wonderful technology. With advances, we might be able to identify missing children, catch criminals, and prevent crimes such as identity theft.