Push notifications enable applications to send timely updates, alerts, or personalized messages directly to users' devices, regardless of their active usage of the application. These notifications ensure continuous user engagement and instant connectivity.
In the case of web applications, the browser captures these notifications initially and subsequently forwards them to the corresponding application.
Set Up a Firebase Project
Follow the steps below to get started and set up a Firebase project:
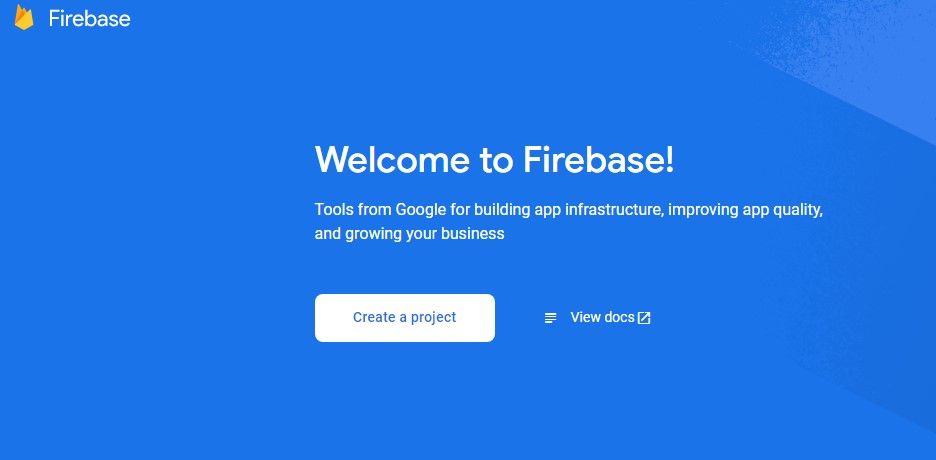
- Head over to Firebase Developer Console, sign in using your Google email address, and click the Go to Console button to navigate to the console overview page.
-
On the console overview page, click the Create a project button to create a new project. Then provide the project's name.
-
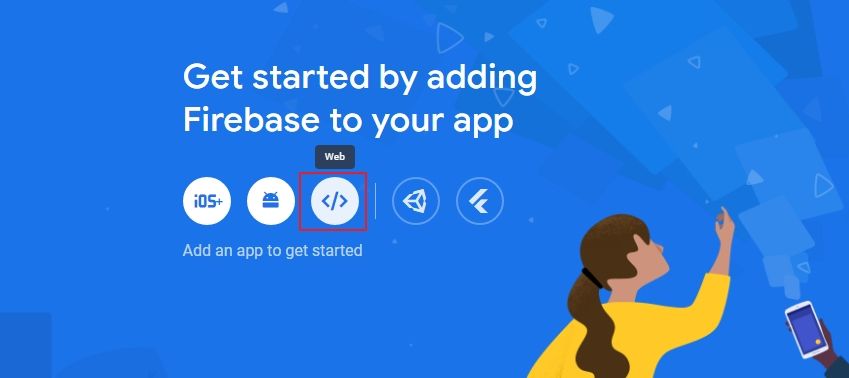
Once the project is successfully created, navigate to the project's overview page. You need to register an application on Firebase to generate API keys. To register an app, click on the Web icon, provide the app name, and click on the Register app button.
- Copy the Firebase configuration code after registering your React app.

Configure Firebase Cloud Messaging (FCM) Service
Once you have registered your application on Firebase, the next step is to configure the Firebase Cloud Messaging (FCM) service.
-
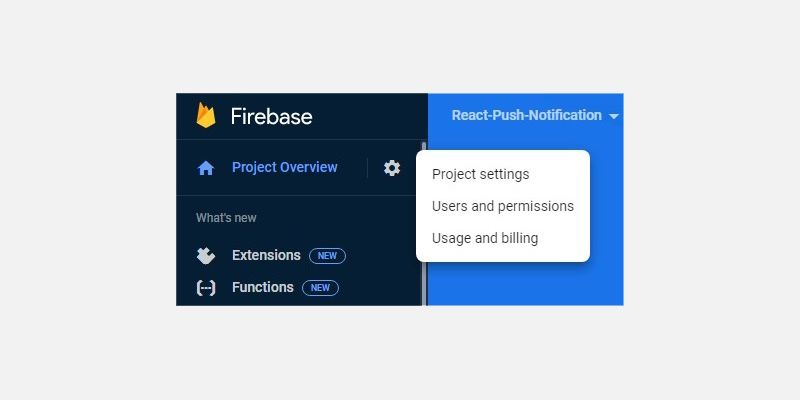
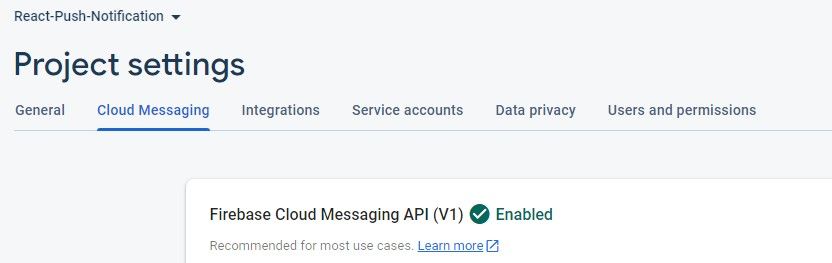
Navigate to the Project settings page.
-
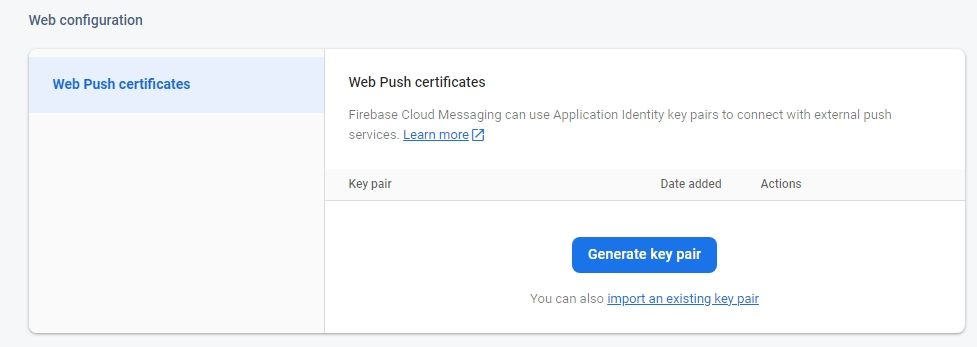
Next, click on the Cloud Messaging tab on the Project settings page. Firebase Cloud Messaging uses Application Identity key pairs to connect with external push services. For this reason, you need to generate your unique identity key.
-
On the Cloud Messaging settings, navigate to the Web configuration section, and click on the Generate key pair button to generate your unique key.


Set Up the React App
First, create a React app. Once installed, go ahead and install the firebase and react-hot-toast packages which you will use to implement push notifications in the React app.
npm install firebase react-hot-toast
You can find this project's source code in this GitHub repository.
Configure Firebase and the Cloud Messaging Service
Head over to your Project settings page on the developer console, and copy the provided Firebase configuration object. In the src directory, create a new firebase.js file and add the following code.
        import { initializeApp } from "firebase/app";
import { getMessaging, getToken, onMessage } from 'firebase/messaging';
const firebaseConfig = {
  apiKey: "",
  authDomain: "",
  projectId: "",
  storageBucket: "",
  messagingSenderId: "",
  appId: ""
};
const app = initializeApp(firebaseConfig);
const messaging = getMessaging(app);
Replace the above firebaseConfig object with the one you copied from the Project settings page. This code will set up the Firebase instance and initialize the cloud messaging object to enable FCM functionality in your application.
Manage Notifications' User Permission Requests
To allow the React applications to receive push notifications from Firebase's Cloud Messaging service, you need to handle the user permissions.
This involves defining and calling the requestPermission method provided by the messaging object, which you have previously configured. It ensures that you properly handle the user's responses to the notifications' permission requests.
Add the following code to the firebase.js file after initializing the messaging object.
        export const requestPermission = () => {

    console.log("Requesting User Permission......");
    Notification.requestPermission().then((permission) => {

      if (permission === "granted") {

        console.log("Notification User Permission Granted.");
        return getToken(messaging, { vapidKey: `Notification_key_pair` })
          .then((currentToken) => {

            if (currentToken) {

              console.log('Client Token: ', currentToken);
            } else {

              console.log('Failed to generate the app registration token.');
            }
          })
          .catch((err) => {

            console.log('An error occurred when requesting to receive the token.', err);
          });
      } else {

        console.log("User Permission Denied.");
      }
    });

  }

requestPermission();
The provided code requests user permission for notifications and handles the permission response. If permission is granted, it proceeds to obtain a registration token for the application using the getToken function.
The registration token serves as an identifier for the device or browser receiving the notifications. You can then utilize this token to set up a notification campaign in the Firebase Cloud Messaging settings page.
Ensure that you replace the placeholder Notification_key_pair with the actual key pair you generated earlier in the Web Configuration section.
Define Notification Listeners
To handle any type of incoming notifications, it is necessary to set up message listeners to track incoming notifications and callback functions to trigger any messaging events.
In your firebase.js file, add the following code.
        export const onMessageListener = () =>
  new Promise((resolve) => {
    onMessage(messaging, (payload) => {
      resolve(payload);
    });
});
This function sets up a message listener specifically for push notifications. The onMessage function within onMessageListener is triggered whenever the app receives a push notification and is in focus.
When a notification is received, the message payload will contain relevant data associated with the notification, such as the title and body of the message.
Define a Firebase Messaging Service Worker
FCM requires a Firebase Messaging service worker to handle incoming push notifications.
The service worker is a JavaScript file that runs in the background and handles push notifications—it allows the web app to receive and display notifications, even if the user has closed the app or switched to a different tab or window.
In the /public directory, create a new firebase-messaging-sw.js file and include the following code.
        importScripts("https://www.gstatic.com/firebasejs/9.0.0/firebase-app-compat.js");
importScripts("https://www.gstatic.com/firebasejs/9.0.0/firebase-messaging-compat.js");

 //the Firebase config object
const firebaseConfig = {
    "configuration information"
  };

firebase.initializeApp(firebaseConfig);
const messaging = firebase.messaging();


messaging.onBackgroundMessage(function(payload) {
  console.log('Received background message ', payload);
  const notificationTitle = payload.notification.title;
  const notificationOptions = {
    body: payload.notification.body,
  };

  self.registration.showNotification(notificationTitle,
    notificationOptions);
});
This code sets up a service worker for Firebase Cloud Messaging in the React application, enabling the handling and display of notifications.
Create a Notification Component
Create a new components/Notification.js file in the /src directory and add the following code.
        import React, { useState, useEffect } from 'react';
import { Toaster, toast } from 'react-hot-toast';
import { requestPermission, onMessageListener } from '../firebase';

function Notification() {
  const [notification, setNotification] = useState({ title: '', body: '' });
  useEffect(() => {
    requestPermission();
    const unsubscribe = onMessageListener().then((payload) => {
      setNotification({
        title: payload?.notification?.title,
        body: payload?.notification?.body,
      });
      toast.success(`${payload?.notification?.title}: ${payload?.notification?.body}`, {
        duration: 60000,
        position: 'top-right',  section of the browser page
      });
});
    return () => {
      unsubscribe.catch((err) => console.log('failed: ', err));
    };
  }, []);
  return (
    <div>
      <Toaster />
    </div>
  );
}
export default Notification;
This code defines a component that handles push notifications. It utilizes the react-hot-toast library to display notifications to the user.
The component requests user permission, listens for incoming messages using onMessageListener function, and by default displays a toast notification with the received title and body for a duration of one minute at the top-right section of the browser page. You can further customize the notification with the help of the official react-hot-toast documentation and the CSS position property.
Finally, update the App.js file to import the Notification component.
        import './App.css';
import Notification from './components/Notification';
function App() {
  return (
    <div className="App">
      <header className="App-header">
      <Notification />
      </header>
    </div>
  );
}
export default App;
Test the Push Notification Feature
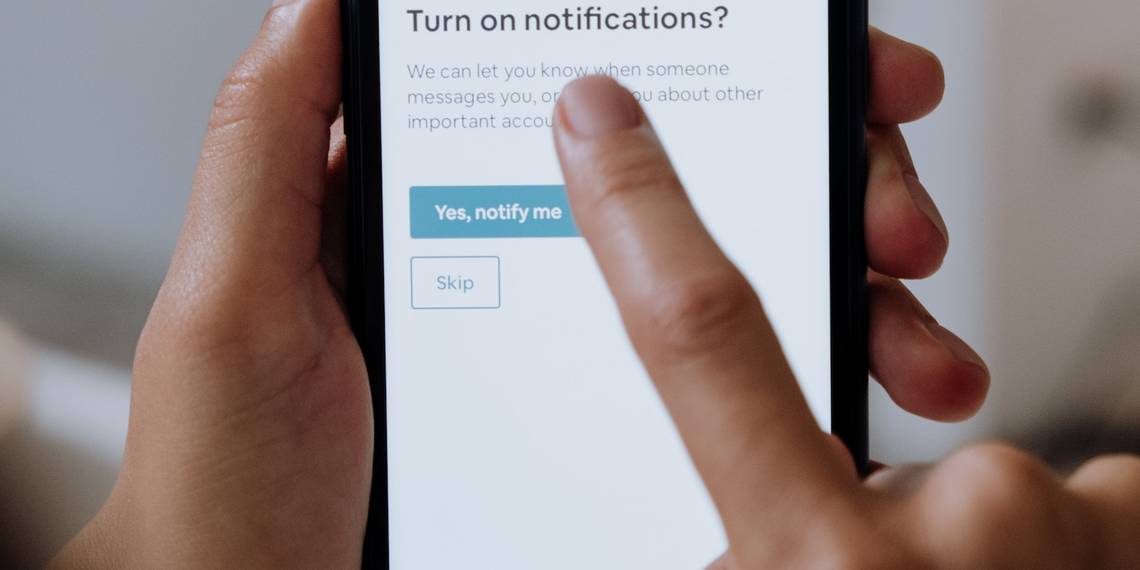
Go ahead and spin up the development server and open http://locahlhost:3000 on your browser to access the application. You should get the following pop-up to allow the application to receive notifications.

Click Allow. The client token should be generated and logged in the browser console. You will use the token to send notification campaigns to your React app.
Copy the client token and head over to Firebase's developer console Project Overview page. Click the Cloud Messaging card under the Grow & engage your audience section.

Click Create your first campaign, select Firebase Notification messages, and provide a title and message for your notification. Under the Device preview section, click Send test message.

Paste in and add the client token in the pop-up window that follows and click Test to send the push notification.

If you are on the application, you will receive a push notification. If not, you will receive a background notification.
Sending Push Notifications Using Firebase Cloud Messaging Service
Push notifications are a valuable feature for enhancing the user experience for both web and mobile applications. This guide highlighted the steps to integrating push notifications using Firebase, including handling user permissions and setting up message listeners.
By leveraging Firebase Cloud Messaging APIs, you can effectively deliver timely updates and personalized messages to your React applications.