You found the missing tint that will elevate your digital art, the exact hue to use as a background color on your personal site, or an excellent pastel green for your RGB-lit keyboard. It's right there, on your screen, on an image you've run into by chance. But what now?
To use that color, you'll need its color code, and the best way to find that is by with a "color picker". Thankfully, the free Windows PowerToys come with such a tool. So, let's see how you can use it to grab color codes from anything displayed on your screen.
What Is PowerToys?
PowerToys was a compilation of programs initially released for Windows 95. They were a first in that, as gamers today would say, PowerToys was the equivalent of the first-ever Downloadable Content (DLC for short) released for an operating system!
Since then, various versions of PowerToys have been released for almost all versions of Windows. However, eventually, the project faded into obscurity until Microsoft decided to revive it for Windows 10 and release the PowerToys source code on Github.
You can learn more about what you can do with this fantastic tool in our extensive guide on how to do more with Windows 10 and 11 using PowerToys.
You might have read our article on how you can keep apps always on top and search the web with PowerToys, but those are only two of its many tools. One other helpful mini-app in the current iteration of PowerToys is its Color Picker, which we'll be using in this article. So, open the Microsoft Store, search for "powertoys", and install it.

When PowerToys is up and running, it's time to dive into its settings to enable and configure the included color picker.
Setting Up the Basic Configuration
PowerToys is designed to run in the background and remain dormant until you need one of its tools. It's only available for Windows, but there's no reason to feel left out if you're on a Mac: we've already covered the best color picker apps for Macs in the past.
After installing and running PowerToys, it's best to visit its settings and customize it to ensure it works (and does) what you want.
-
If the PowerToys icon is not visible in the Windows tray, expand it using the upwards arrow. Right-click on the PowerToys icon and choose Settings from the menu.

-
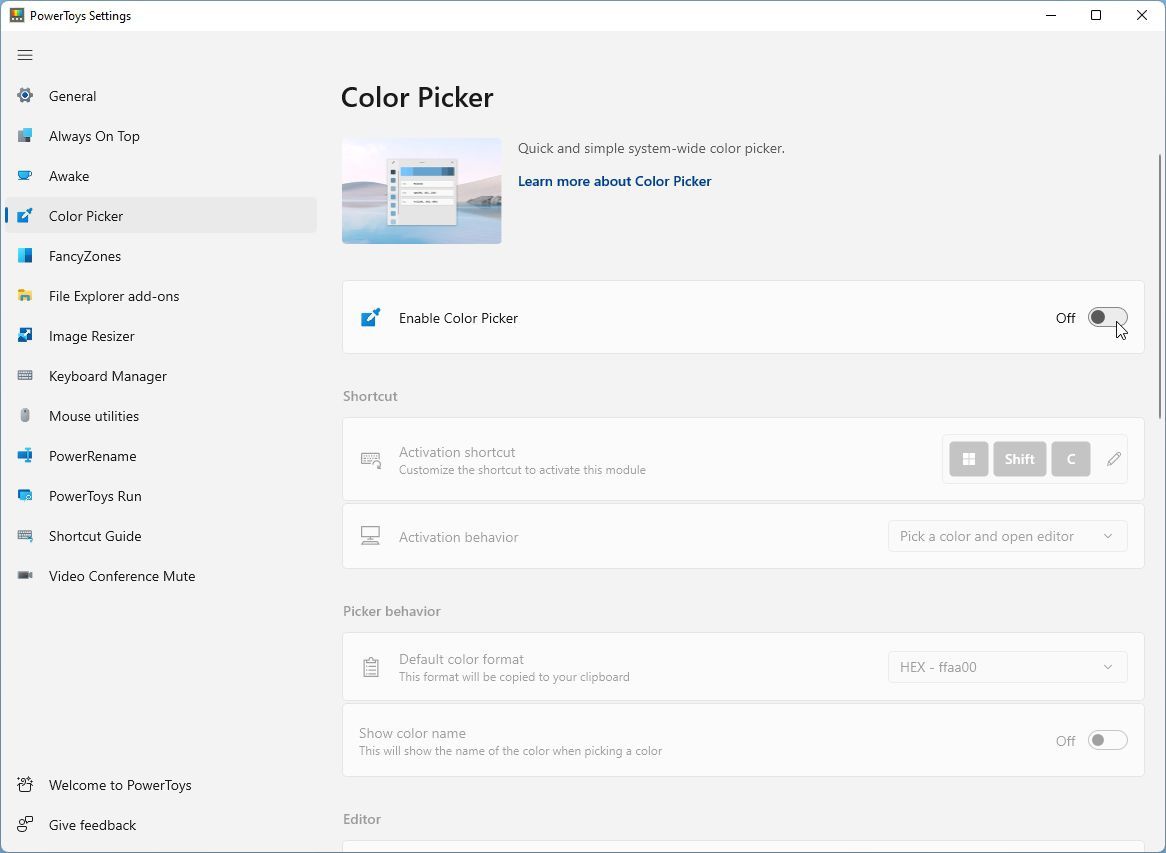
Choose the Color Picker from the list on the left to move to its page. If it's disabled, flick the switch on the right of Enable Color Picker to the On state.
-
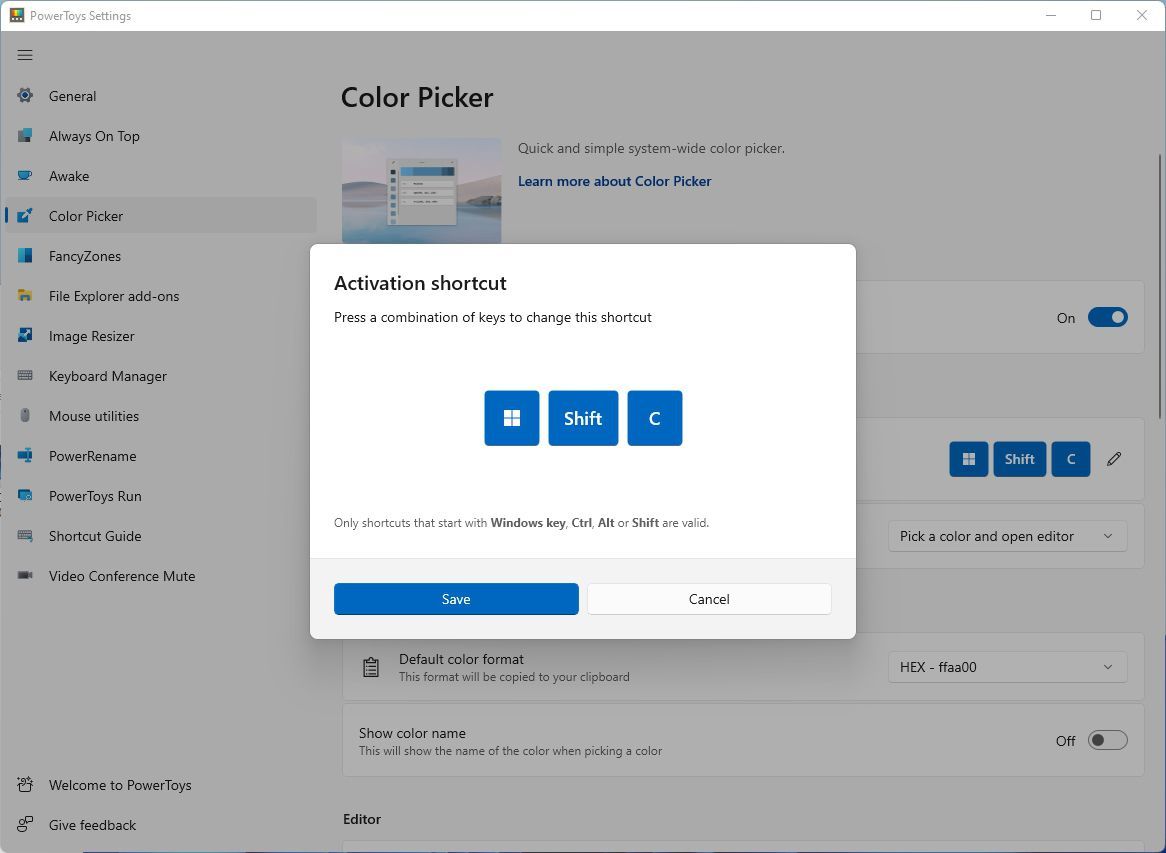
Below the On/Off option, you'll see the predefined shortcut for the Color Picker. Does it conflict with another shortcut you're already using? Change it by clicking on the little pencil icon on its right. Press the key combination you want to assign to the Color Picker and click on Save.
-
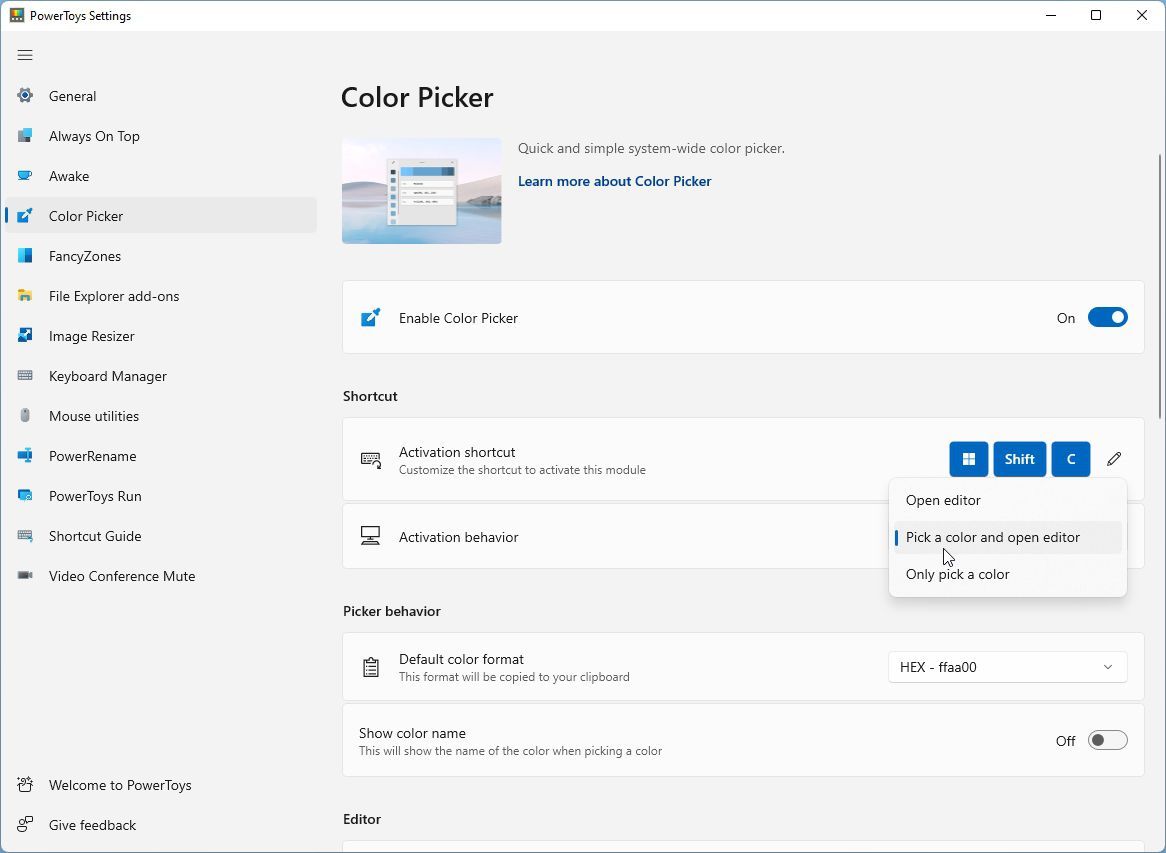
While here, also look into the Color Picker's Activation behavior. As expected from such a solution, you can have it select the color under the cursor. But you can also have it show an editor after picking a color, enabling extra refinements.


Theoretically, that's all you need to use the Color Picker. You can close the Settings window and hit the shortcut you defined to "pick" any color from anything on your screen. Then, use it with our guide on how to create custom color palettes in Adobe Photoshop, or when making RGB LED lights display DIY colors as we saw here.
If you're among the purists and the graphic artists who'd like even more control, wait! There's more!
Working With Color Formats
RGB and CMYK might be two of the most popular color formats, but they're far from the only ones.
RGB is used primarily for digital content, like JPEG images or gaming graphics. Under RGB, each color is made up of the individual values of the three separate primary colors, Red, Green, and Blue; hence the name.
CMYK is more prevalent in print, but instead of the simpler red-green-blue model, its "color recipe" ingredients are Cyan, Magenta, Yellow, and Black.
When working strictly in the digital domain, HEX codes are more popular. They work the same way as RGB but use a different scale and syntax for the color values.
RGB assigns a value from 0 to 255 to each of the three primary colors, Red, Green, and Blue.
In contrast, HEX codes use 00 as the minimum value and FF as the maximum. The scale goes from 0 to 9, followed by A through F in alphabetical order. So, a HEX code of 00FF00 is equivalent to a 0, 255, 0 RGB code, and both translate to "full Green, zero Red and Blue".
The Color Picker in PowerToys supports over a dozen such color formats, but they aren't all enabled by default. And while you can enable all of them, why complicate Color Picker's editor window with redundant information you'll never use?
Thus, it's best only to enable the ones best for your particular needs. Scroll down Color Picker's settings window, and you'll see an option for the Default color format.

Set this to the type of color coding you use the most. If you're spending most of your time in apps like Photoshop and Illustrator, that would probably be RGB, CMYK, or HSV. If working with Inkscape, GIMP, or writing CSS to "style" web content, HEX, HSL, or RGB might be better.
Under the same spot, you'll also find an option to Show color name. Enable it to have Color Picker's window also show a more human-friendly (but less accurate) name for the selected color (like "light green" or "dark yellow").

Since PowerToys' Editor window has extra space to spare, you can have more than one color code displayed there. You can enable the ones you want active under Editor > Color formats. Remember not to overdo it if you want to keep the Editor's window "clean" and easily readable.

Pick a Color, Any Color
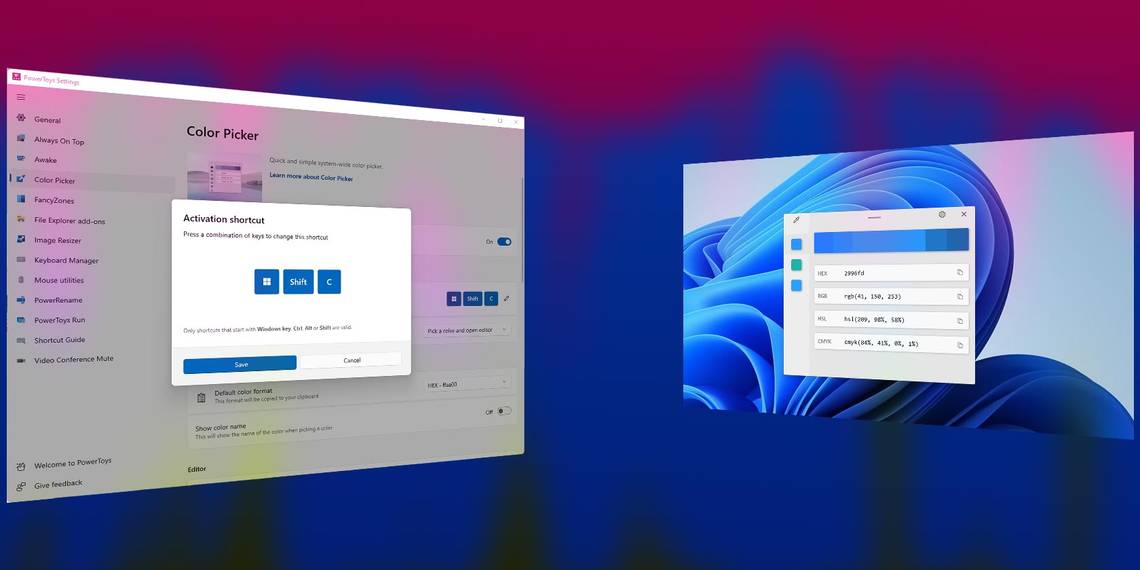
With the Color Picker enabled and active, press the assigned hotkey, and you'll see a small window show up next to the cursor. As you're moving the cursor around the screen, the window will update with a preview of the color it's pointing at and its color value (in the "default color format" selected in Color Picker's settings).

If you click at a spot while the Color Picker is active, its editor will pop up.
- At the top left, you'll see the color of the screen spot where you clicked. Under it will be two "complementary" colors.
- At the top of this window, you'll see a gradient, useful for when the hue you clicked on is not precisely the one you wanted.
- Under the top gradient, you'll see a list of the selected color's code in all the enabled color formats. Each of them has a button on its right, with which you can copy that value to the Clipboard, to then paste it elsewhere - like in a graphics-editing app.
- The color picker button at the top left allows you to return to the color-picking mode, to select another point on your screen.
- The cog icon on the top right leads you back to Color Picker's Settings page.

So, even when juggling multiple color formats, PowerToys' Color Picker makes finding the best color trivial. Press its shortcut, click on a color you like, and copy the appropriate "code" to the Clipboard.
You Are Now the Color Master
With PowerToys' Color Picker in your arsenal, it's easy to "recognize" any color from any type of source to then use in your projects.
Such a tool is a must-have for professionals dealing with multiple color values every day. However, the "global" nature of PowerToys as "an extension of Windows' core feature set" renders it useful for everyone.
This is especially true nowadays, with "personal customization" everywhere, from an app theme's "color accents" to the RGB lights on a CPU fan.
Plus, as part of PowerToys, it comes with almost zero "footprint" and can be a keystroke away whenever you need it.