Chrome OS is largely a cloud-based operating system, which means you can easily synchronize your data between devices. This can be helpful for students and corporate users who want to keep their data and presentations at hand at all times.
A boost in hybrid work environments has increased the demand for the virtual sharing of ideas, and presentations are one of the best ways of doing so. The good news is you can use your Chromebook to create and run presentations pretty conveniently.
So, let's look at how you can run PowerPoint presentations on your Chromebook using two different apps.
Running a Presentation on a Chromebook
The two commonly used apps for running presentations on your Chromebook are Microsoft PowerPoint and Google Slides. Both are developed by two top tech giants and are quite reliable tools.
Since Chrome OS is a Google product, your presentation slides will open in Google Slides by default. However, you can use either app. Both have diverse features, along with some unique ones.
To determine your preference and which is more suitable for you, let's see how you can utilize PowerPoint and Slides to efficiently run presentations on your Chromebook.
But if you aren't already familiar with both products, here is a more general comparison of PowerPoint and Slides.
How to Use the PowerPoint Chrome App
PowerPoint is part of Microsoft Office and is available as an online app on your Chromebook. It enables you to create and run presentations, and you can use it for educational, business, or professional purposes.
To use PowerPoint on your Chromebook, you have to install the PowerPoint Chrome app. Microsoft created this app for users who can't install Office on their devices.
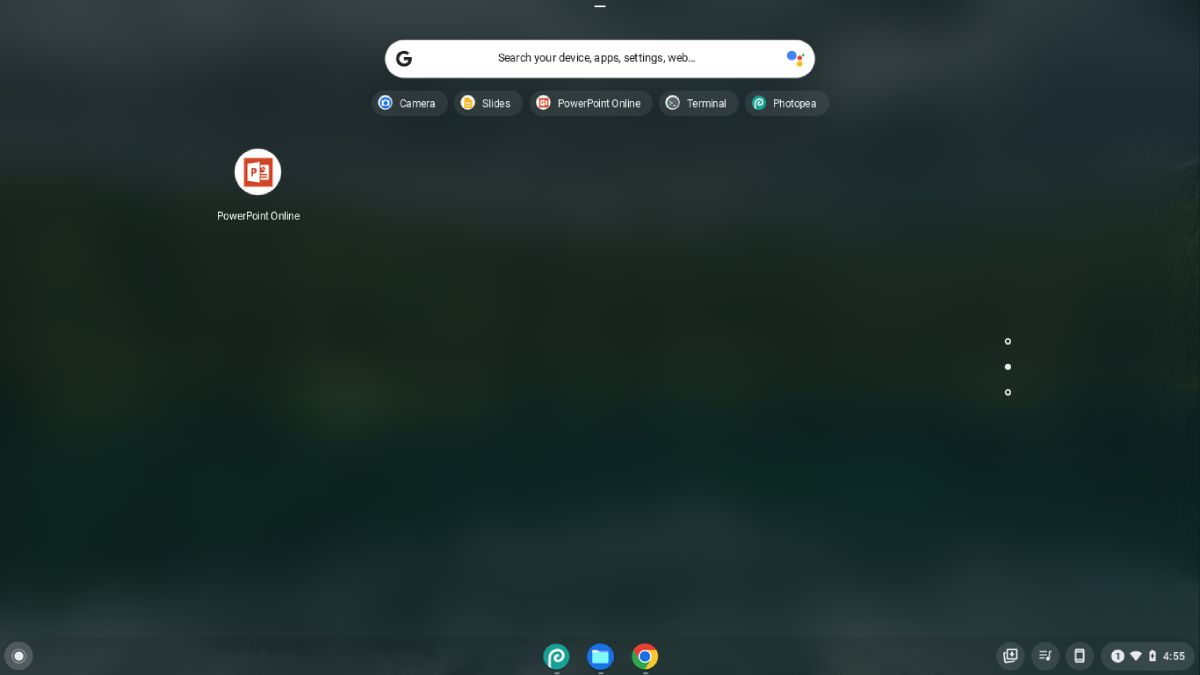
Once installed, the app will appear in your Chromebook's app drawer, which you can access by clicking on Launcher in the bottom left and then the Caret icon.
To get started, PowerPoint will ask you for your Outlook account. Enter your details, and you are ready to go.
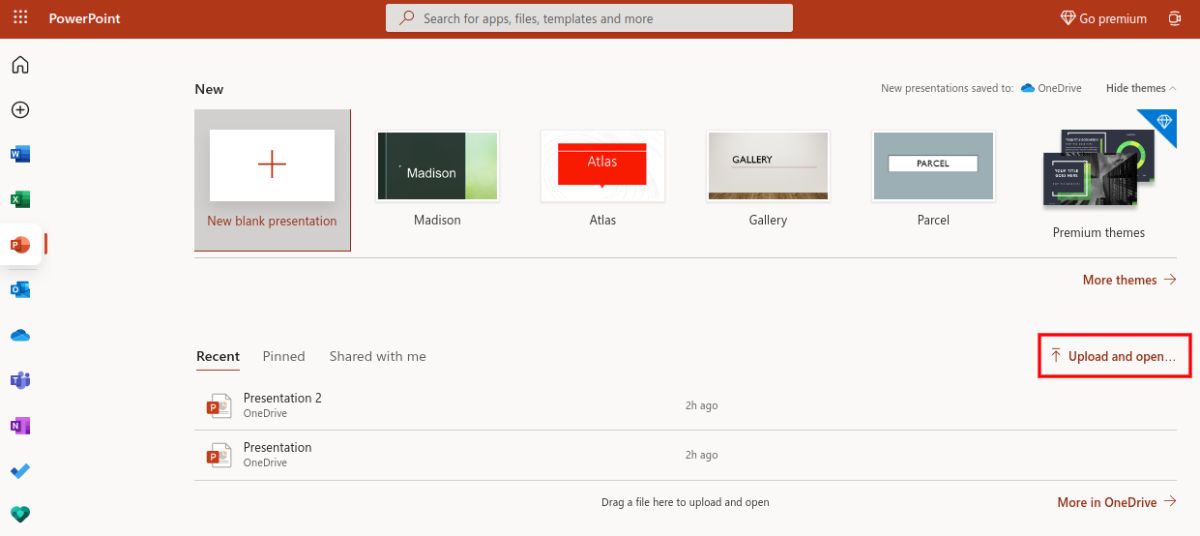
To run an existing PowerPoint presentation, simply click on Upload and open and locate the file that you want to run. When the time comes, you can run it in full-screen mode by going to Slide Show > From Beginning or From Current Slide from the top bar.
If you are going to create a presentation using this app, here are some features to look out for.
1. Templates
Don't have the time to do all the styling and design? You can choose from various PowerPoint templates to get started.
Templates are pre-built slides with unique designs and formatting such as colors, font size, images, and animations. Templates can help you save time since all you have to do is write your content on the slides.
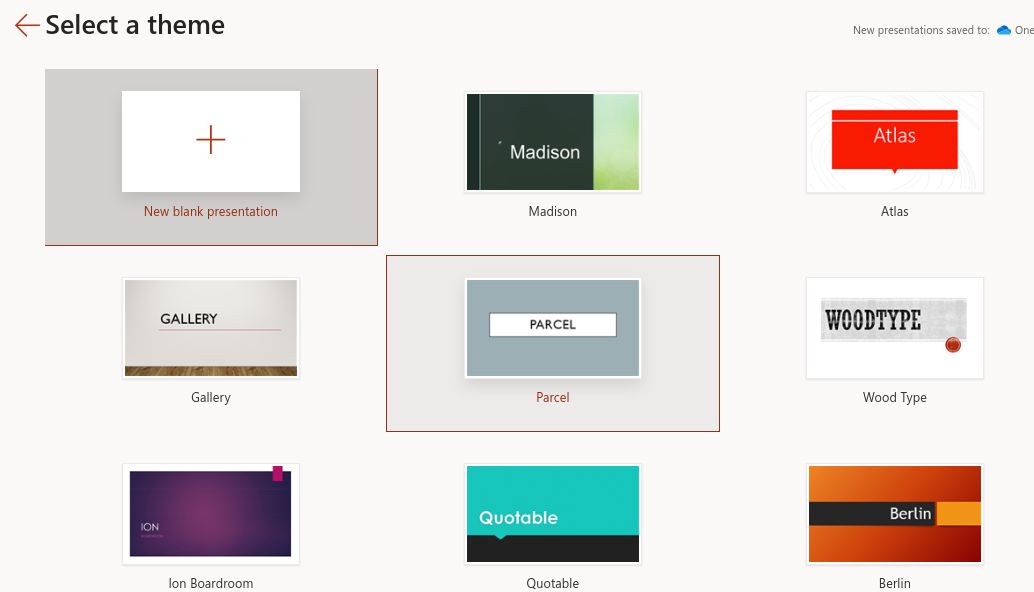
Templates are easy to find. When you open the PowerPoint web app, it will show you several templates on the screen alongside a New blank presentation. Press on More themes on the right to access all the templates available.
2. Designer
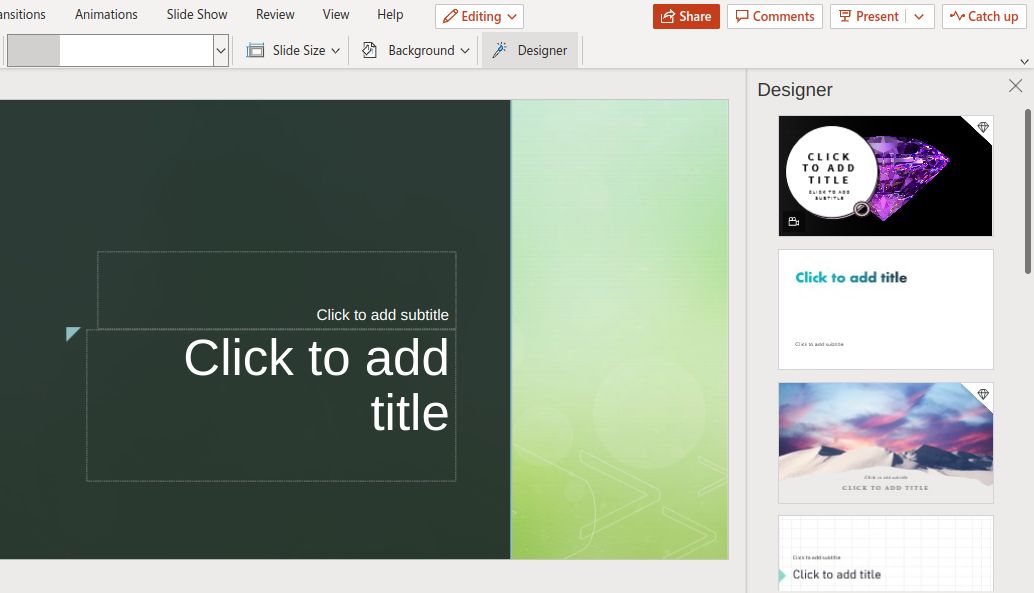
If you want to design your customized presentation, PowerPoint will help you with that as well. Designer is an innovative feature of PowerPoint to help you in designing the slides based on the content, colors, styles, and fonts used in the slides. You can access Designer by going to Design > Designer.
It will give you several design recommendations, and you can access these design ideas by simply clicking on them from the right sidebar. This feature can save you a lot of time in designing and styling your slides.
3. Animations
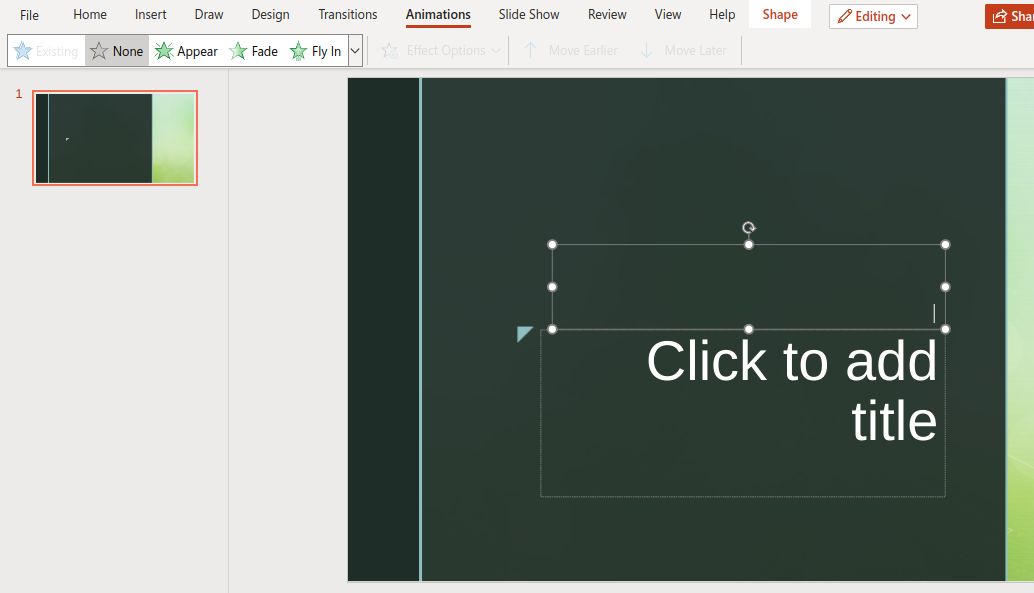
Animations make the presentation more interactive and visually appealing. The transition of objects with different animation styles such as fade-in, fade-out, appear, and split really embellish your presentation. You can access them from the top bar by clicking on Animations.
4. Images & Videos
Multimedia is essential for any presentation. Whether it is a business presentation showing your growth and revenue or a college assignment on a semester project, you need to add images and videos to help your viewers focus.
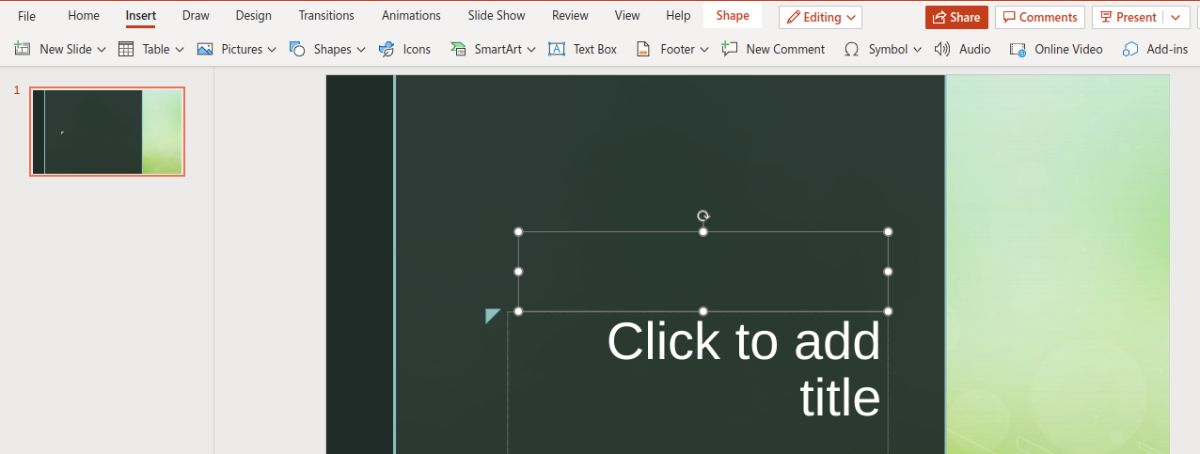
PowerPoint makes it easy for you to add images and videos. You can add your multimedia through the Insert option in the top bar.
Here are some more PowerPoint tips for preparing a professional presentation.
How to Use Google Slides
Google Slides is a presentation app part of Google Workspace and the default presentation viewer and editor on your Chromebook. It is cloud-based, which means it incrementally stores all your progress in your Google Drive, helping prevent data loss.
The app has good integration with other Google apps, such as Google Docs, and you don't need to buy any premium subscription to use it. You can find the Google Slides app in the Chrome Web Store.
Once installed, go to your app drawer as you did above and open Slides. If you have a pre-existing presentation at hand, go to Open file picker and open that file. You can run it in full-screen mode by going to View > Full screen. You can even run your slide on a loop.
If you are going to create a presentation using Google Slides, you might want to use the following useful features.
1. Templates
Templates are pre-built slides made for different purposes. You just have to write your content in them. They help you save time on design, fonts, colors, and animations.
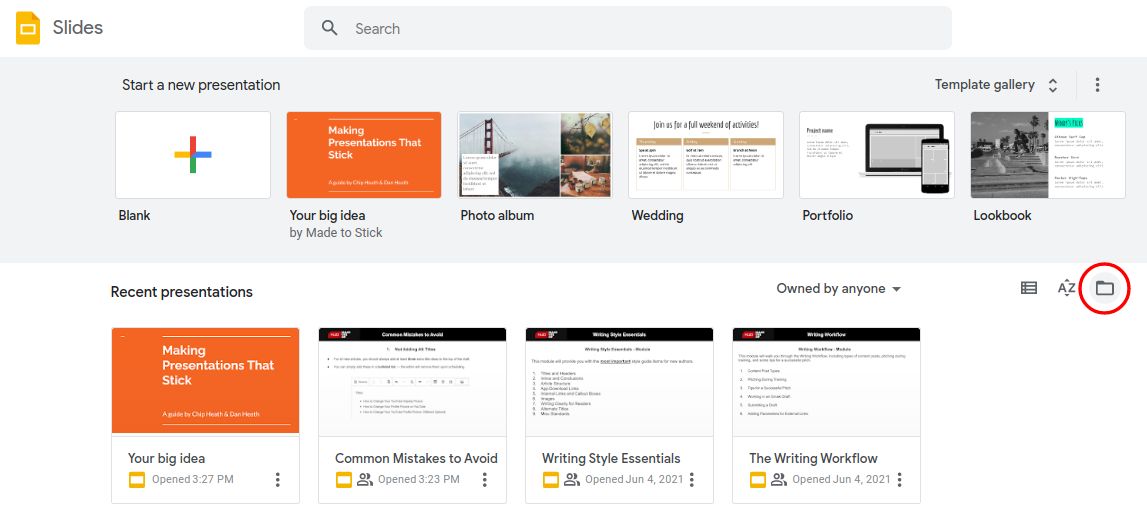
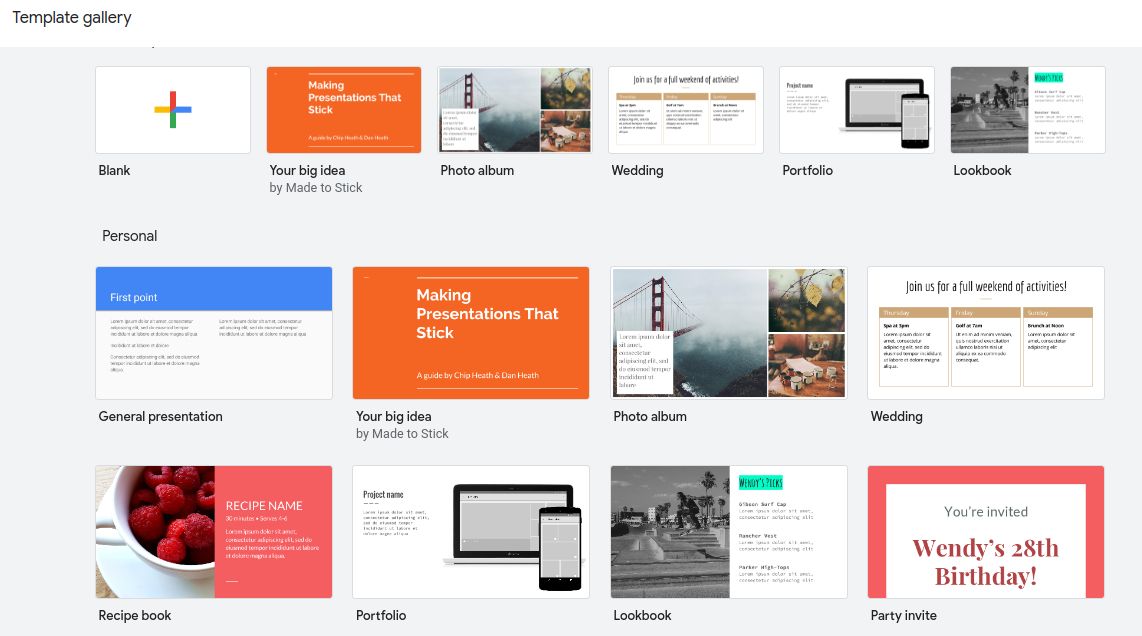
When you open Google Slides, it shows you several templates, and you can browse more templates by going into the Template gallery. You might also want to check out these useful resources for finding Google Slides themes.
2. Explore
Google Slides allows you to search for an image and add it to the slide without leaving the app. You can search the internet for the image you want to add and can also add one from your Google Drive.
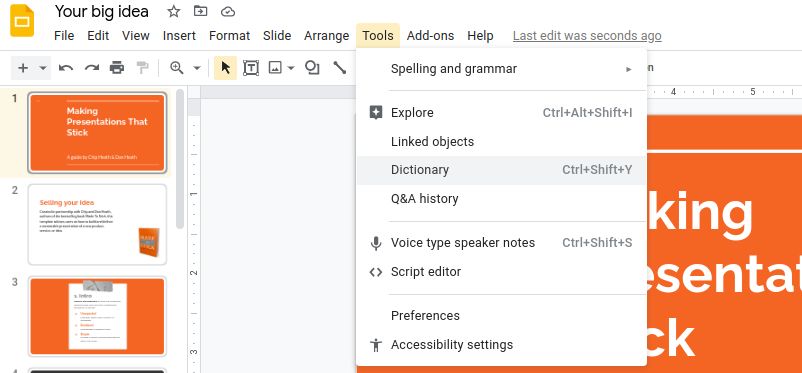
This helps you save time by staying inside the presentation. Simply go to Tools > Explore from the top bar to access this option. From there, you can drag and drop the images from your search results.
3. Host Q&A
Presentations are meant to deliver information and communicate with the audience. So, a good communication response from the audience is vital. This response can be in the form of questions or suggestions.
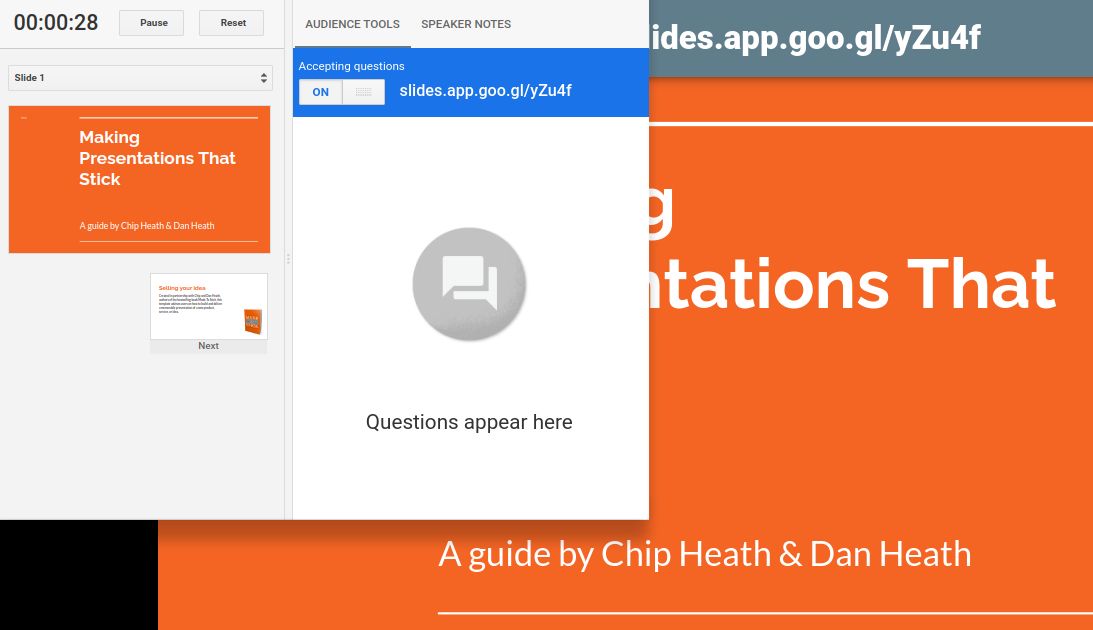
Google Slides has Q&A features that allow you to get responses or queries from the audience. It can be anonymous or from the users' email IDs. The audience members need to follow a link, and they can add their questions virtually.
Go to Presenter view > Audience Tools > Start New to begin the Q&A session. There, it will show the link that your audience needs to access.
4. Publish to Web
If you want to share your presentations with a broader audience, you can publish your Google Slides file on the web. It lets you share the link to your slides with others. Anyone with the link can open the slides without having a Google account.
To do so, go to File > Publish to the web. Click on it and publish the slides after choosing the right options.
Use Your Chromebook for Presentations
PowerPoint and Google Slides are both great options for creating presentations on a Chromebook. They offer great features to help you create and run compelling presentations.
You can try both on your Chromebook easily—no long installation steps are required. Just add the Chrome app or open the website to get started.

