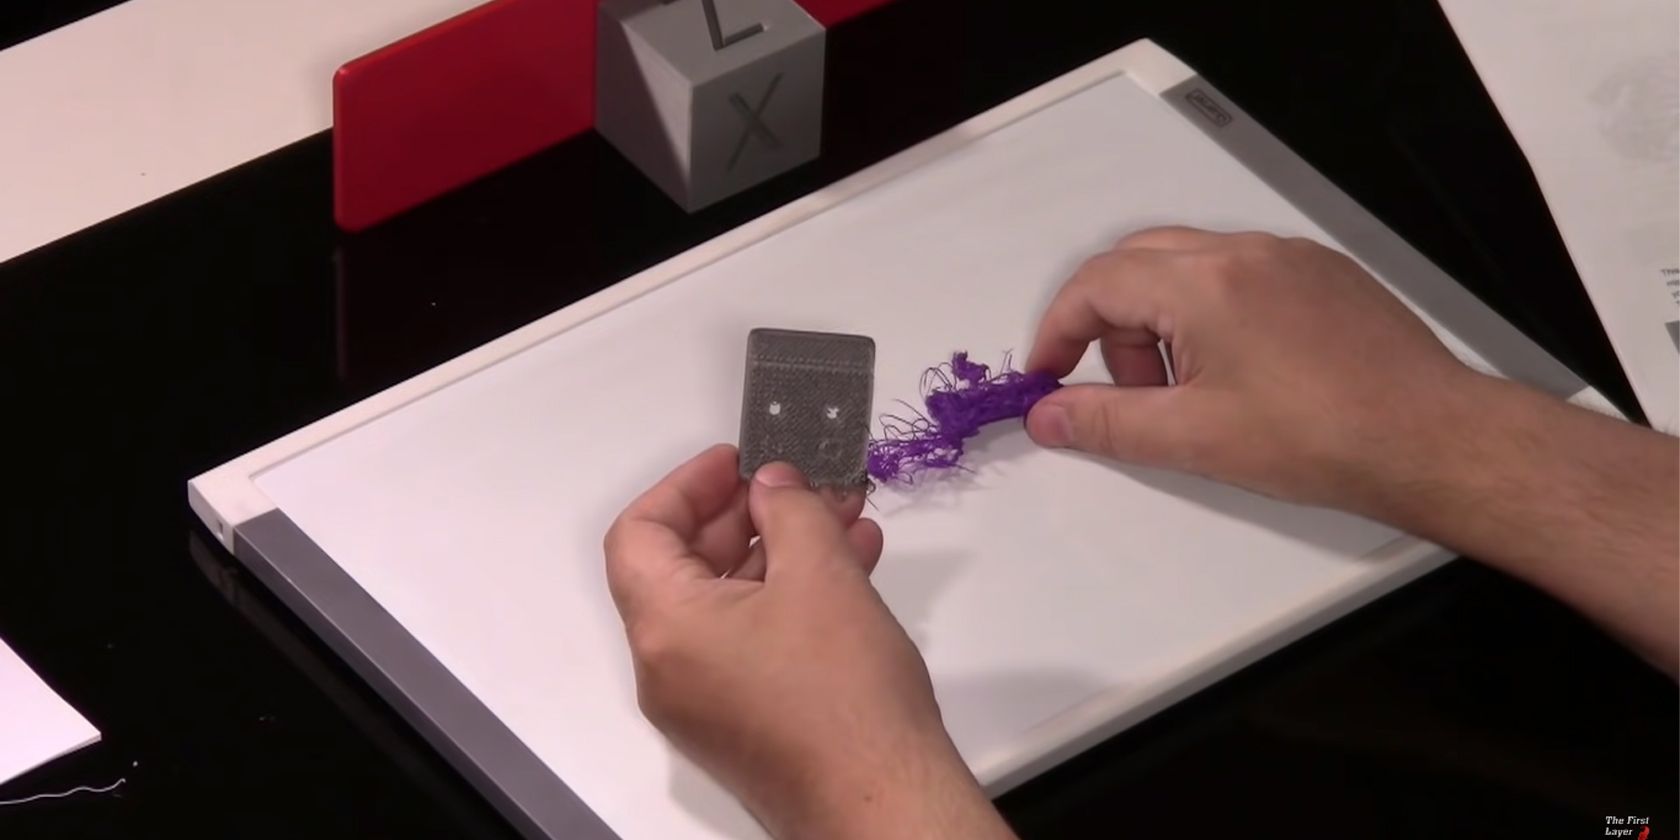
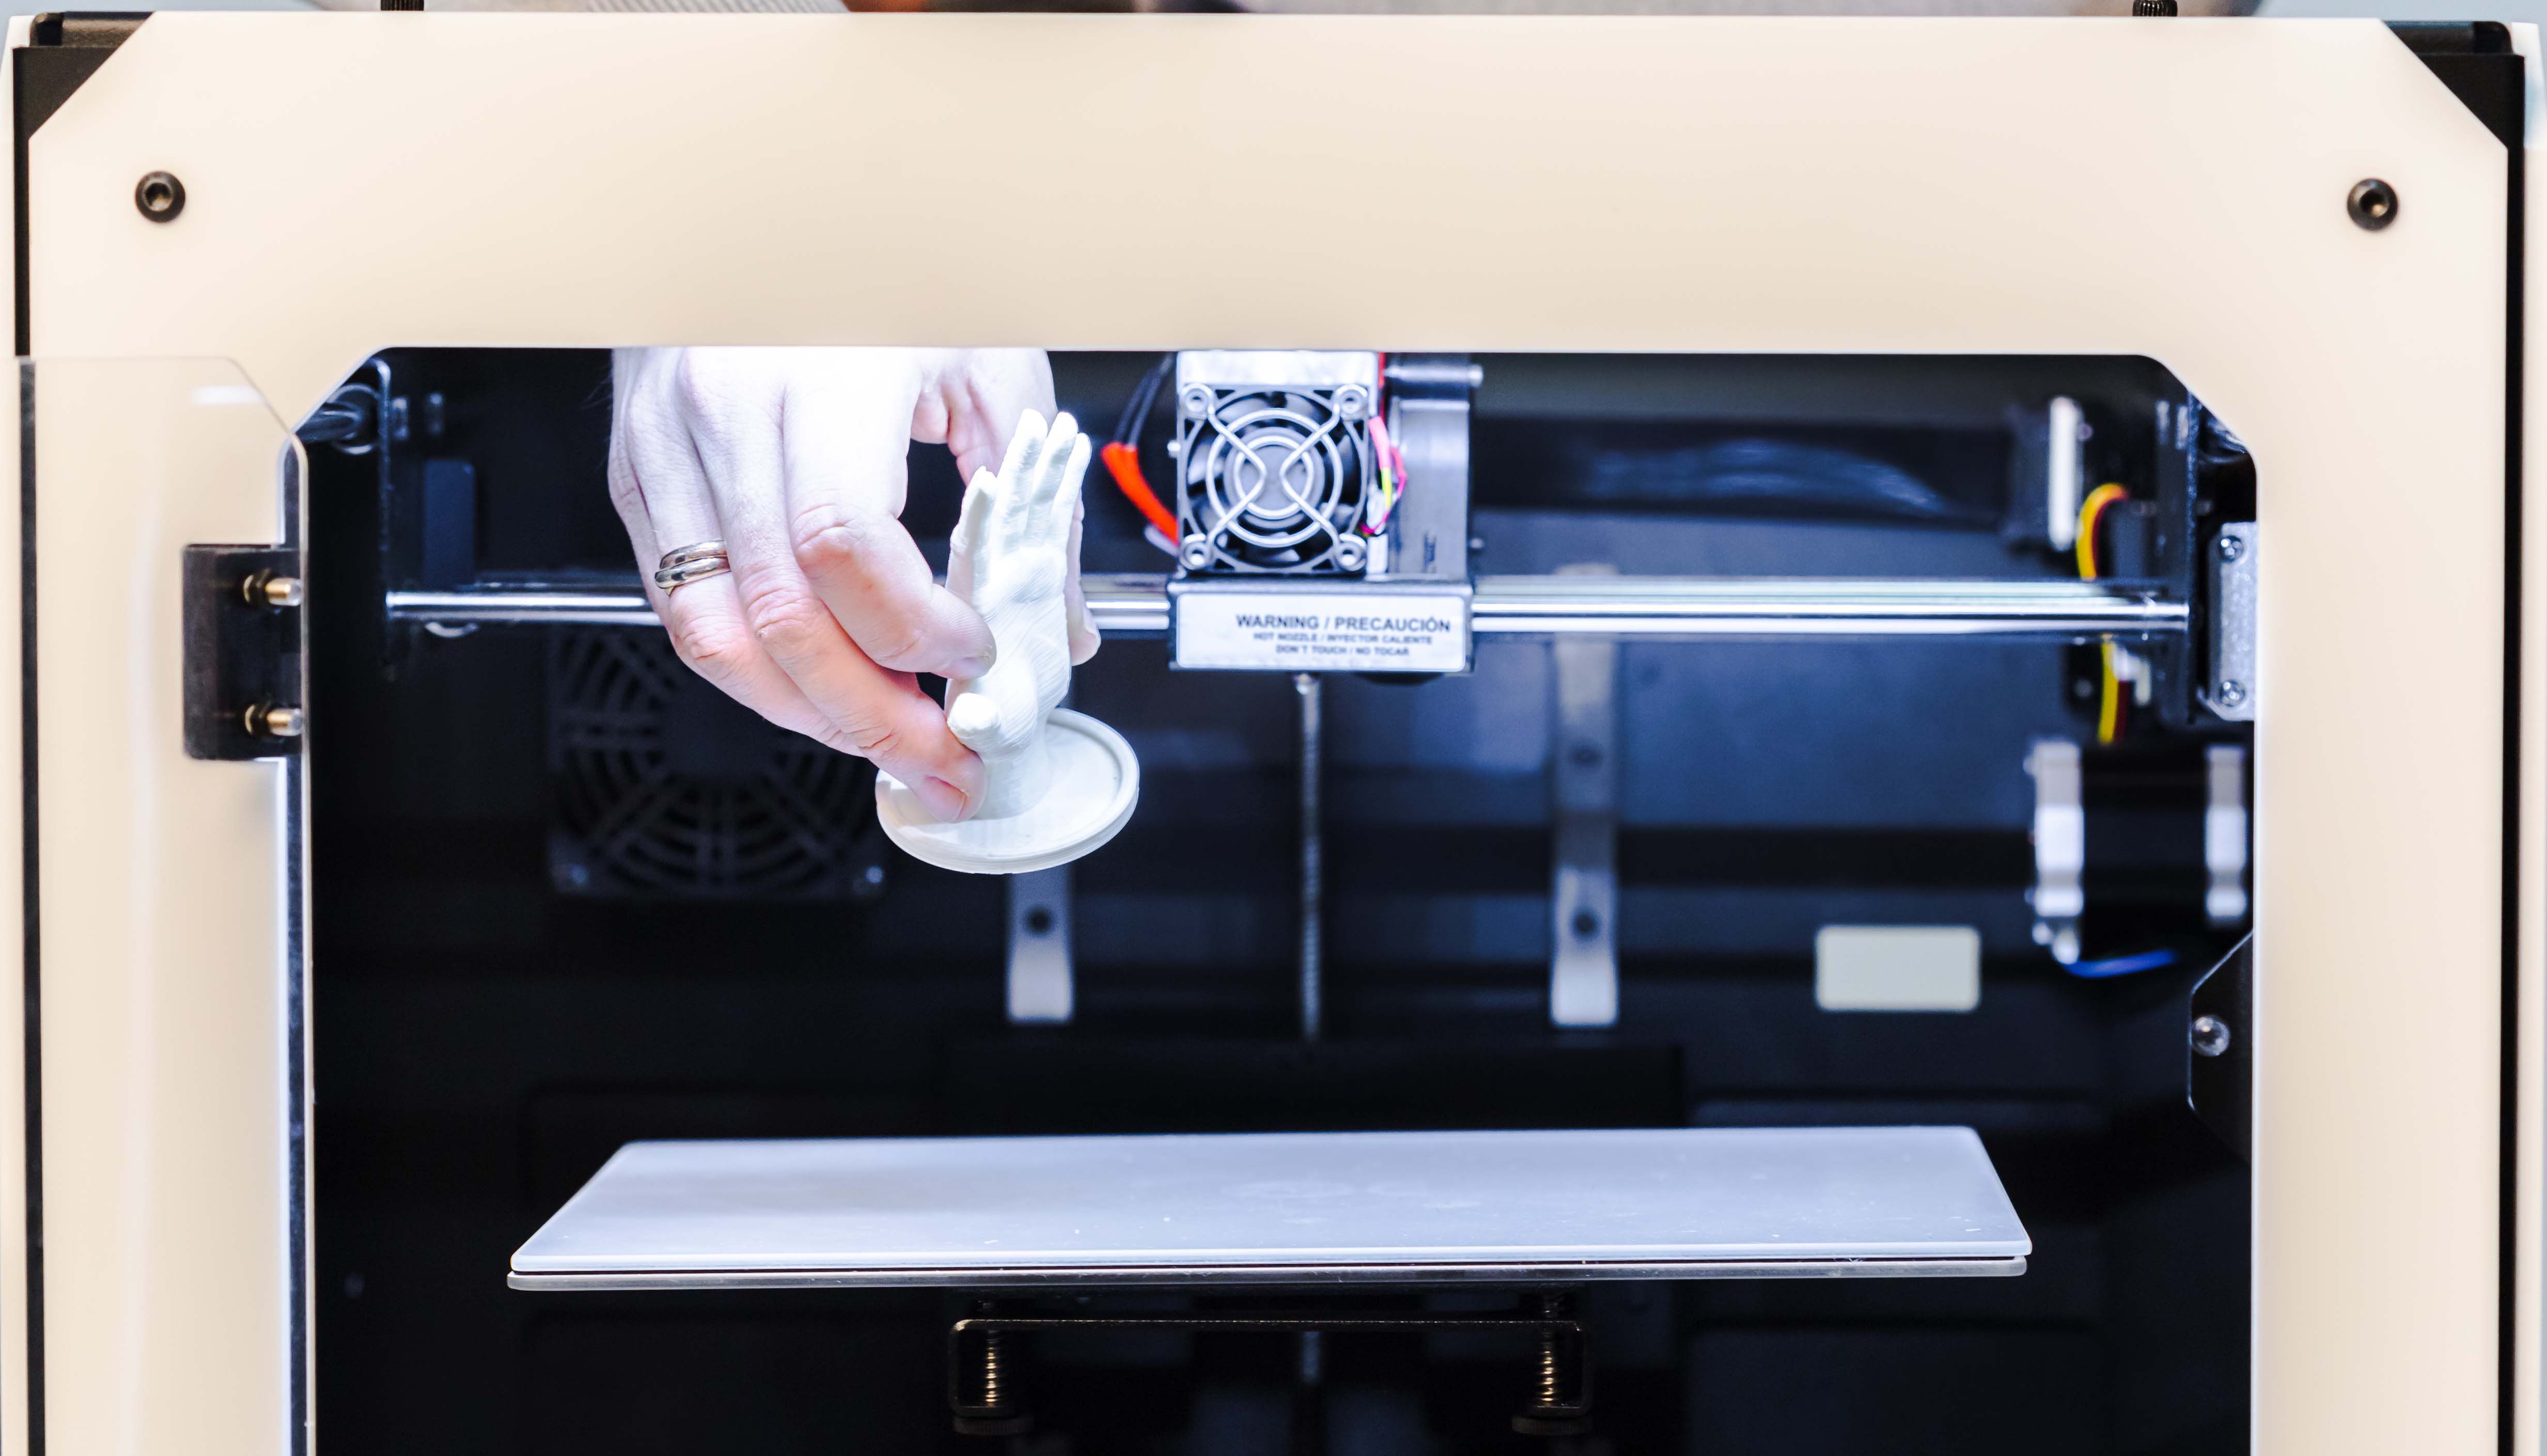
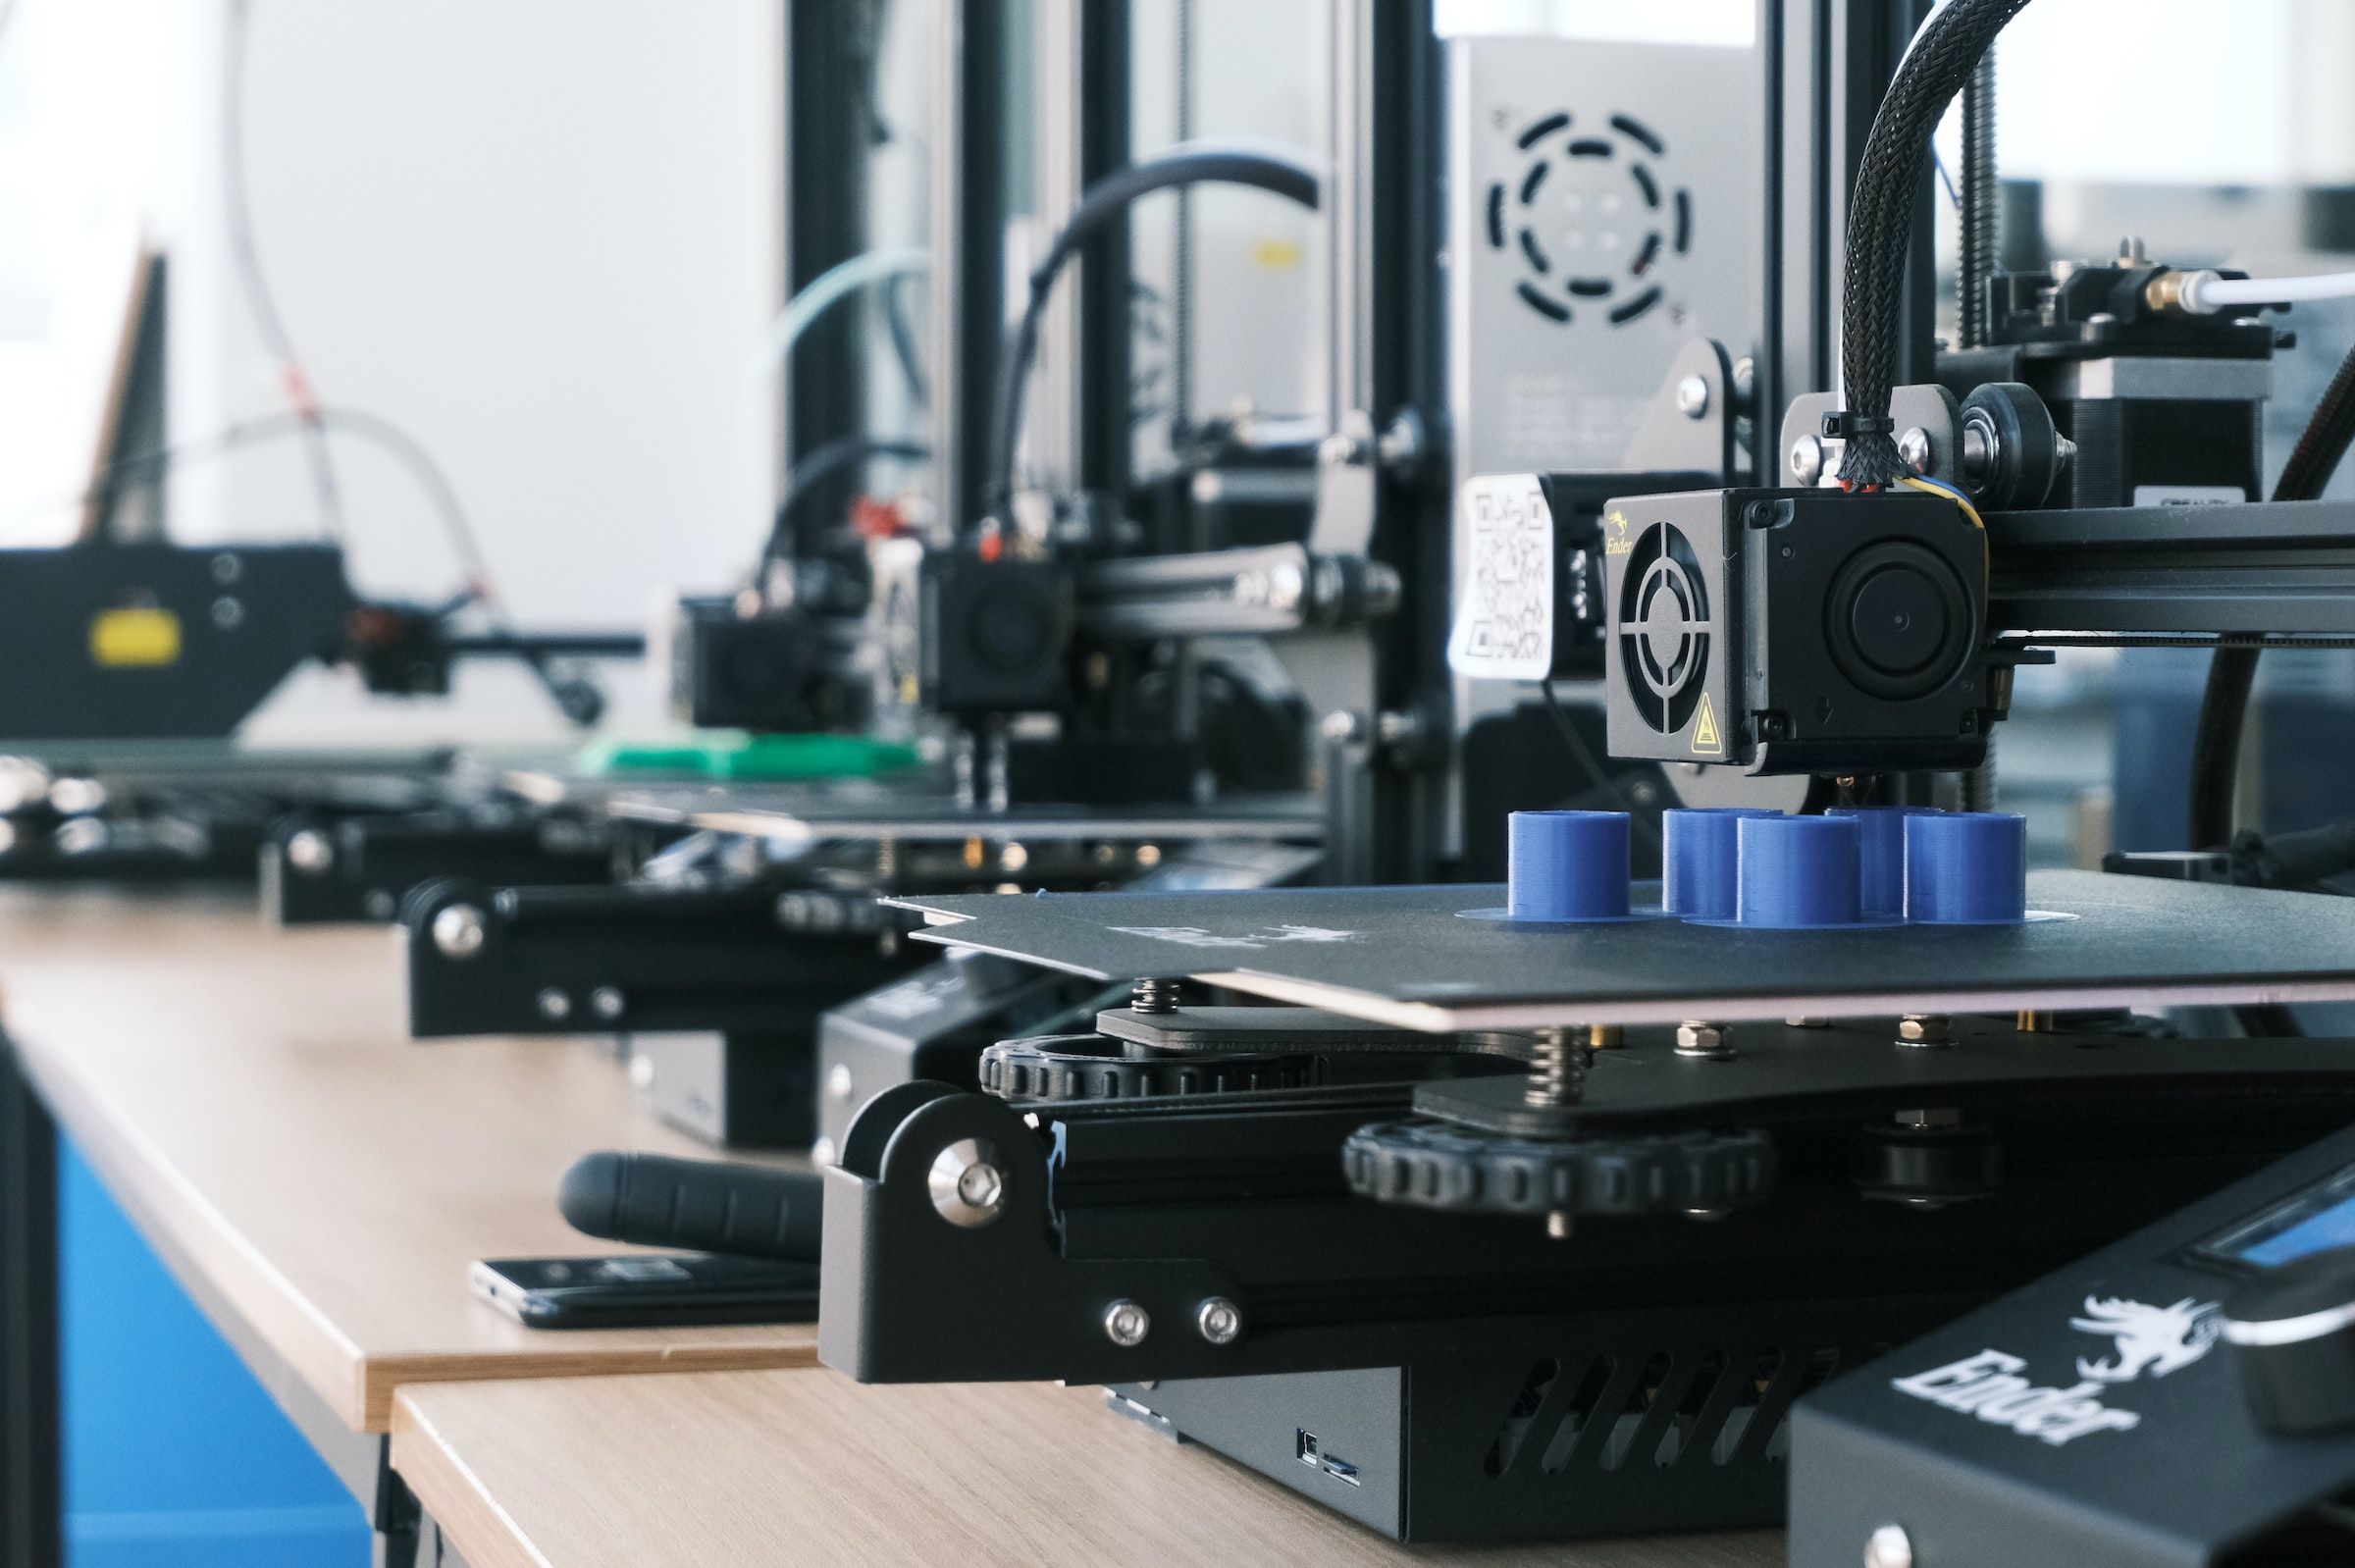
PLA is a 3D printing filament made from renewable resources such as corn starch. It has many advantages over other materials, but it can sometimes be a challenge to get it to stick to the 3D printer's bed. If your PLA is not sticking, don't worry! You can fix the problem and bring your 3D prints back on track by following the tips below.
1. Ensure That the Build Plate Is Level Enough
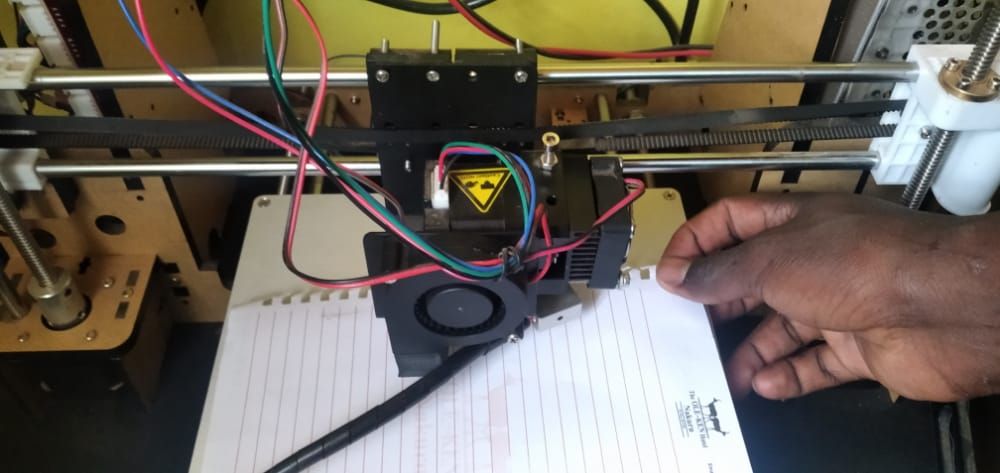
The PLA won't stick correctly if the build plate isn't level enough. To check if your build plate is level, use a feeler gauge to measure the gap between the nozzle and the bed; it should be less than 0.1 mm. You can also use a sheet of paper to test the level of the bed. The bed isn't level enough if the piece of paper can slip underneath the nozzle, and you'll need to adjust the leveling screws until the gap is less than 0.1 mm, or the paper can't slip underneath the nozzle anymore.
In addition to ensuring that the build plate is level, ensure that it’s clean. If your build plate isn't clean enough or has debris, your PLA may not stick to the bed correctly. So make sure that you clean your build plate before each print. You can use isopropyl alcohol or another cleaning solution to remove any dirt from the surface of the build plate.
2. Check the Temperature and Speed of Your 3D Printer
The ideal range for PLA filaments is between 185-210 degrees Fahrenheit. If the bed is too cold, the PLA will not stick. You can also use a heated build platform to promote better adhesion. In addition to checking the temperature of your 3D printer and the bed, it's important to adjust the printing speed. PLA is a strong material, so you don't have to worry about it breaking if you print too fast.
If you print too slowly, the PLA may start to sag before it has cooled enough to solidify, and this can cause your 3D prints to be deformed or even break apart. The best way to cool PLA is with a high-speed fan. You can increase the speed of this fan by going into your printer's settings menu. The best printing speed for this filament is around 60-90 mm/s.
3. Ensure That You Use the Correct Build Plate Material
One of the essential factors in getting PLA to stick to the build plate is choosing the suitable material. Glass and aluminum are two common build plate materials. Still, they can make it harder for PLA to adhere as it relies on surface tension to attach itself to the build plate. However, both glass and aluminum have very low surface tension, which makes it more difficult for the PLA to form a strong bond.
When choosing the build plate of the material to 3D print with PLA, ensure that you select the ones with higher surface tension, such as polycarbonate or NinjaFlex, which will always result in cleaner designs.
Also, ensure that the Z-height of your 3D printer is adjusted well. Z-height is the distance between the build plate and the tip of the nozzle. If this distance is too great, the filament may not be able to adhere to the plate correctly.
4. Use a Brim on Your Prints To Help the PLA Stick Better
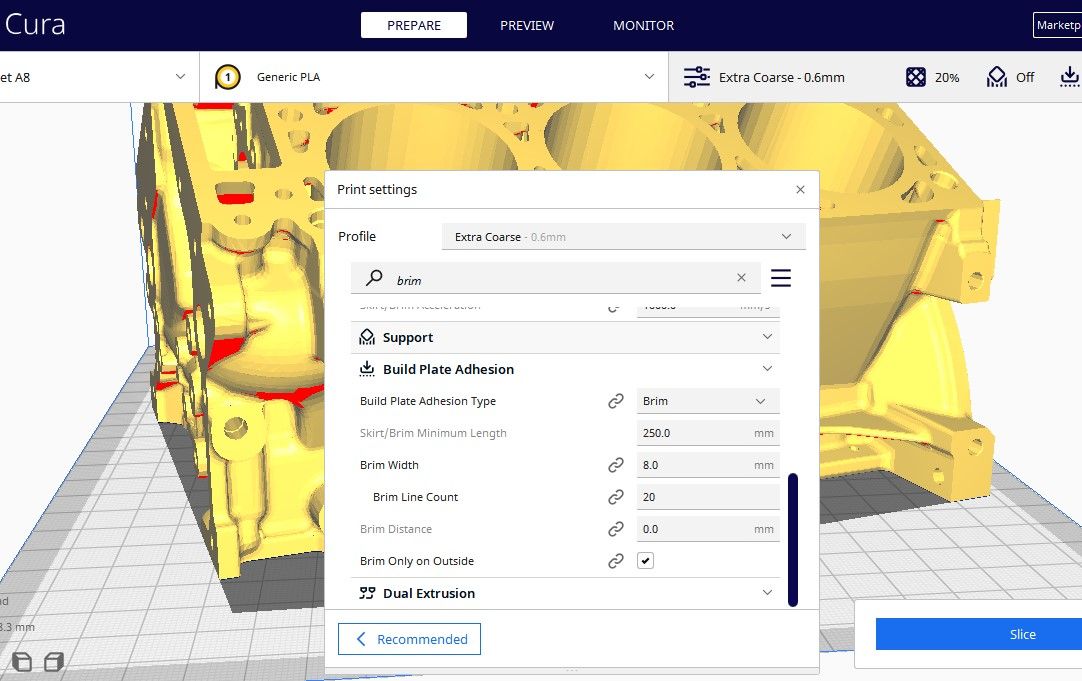
When printing PLA, it is vital to ensure the first layer sticks well to the build plate. A brim is a layer of extruded plastic surrounding the printed part. The brim helps keep PLA from curling up at the edges and falling off the build plate. In addition, the brim provides a larger surface area for the hot end to heat, which can improve bed adhesion.
To add a brim to your print, go to the Advanced settings in your 3D printer slicer software and adjust the Brim Width and Brim Distance as shown in the image below. How wide you make the brim will depend on how large your part is and how well it sticks to the build plate. Experiment with different values until you find a setting that works well for your printer and filament.
5. Try Using a Different PLA Filament
There are different types of PLA, each with its own properties. If you find that the filament you are using is not sticking to the bed properly, it may be due to the type of PLA you are using. For example, some PLA filaments are more heat-resistant than others, so they will require a higher bed temperature to stick correctly.
Alternatively, you may need to increase the glue or hairspray you use. Whatever the case, it is always worth trying a different type of PLA if the one you use is not giving you the desired results.
Other Tips for 3D Printing With PLA
Here are some tips to get the best results when printing with PLA:
- Use blue painter's tape or a glass bed: PLA sticks well to smooth surfaces like blue painter's tape or a glass bed covered in hairspray. If you are having trouble getting your PLA to stick, try one of these surfaces.
- Print in a well-ventilated area: When PLA is heated, it gives off slight fumes that can be irritating if you breathe them in. For this reason, it's best to print in a well-ventilated area. If you don't have good ventilation, you can try printing with the door open or using a fan to blow the fumes away from your face.
- Store PLA in an airtight container: PLA is hygroscopic, which means it absorbs moisture from the air. If PLA absorbs too much water, it can become brittle and difficult to print. To prevent this, store your PLA in an airtight container with desiccant packets.
- Keep your nozzle clean: A dirty nozzle can cause problems with your 3D prints. The filament may even jam during 3D printing, causing your 3D prints to be deformed or have gaps. You can use a brass brush or needle to remove any build-up on the tip to clean your nozzle, or you can even try soaking the nozzle in acetone overnight.
- Store PLA properly: PLA can be difficult to work with if it's not stored correctly and tends to become brittle if exposed to too much moisture.
Change the Build Plate if the PLA Still Doesn’t Stick to the Bed
If you are still experiencing issues with sticking, it may be time to change the build plate. You can find a new build plate at your local hardware store or online. To replace the build plate, you can simply loosen the screws that hold it. Once the screws are loose, you should be able to lift the build plate off of the bed.
To install the new one, you will begin by aligning the new build plate with the four mounting holes on the heated bed. Once the build plate is in place, start threading in the screws. Be sure not to over-tighten the screws, or you could damage the heated bed. Once everything is tight and secure, turn off the heated bed and allow it to cool down completely. Once it's cooled down, it should be ready to start printing again!
PLA Not Sticking to the Bed? Fixed
It can prove a challenge to get PLA to stick to your 3D printer's bed. By following the tips in this guide, you should be able to fix the issue and enjoy more successful 3D printing with this common type of filament. The build plate level, material, and printer temperature are all important, while using a brim may also help, or a different type of PLA.

