
If you like to use your own photos in your creative projects, there's nothing like planning ahead and taking pictures of textures for future use.
In this tutorial, we'll show you how to turn photos taken on your smartphone into textures using Photoshop.
Why Take Pictures of Textures With Your Phone?

Textures are extremely useful for adding creative touches to your images. They can serve as backgrounds when needed to remove distractions or to add interest to a scene. Textures can also be used, as the name suggests, to add texture to various parts of an image to create photo composites or collages.
Furthermore, a collection of diverse textures will ensure that you'll never have to use other people's photos in your own work. You can use photos of the floor, walls, tree bark, paint chips, rust, metal, or any other kind of surface.
The terms "texture" and "background" are often synonymous. So, when we talk about taking pictures of textures with your phone, this could mean backgrounds as well if the intent is to replace backgrounds. But unlike traditional background replacement, textures can also be applied to an entire image—especially when used with blend modes in Photoshop.
We go in-depth about what textures are in photography if you're still unsure about what that particular saying means.
Tips for Taking Pictures of Textures With Your Phone

There are a few helpful tips to keep in mind for taking pictures of textures with your smartphone for use in Photoshop. We'll mention a few of them here.
- Get in the habit of shooting textures. You may not always have your "good" camera with you, but you'll almost always have your phone. Get in the habit of photographing textures wherever you go. You'll build up your collection much faster.
- Fill the frame. Avoid elements you don't want to include around the edges whenever possible. You want a clean image of just the texture.
- Avoid shadows. Sometimes the overhead sun can cast shadows onto your textures. You'll want to keep shadows out so that you won't waste time in Photoshop removing them.
- Properly expose your images. Make sure your exposure isn't too dark or too bright when photographing textures. Aim for a neutral exposure across the entire image.
- Take just one shot of a texture. If you take too many shots of a single texture, you risk wasting time during post and filling up your hard drive needlessly. Try to take one great shot of a texture and move on to the next.
- Store your textures online. Apart from storing textures on your computer, remember that backing up your data is important. There are storage sites like Flickr and 500px where you can store your textures. Plus, you'll be able to access your textures if you're on another computer.
There are other cloud services that let you back up iPhone photos, and you'll find plenty on Android too.
Step 1: Transfer Pictures From Your Phone to Your Computer

Once you have several textures taken on your smartphone, you'll want to transfer them to Photoshop. There are many ways to accomplish this, and it often depends on what camera, apps, and OS you're using that will determine the best method. If you're just starting out and have only a few textures, consider sending the images to your email and downloading them from your computer.
If you're using photo editing apps like Luminar AI and Luminar Neo, they have a share feature that allows you to transfer photos from your smartphone to your computer.
Step 2: Edit Your Textures in Photoshop
There are several things you can do to enhance your textures in Photoshop. The goal is to edit a texture in such a way that you'll have to spend as little time as possible when it comes time to use it with another image. Typically, you'll want to sharpen your texture (or increase its contrast) along with enhancing the color in the textures that have stand-out colors.
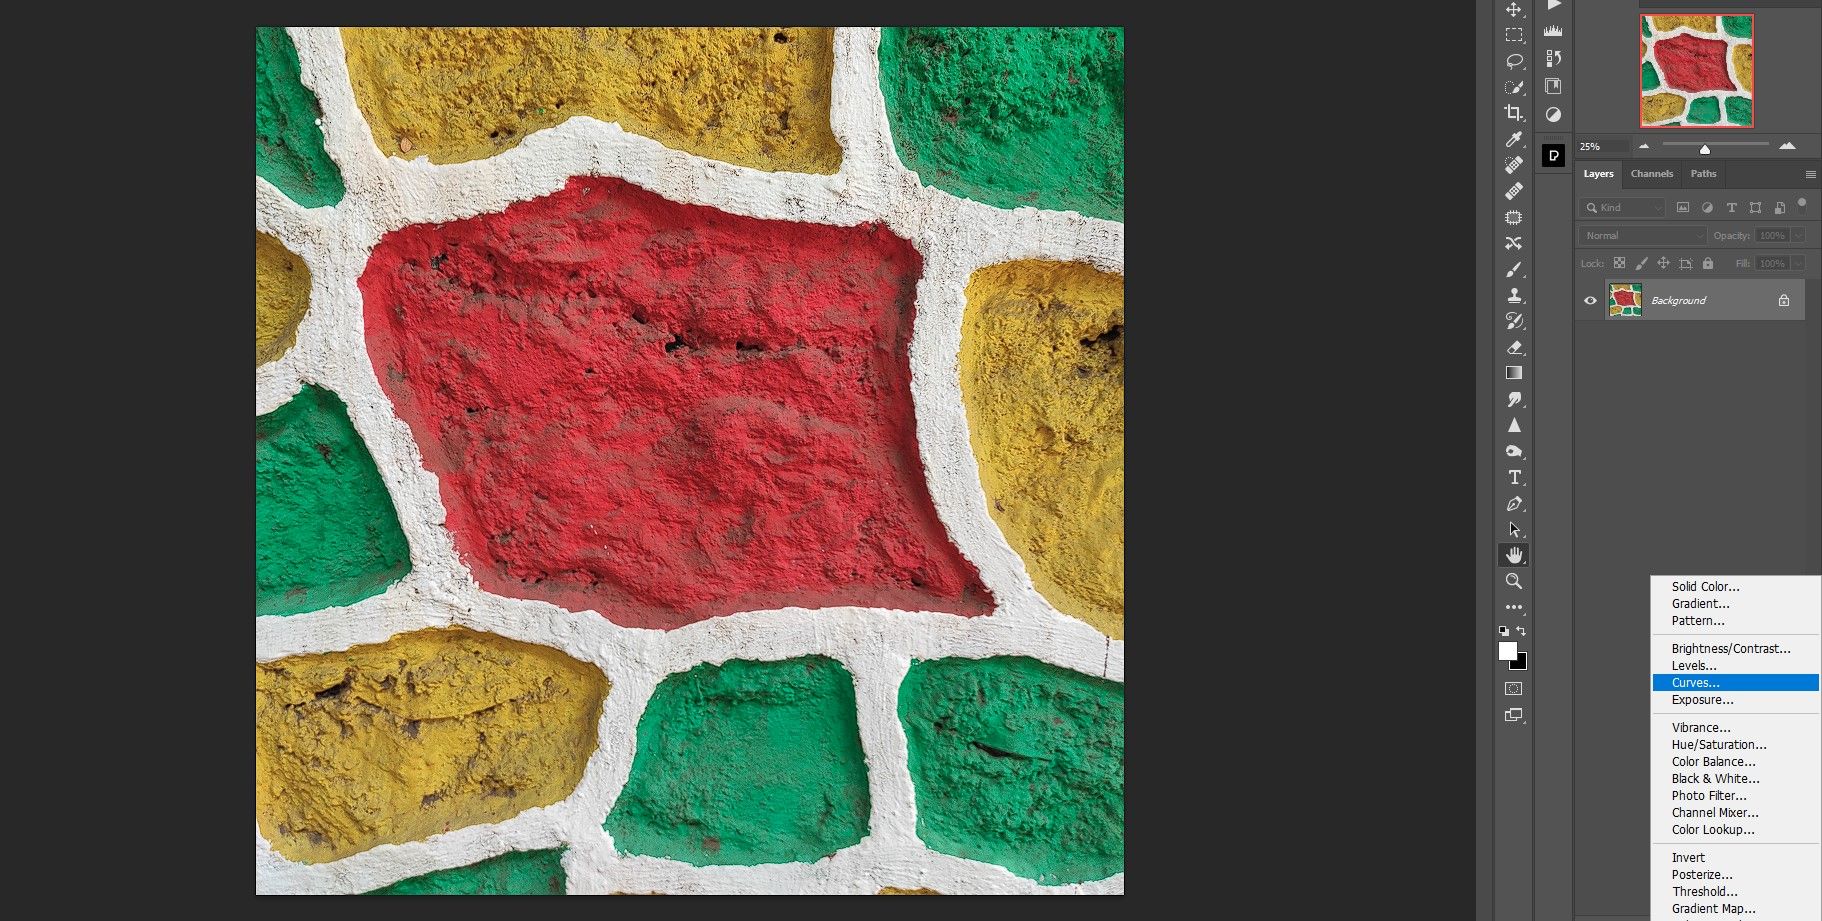
For our examples, we'll use the Curves and Hue/Saturation adjustment layers to edit the texture.
-
With the texture loaded into Photoshop, create a Curves adjustment layer.
-
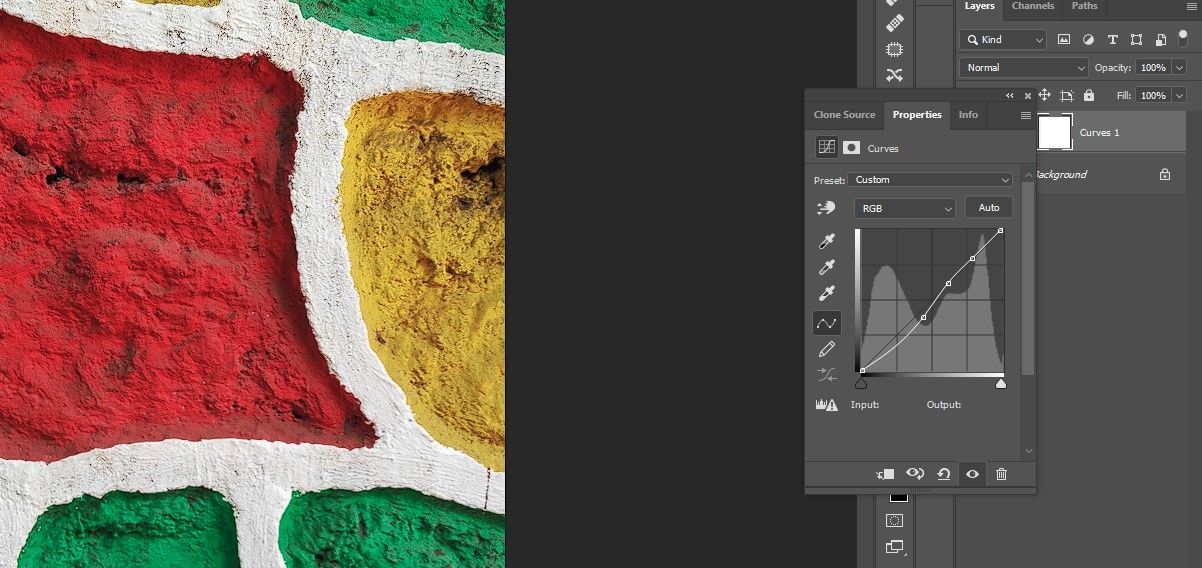
If you're comfortable with the Curves tool, you can make your own adjustments by creating points on the graph to increase contrast. For the purpose of this tutorial, we'll click on Auto because it does a great job of increasing contrast without going too far.
-
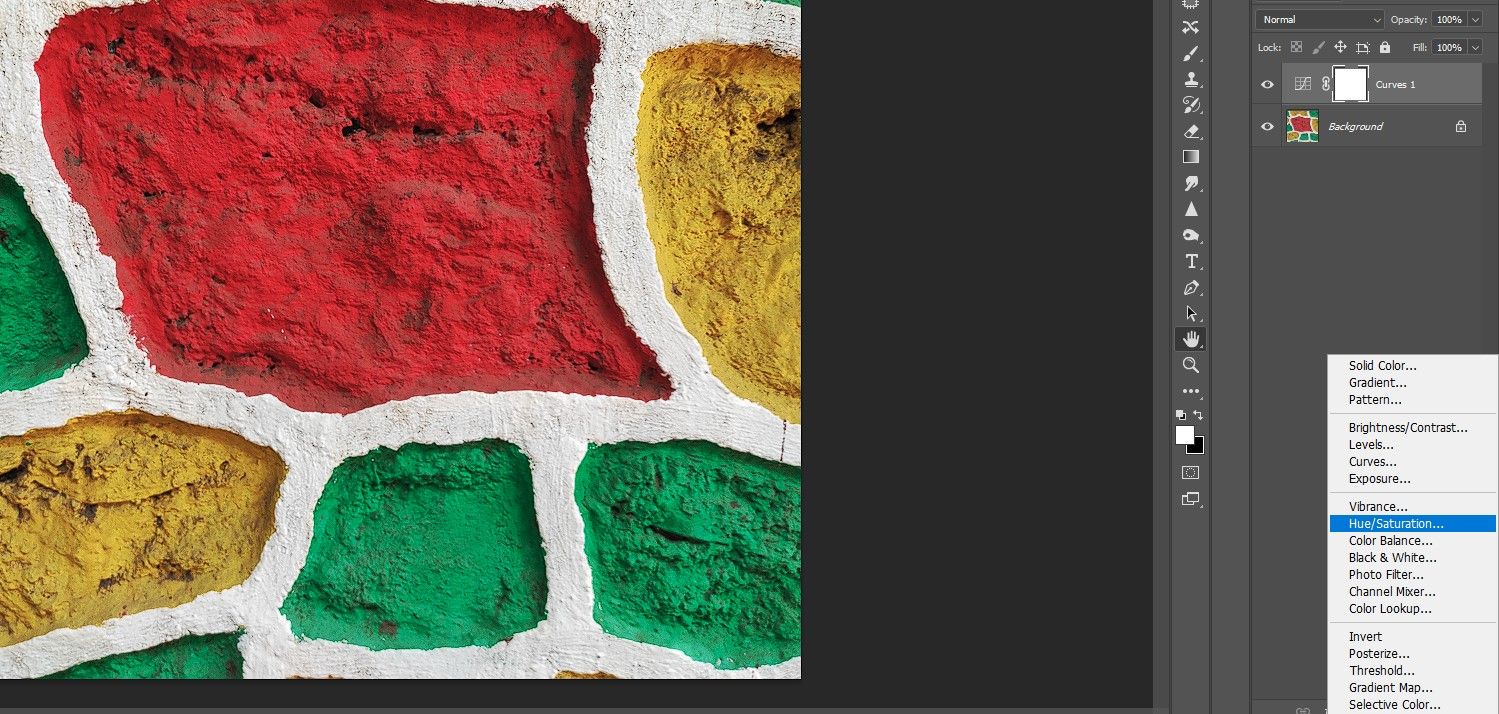
Create a Hue/Saturation adjustment layer.
-
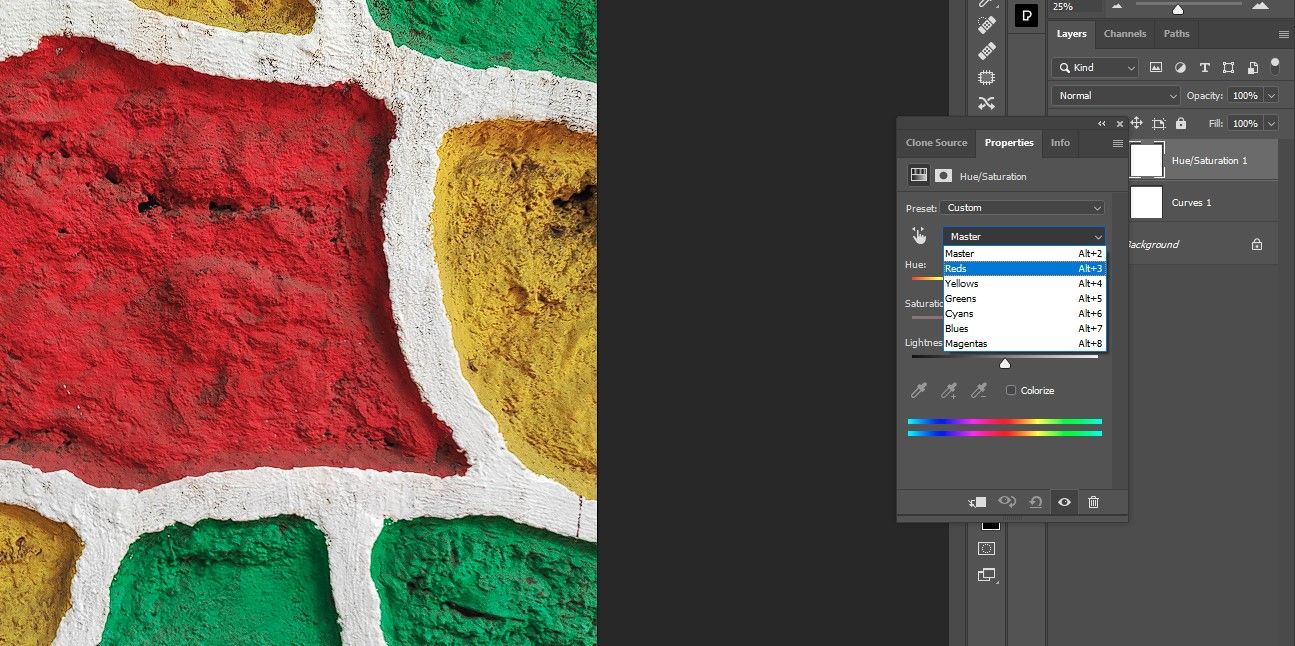
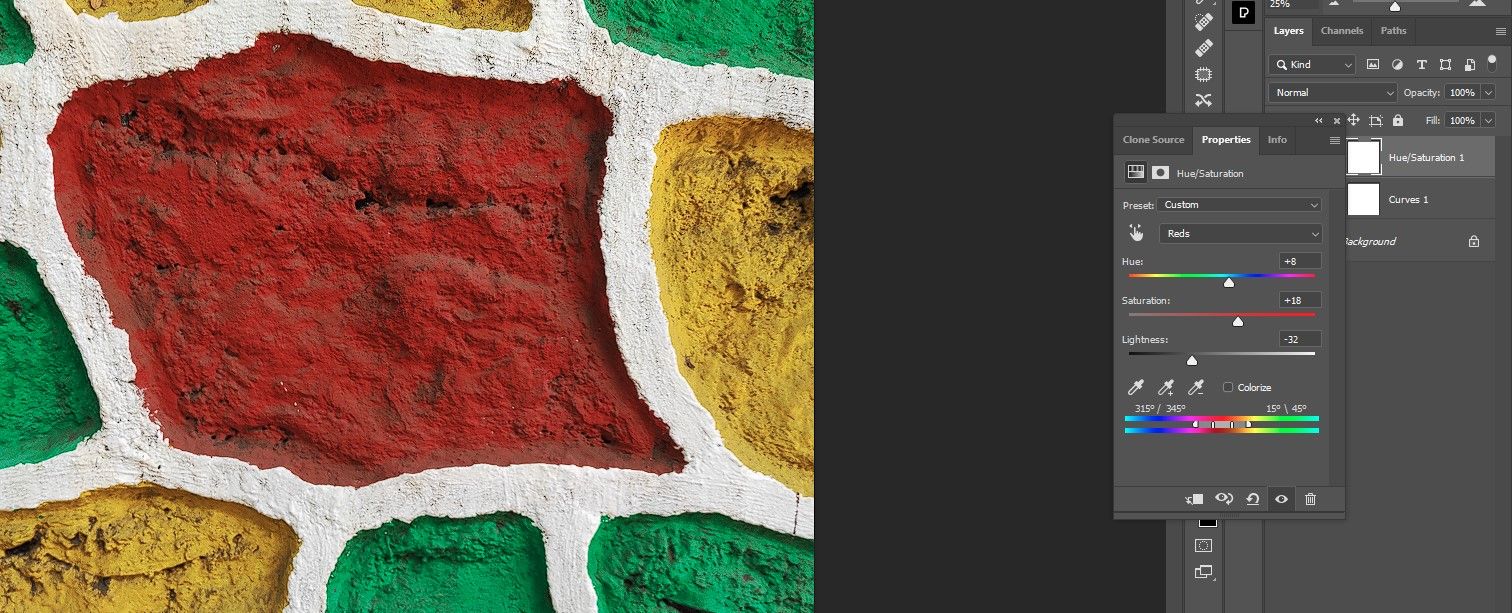
For many images, you'll only have to increase the Saturation slider to get good results. But for this image, if you push the Saturation slider too far, it also increases the overall brightness of the colors. This will create an undesirable effect. So, instead, we'll select the Reds channel.
-
We've adjusted the Hue, Saturation, and Lightness sliders to edit the reds in the texture. The same thing can be done with any of the color channels when desirable.


With the texture fully edited, we're ready to save the texture to our collection for future use.
Step 3: Save the Texture to Your Collection
After you take photos of textures with your smartphone and edit them in Photoshop, you'll want to save them to a designated folder on your computer. There are a few options to consider when saving your textures.
File Format
Do you want to save your textures as PSD or TIFF files for future editing, or do you want to just save them as JPEGs?
As a standard practice, consider exporting your textures as JPEGs for future use and save yourself disk space. Only save the textures for further editing if you think further post-processing would be necessary for different kinds of images.
In our example, we'll save the texture as a JPEG and close Photoshop.
-
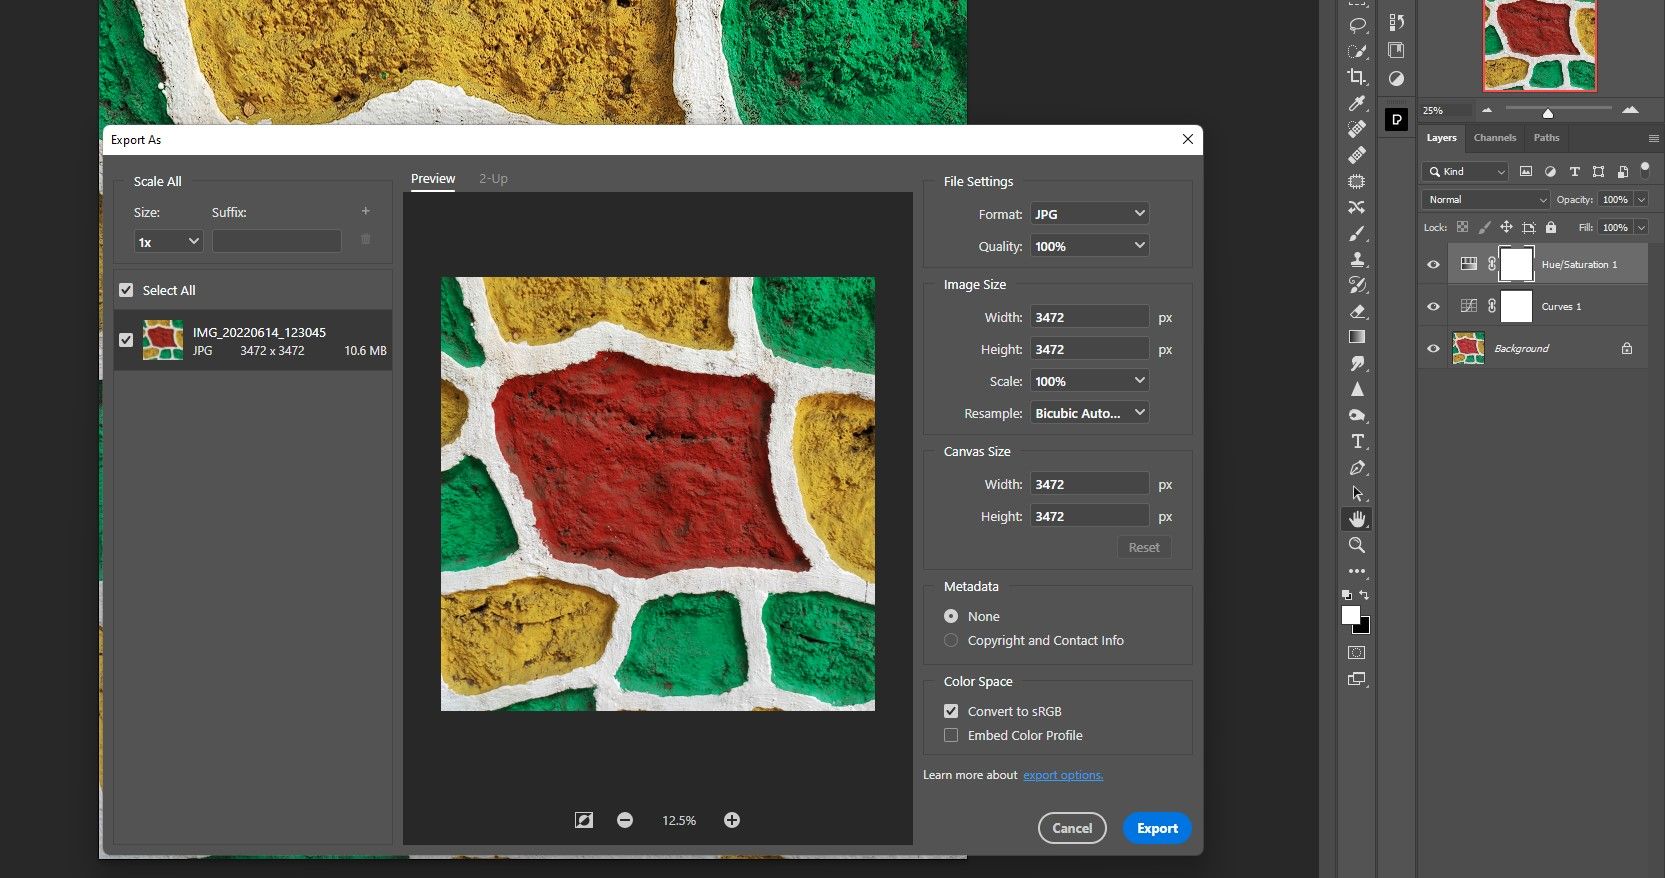
Use the keyboard shortcut Shift + Ctrl + Alt + W to access the Export As menu.
-
Adjust the settings as you see fit. It's important to ensure you have the Format set to JPG and the Quality set to 100 percent.
-
Click on Export.

-
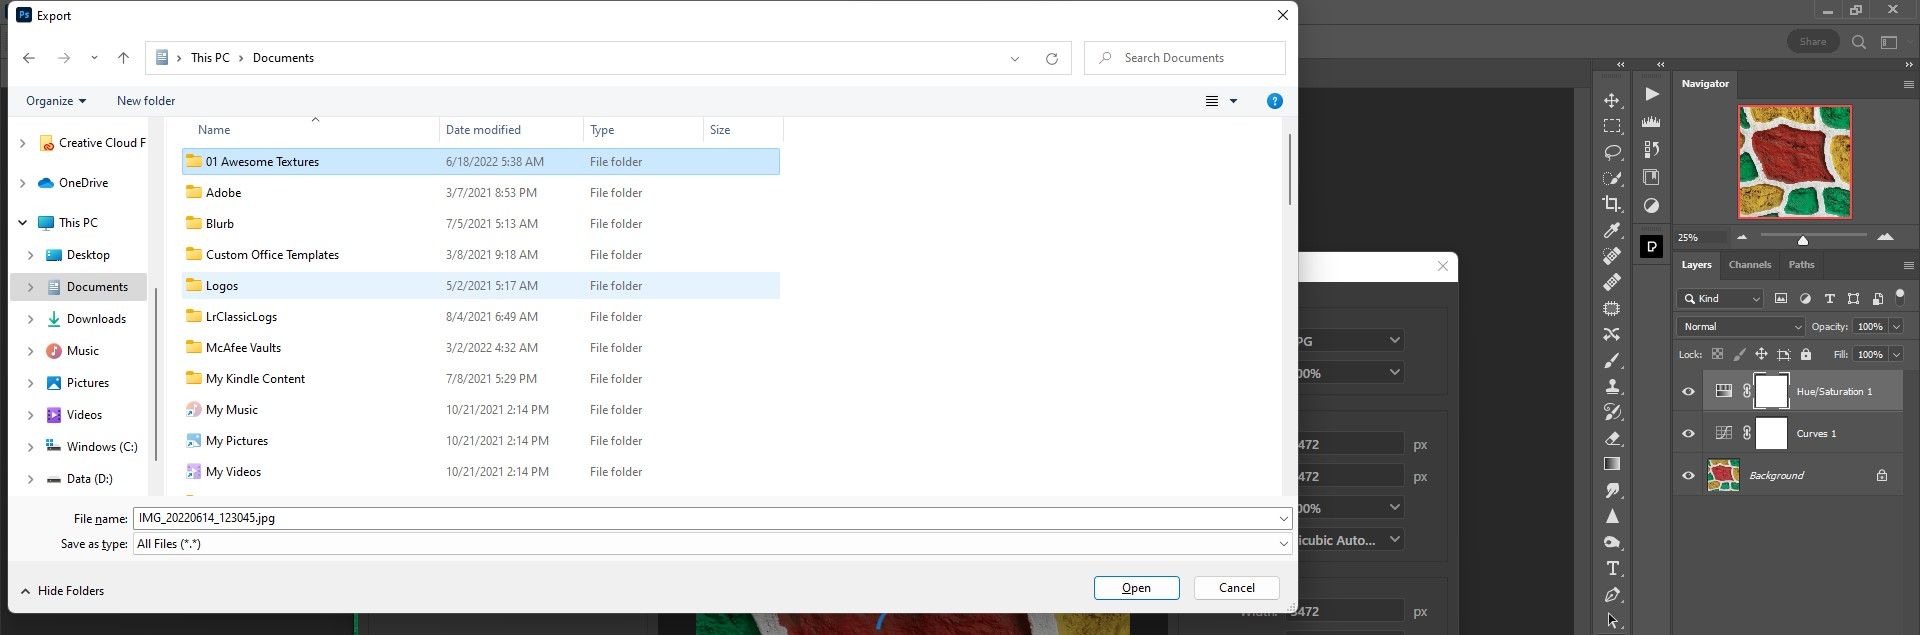
Click on the destination folder that you want to save to. In our example, we'll choose Awesome Textures. Then click Open.
-
Rename your texture file. Then click Save.
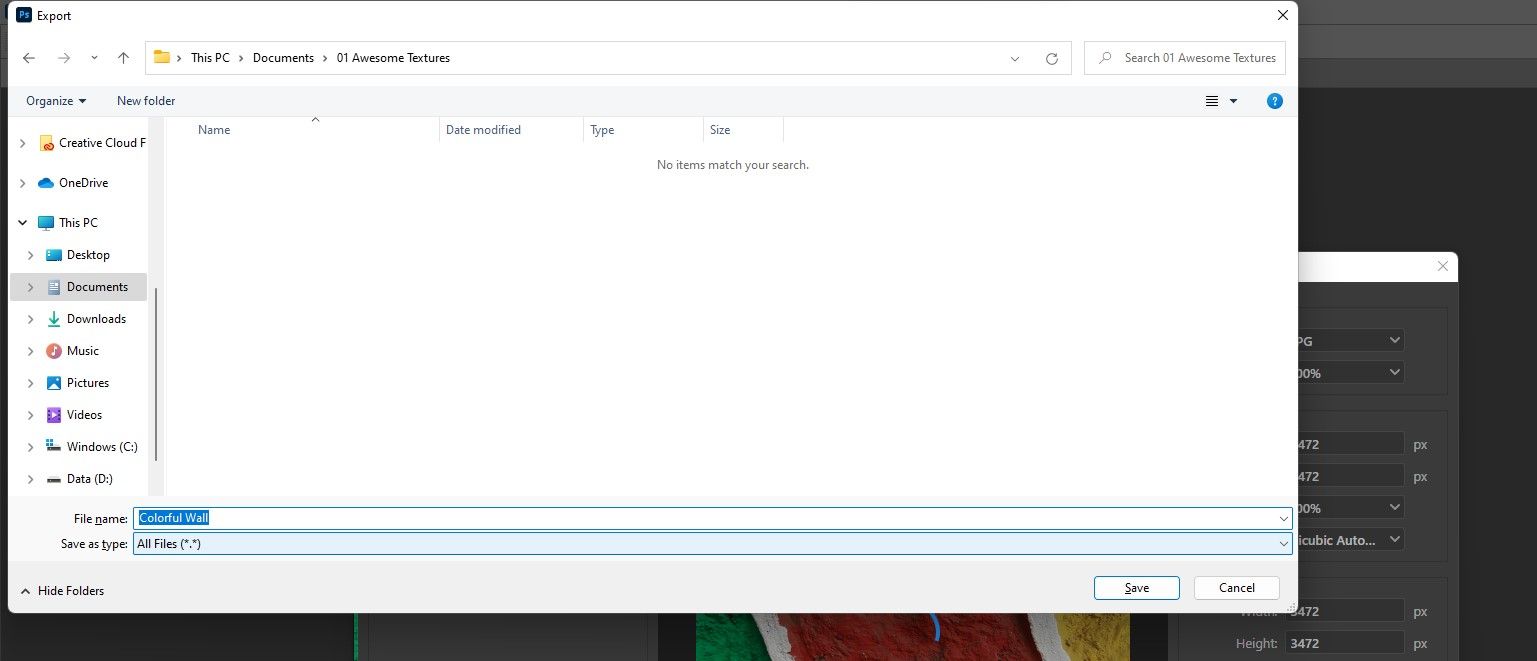


We now have a saved texture in JPEG format for later use.
If you have multiple textures to export, you can easily export JPEG files from Photoshop using Adobe Bridge.
Step 4: Add the Texture to a Photoshop File
Now let's add the texture file we just created into another image file. There are several ways to do this, but we'll use the quickest for demonstration purposes, which is to use the Place Embedded feature.
-
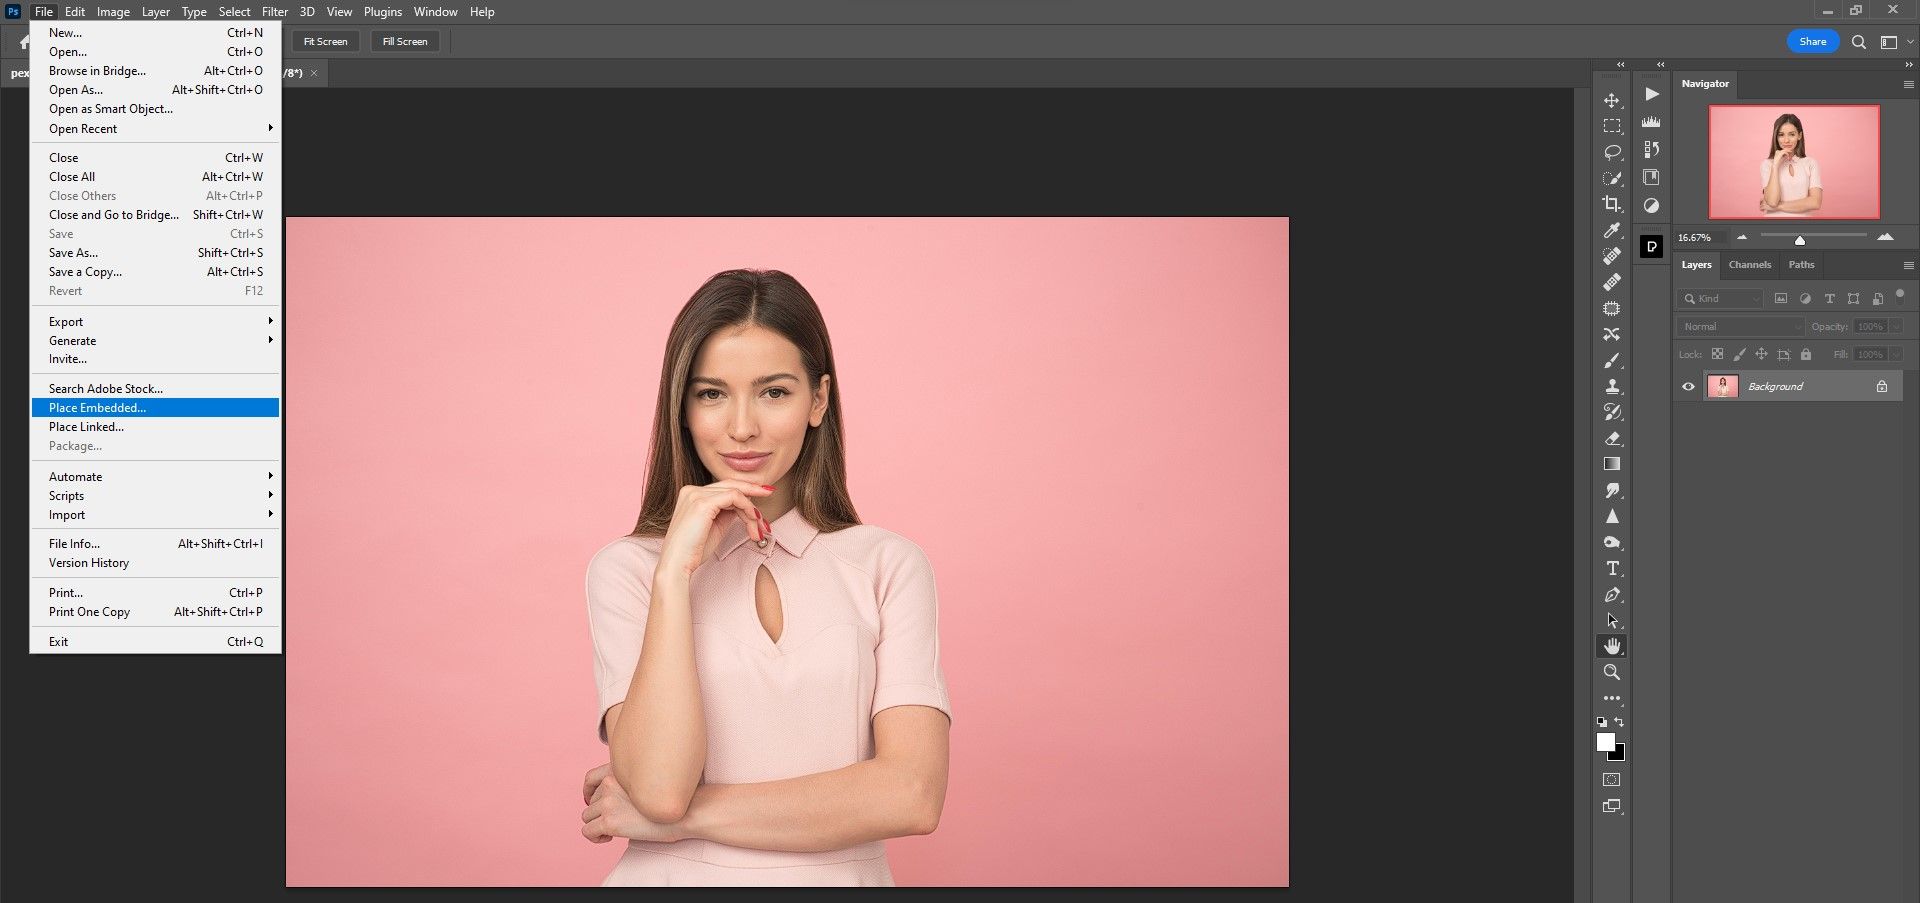
With the file image that you want to use the texture with already loaded into Photoshop, go to File > Place Embedded.
-
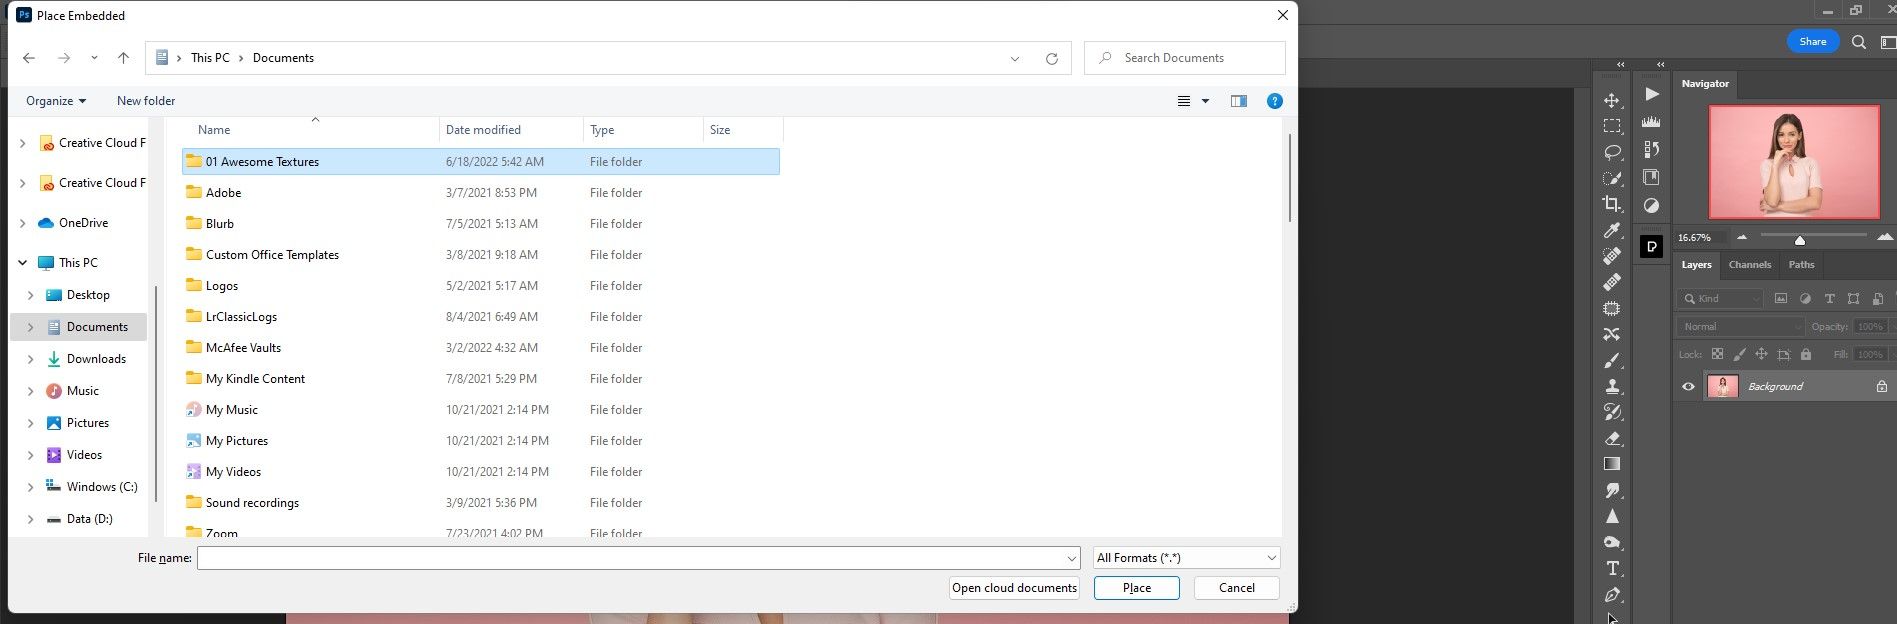
Locate the Awesome Textures folder that we just created.
-
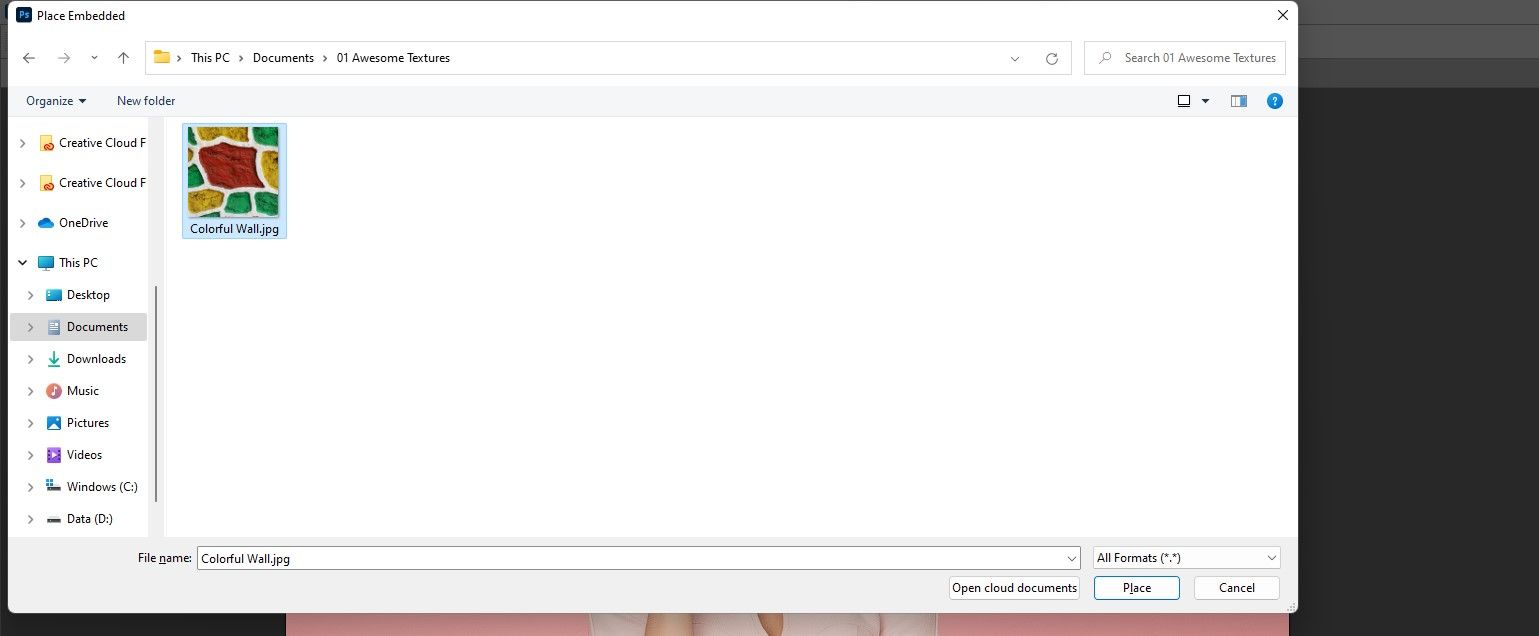
Double-click on the folder and select Colorful Wall. Click on Place.


What we're left with is a starting point for applying the texture to the portrait of the woman.

From here, we can adjust the handles to stretch the wall across the entire image or just part of it. How you ultimately decide to use the texture is up to you.
You can also save your texture files as patterns to replace boring walls in Photoshop, as we did with our cover image for this article.
Textures Taken On Your Phone Will Boost Your Creativity in Photoshop
There are many uses for textures. Now that you've learned how to take photos of textures for use in Photoshop, you can unleash your creativity and create masterful images by combining textures with other image files.