Photoshop offers a wide variety of tools for selecting portions of an image. To refine your selection, the Select and Mask workspace is the most advanced system in the program.
From automatically selecting subjects against a background to softening the edges to avoid loss on soft surfaces, the workspace has plenty of versatility. Due to the large number of tools and options, selecting and masking can be somewhat intimidating to new users. Knowing the tools, however, makes this complex feature surprisingly simple to use.
How to Access the Select and Mask Screen in Photoshop
In order to use the Select and Mask tool in Photoshop, first open up the image that you are looking to select an area of. With the image open, you can choose any of the selection tools from the tool tray.
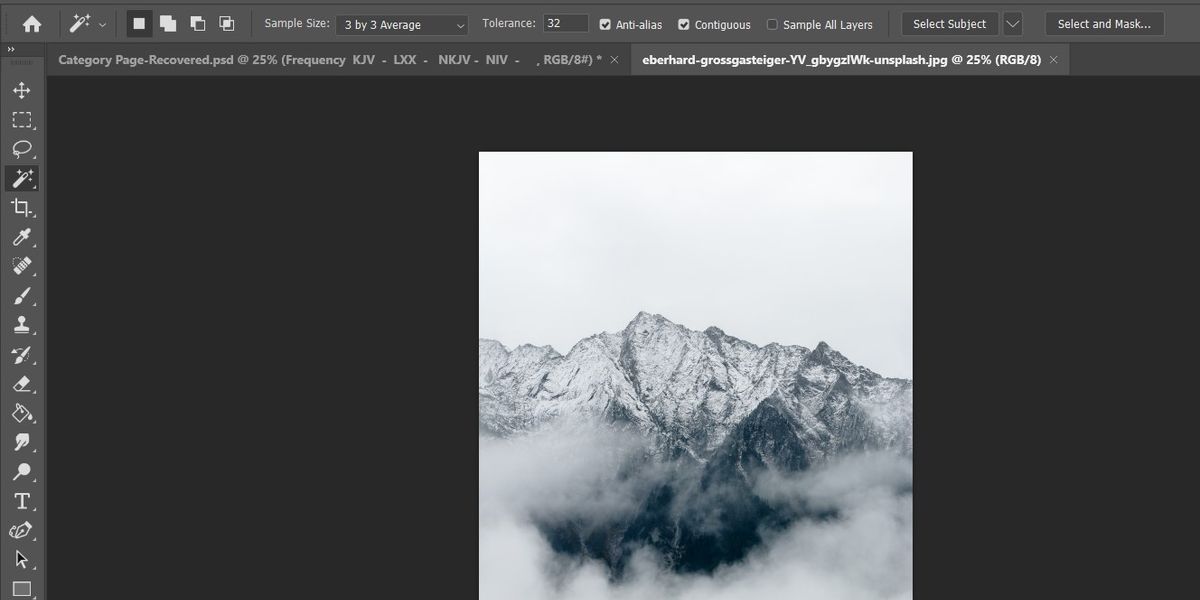
Photoshop has several different tools available to help users select portions of the canvas. The Select and Mask screen can be accessed by first selecting any of the Marquee tools, the Lasso tools, or the Quick Select tools. Once any of these tools is selected, the option to select and mask the current document will appear on the right side of the top toolbar.
Clicking on the button labeled Select and Mask will open up the Select and Mask screen with the current selection already input.
Photoshop’s Select and Mask Tools
With the Select and Mask screen open, the toolbar on the left side of the screen changes to a new set of tools. These tools are designed to assist users in defining and refining the selected portion of the canvas.
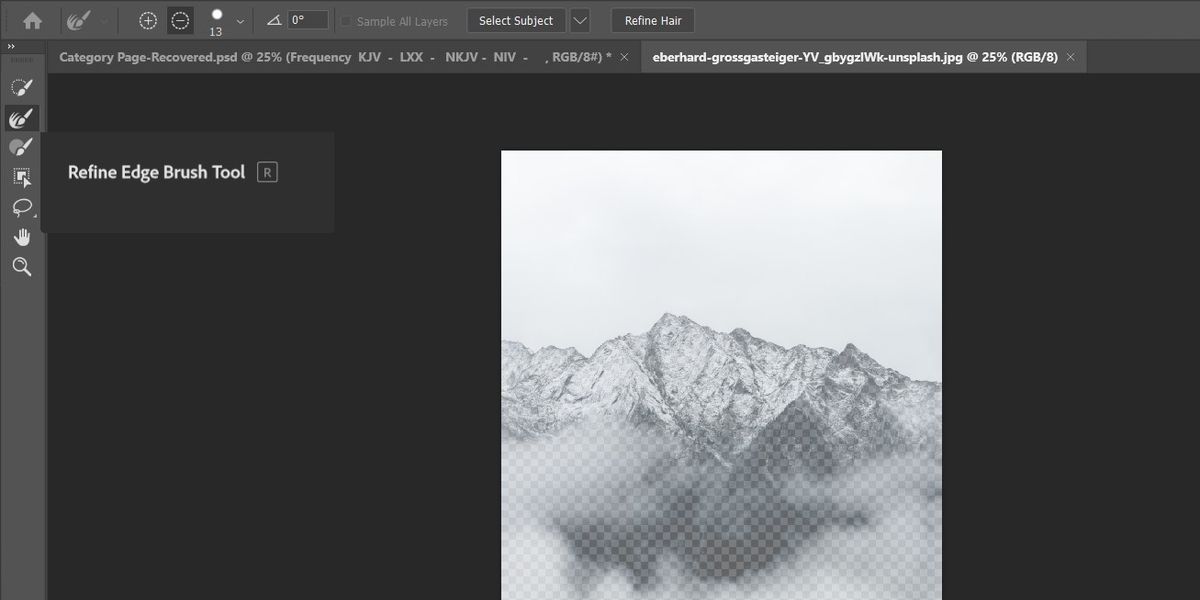
The Refine Edge Brush Tool
The Refine Edge Brush tool allows users to quickly and automatically correct selection errors in spots with soft edges. The brush will adjust the threshold for selections in the area selected, allowing fine adjustments over edges with multiple overlapping surfaces.
When selecting soft surfaces such as hair, fur, or leaves, the Refine Edge Brush tool can help the resulting selection look far more natural and keep soft edges from being lost. Selecting soft edges can also be reversed to edit the background of an image with a human subject, or to make changes to the sky through a canopy of leaves.
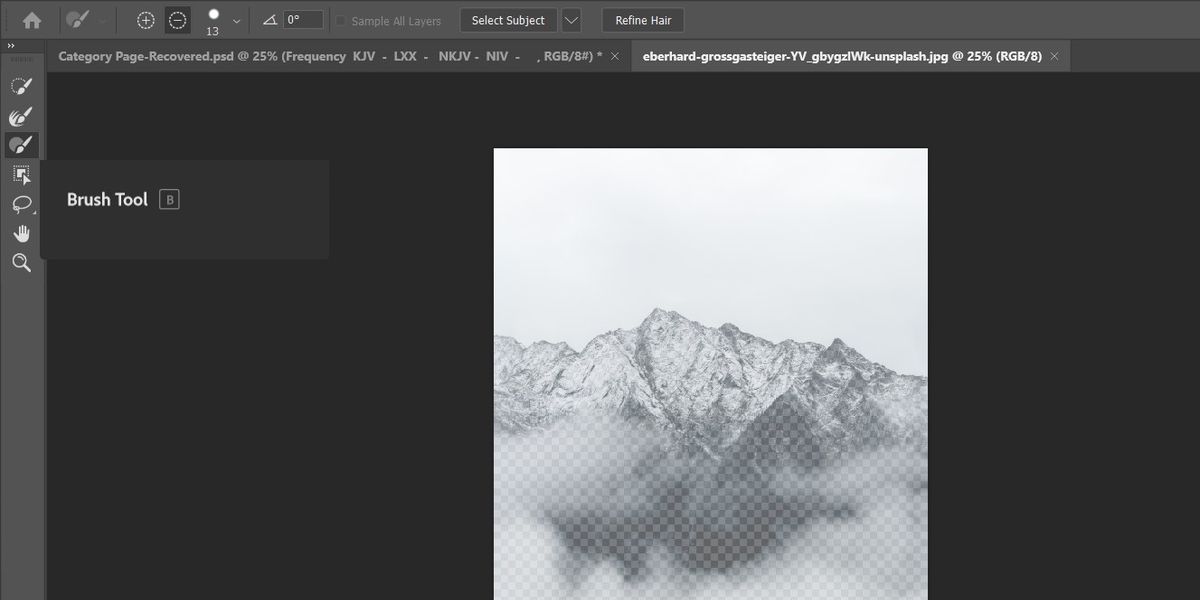
The Brush Tool
The Brush tool is the simplest of the selection tools in Select and Mask. It has two settings: add and subtract.
While using add, moving the brush across the screen will paint the selection onto the canvas. The area confined within the brush will all be added to the selection if it isn’t already a part of the selection.
The subtract mode, on the other hand, removes anything within the brush from the selection. This allows you to quickly carve out large chunks from the selected area.
The controls for switching back and forth between the two modes can be found at the top left in the toolbar.
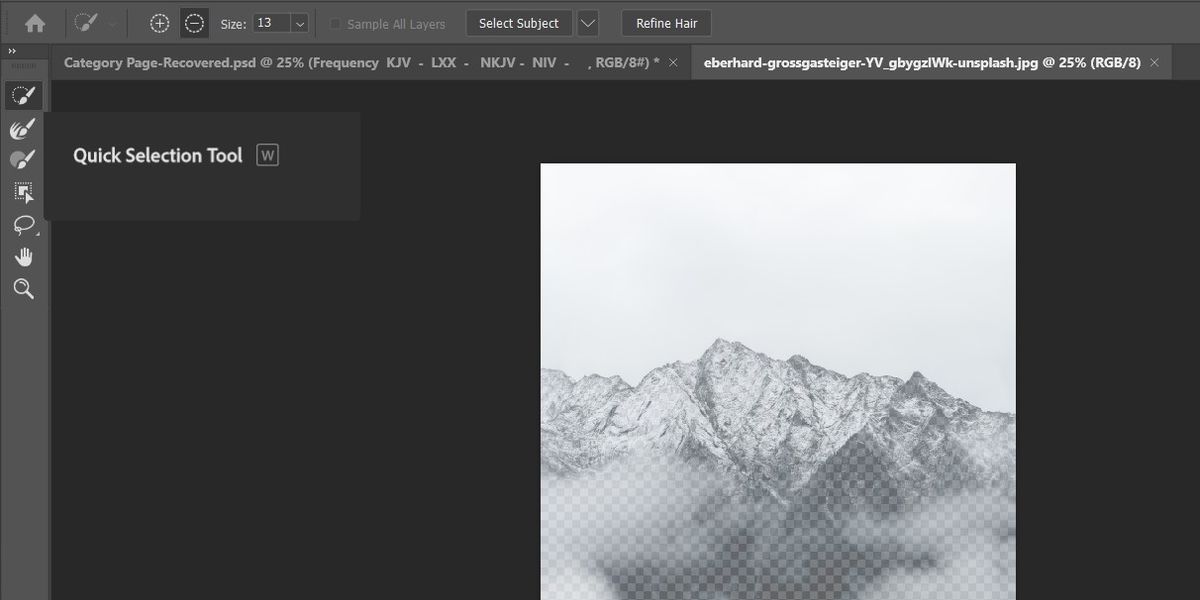
The Quick Selection Tool
The Quick Selection tool works very similarly to the Brush tool. The major difference is that the Quick Selection tool will attempt to select from the edge of the brush to the nearest edge of the object being selected.
Much like the Brush tool, the Quick Selection tool has both an addition and subtraction mode that can be used. This tool makes it much easier to select large or complex regions of an image.
When using the Quick Selection tool, Photoshop will automatically attempt to determine the area you are selecting based on surrounding pixels. The tool allows you to quickly and easily select complex shapes.
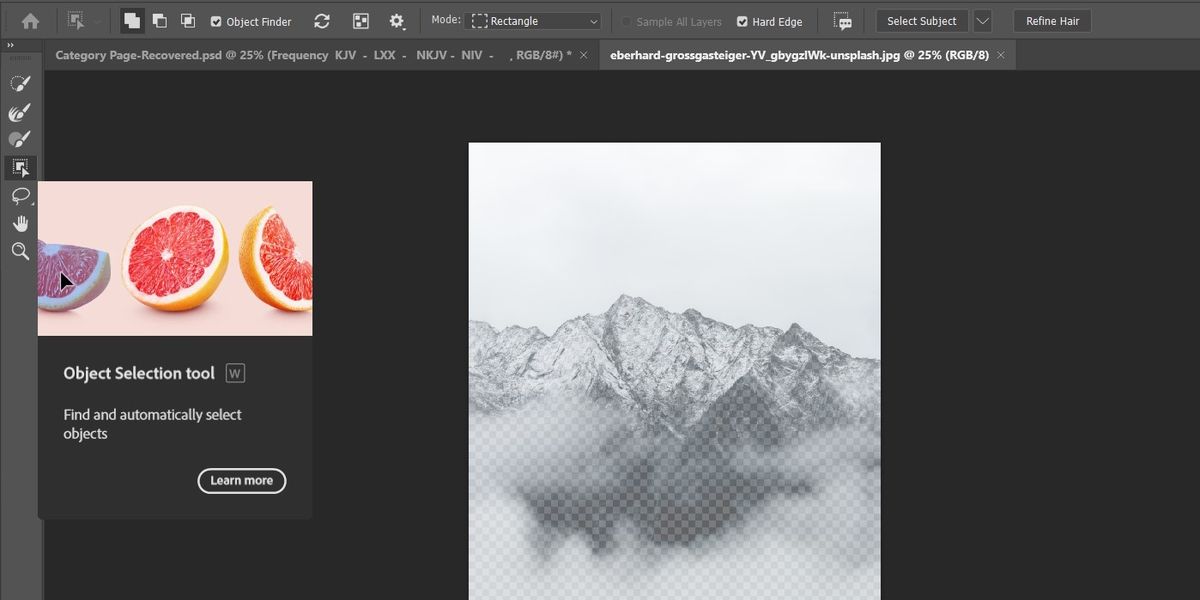
The Object Selection Tool
The Object Selection tool allows Photoshop to automatically select the subject within a given area. Using the tool will allow you to draw a rectangular selection onto the canvas. Once an area has been selected, Photoshop will attempt to determine the edges of any objects within the area and will automatically select the entire object.
If there are portions of the object left unselected after using the Object Selection tool, users can swap to the Brush or Quick Select tools. Change the mode to additive in the upper left corner of the screen, then finish selecting any required areas of the canvas.
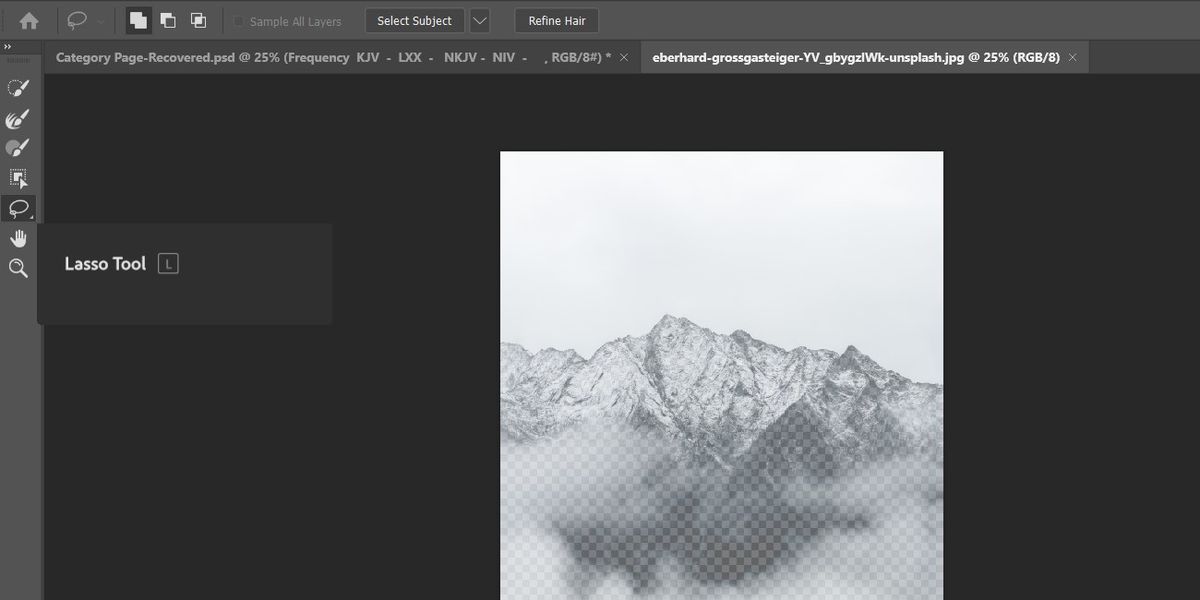
The Lasso Tool
The Lasso tool is a freeform selection tool that allows users to grab an entire chunk of the canvas. You can select any size or shape that you would like from the canvas.
The Lasso tool is completely free-form. Users can create curves and irregular forms to select areas without a clearly defined area.
The Polygonal Lasso Tool
The Polygonal Lasso tool functions very similarly to the Lasso tool, however, the area selected will always be made of straight lines. It can be used to select irregular geometric shapes without curves by creating individual vertices. The Polygonal Lasso tool can be found in the sub-menu for the standard Lasso tool.
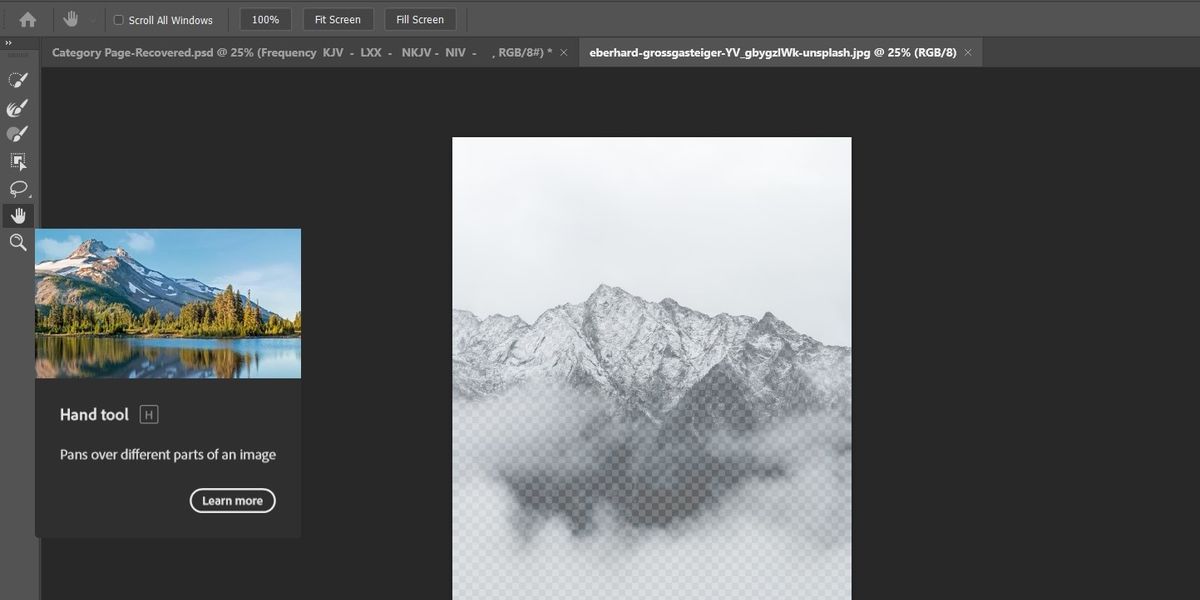
The Hand Tool
The Hand tool allows the user to pan around the canvas. Clicking and dragging will move the canvas to a new area. Additionally, the Hand tool can be quickly accessed by holding the spacebar with any other tool selected. Doing so will swap to the Hand tool until the spacebar is released.
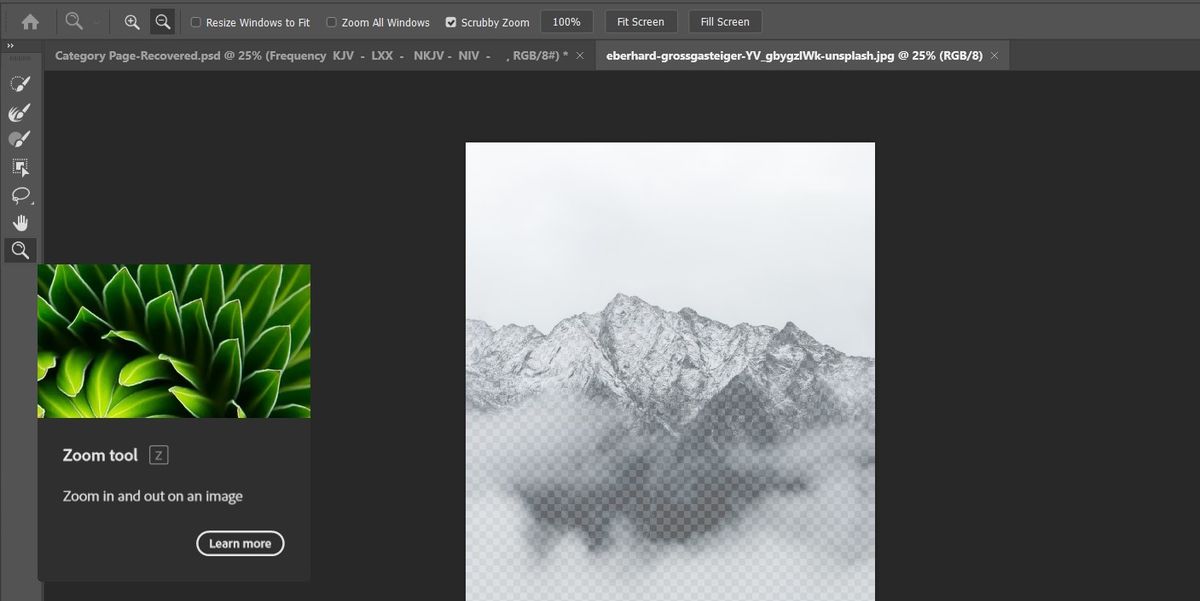
The Zoom Tool
Just like in Photoshop’s standard mode, the Zoom tool can be used to zoom in and out of the canvas while editing. Zooming in can make it much easier to select small or complex areas of a photo.
By default, clicking will zoom in. Users can right-click to see a list of options, including zooming out. Additionally, dragging over an area with the Zoom tool will zoom the canvas into the highlighted area.
Refining the Edges in Photoshop’s Select and Mask
After selecting an area within an image, Photoshop’s Select and Mask workspace has a set of tools created specifically for refining the selected area. This helps users select the exact portion of the image that they need without losing any edges or fine detail.
Smooth
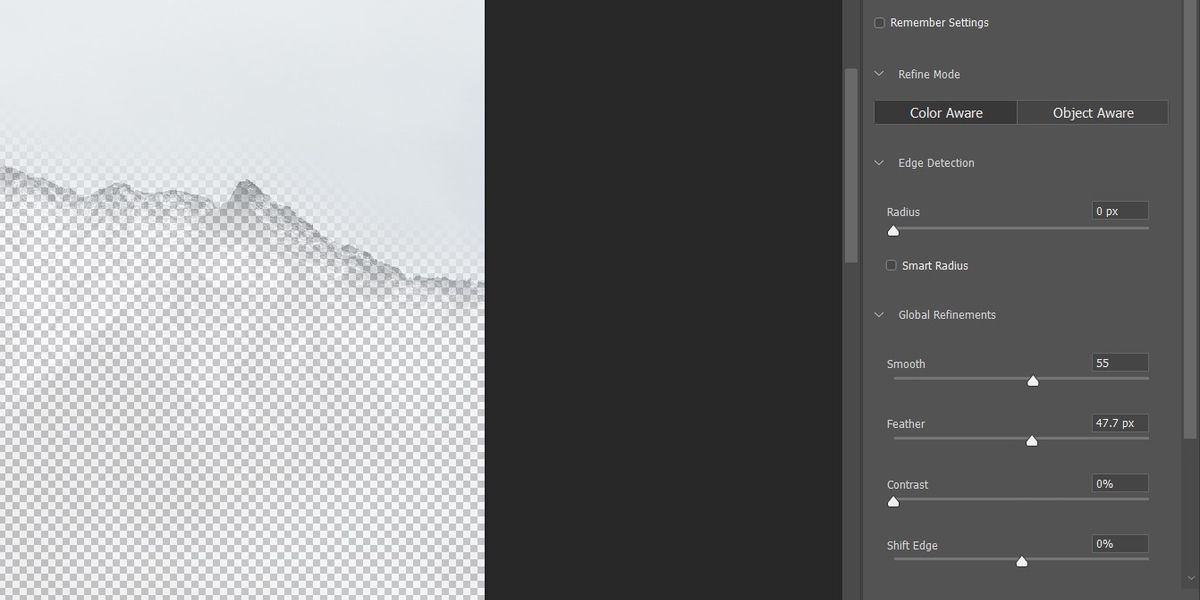
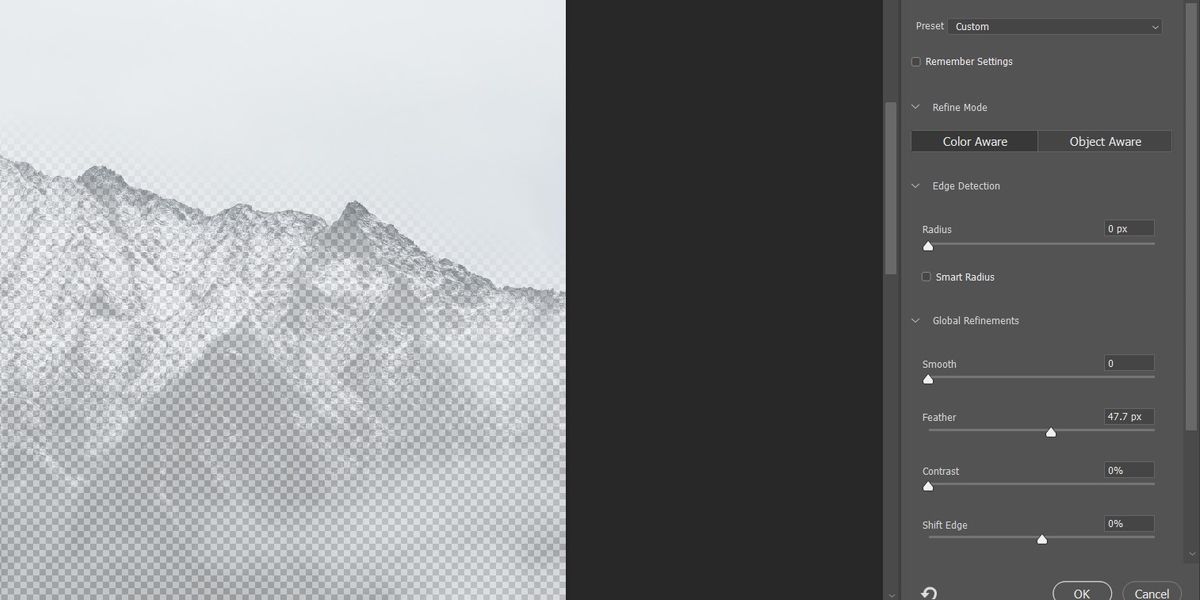
The Smooth function will attempt to smooth out the edge of the selection to reduce any unnatural hills and valleys. It can help give irregular shapes and forms more natural outlines.
Feather
Feather blurs the transition between the edge of the selection and the surrounding pixels. This behavior can be helpful when selecting objects with soft edges, such as hair. Increasing Feather will cause the pixels nearby the border of the selection to become partially selected.
Contrast
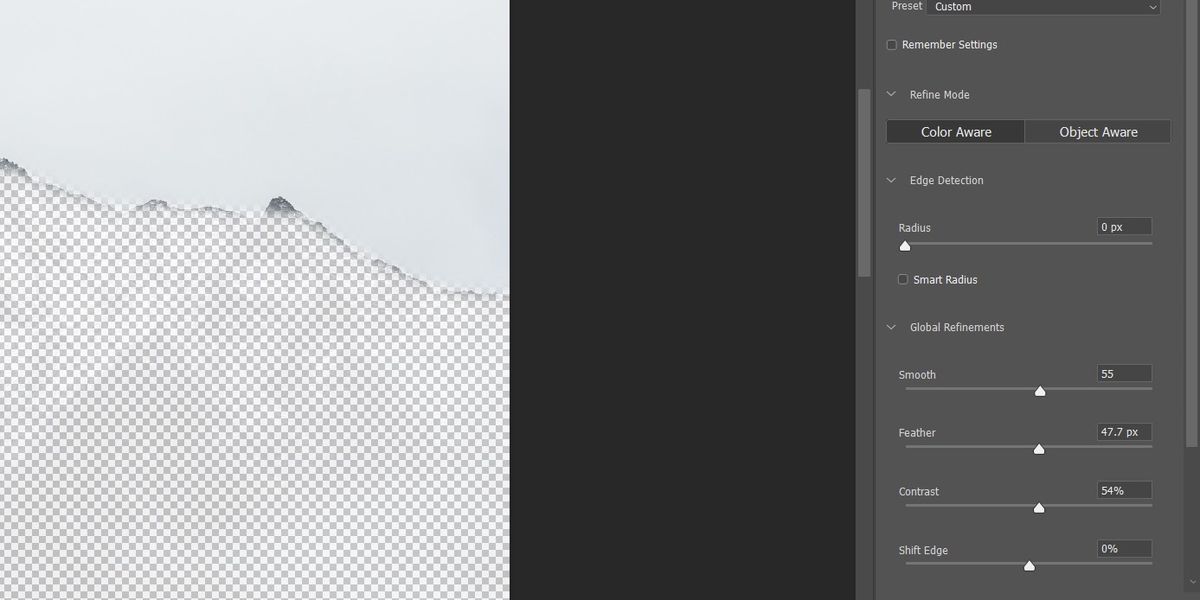
The opposite of the Feather function, Contrast increases the hardness of the edges of the selection. This removes any partially selected pixels from the edges of the selected area and can be useful to avoid colors bleeding in from the edge of the selected areas.
Shift Edge
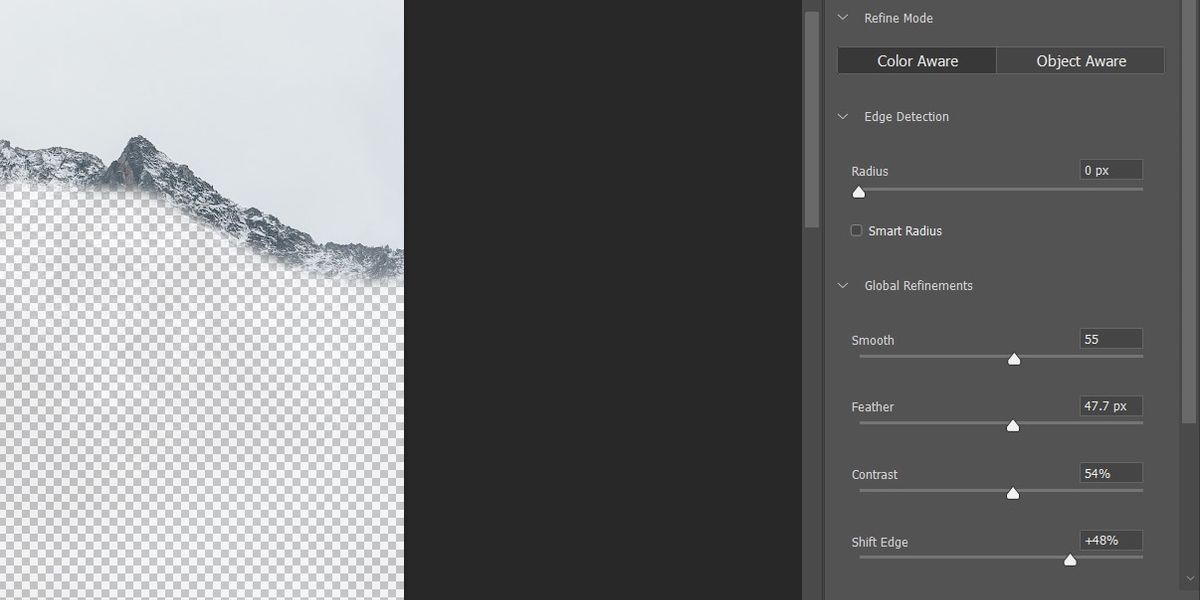
The Shift Edge function is a quick and simple way to expand or contract the borders of a selected area. Using the function with a positive value will shift the edges of the selection outwards from the center. A negative value will pull the edges in.
This allows users to avoid background contamination, or pull in a slight border around the object for blending purposes, making it easier to swap out an image's background in Photoshop.
Once you have finished selecting the area and refined the edges as necessary, you can configure the output settings. Decontaminate Colors will attempt to automatically remove any excess coloration around the edges of the selection by replacing it with nearby tones. Output To will determine whether to use the current selection as a mask on the selected layer, or export the selection to a new layer.
After your selection has been output or masked, you can use Photoshop to change the subject's location, make changes to the layer's color channels, or even change the subject's pose.
Select and Mask Helps You Select Exactly What You Want
Photoshop comes with plenty of ways to select portions of an image. Tools like the Quick Select, Lasso, and Marquee are great ways to start making a selection. For intricate selections, however, the Select and Mask workspace makes it possible to refine the selected area for more exact results.
Between adjusting edges, smoothing selections, and refining difficult sections, knowing which tools to use makes this workspace extremely useful.


