Have you ever wanted to create a vintage aesthetic that looks like the real thing? If you want to go beyond what smartphone filters are capable of, we'll show you how to transform your portraits into vintage photos using Photoshop. Let's get started.
What You Need to Make Your Photo Look Vintage
You need two basic elements to make your photo look vintage, or very old. First, you need the main picture. The most common type of vintage photo is a portrait, which is what we’ll be working with.
The second element you need is texture. Usually, this will consist of two or more different texture files. In our tutorial, we will use four different textures.
The selection of the textures is important for our vintage look. You’ll need two dark texture files and two light gray ones. It’s important that these textures are mostly desaturated or contain very low amounts of color (you can easily remove the color if you have to).
If you want to follow along, you can download the example portrait from Pexels, and you can download textures 1, 2, 3, and 4, all from Unsplash. You don’t need these exact textures to make a vintage photo. There are countless textures that you can use, it just depends on the look that you’re going for.
There are many sites where you can get other types of images for your photos, too, such as these sites to download background patterns for your images.
Step 1: Create the Photoshop Document
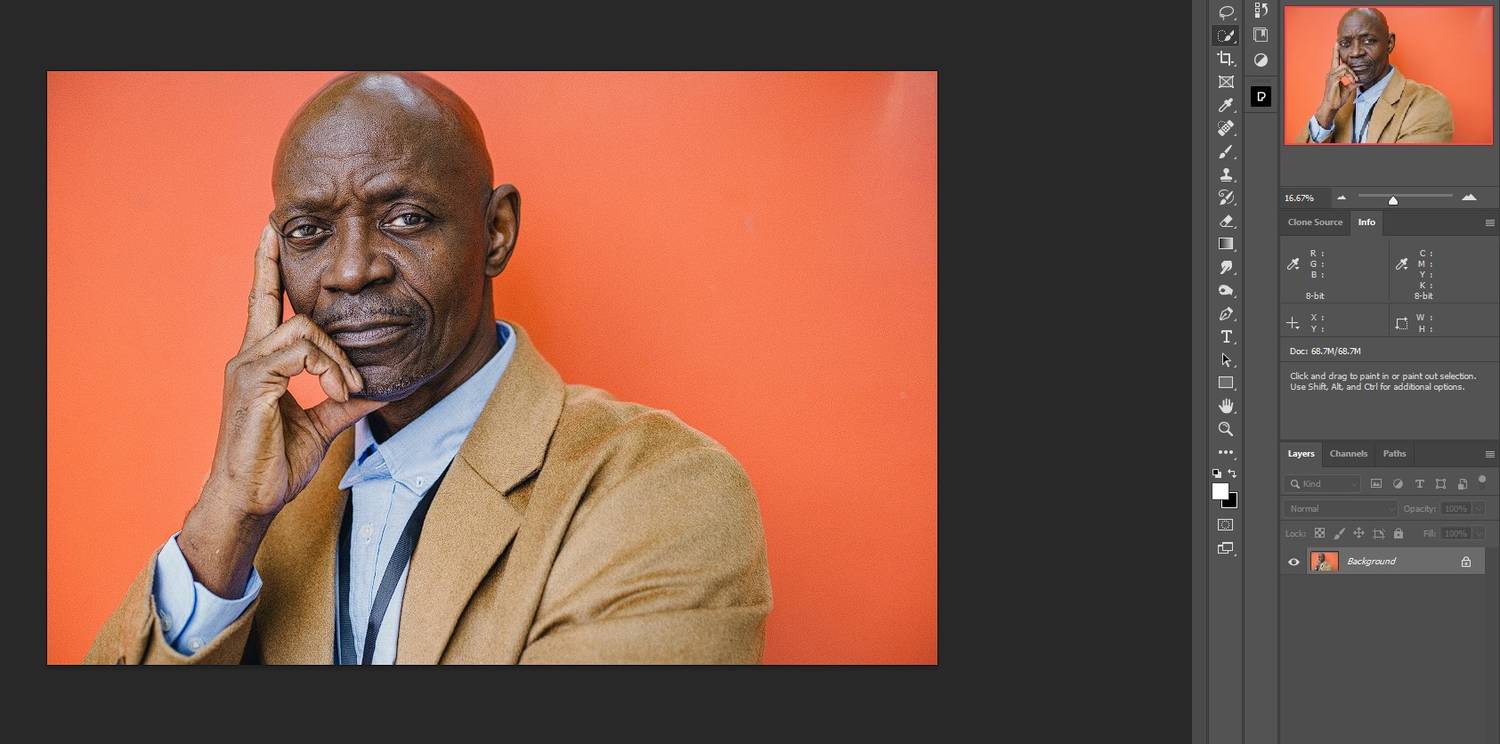
In the first step, we’ll show you how to create the foundation for the vintage photo. We’ll start with creating a solid color as the background and insert the main portrait image. When we’ve completed all the steps, you’ll be able to come back and insert any portrait without going through all the steps again.
- Go to File > New or press Ctrl + N.
- For our file, we’ll enter these values: Width 4000, Height 2000, and Resolution 300. Everything else we’ll leave at the default settings. Then press Create.
-
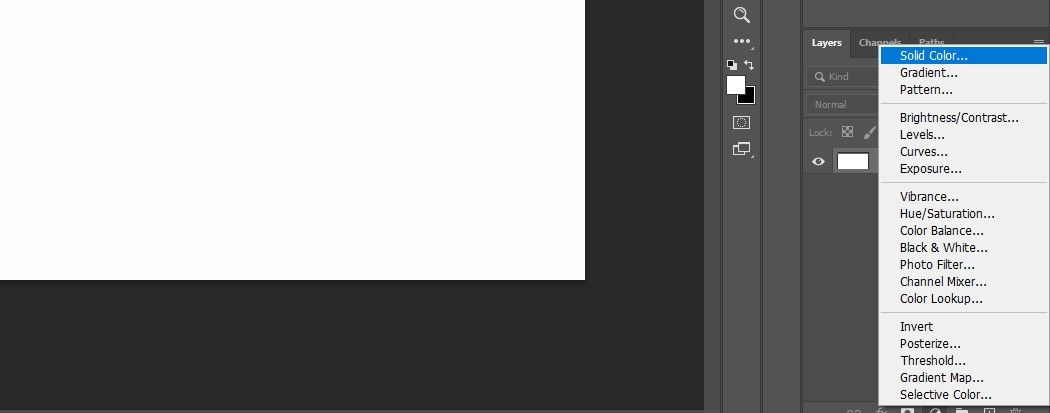
Create a Solid Color adjustment layer by clicking on the icon in the bottom-right corner of Photoshop.
-
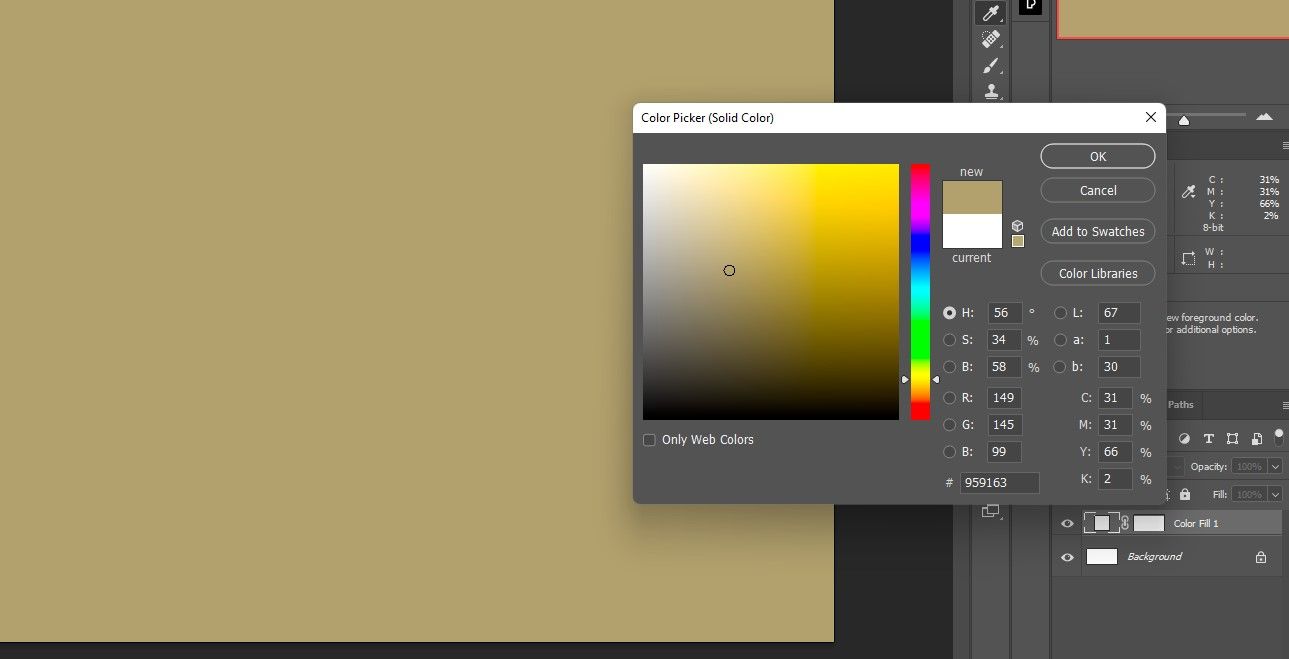
In the Color Picker box, choose a color similar to what we've chosen. It doesn't have to be exactly the same, and it can be changed later. Click OK.
-
Drag and drop the Background layer into the trash can.
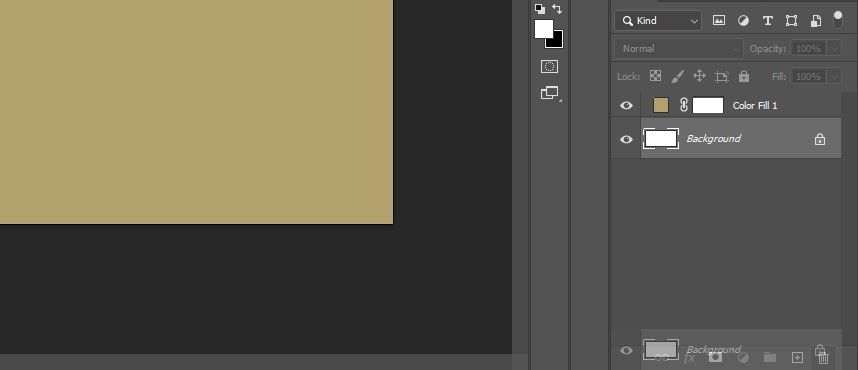
- Double-click on the Color Fill layer and rename it "BG".
-
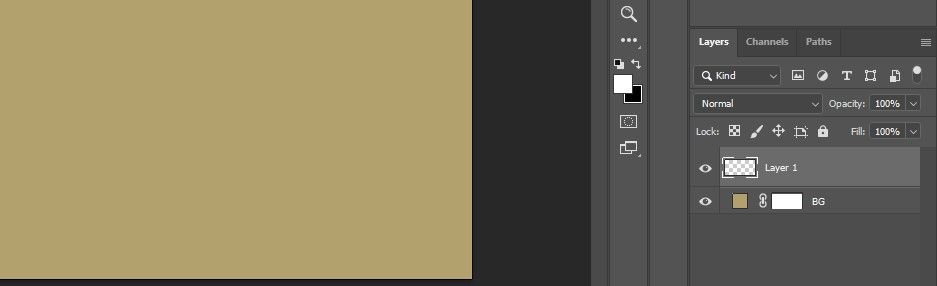
Create a new blank layer by clicking on the icon in the bottom right corner.
-
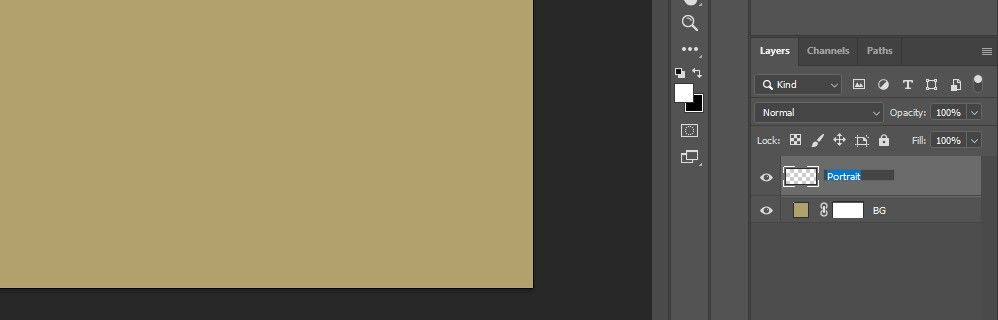
Double-click on the layer and name it "Portrait".
-
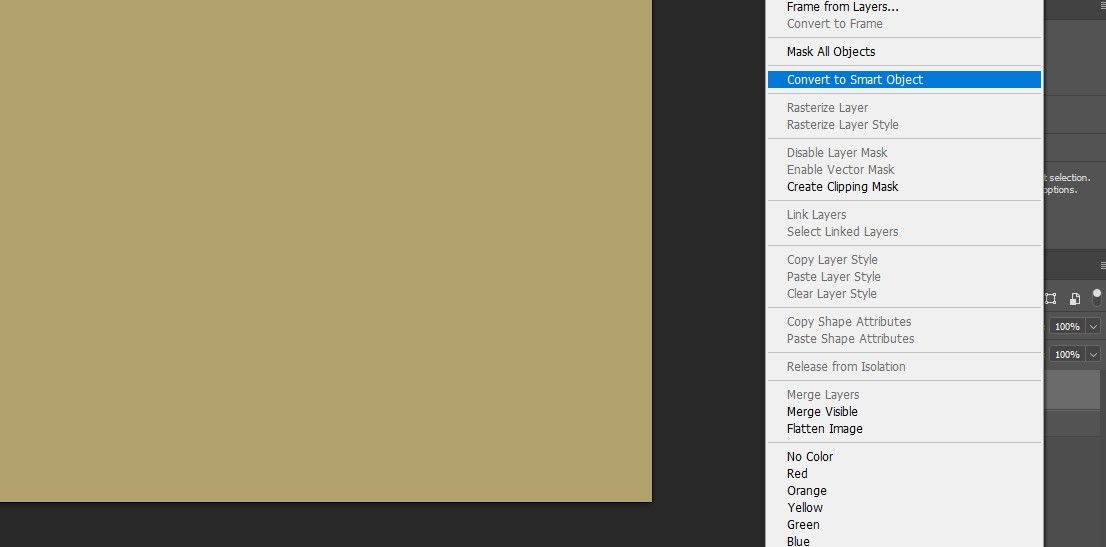
Right-click on the Portrait layer and select Convert to Smart Object.
-
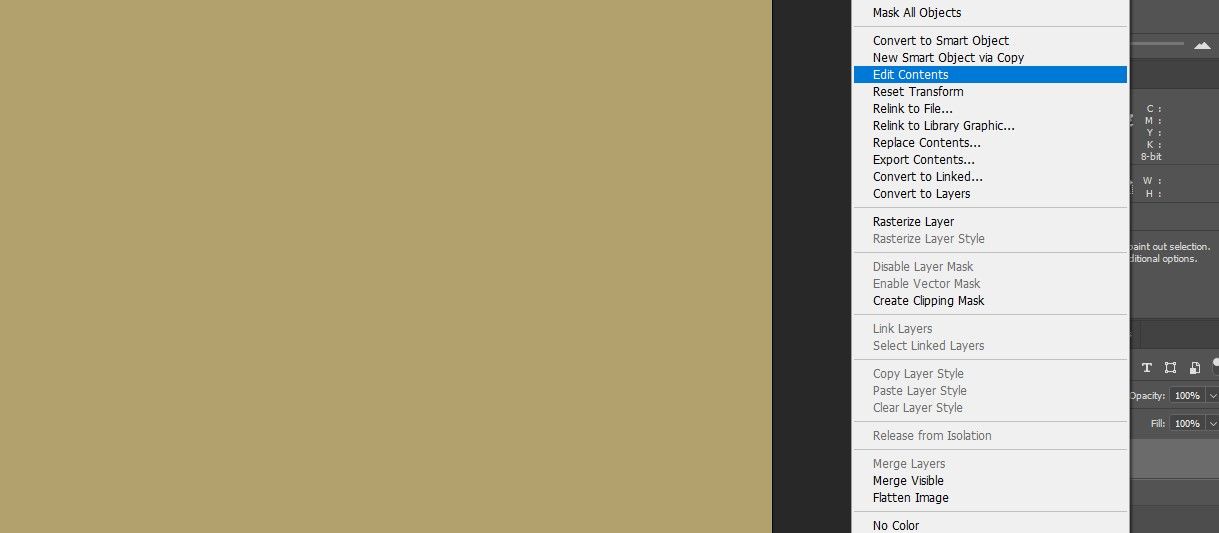
Right-click on the Portrait layer once again and select Edit Contents.
-
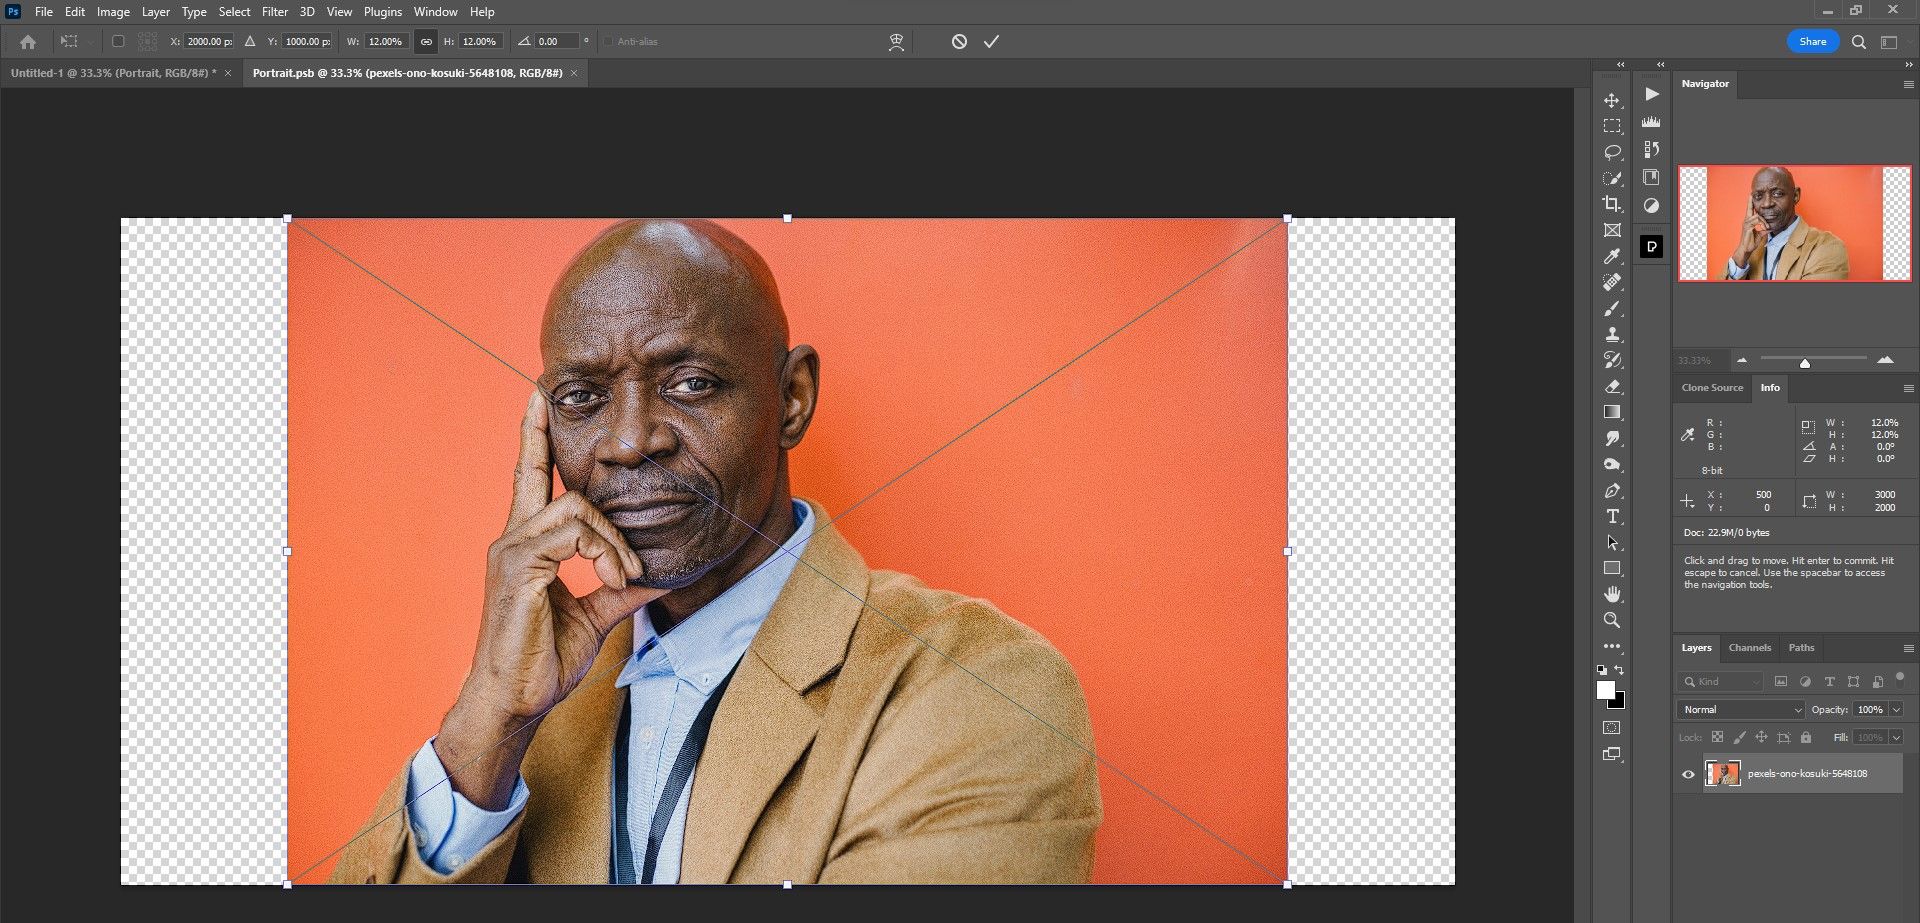
Drag and drop your portrait image file into the new Portrait document.
-
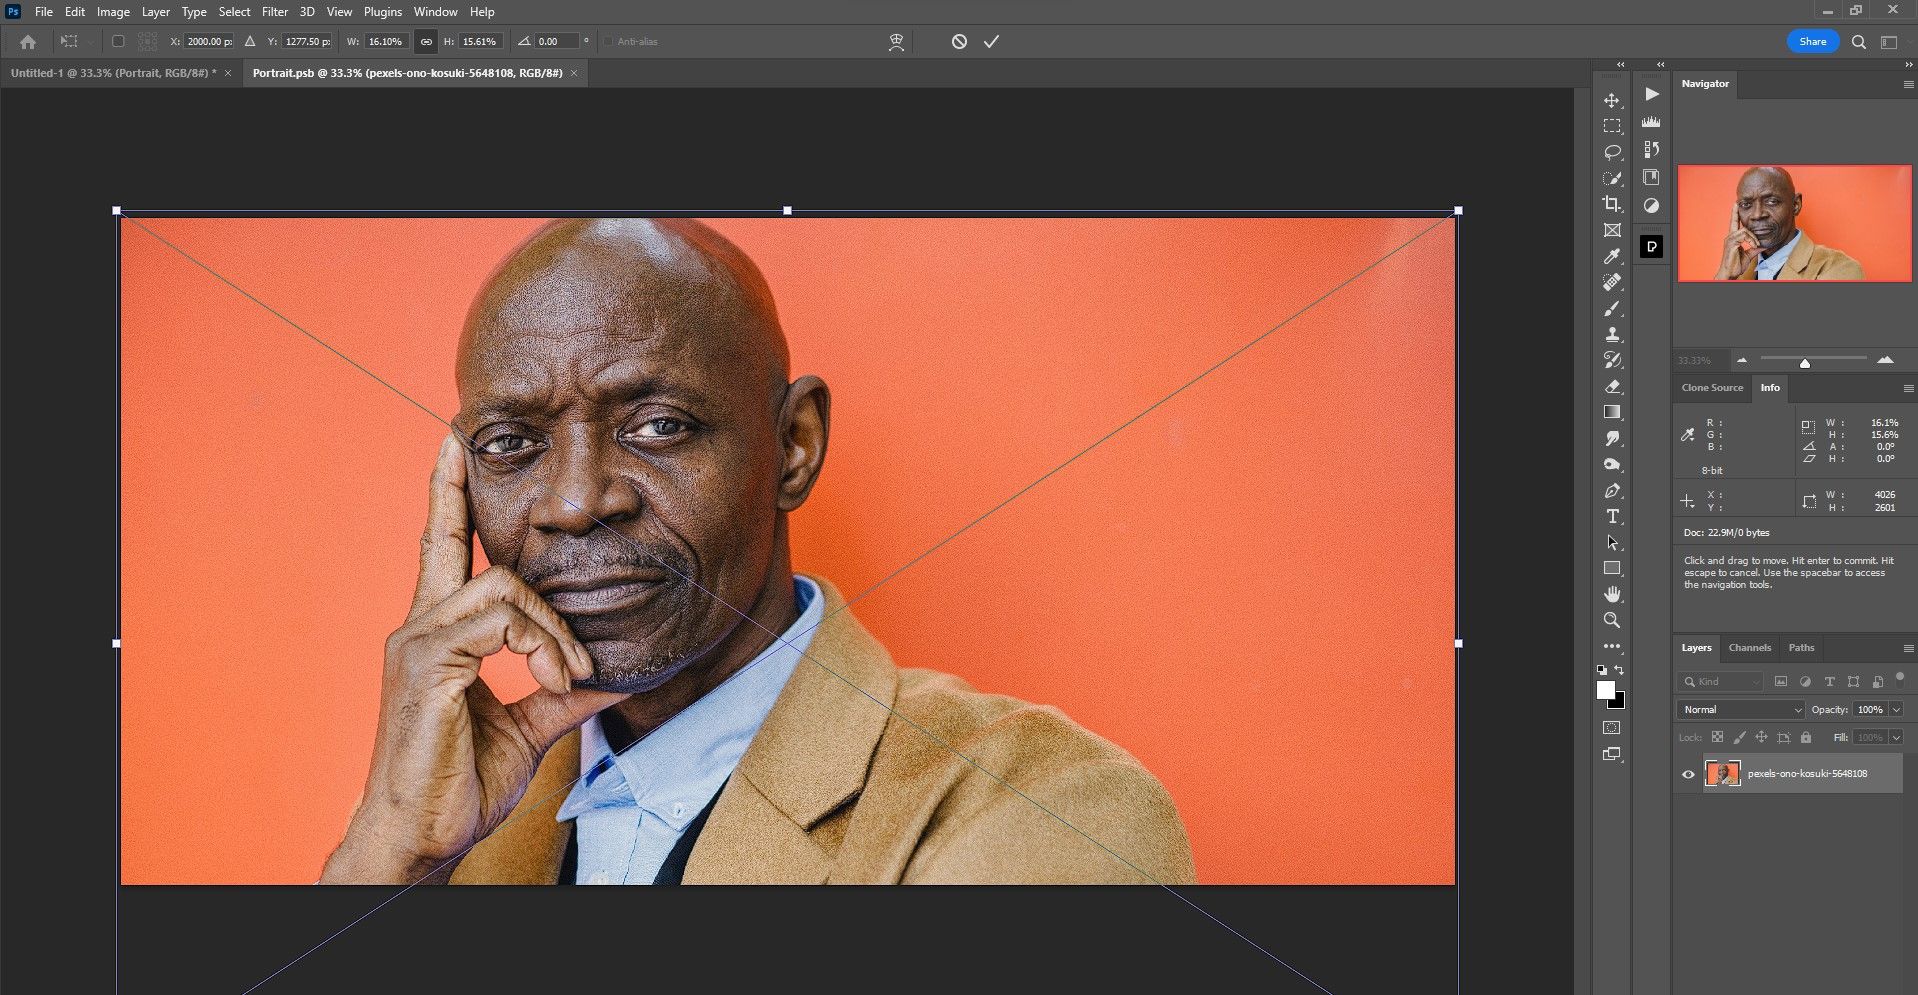
Shift + Click and drag the four handles until the portrait is neatly placed as shown. Then press Enter or the Checkmark.
-
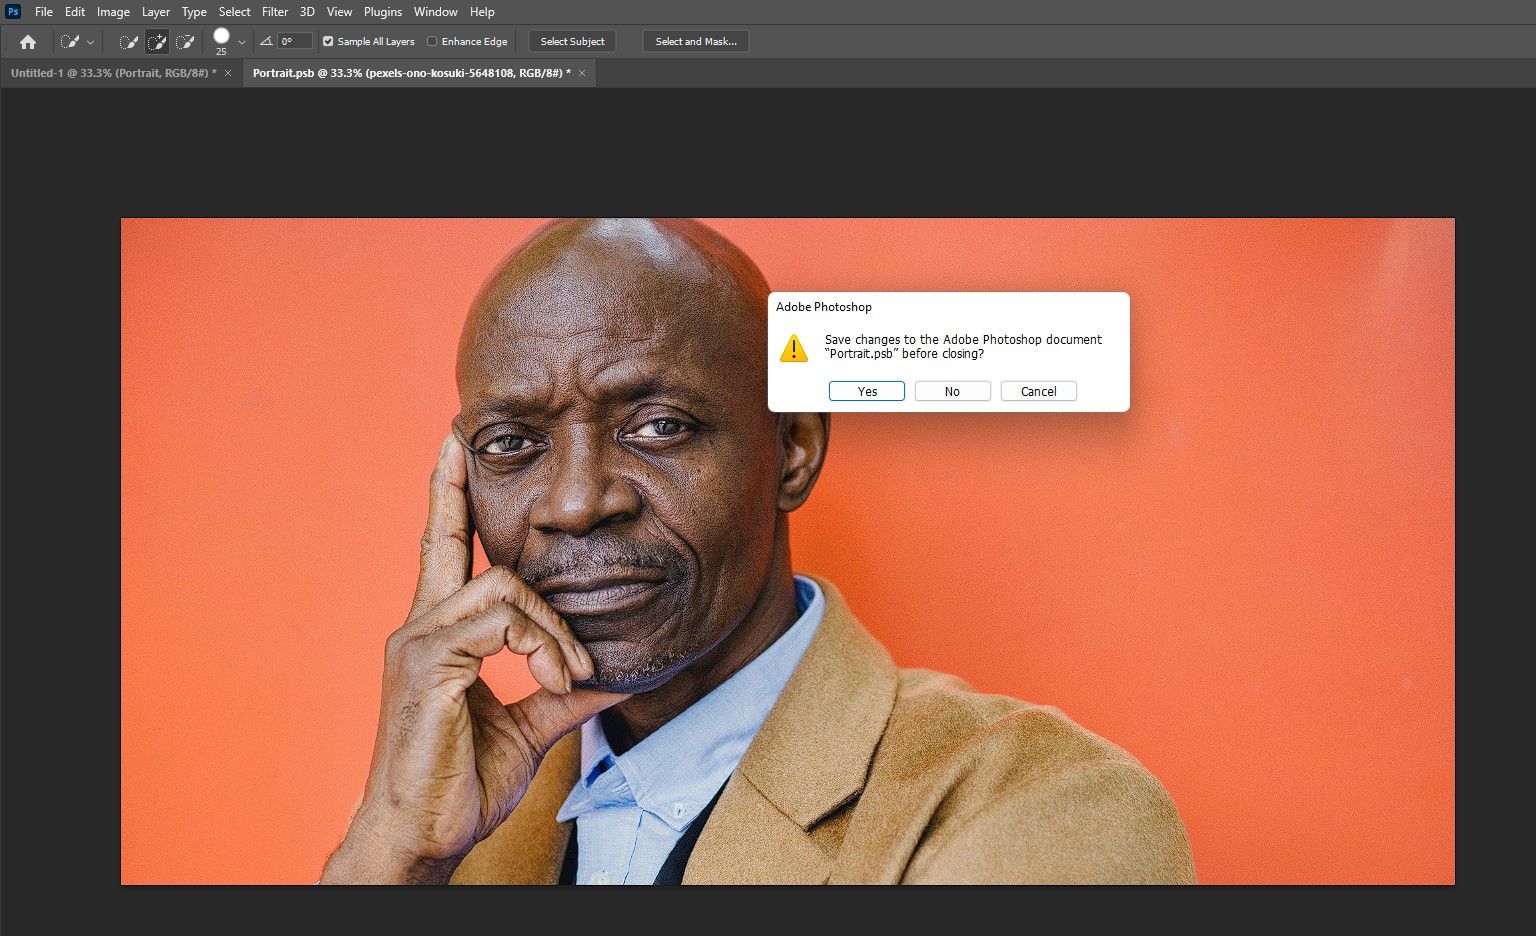
Close the Portrait file by clicking on the X. Then choose Yes to save the file. The new document will close, and you'll be returned to the original file with the portrait now loaded as a Smart Object.


The first step is complete. If you want to learn more about Smart Objects, we show you how to use Adobe Camera Raw as a Smart Object in Photoshop.
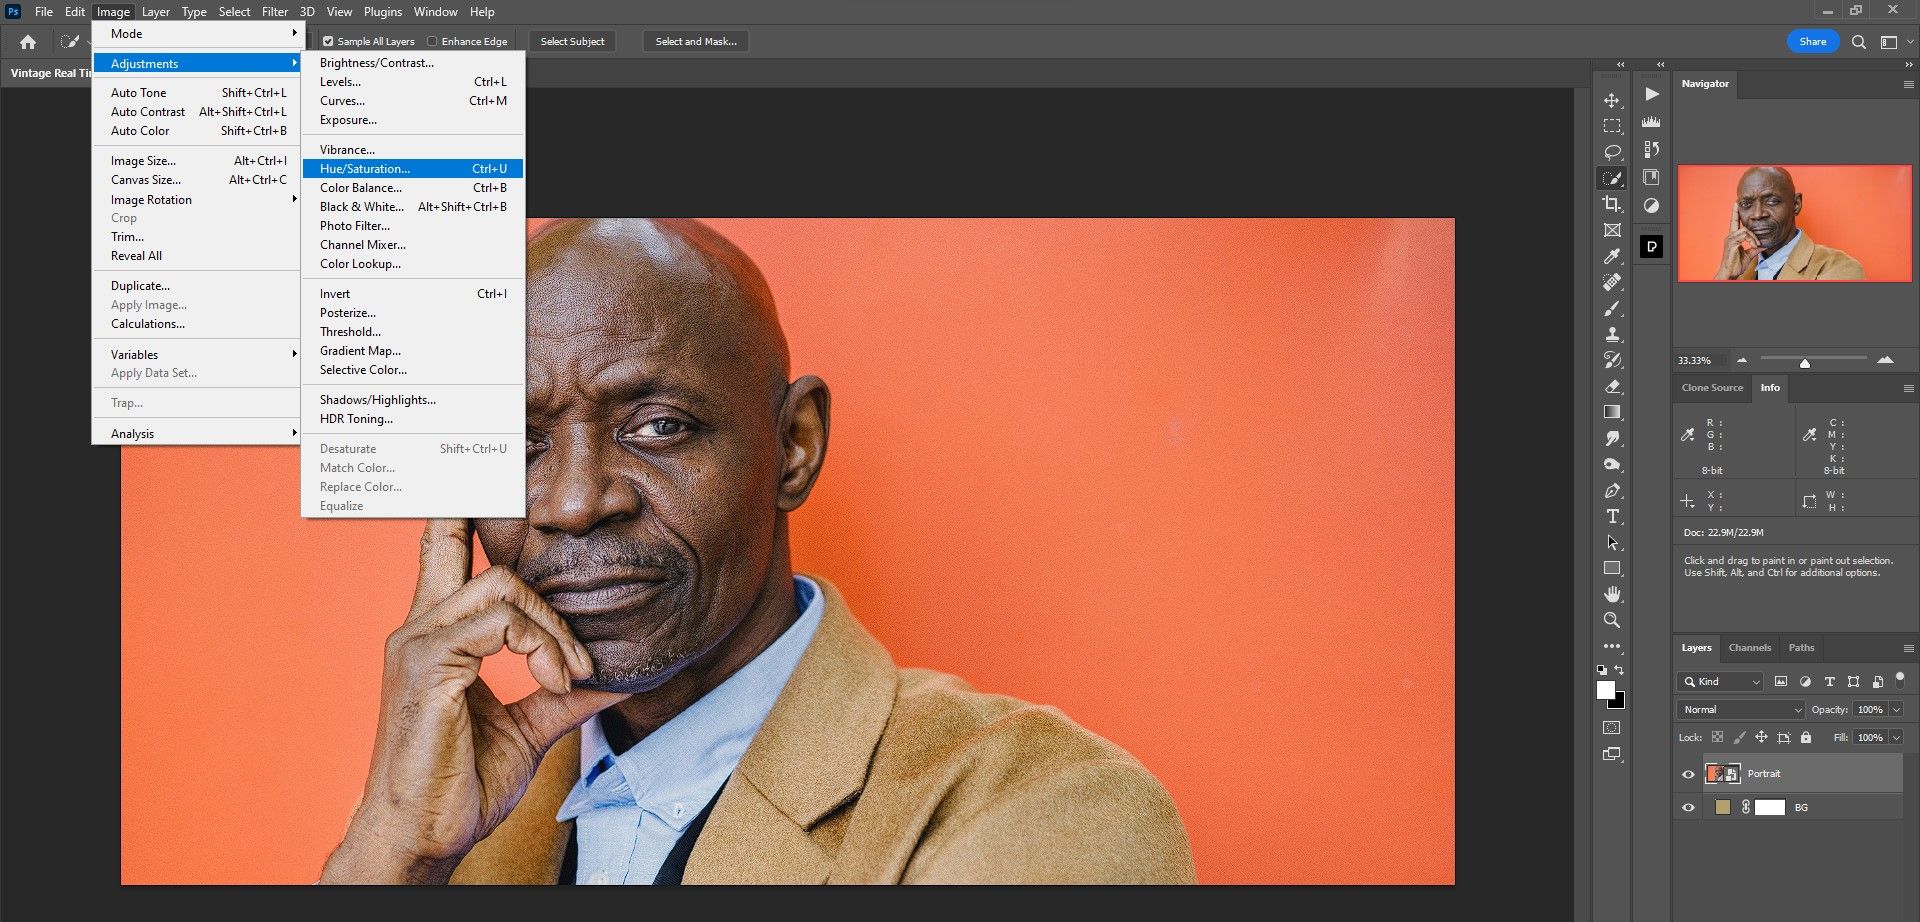
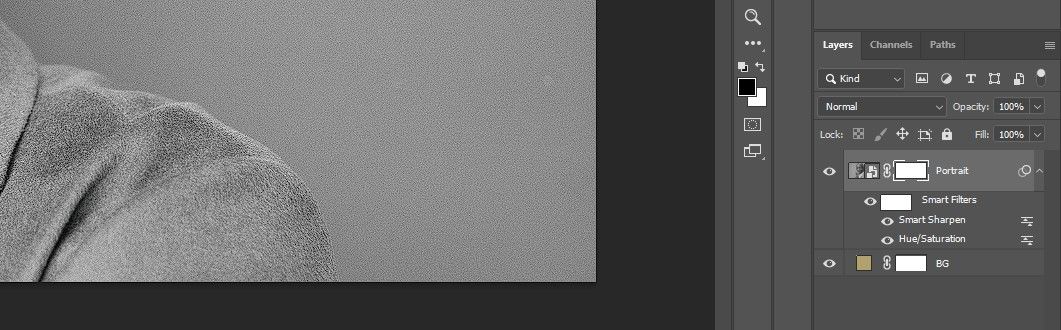
Step 2: Portrait Adjustments
We'll now make a few quick adjustments to the Portrait layer to get it ready for a vintage look. First, we'll remove all the colors from the portrait. Then we'll add noise via the Smart Sharpen tool, which will help make the photo look old. Then we'll add a mask to the Portrait layer to prepare the image for textures.
-
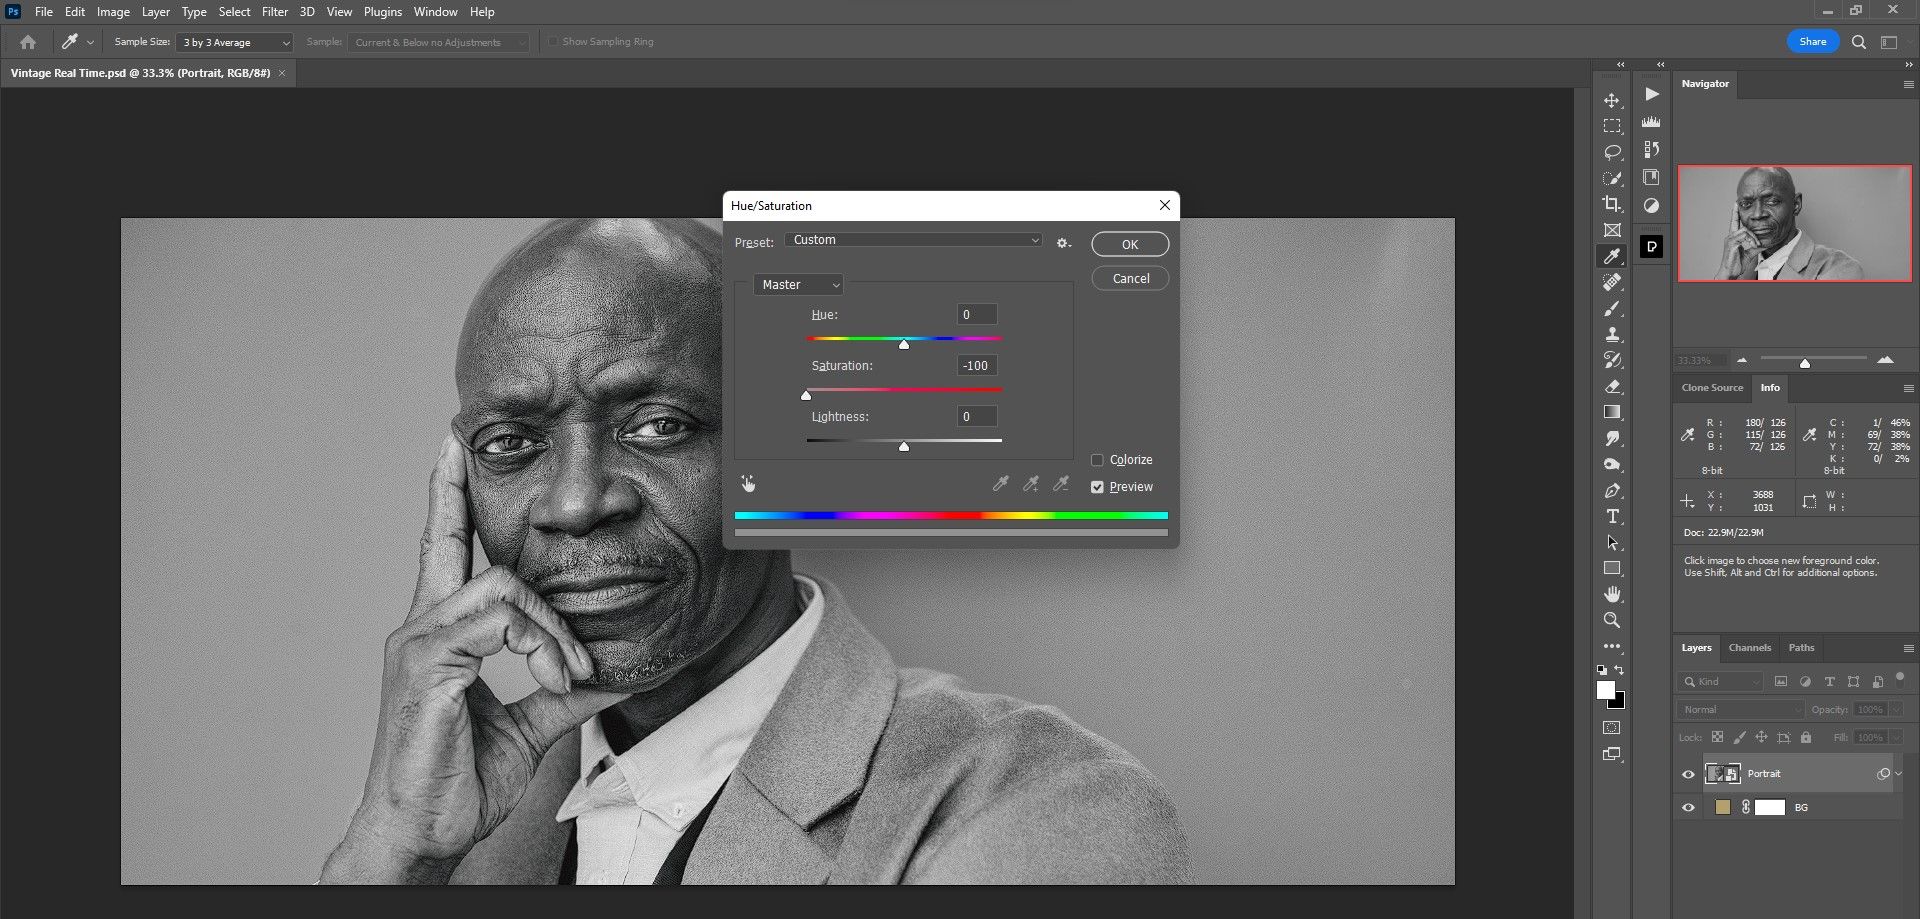
With the Portrait layer selected, go to Image > Adjustments > Hue/Saturation.
-
Change the Saturation value to -100. Press OK.
-
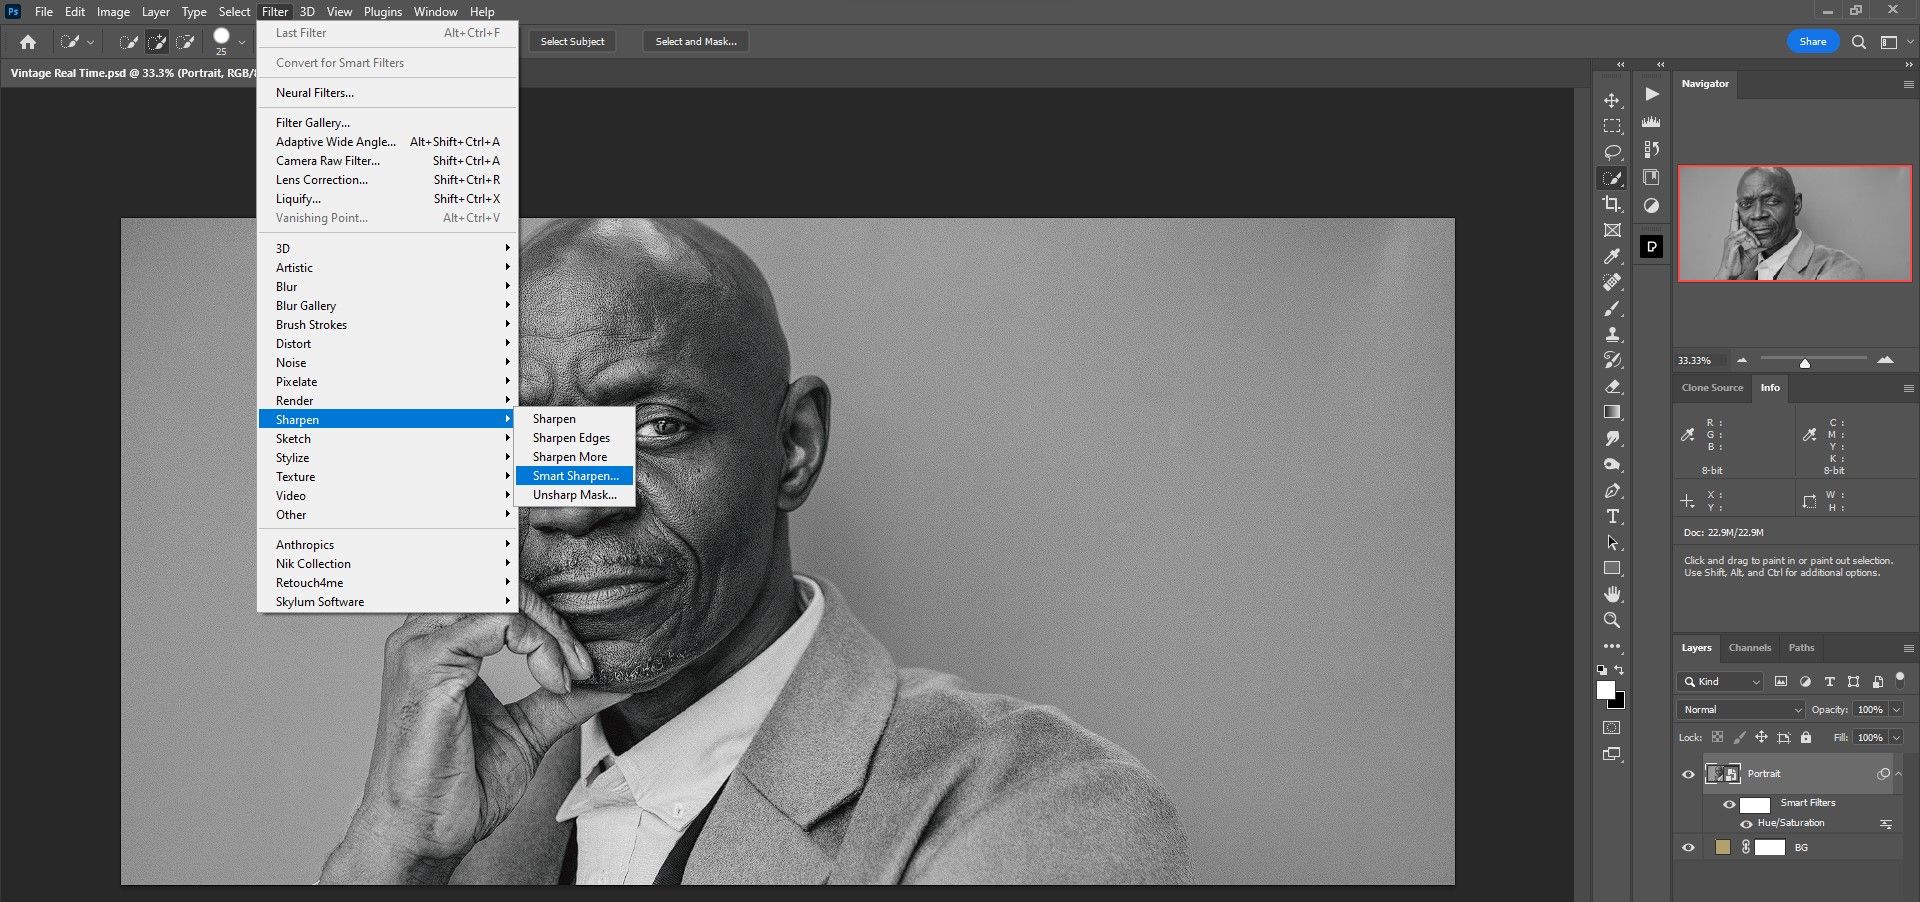
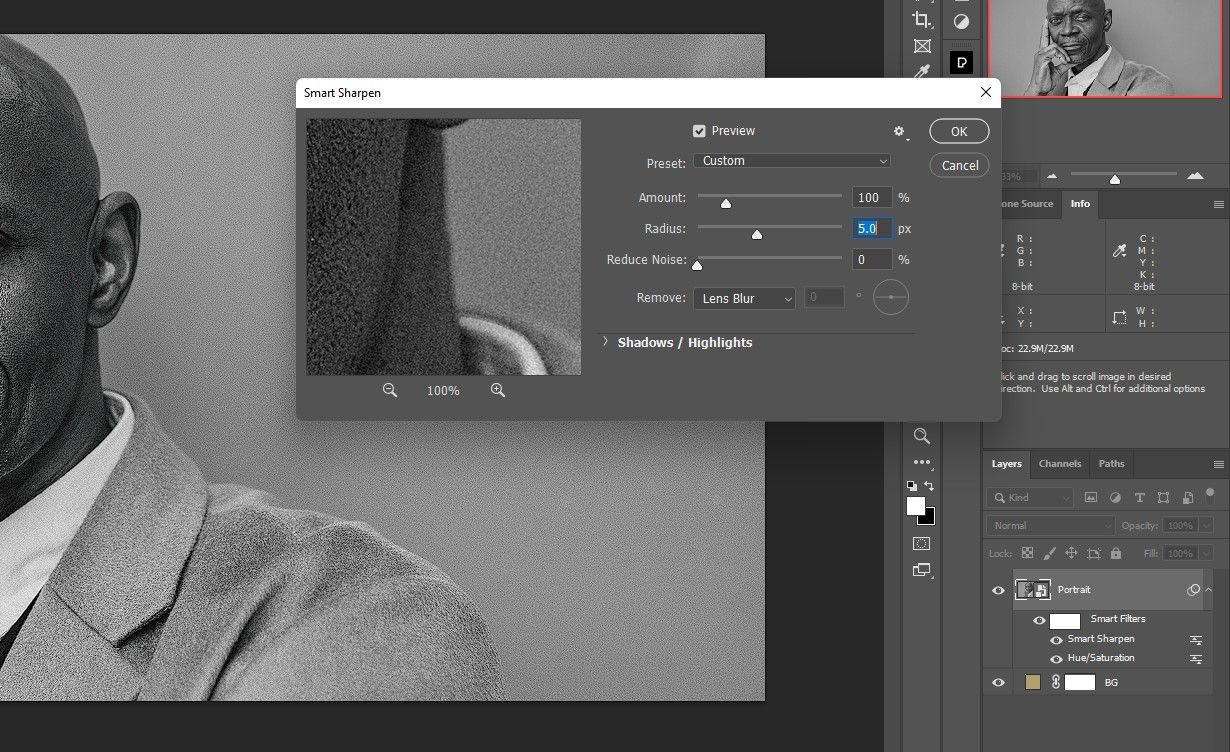
Go to Filter > Sharpen > Smart Sharpen.
-
Change the values in the Smart Sharpen panel accordingly: Amount 100%; Radius 5; Reduce Noise 0%. Press OK.
-
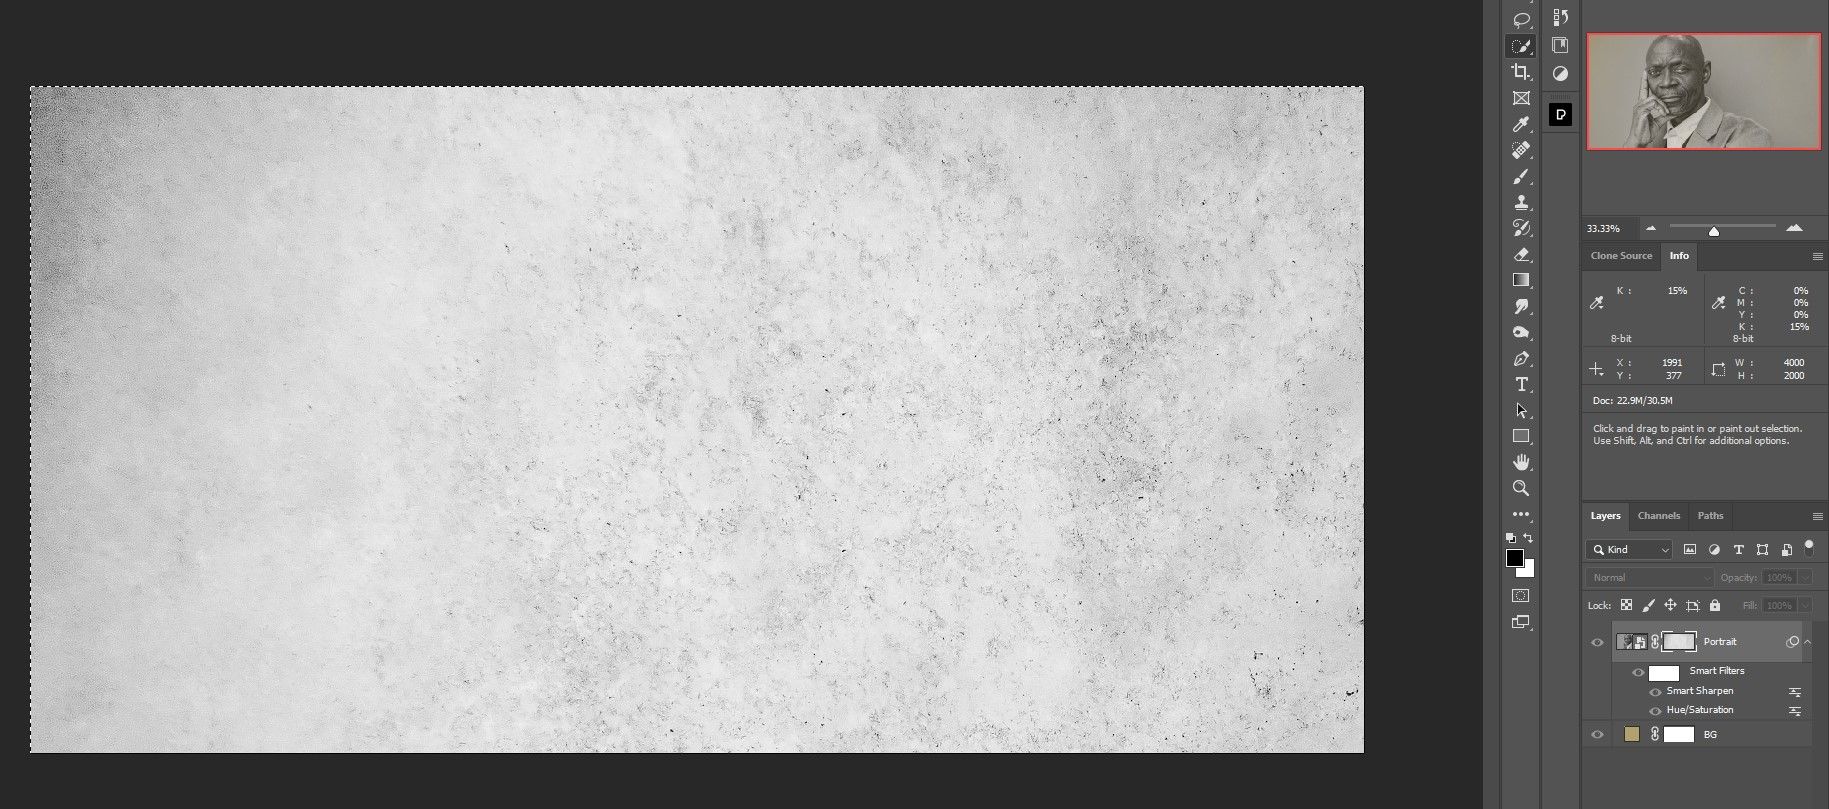
With the Portrait layer selected, click on the Mask icon at the bottom corner in Photoshop to create a mask on the Portrait layer.


We're now ready to add the textures to make our portrait look vintage.
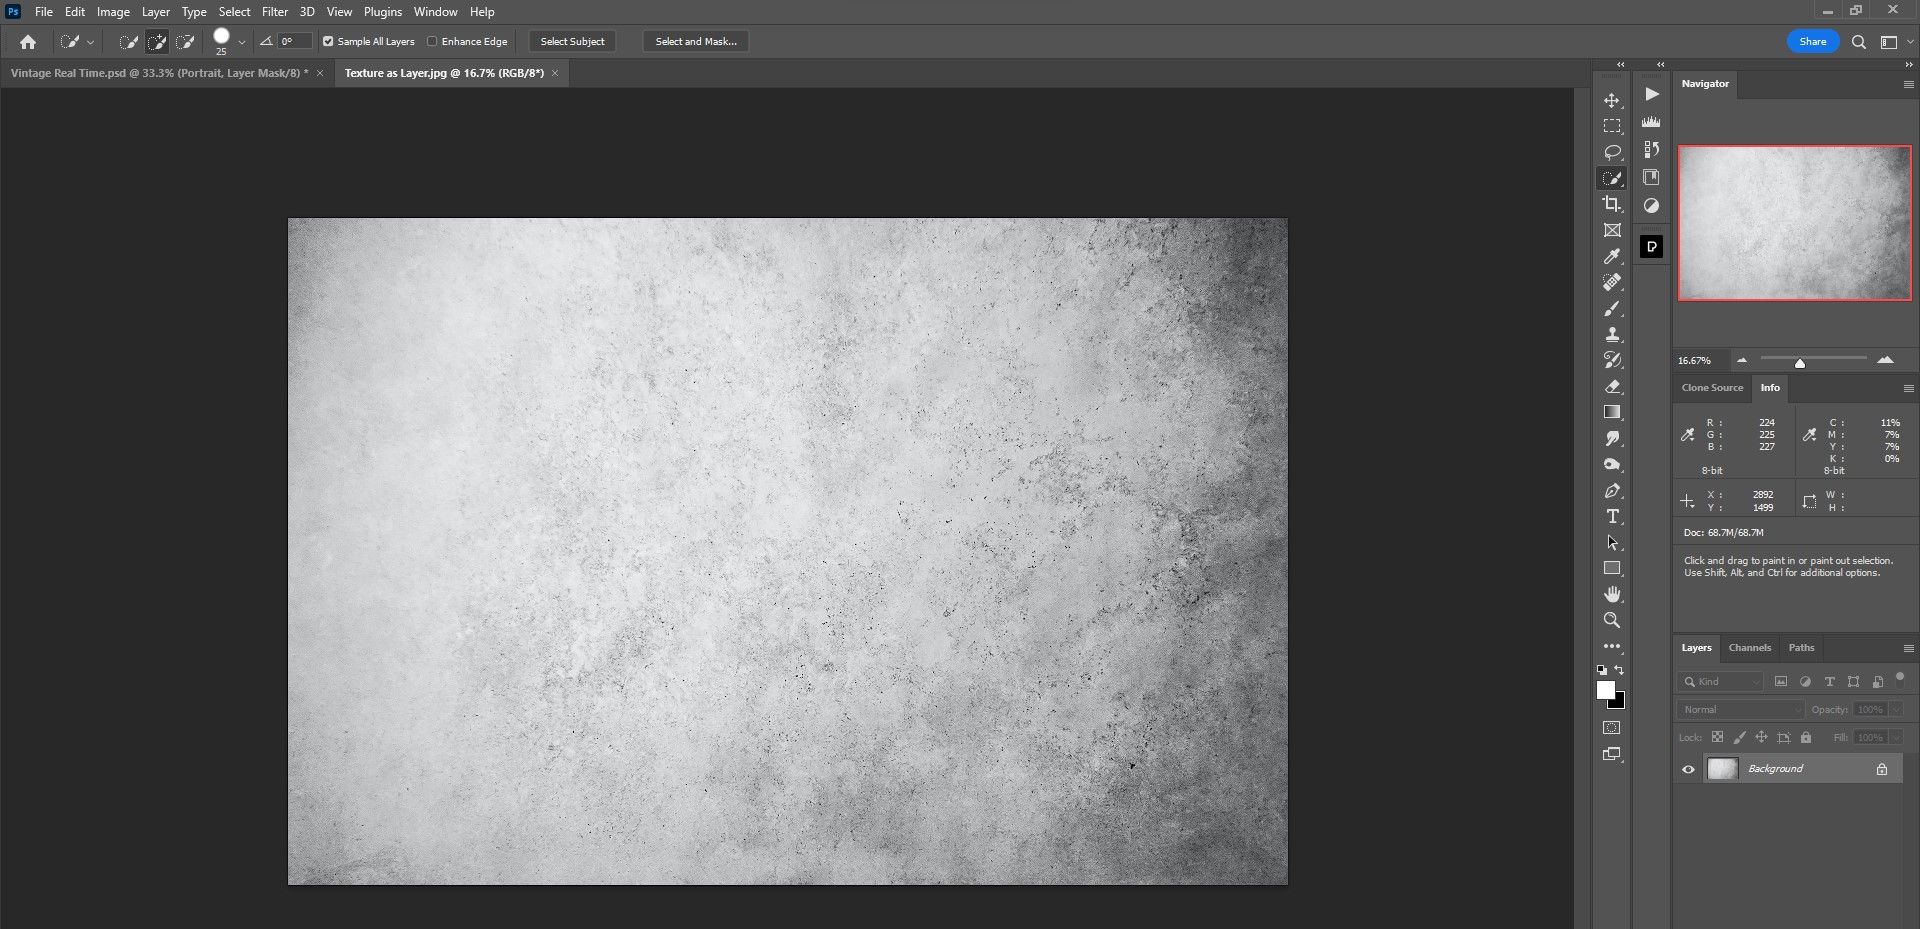
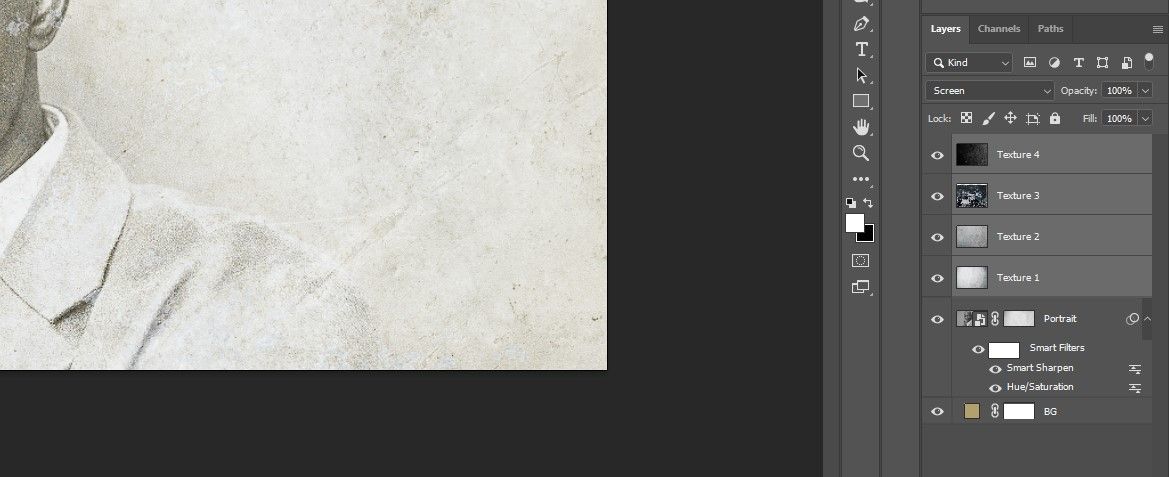
Step 3: Add the Textures
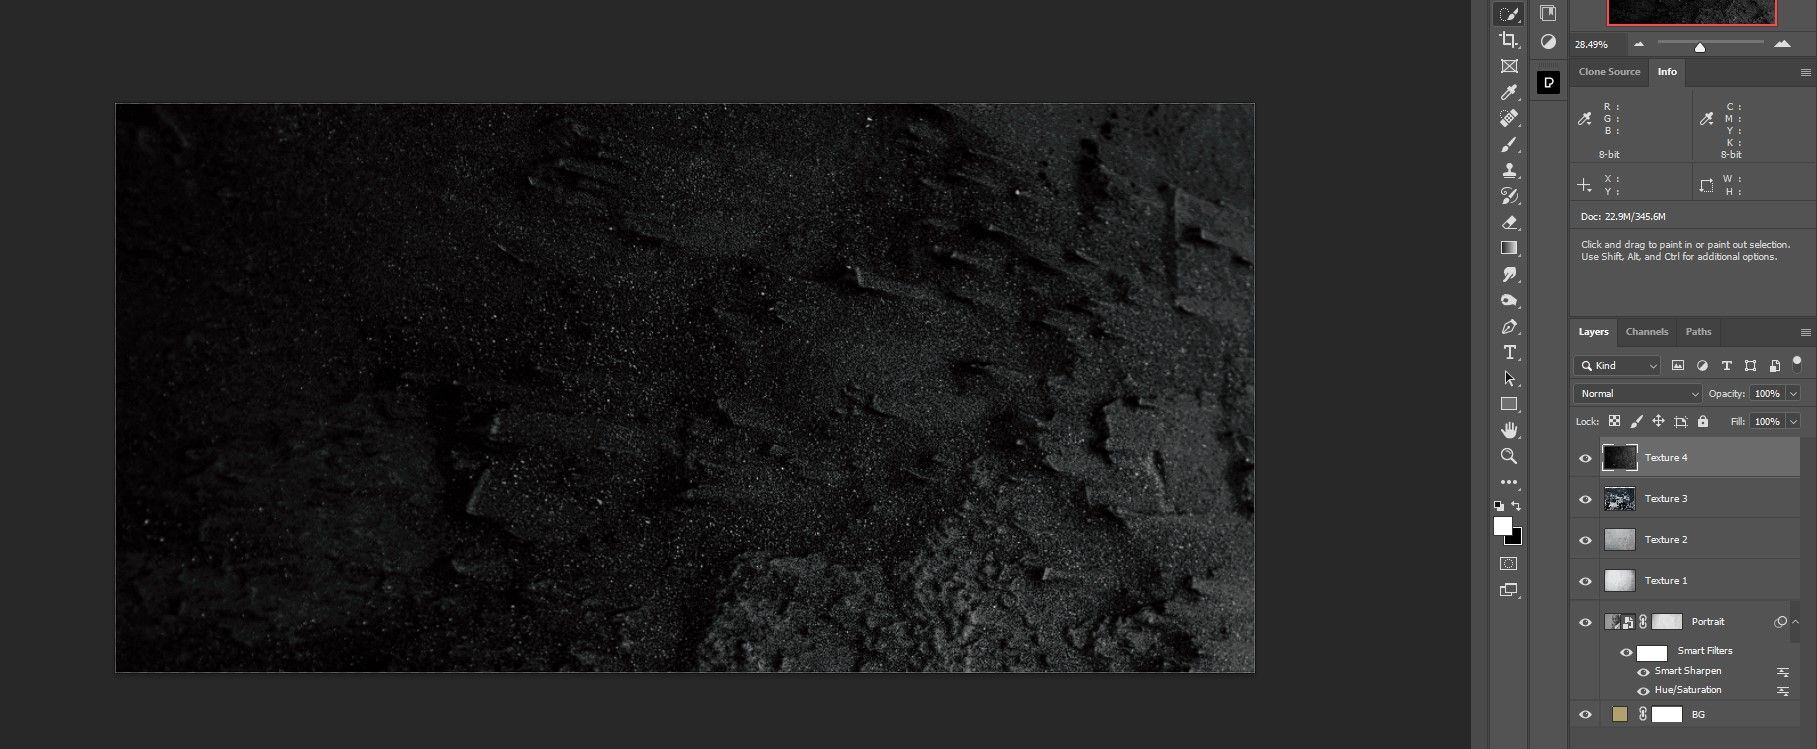
We've renamed the texture files according to the order in which we'll use them. We won't walk you through the renaming process because it's simply a matter of double-clicking on each texture and renaming them. It's worth noting that we used one texture twice (Texture as Layer is the same as Texture 1).
-
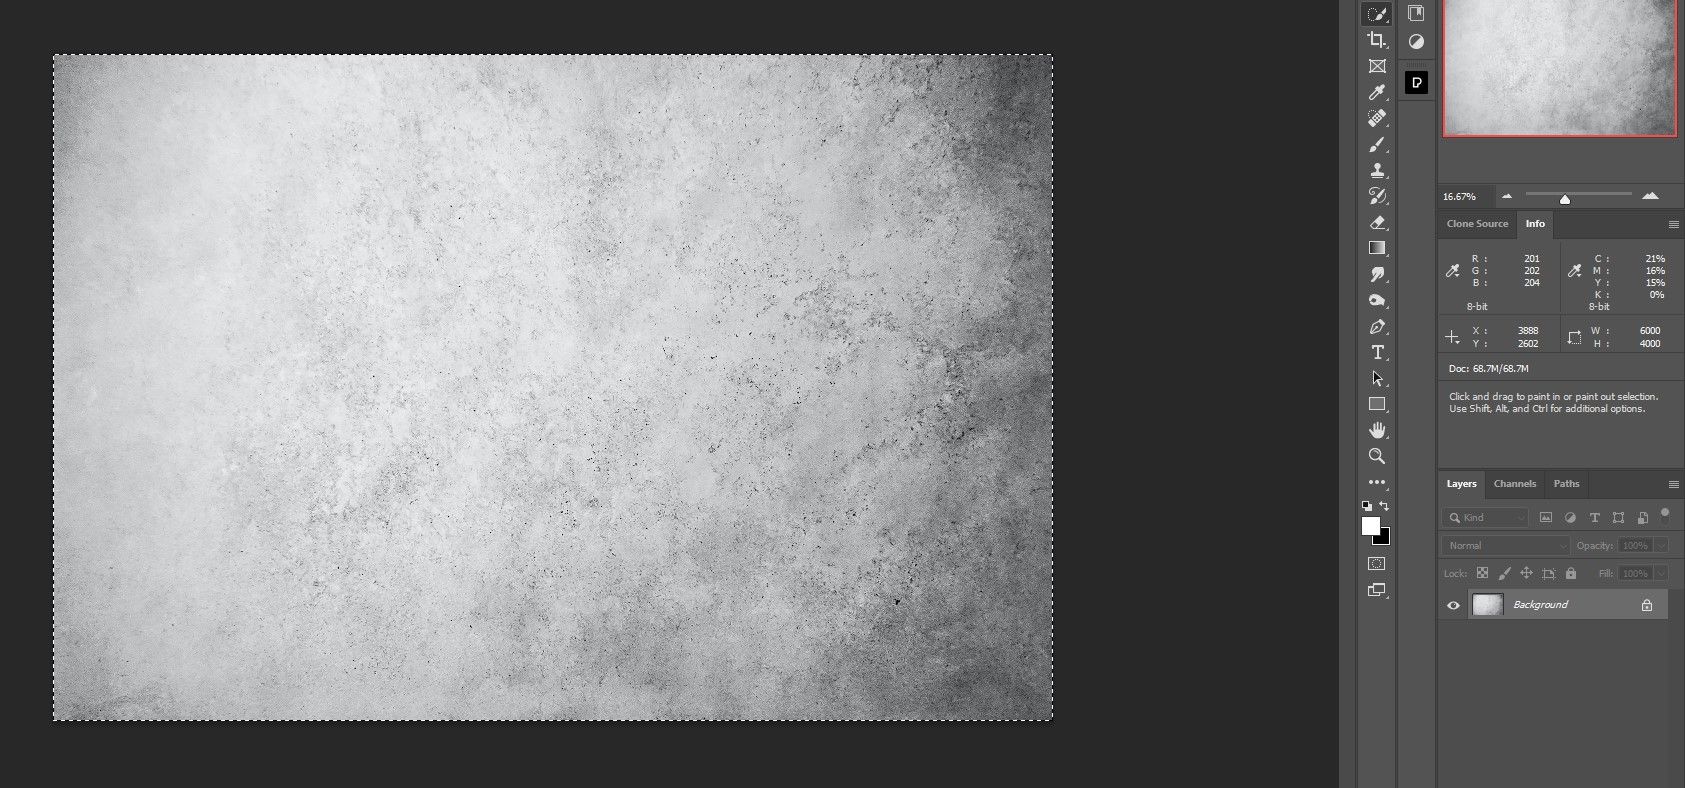
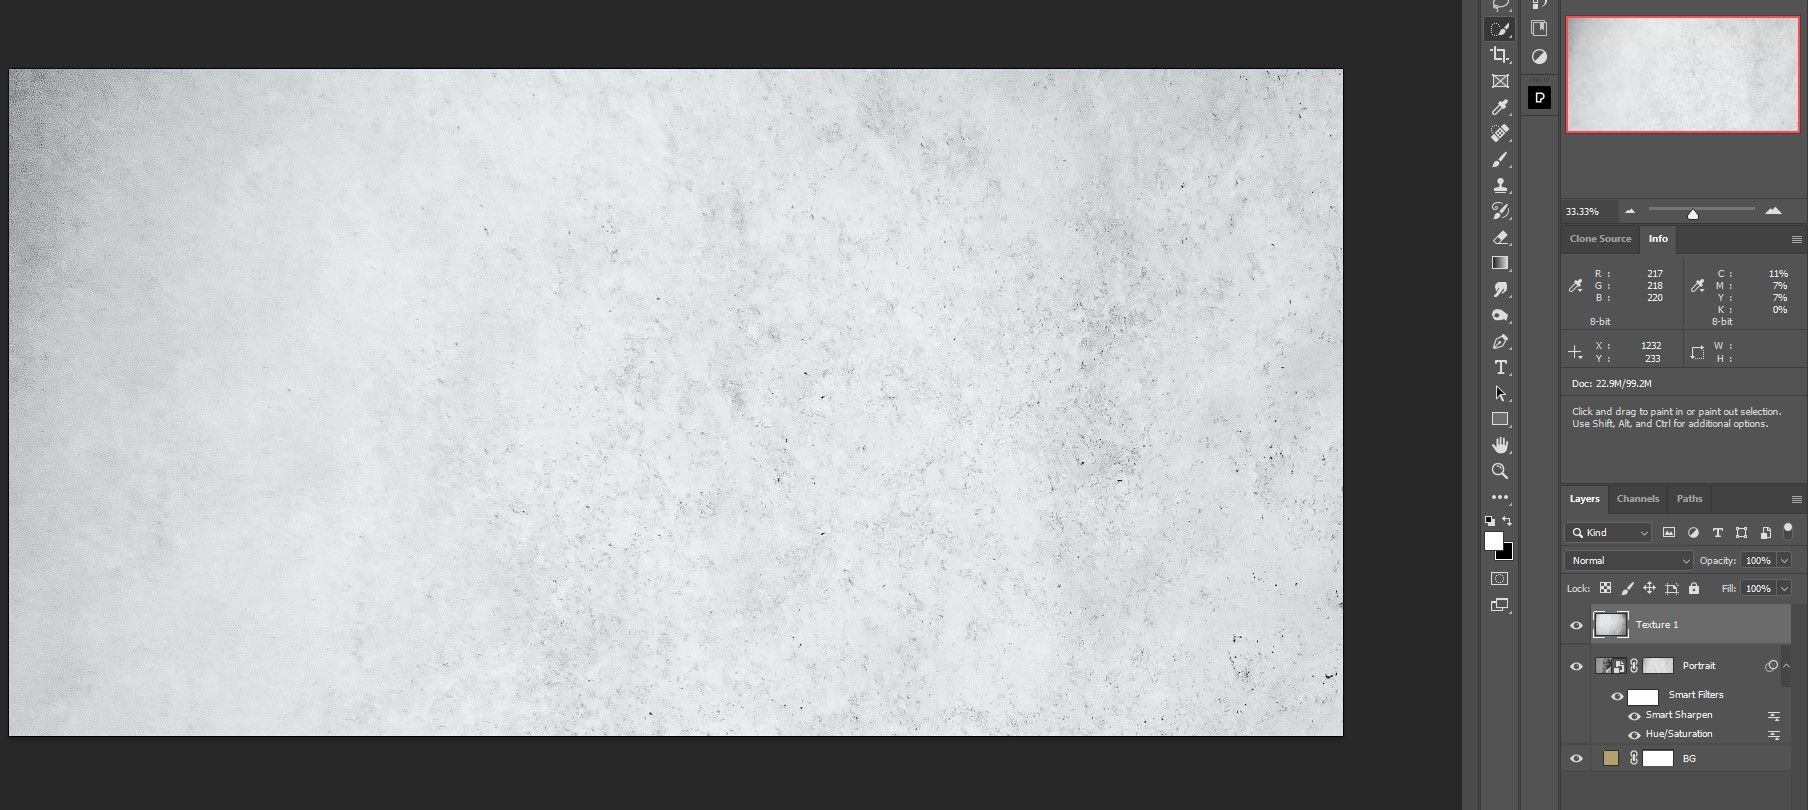
Open the gray layer shown below. We named the file "Texture as Layer".
-
Press Ctrl + A to select the image and Ctrl + C to copy it onto a clipboard.
-
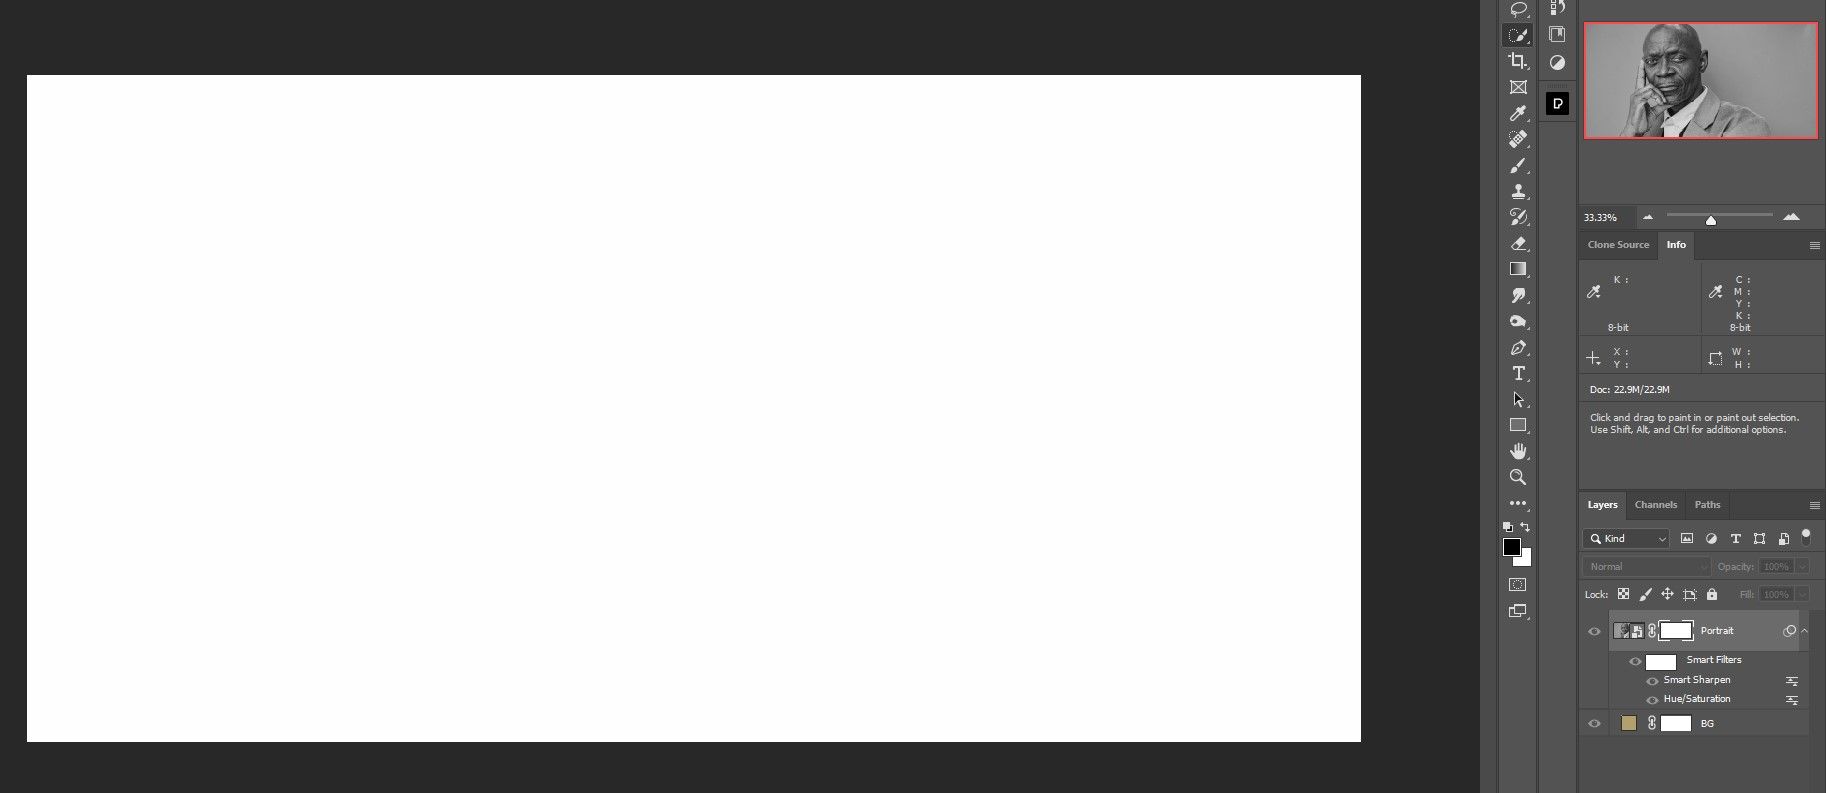
Return to the original file. Press Alt + left-click on the Portrait layer mask.
-
Press Ctrl + V to paste the texture into the mask.
- Press Ctrl + D to deselect the mask selection.
-
Click on the Portrait layer (not the mask) to view the image normally.

-
Import Texture 1 into Photoshop as a layer. Follow the same steps of copying the file as we just did. We also show you how to copy Photoshop layers to a different document.
-
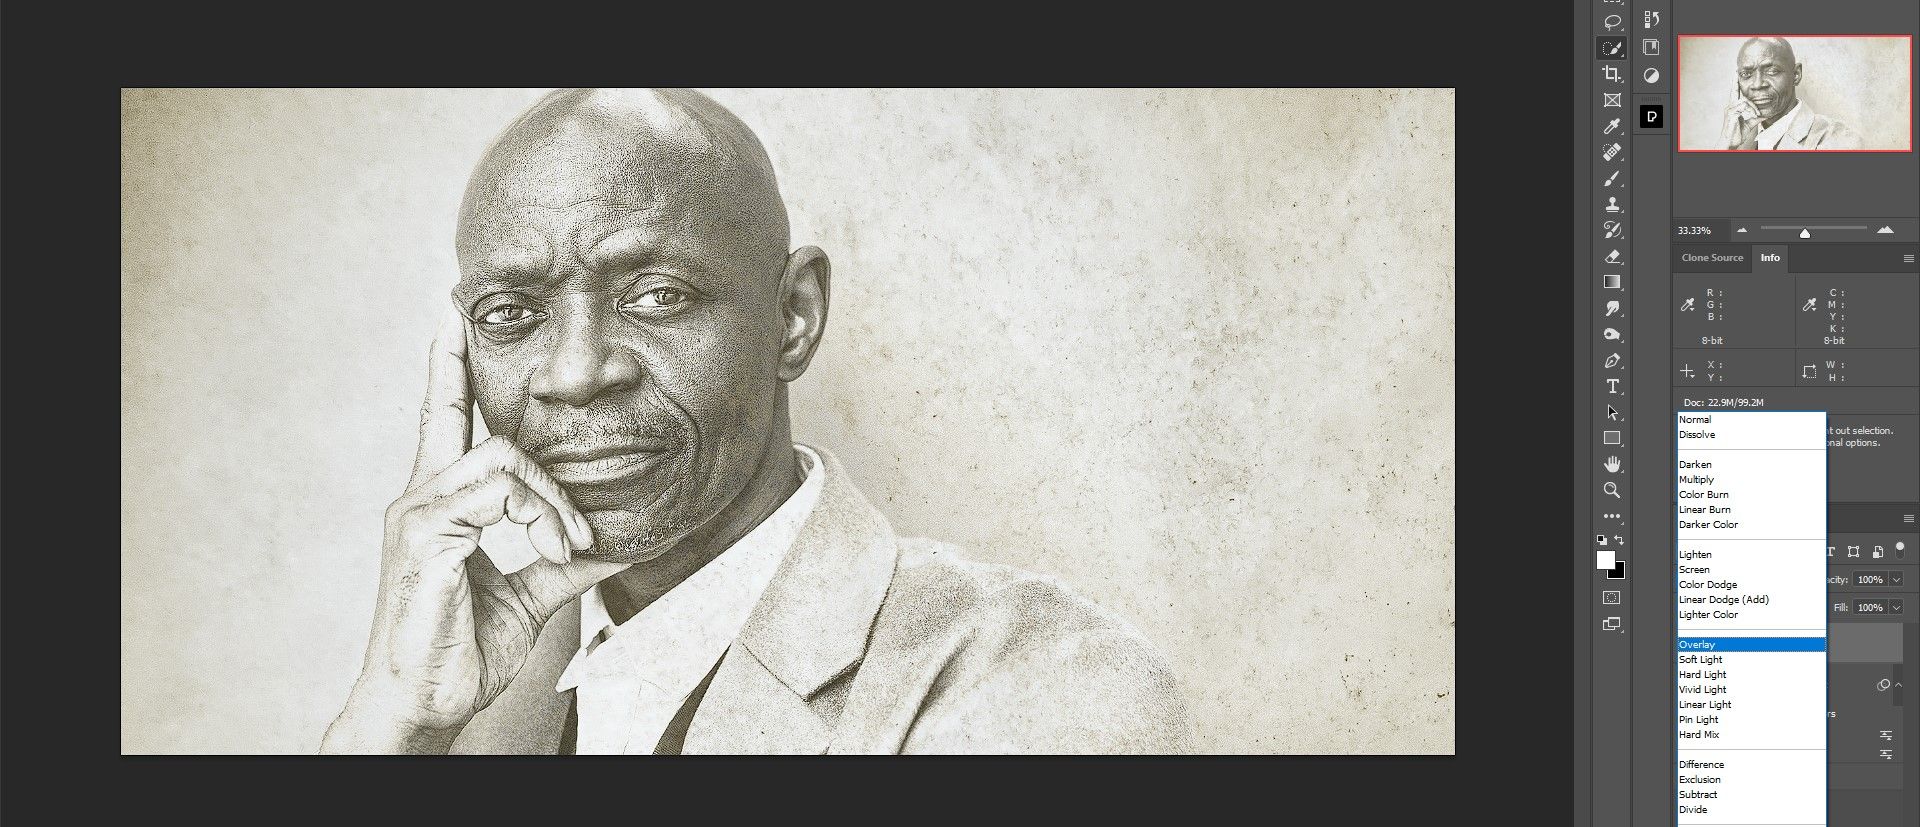
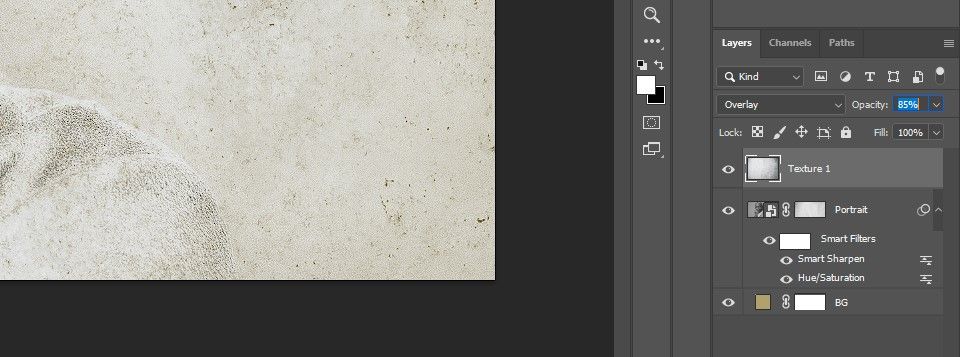
Change the blend mode to Overlay.
-
Reduce the Texture 1 layer Opacity to 85%.
-
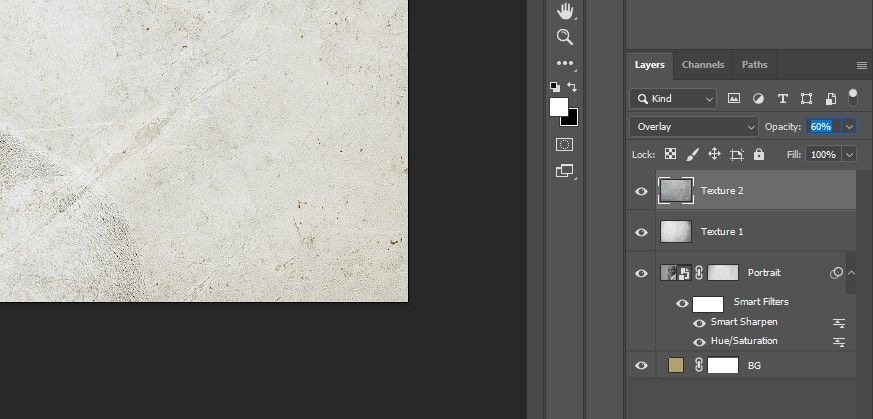
Import Texture 2 (the next gray texture) into the layer stack.
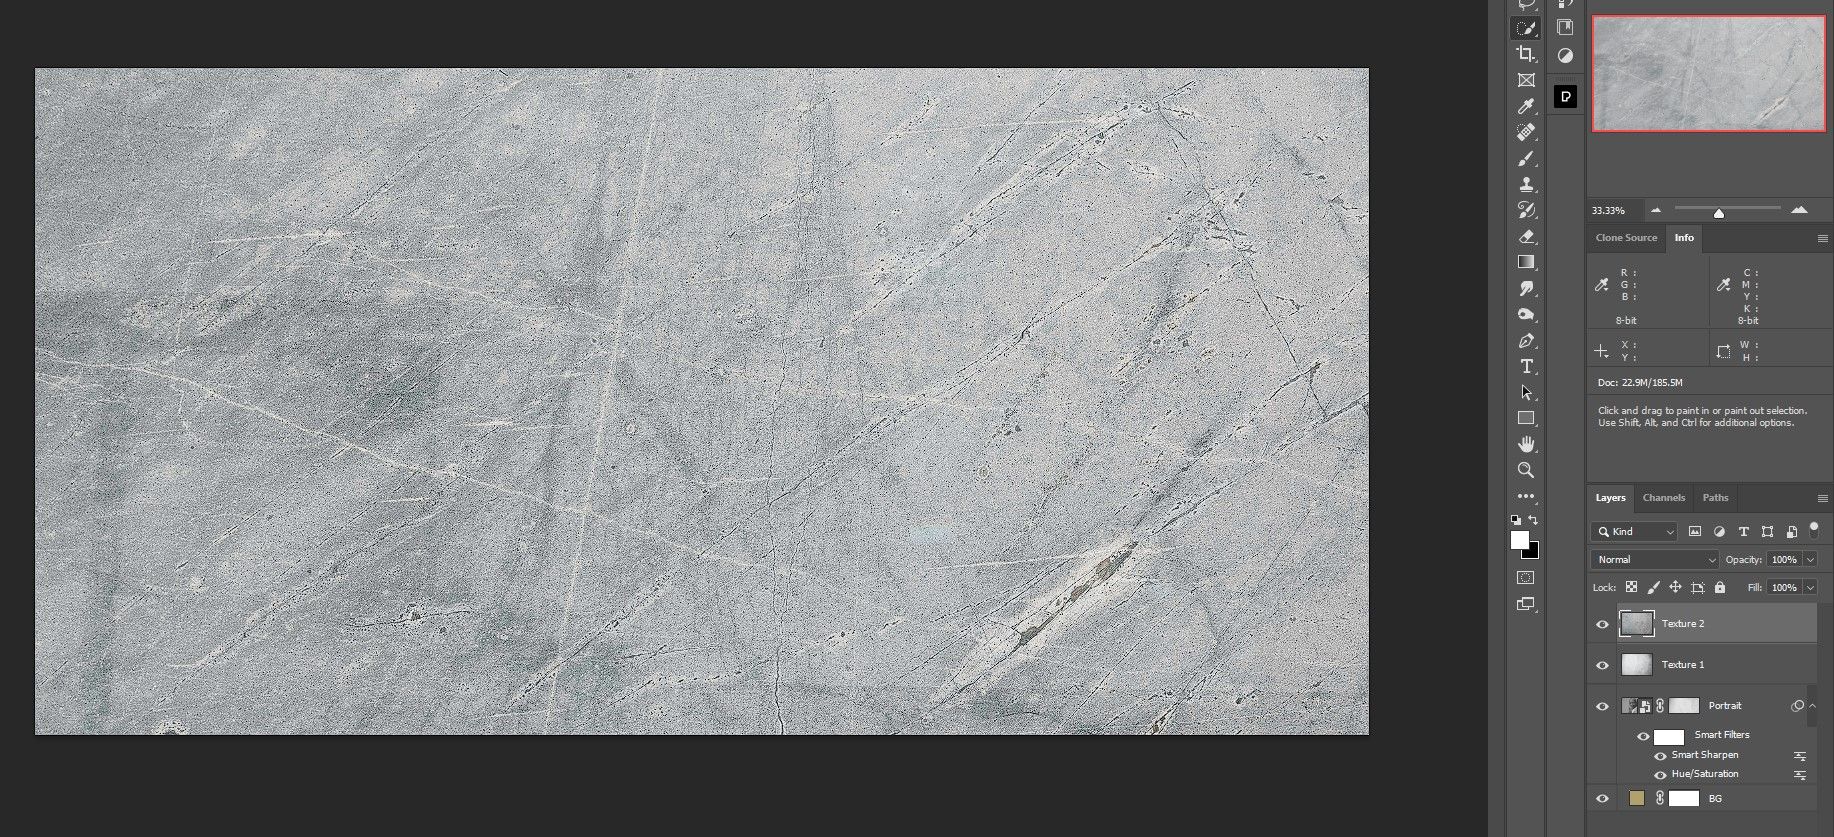
-
Change the blend mode to Overlay.
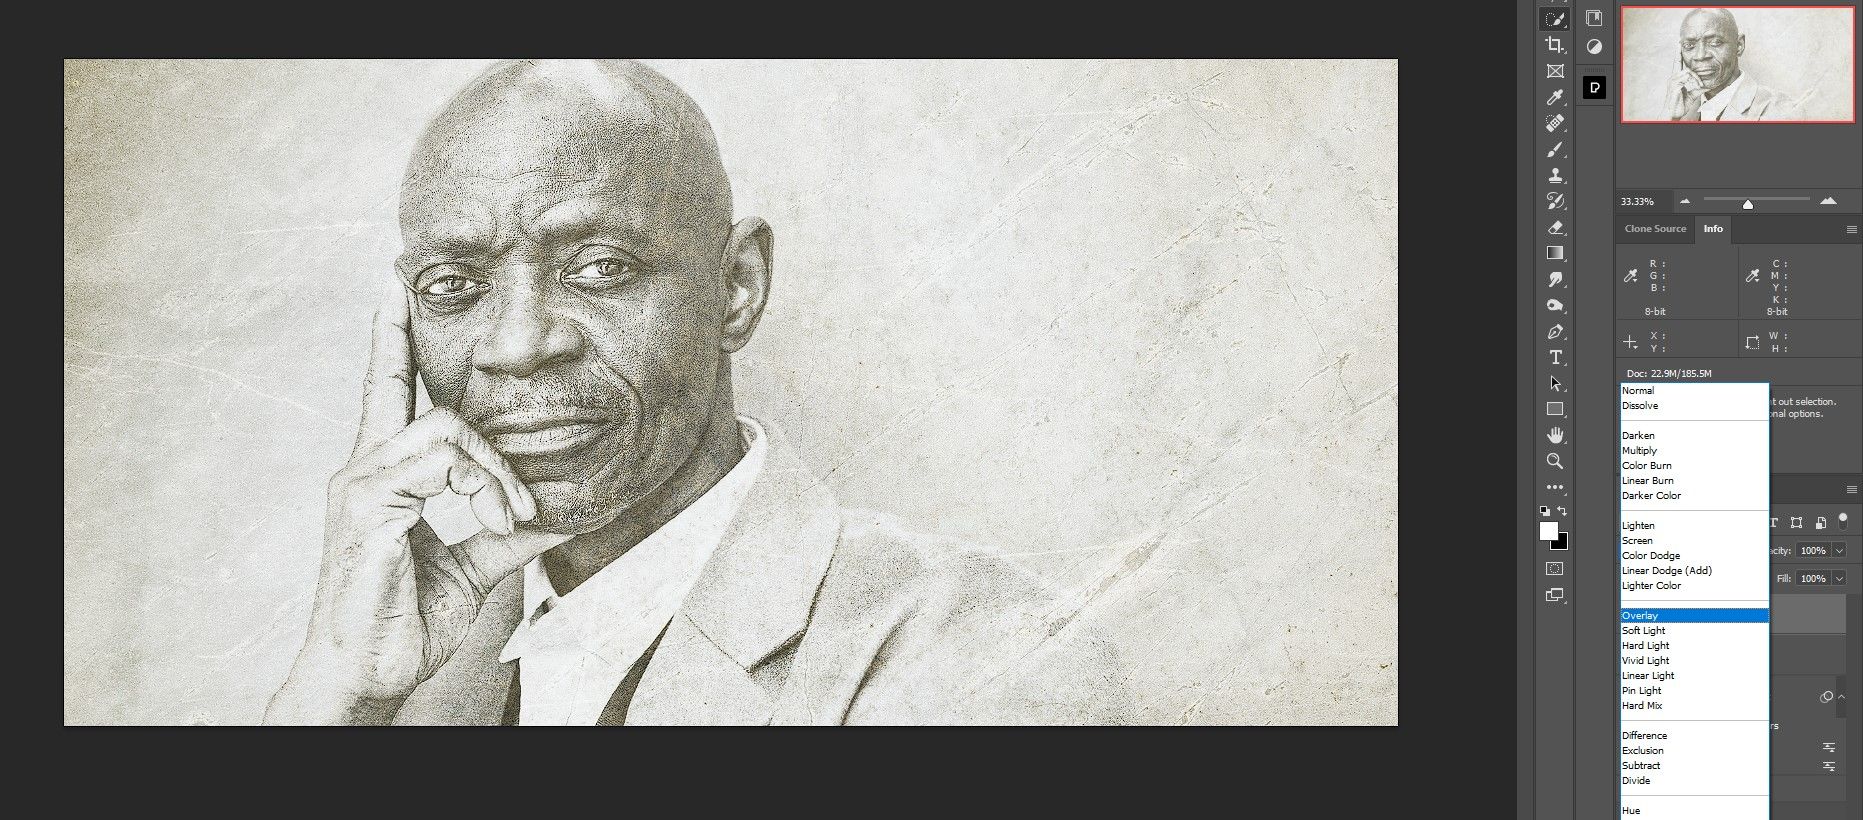
-
Reduce the Texture 2 Opacity to 60%.
-
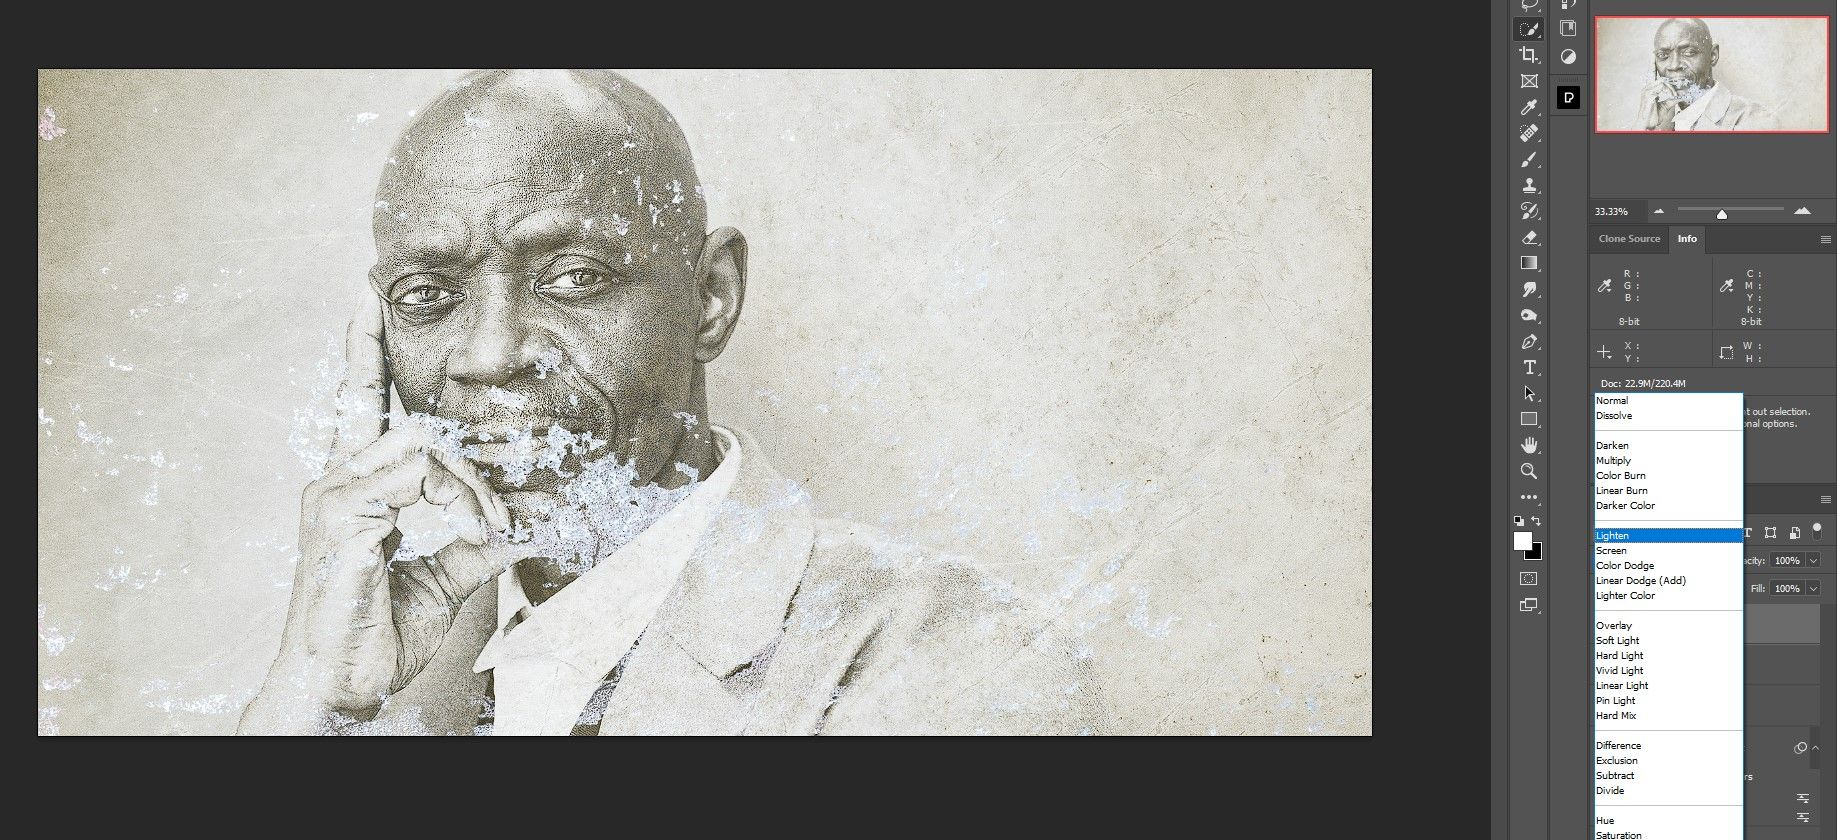
Import Texture 3 into the layer stack.
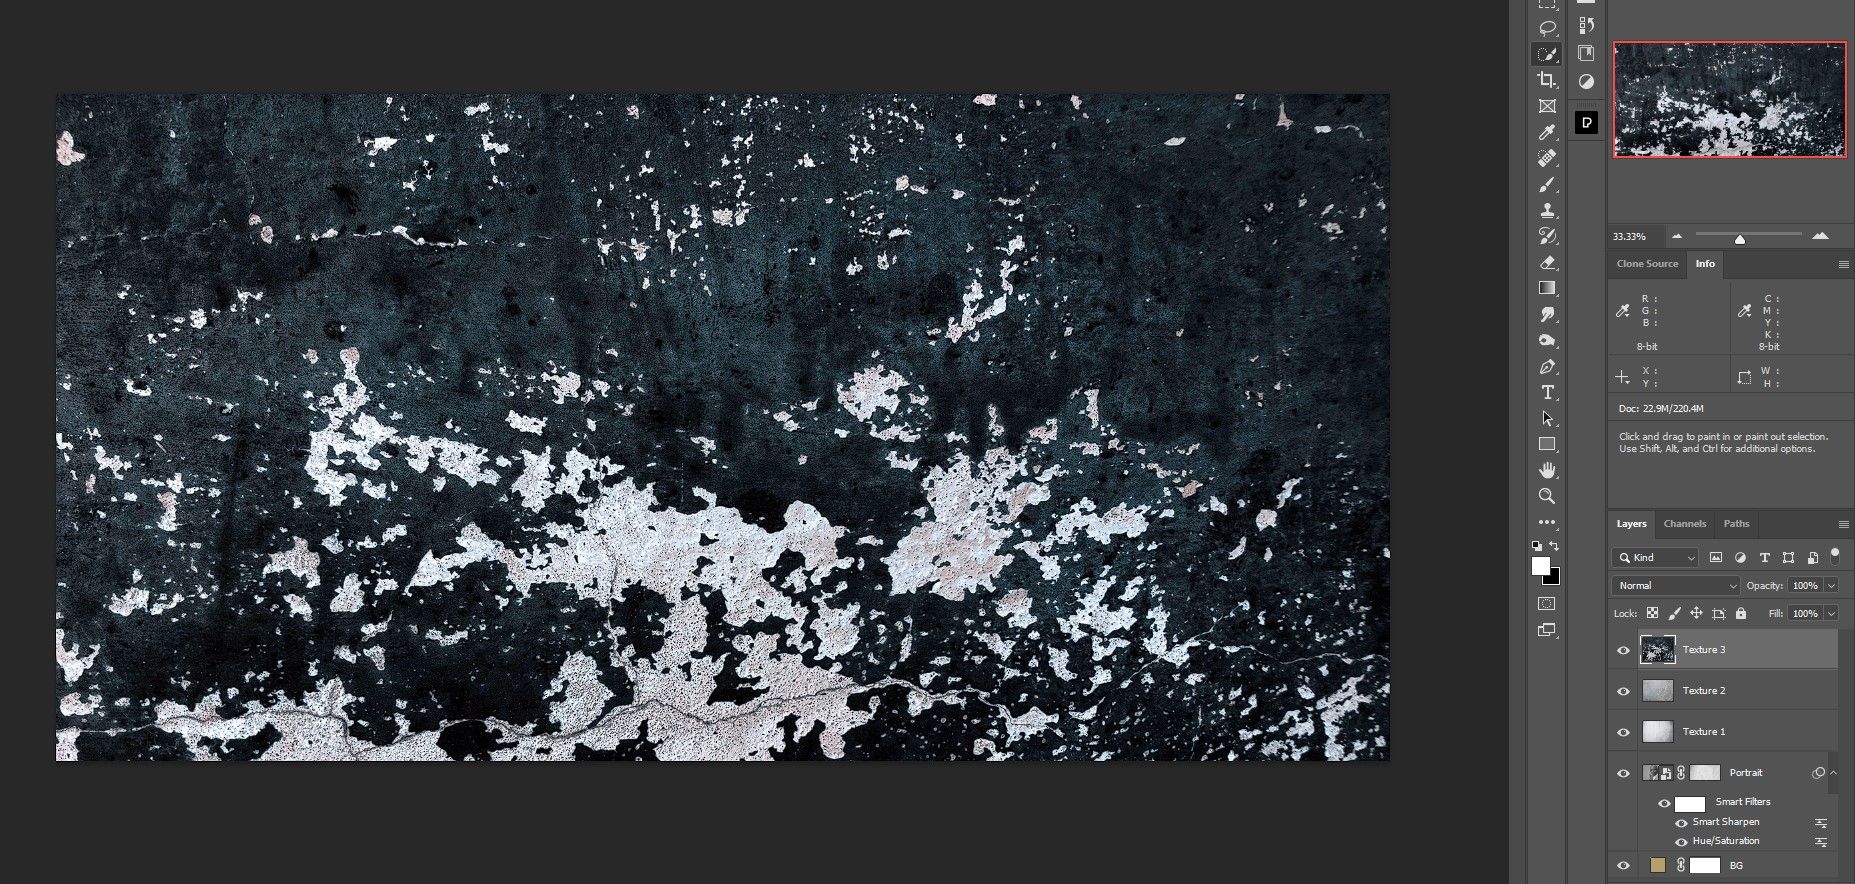
-
Change the blend mode to Lighten.

-
Reduce the Texture 3 layer Opacity to 50%.
-
There's probably too much distortion on the man's face at this point. Press Ctrl + T for the Transform tool and move the layer as shown below.
-
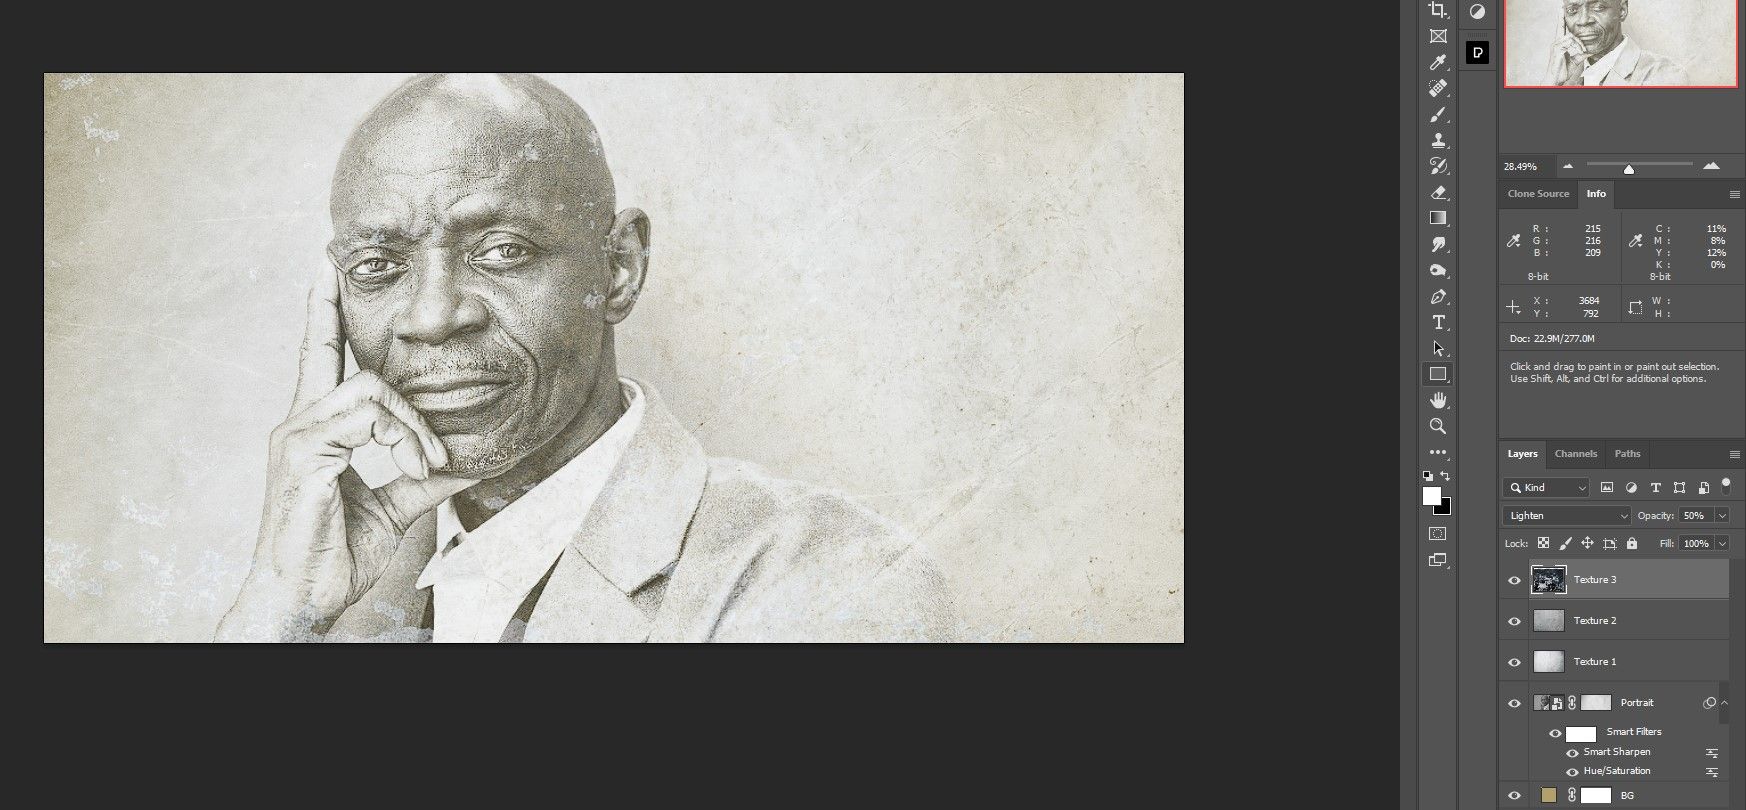
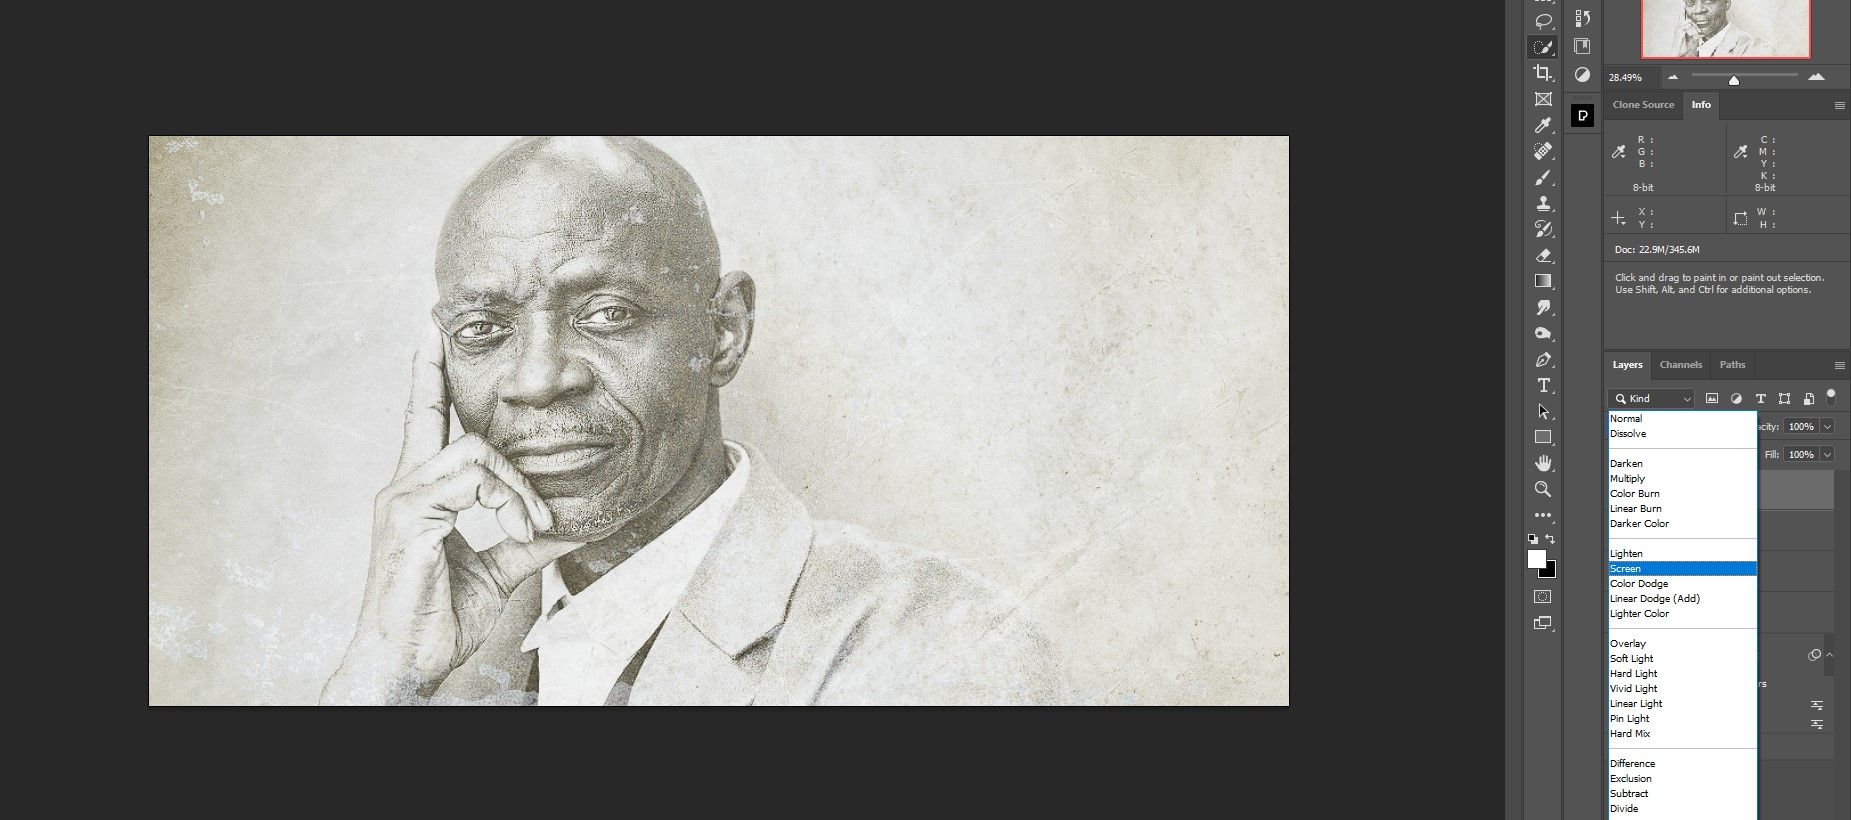
Import Texture 4 into the layer stack.
-
Change the blend mode to Screen.
-
Select the Texture 4 layer and left-click on Texture 1 to select all the texture layers.
-
Press Ctrl + G to group the layers into a folder. We named the folder "Textures".
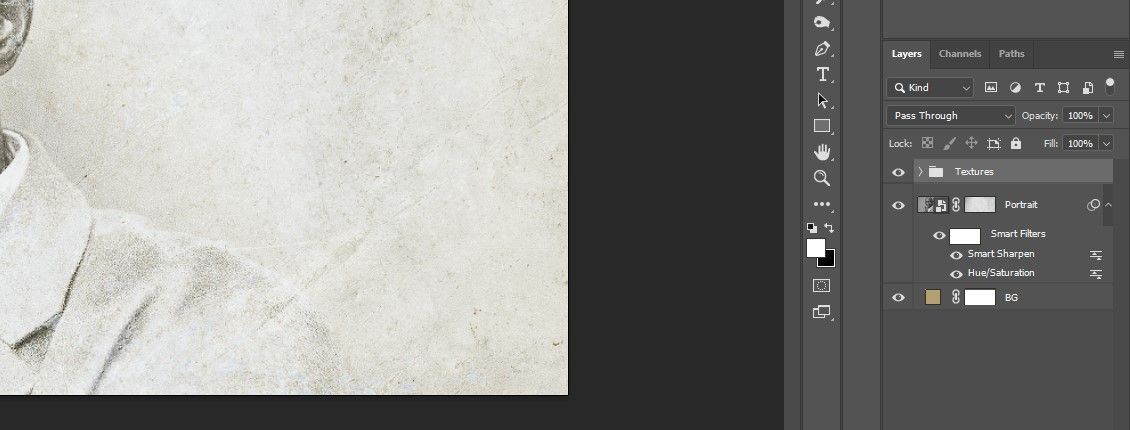


With the textures organized, we're ready for the final steps. If needed, we show you a few ways to resize layers in Photoshop.
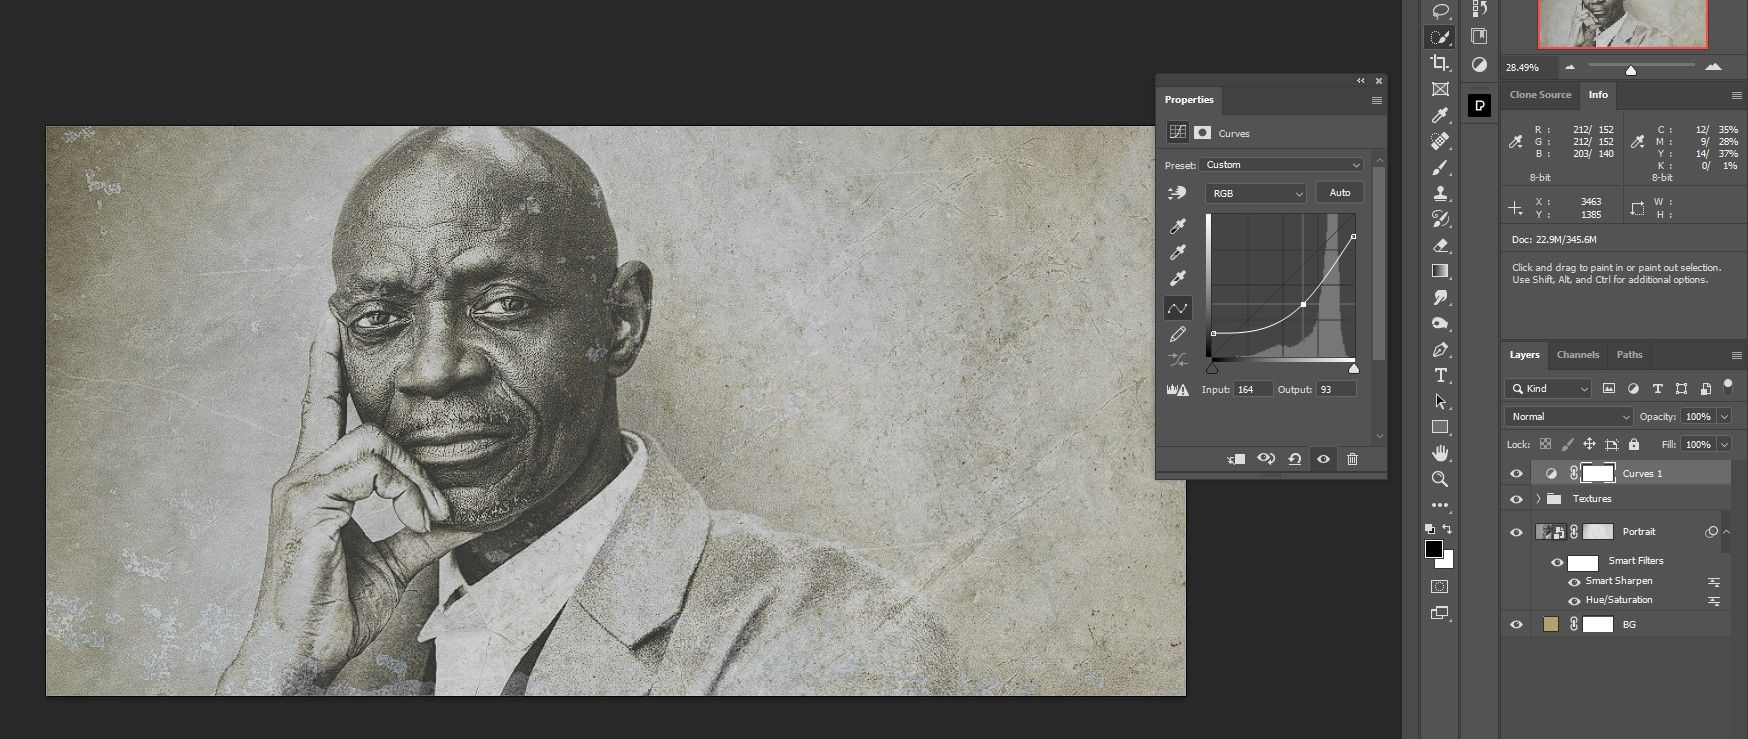
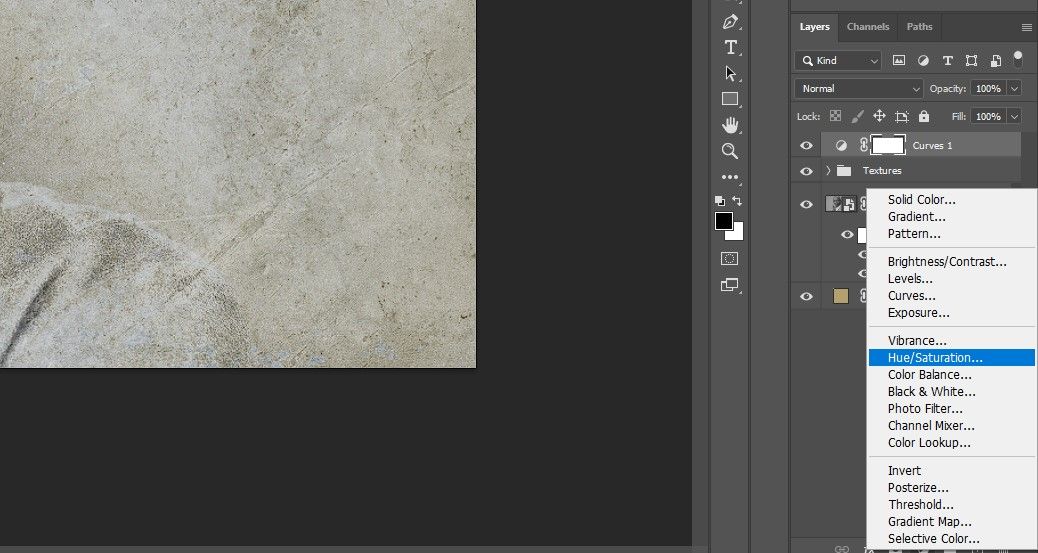
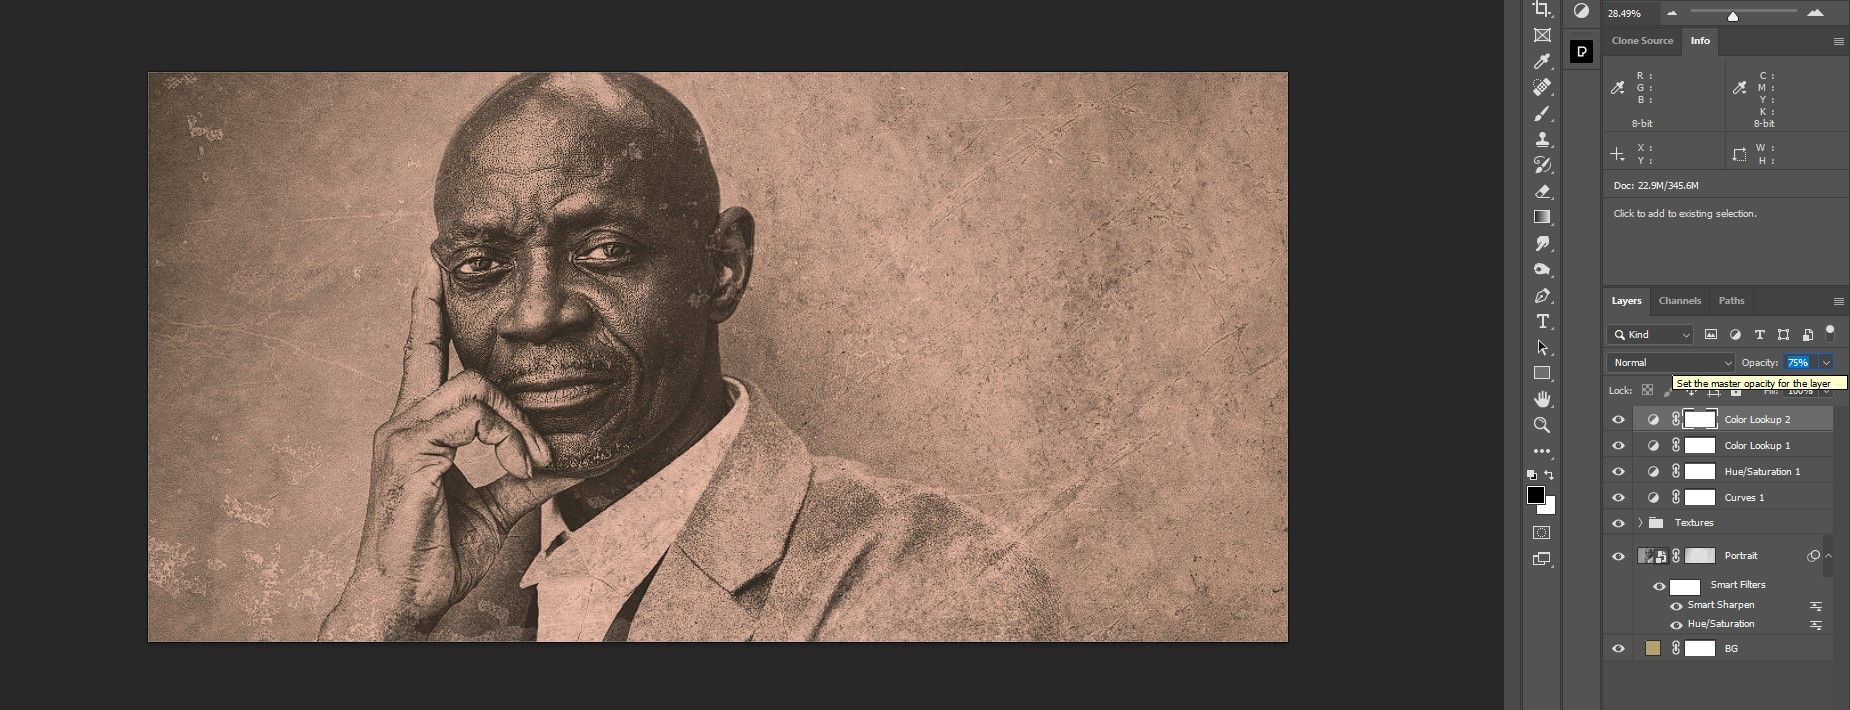
Step 4: Color Grading
Color grading is usually the last step when it comes to editing in most photo editing workflows. For our last touches, we'll create a Curves layer and stack a Hue/Saturation layer along with two Color Lookup tables. The result will be a fully vintage photo effect.
-
With the Textures folder selected, create a Curves adjustment layer.

-
We want to raise the blacks and lower the whites as shown. Use the handles to create a similar effect.
-
Create a Hue/Saturation adjustment layer.
-
Reduce the Saturation to -50.

-
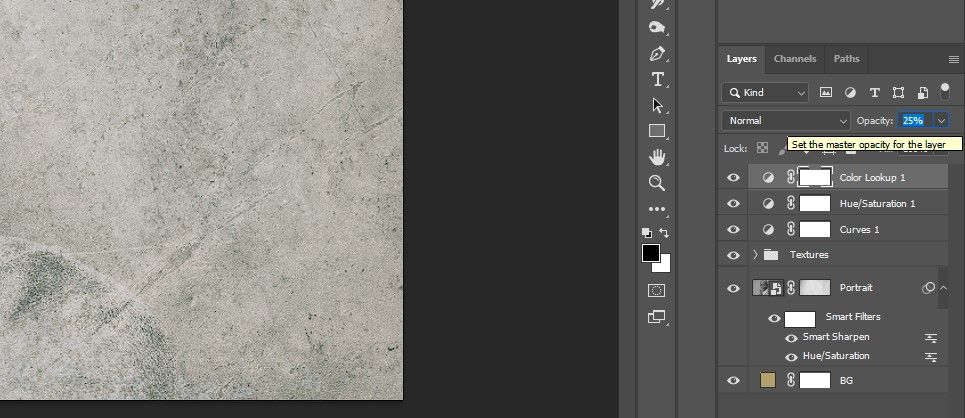
Create a Color Lookup table.
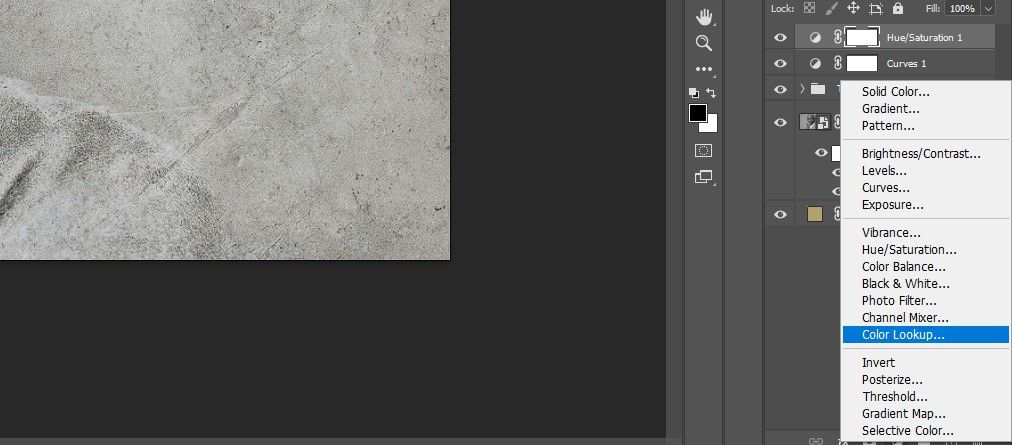
-
Select Teal Orange Plus Contrast from the dropdown menu.
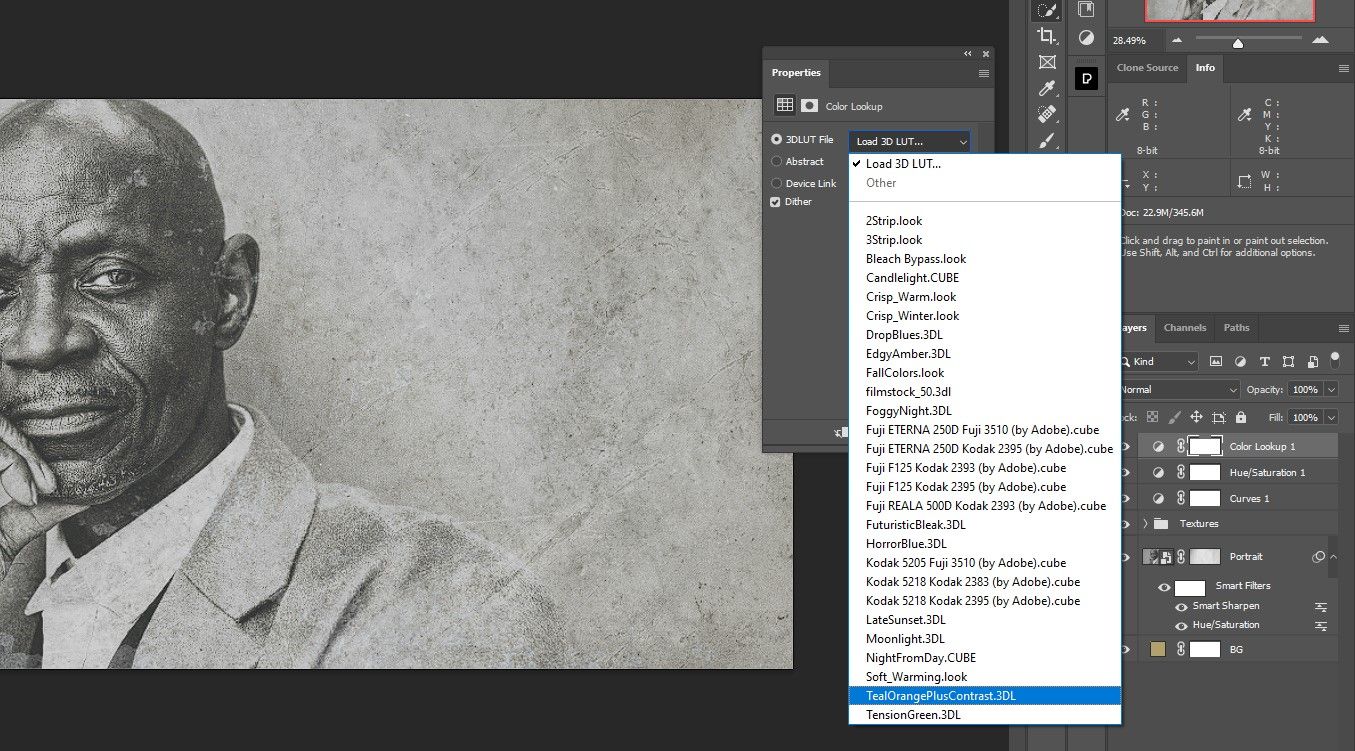
-
Change the layer Opacity to 25%.
-
Create another Color Lookup table.
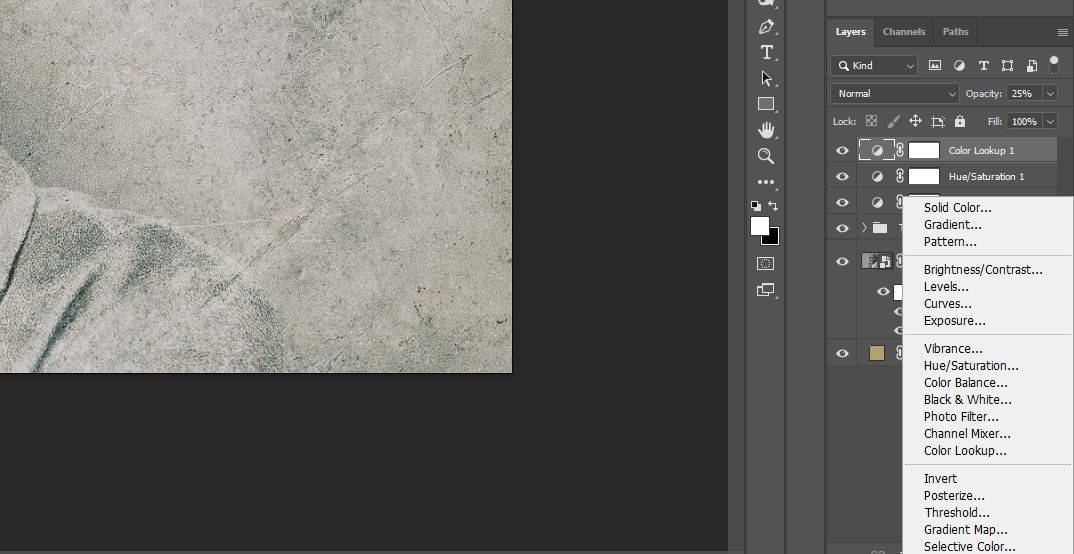
-
Select Candlelight Cube from the dropdown menu.
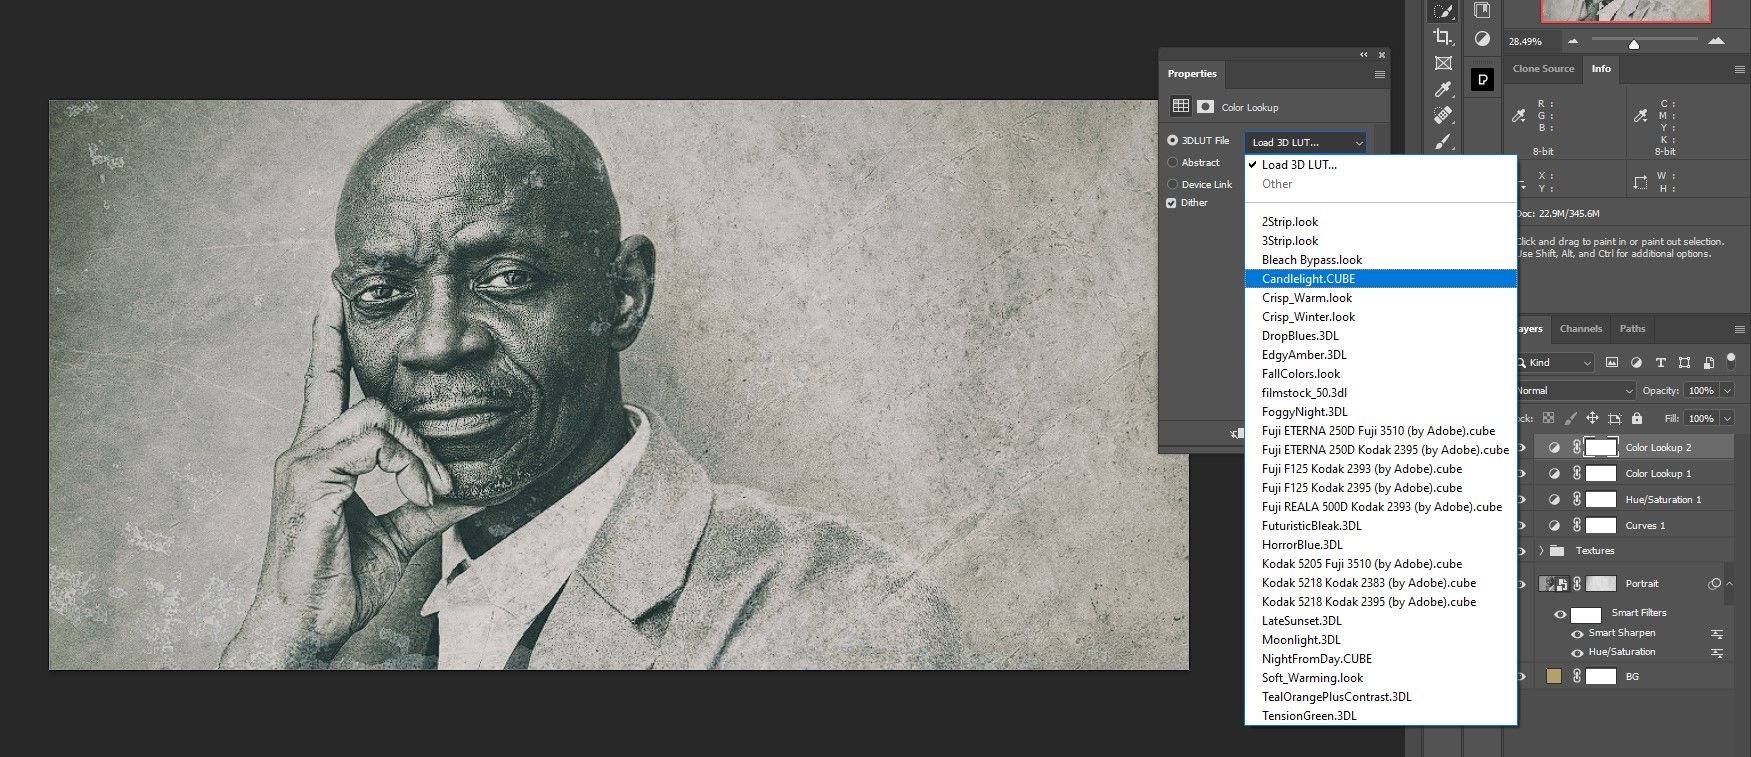
-
Reduce the layer Opacity to 75%.
- Like we did before, group the last four adjustments into a folder (select the layers and press Ctrl + G). We named it "Color Grading".


Make sure to save and name your file so that all of your hard work can be put to use again.
The great thing about how we set up our layers is that we can now insert any photo into the layer stack and have it automatically converted to a vintage photo. All you have to do is go to the Portrait layer and double-click on it. Once it's open, just paste another image into it and delete the old photo, then close the file and save it.
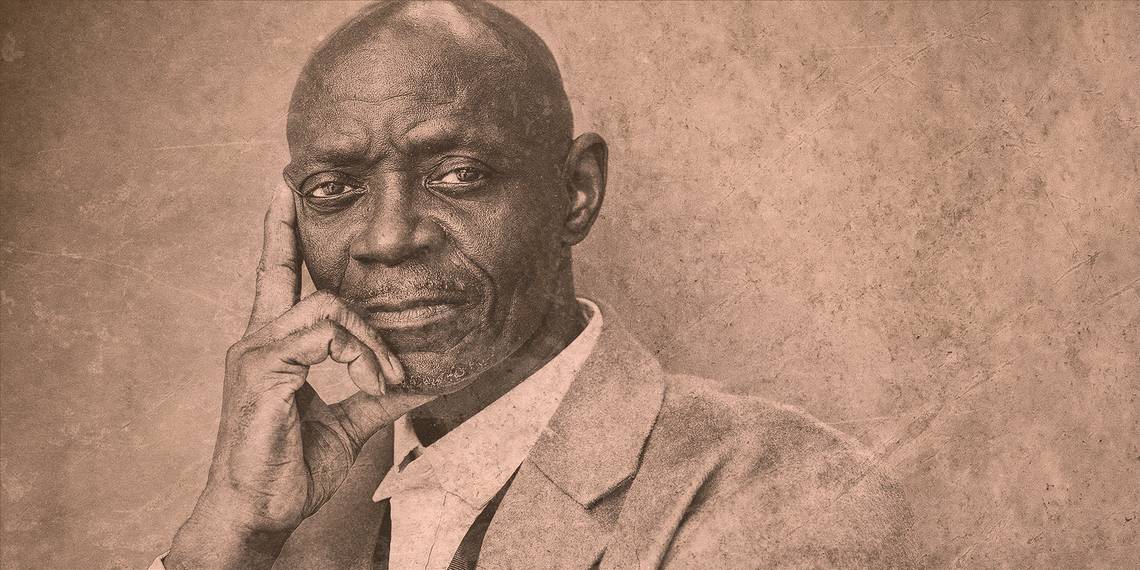
Here's another photo we added into the Portrait layer.

The only thing you may need to change is the original file dimensions. We created a horizontal portrait from the beginning, but you could just as easily create any standard portrait size that you prefer, like an 8 x 10 or 5 x 7.
You could also use Luminar AI to enhance your portraits further.
Create Stunning Vintage Portraits in Photoshop
If you've followed along, you now know how to create beautiful vintage photos in Photoshop. The great thing is that you only have to do all the steps once, and you can simply add new photos at any time to give it that vintage look.