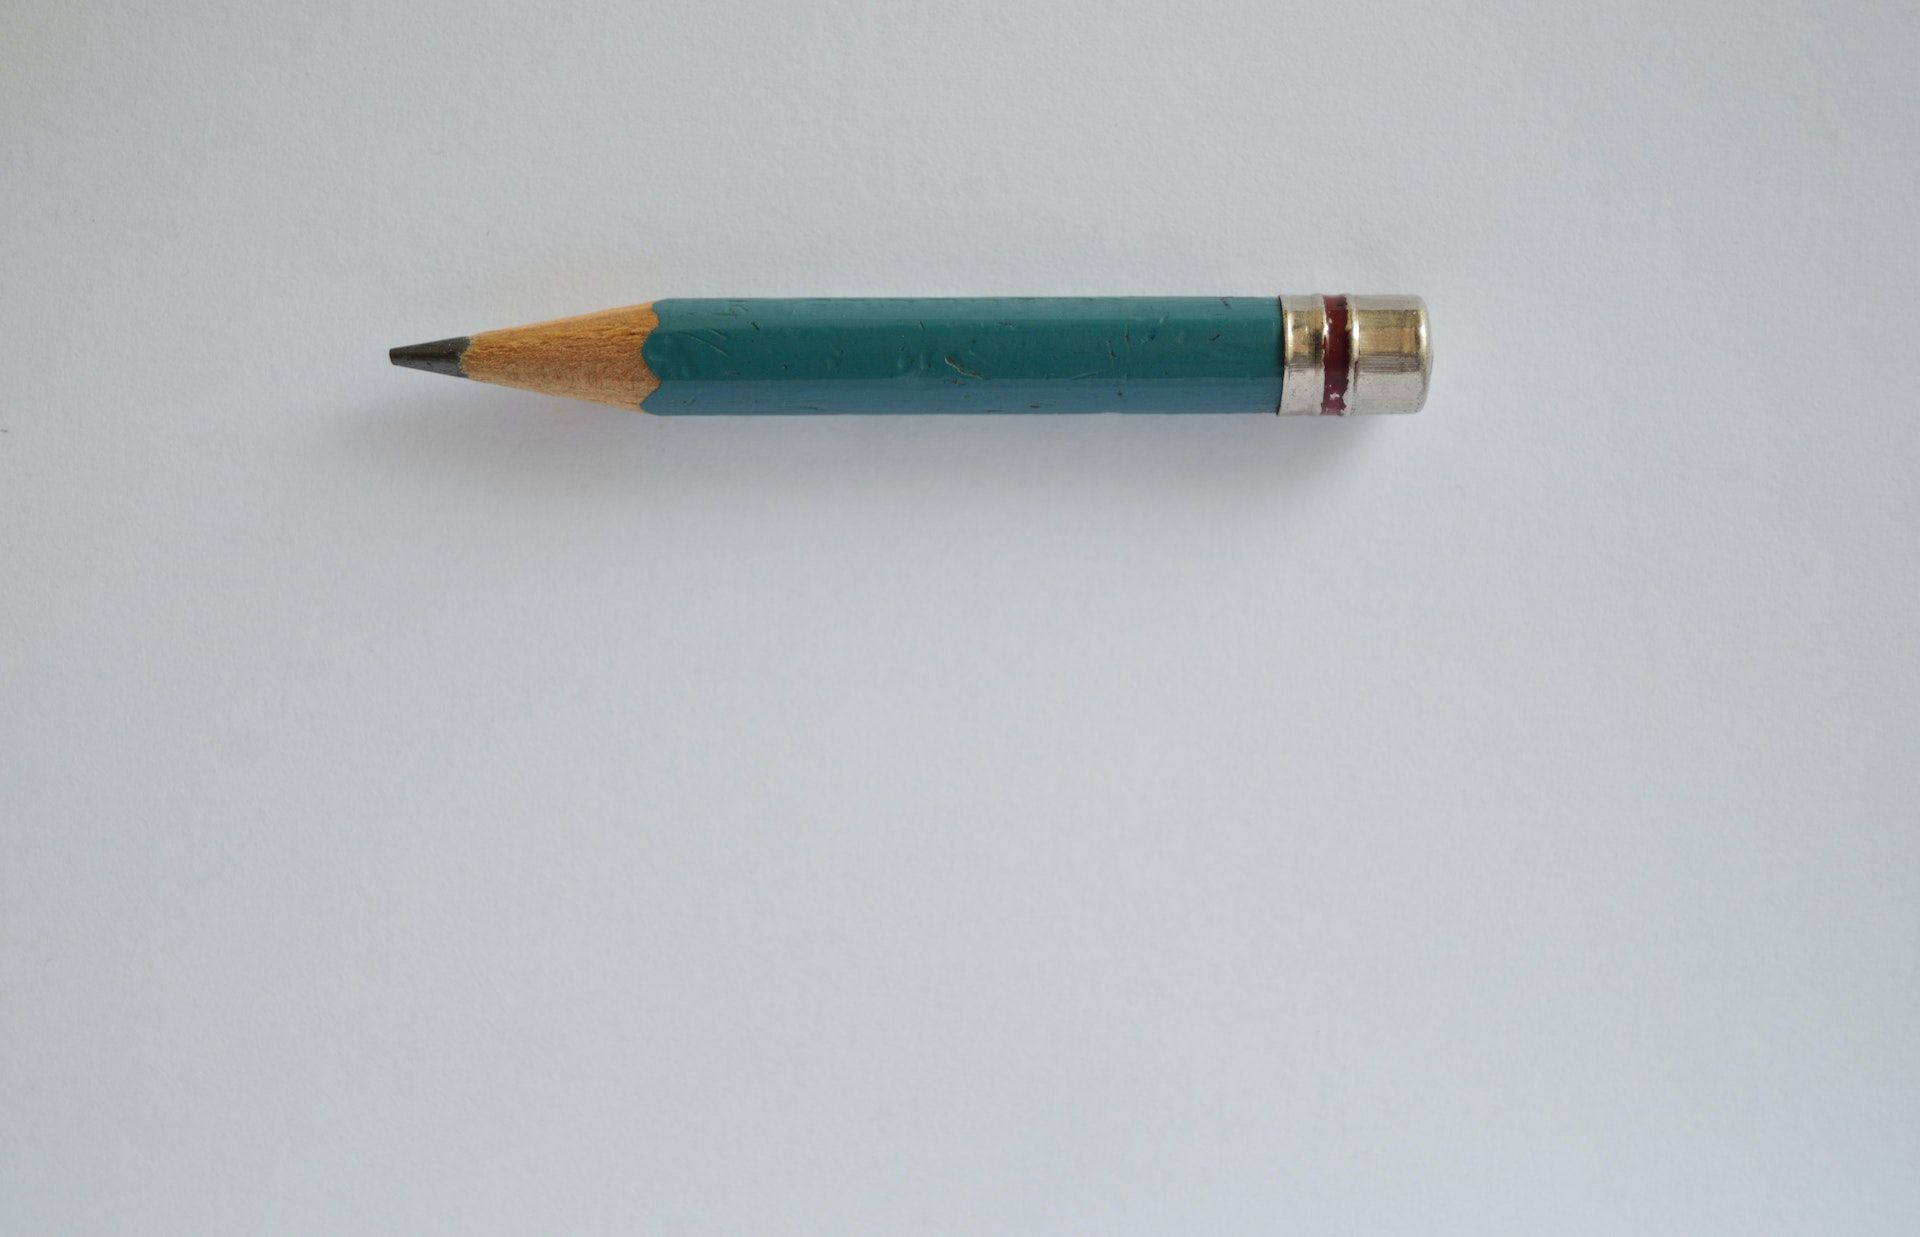
Sometimes a photo edit requires you to make multiple copies of the same object. Making multiple copies of an object is easy with Photoshop. In this tutorial, we'll show you how to do it in three easy steps.
Step 1: Make a Selection of the Object
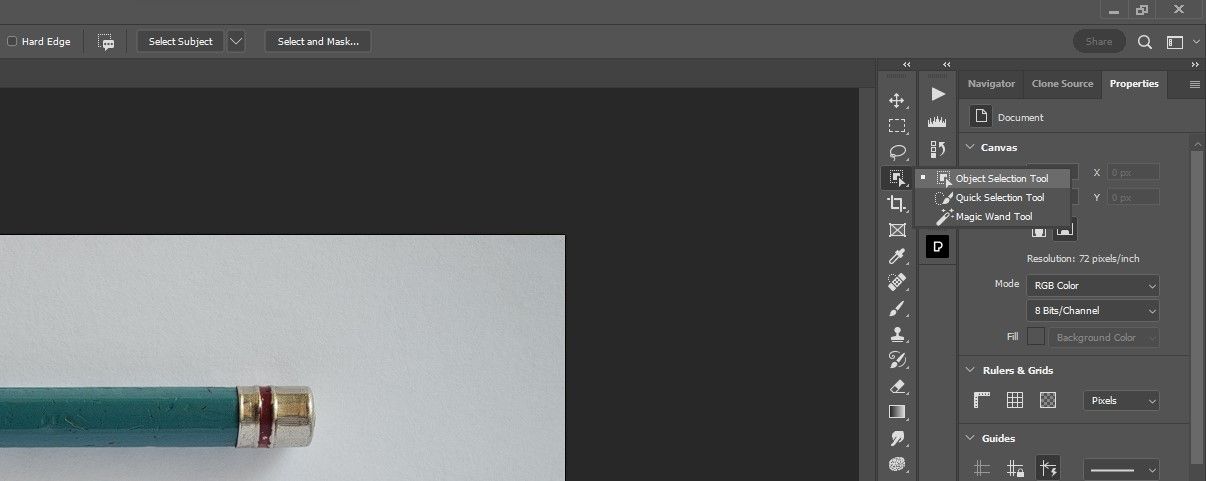
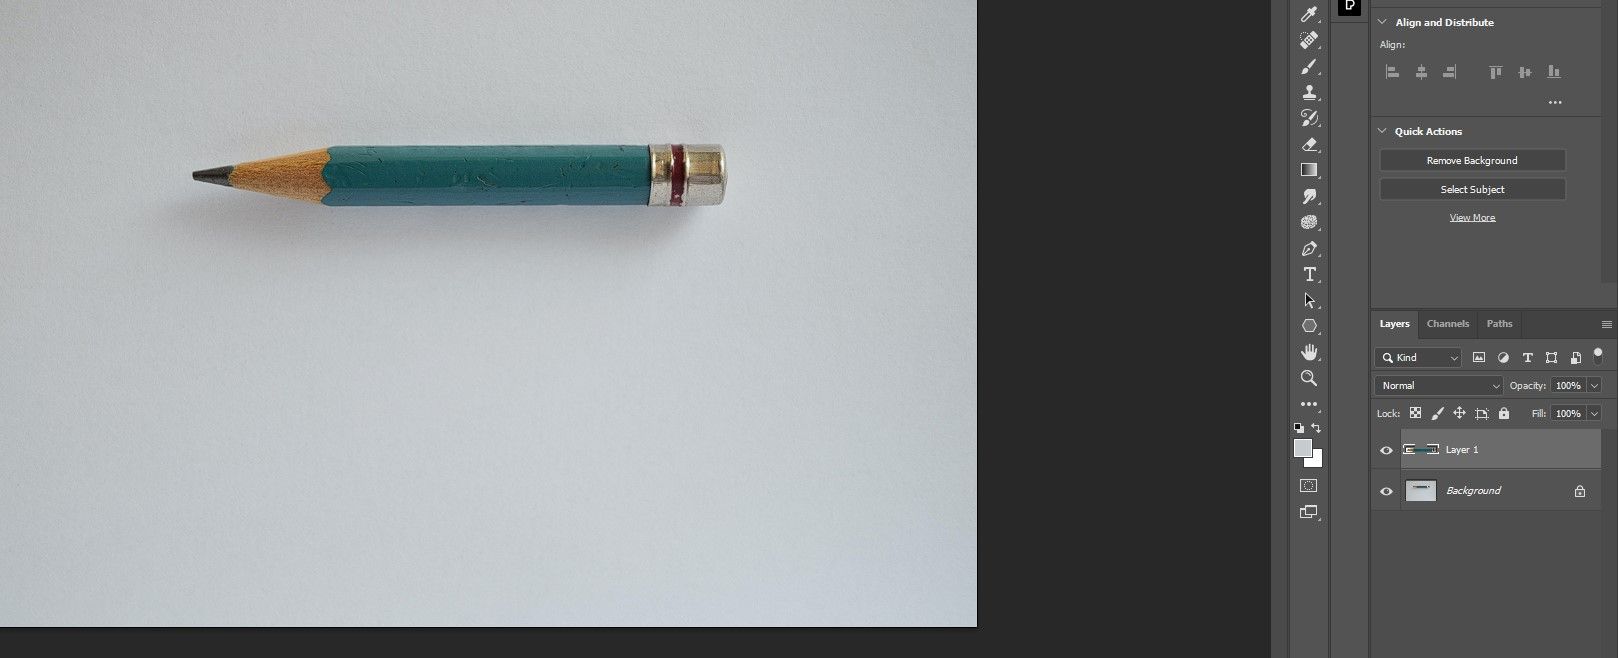
The first step in making multiple copies of an object is to make a selection of the object. There are many selection tools available in Photoshop to accomplish this, but we'll use the Object Selection tool for this example.
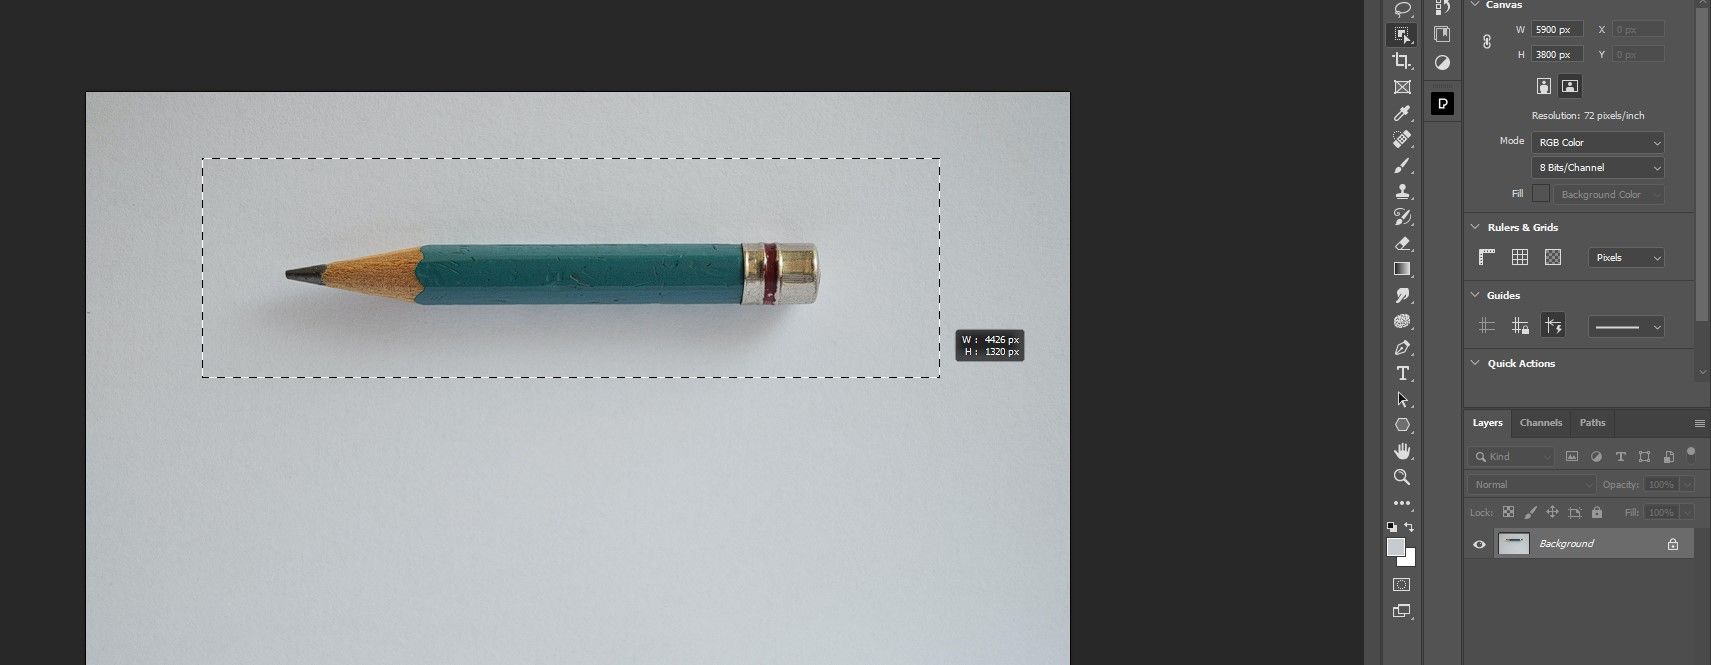
Drag the rectangle so that your entire object is selected.
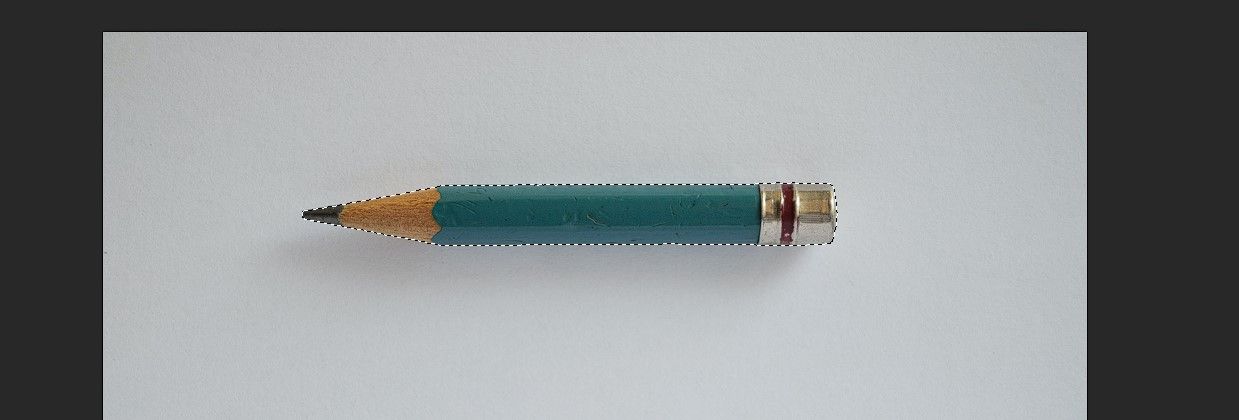
After a moment, Photoshop will select the object and place marching ants around it. If the object isn't perfectly selected on the first try, try dragging around it again. An alternative method is to mask the subject using Photoshop's Subject Select tool.
Next, press Ctrl + J to make a copy of your selection onto a new layer.
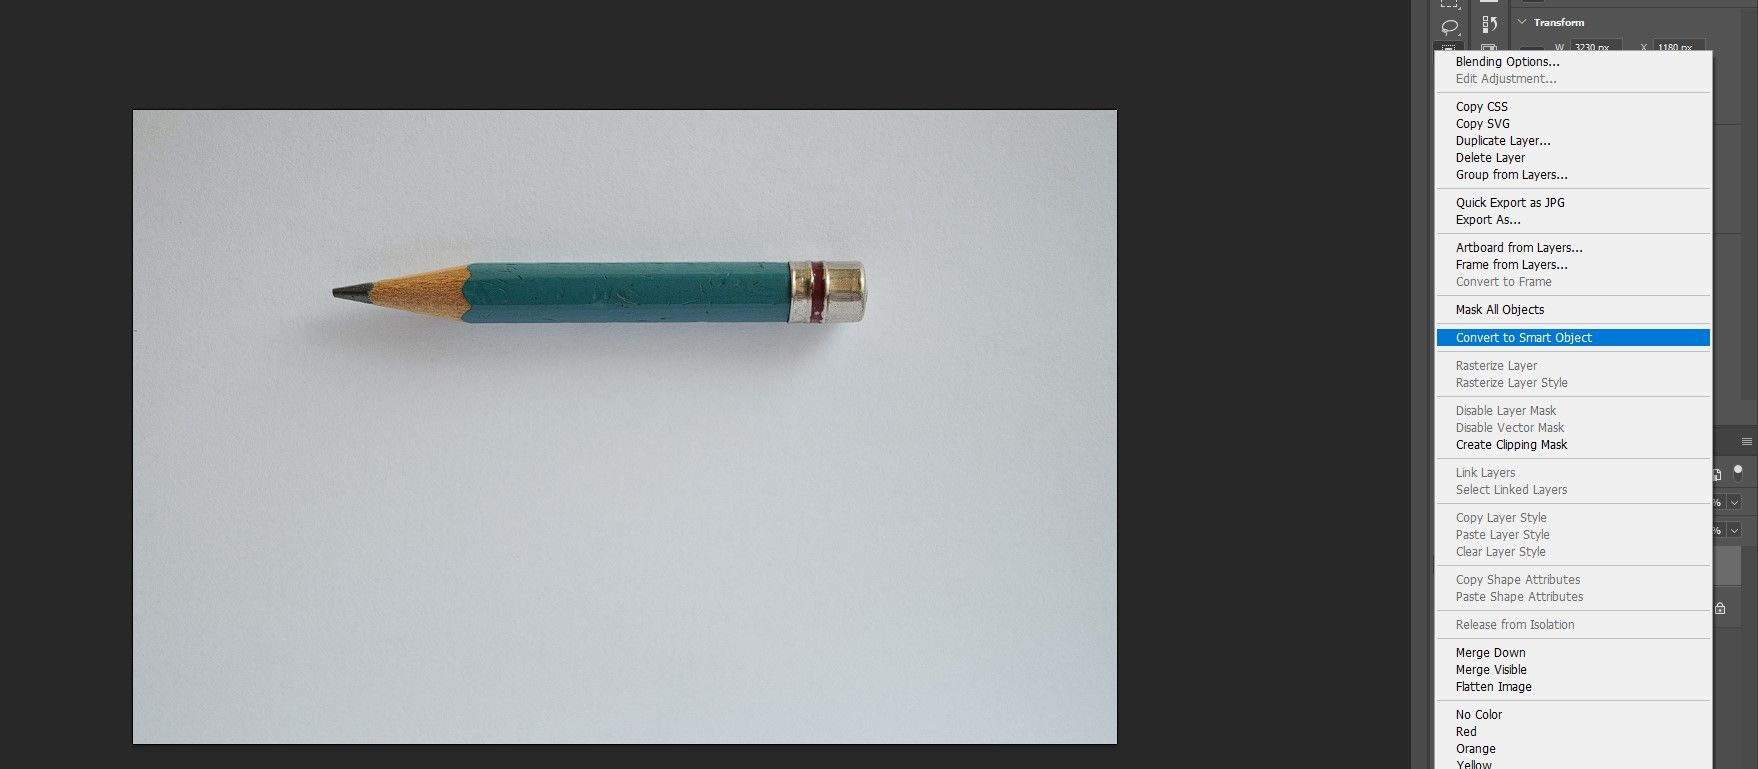
Just in case you need to resize the image, it's best to convert the layer to a Smart Object so that the object's resolution is preserved. Simply right-click on the object layer and choose Convert to Smart Object.
Step 2: Make Multiple Copies of the Object
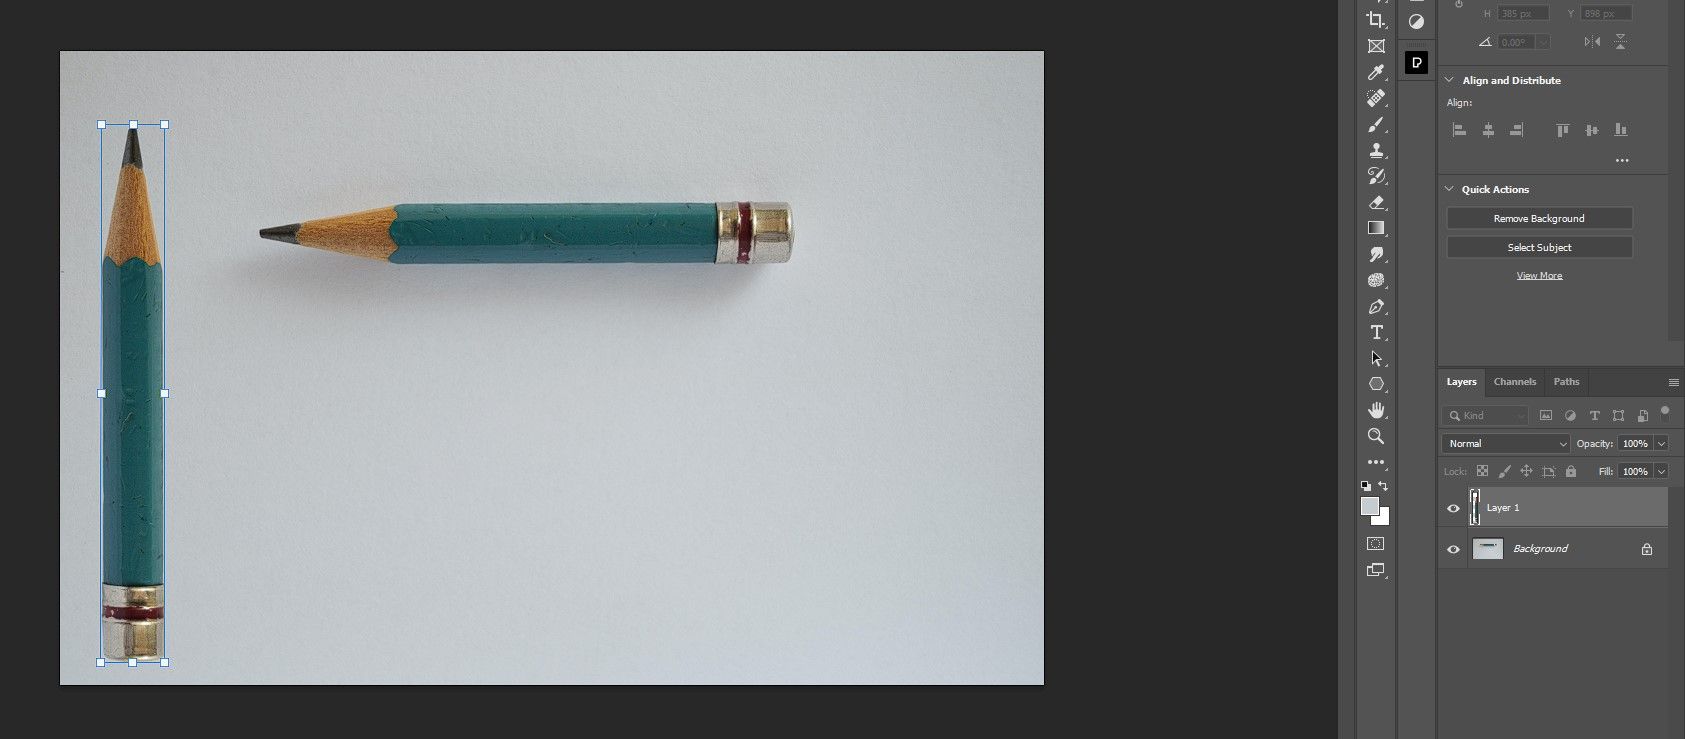
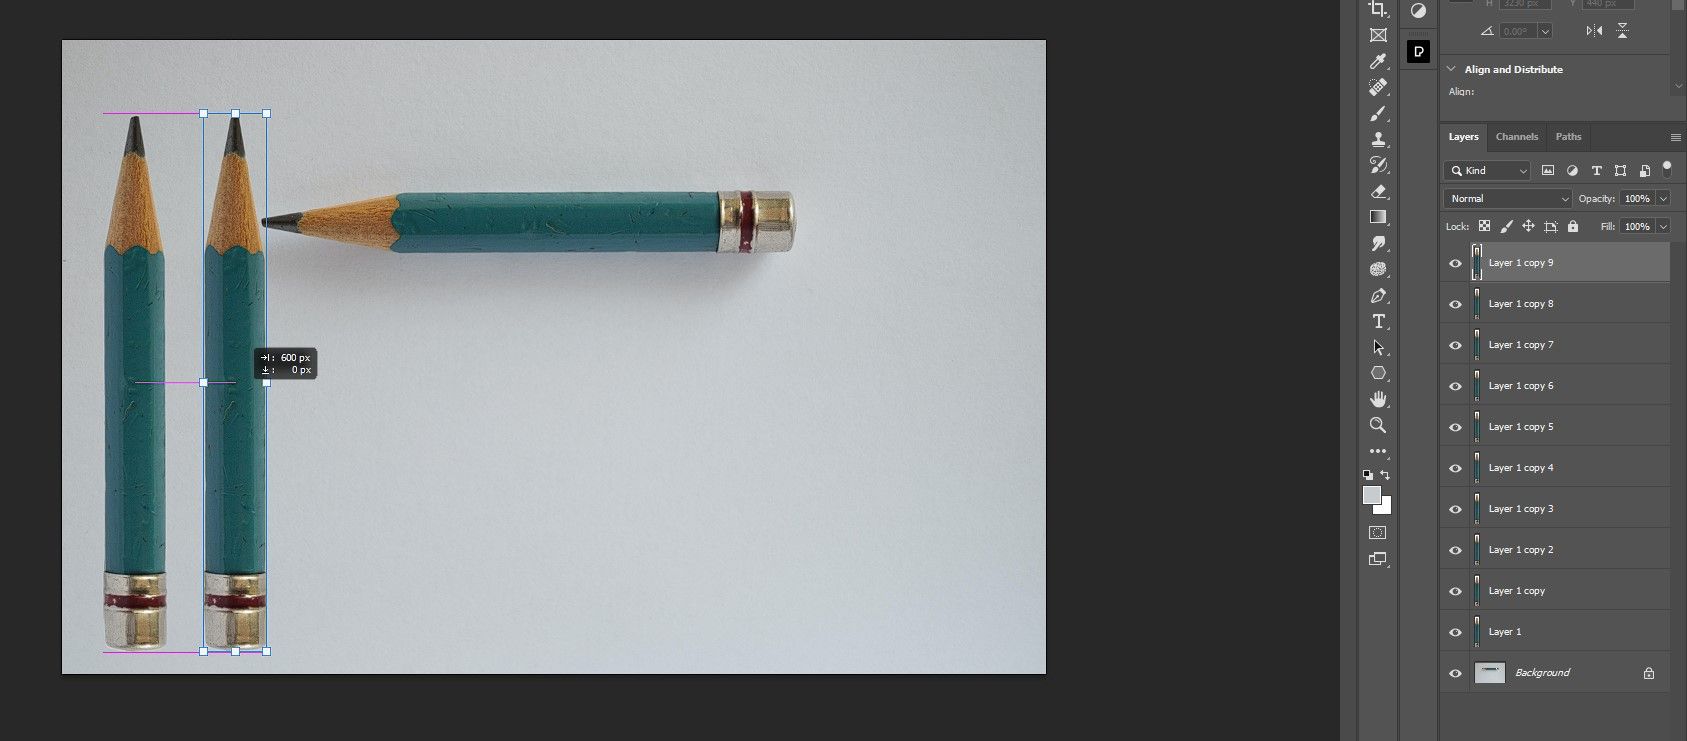
Now that we have a single copy of the object, we'll duplicate the layer to make additional copies. But first, with the object layer active, press Ctrl + T for the Transform tool. A rectangular box with handles will appear around the object.
Use the mouse to arrange your object. For our example, we intend to place multiple copies of the pencil across the paper, so we'll choose a vertical orientation.
Once you're happy with the placement, press Enter or click on the checkmark. There are many more uses for Photoshop's Transform tool.
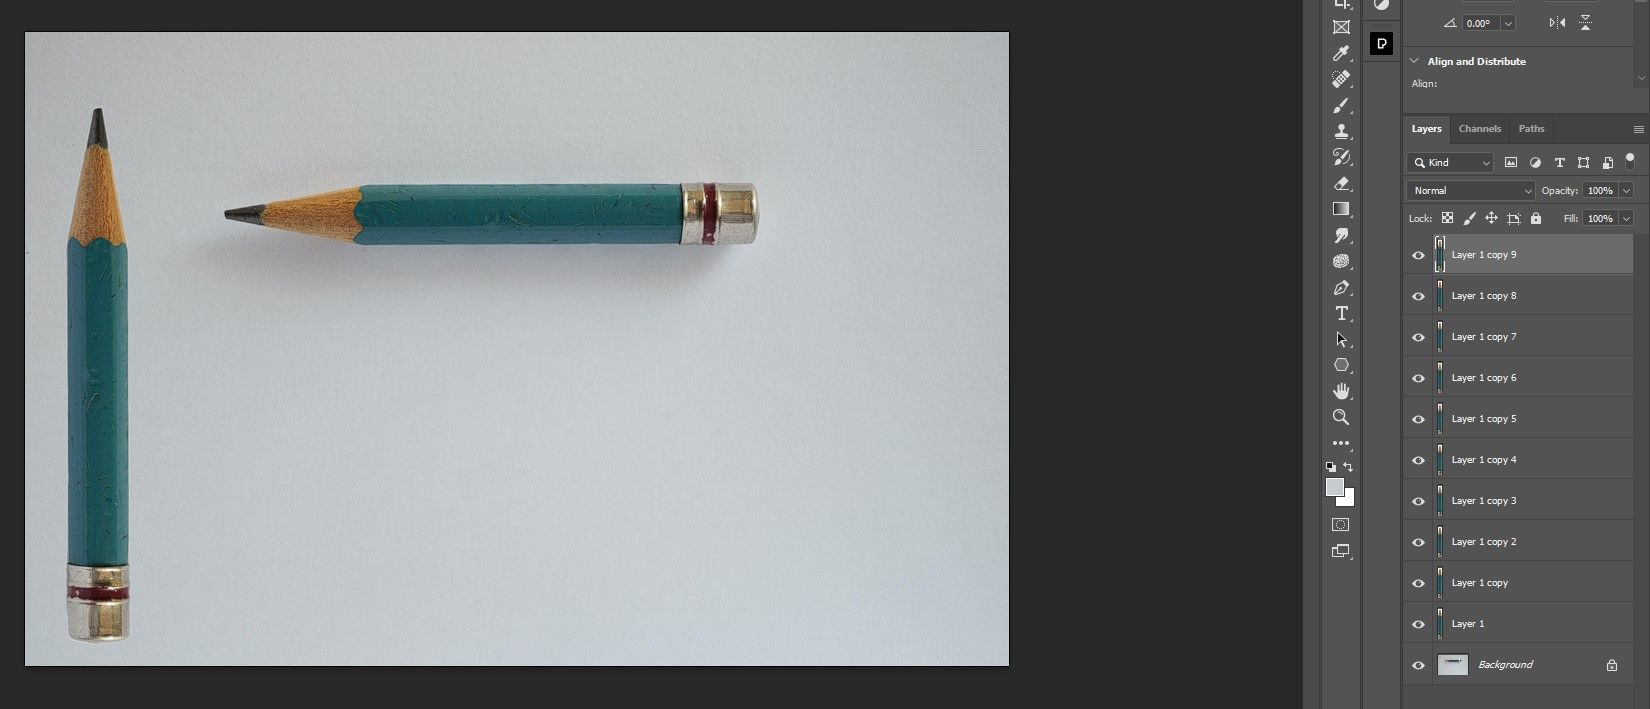
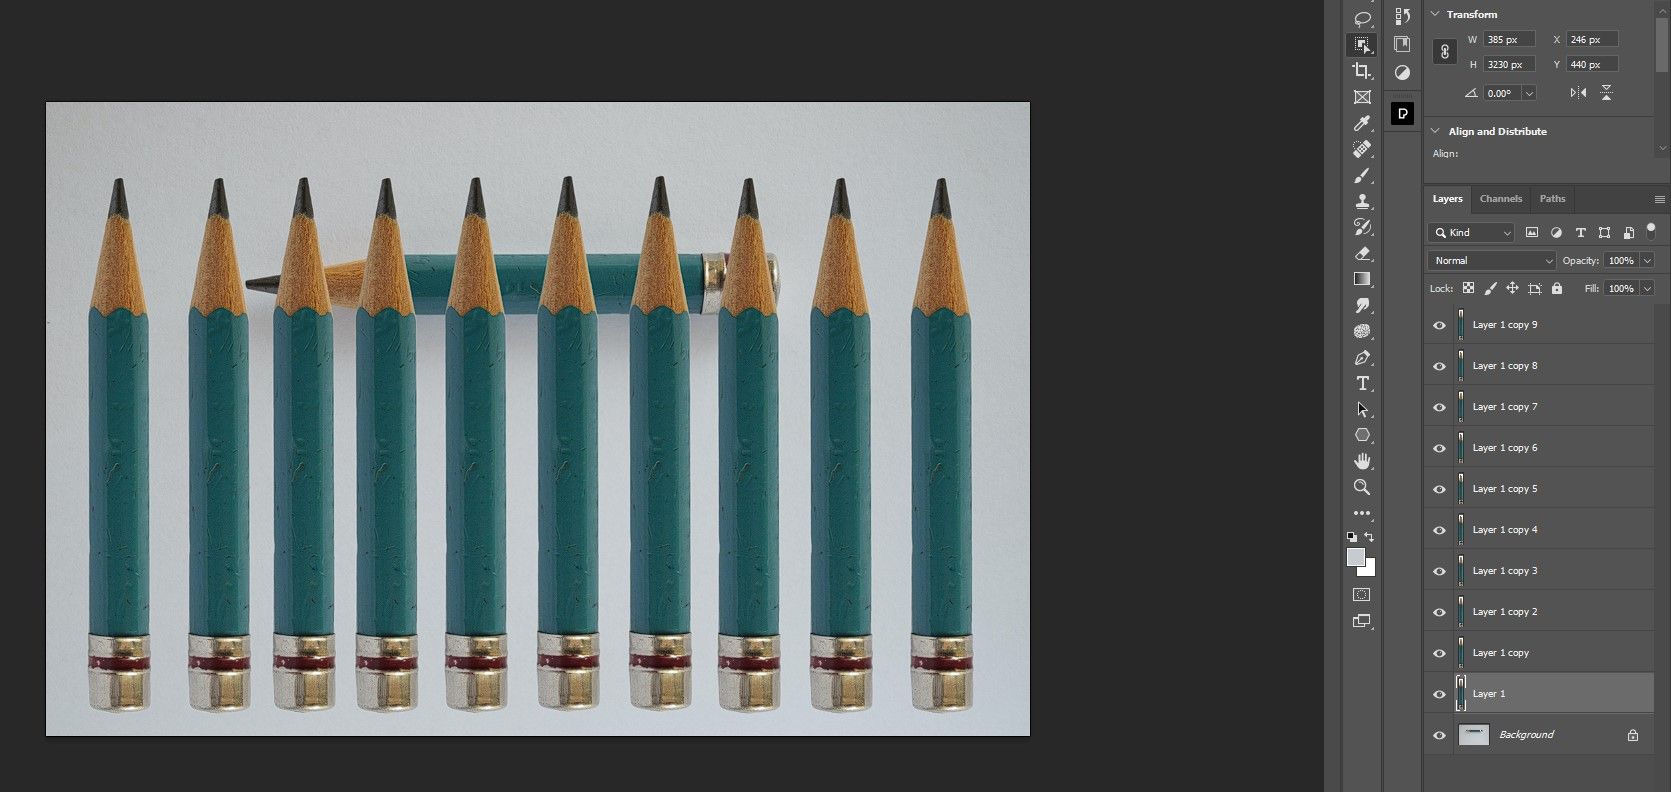
To make multiple copies of the object, press Ctrl + J for however many copies you need. Keep in mind that each copy will reflect in the layer stack and won't be visible in the image until you select and move each layer. For this example, we made nine copies.
With the top layer already active, press Ctrl + T for the Transform tool. Drag the copy out and place it.
Repeat this step for all the layers.
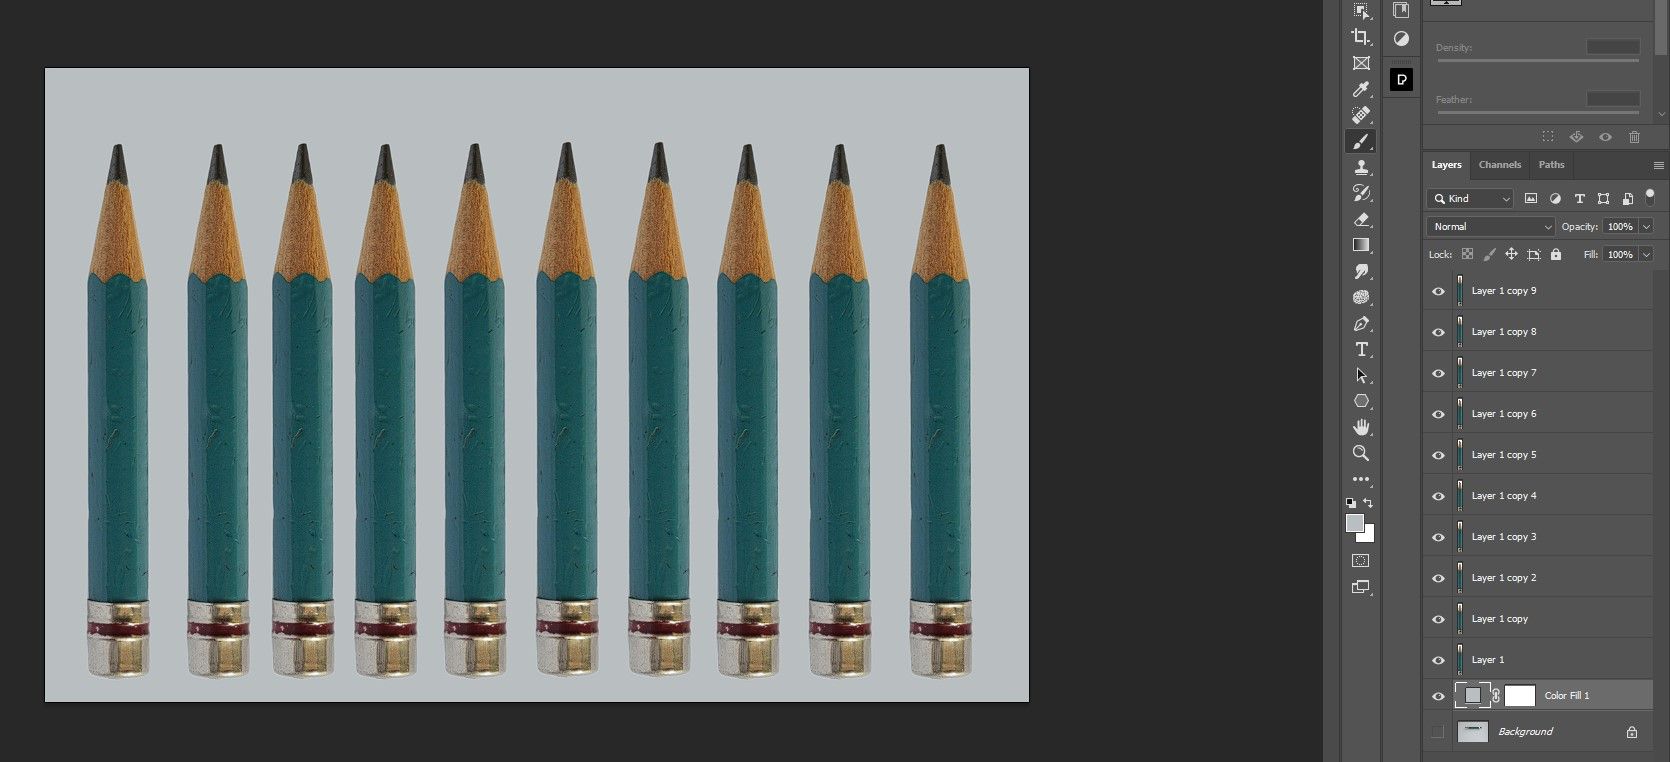
We now have 10 pencils aligned vertically and the original pencil still remaining.
Step 3: The Final Touches
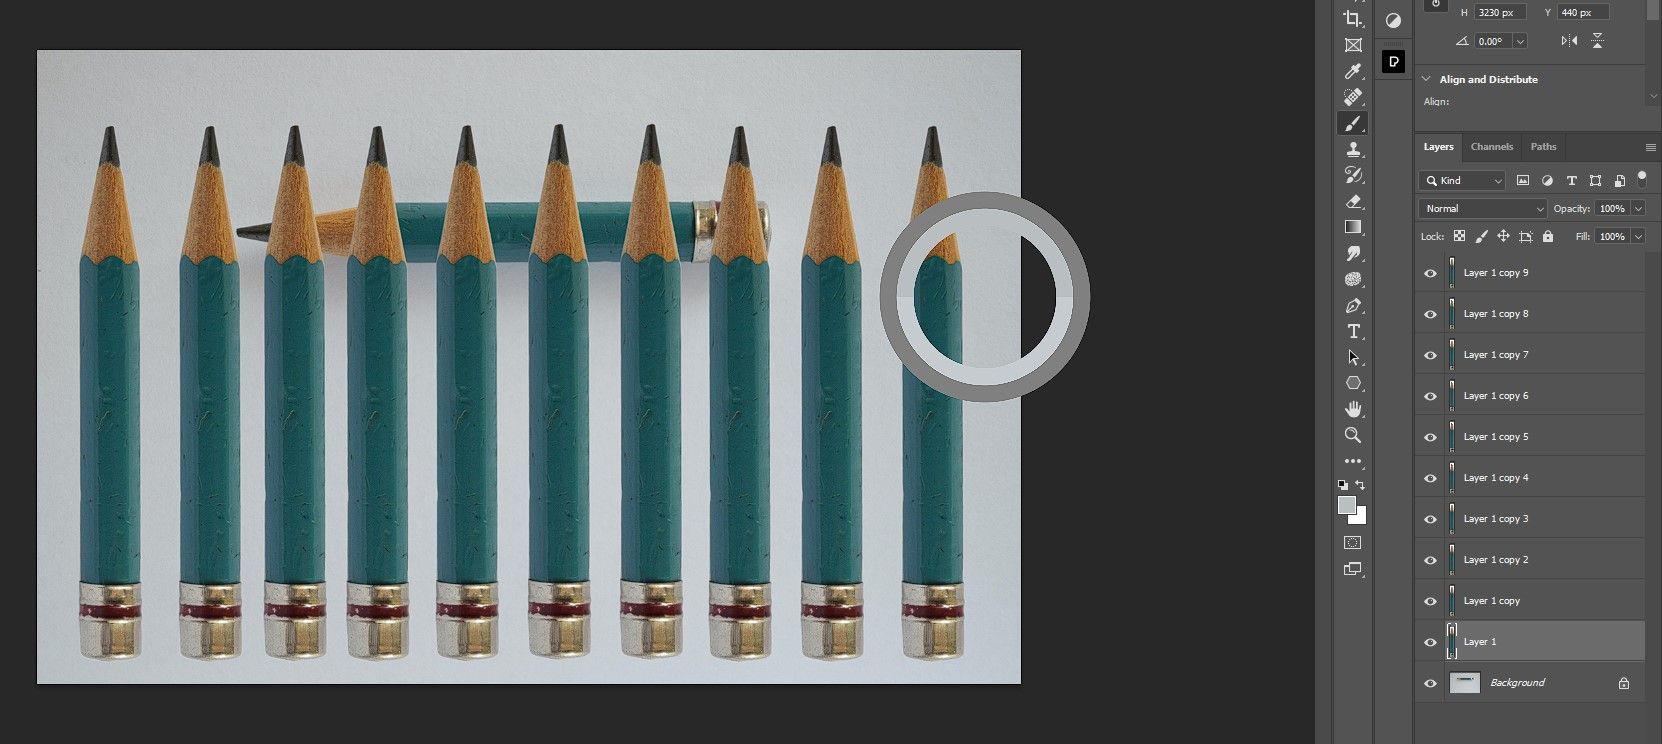
This next step is optional, depending on your image. But in our case, having the original pencil in the background doesn't look right.
Before we remove the pencil, press B for the Brush tool and hold the Alt key to sample the background image color.
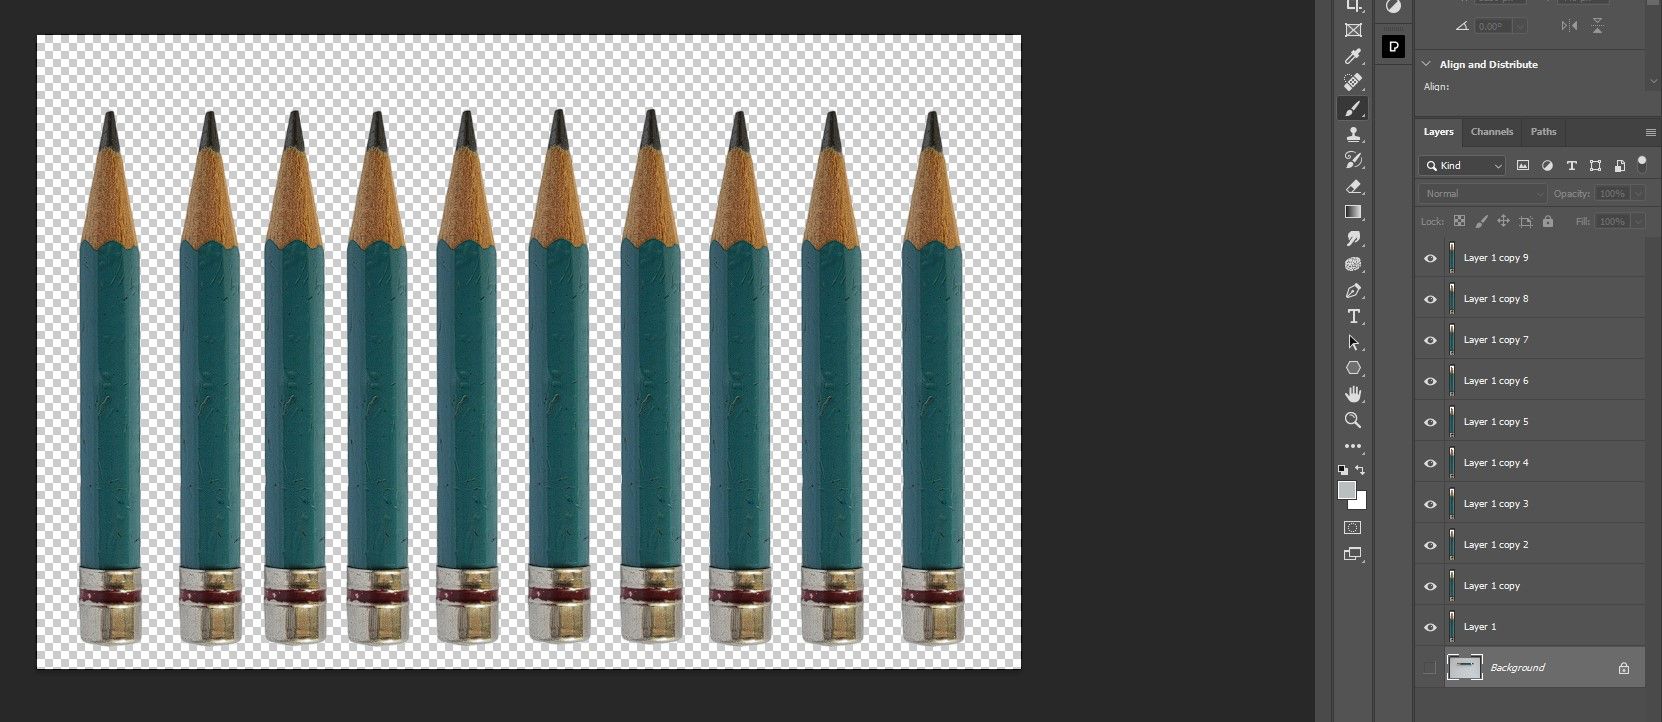
Make the background layer active and check the Layer Visibility icon so that the background completely disappears.
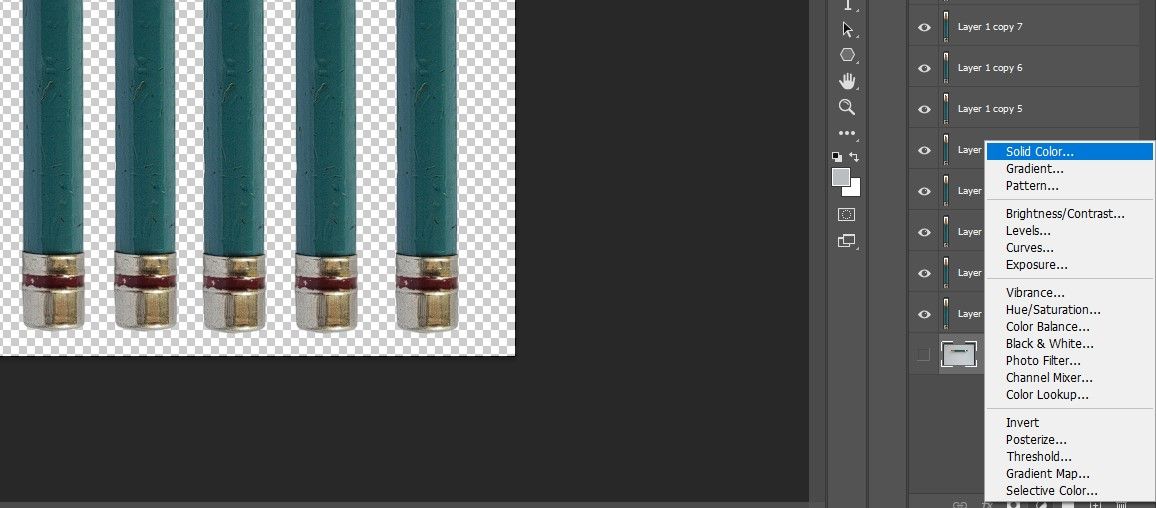
With the background layer still active, create a Solid Color adjustment layer.
What we're left with is a clean background layer of the same color but without the original pencil.
We can then save this image as a JPEG if we wanted to export it.
Make as Many Copies as You Want
In three easy steps, you can select, create, and arrange multiple copies of an object in Photoshop with ease. If you need to create duplicates of an object, try this method and see how it fits into your workflow.


