There are many reasons why you would want to change a certain color or coloring of a photo; to match the theme of your business or to simply give your images a creative touch. You might also want to make adjustments if you didn't get certain aspects right when capturing shots with your camera.
Regardless of your reason, Adobe Photoshop has many useful tools to help you bring your visuals to life. And in this guide, you will how to change the color of an image in Photoshop using several features.
1. Hue/Saturation
The Hue/Saturation tool is almost identical to what you'll see in other platforms like Adobe Lightroom. It's the easiest place to start when changing the color of an image in Photoshop.
In addition to hue and saturation, you can also use a slider called Lightness. This effectively adds more of a matte effect to your images. Here's how to use Hue/Saturation in Photoshop:
-
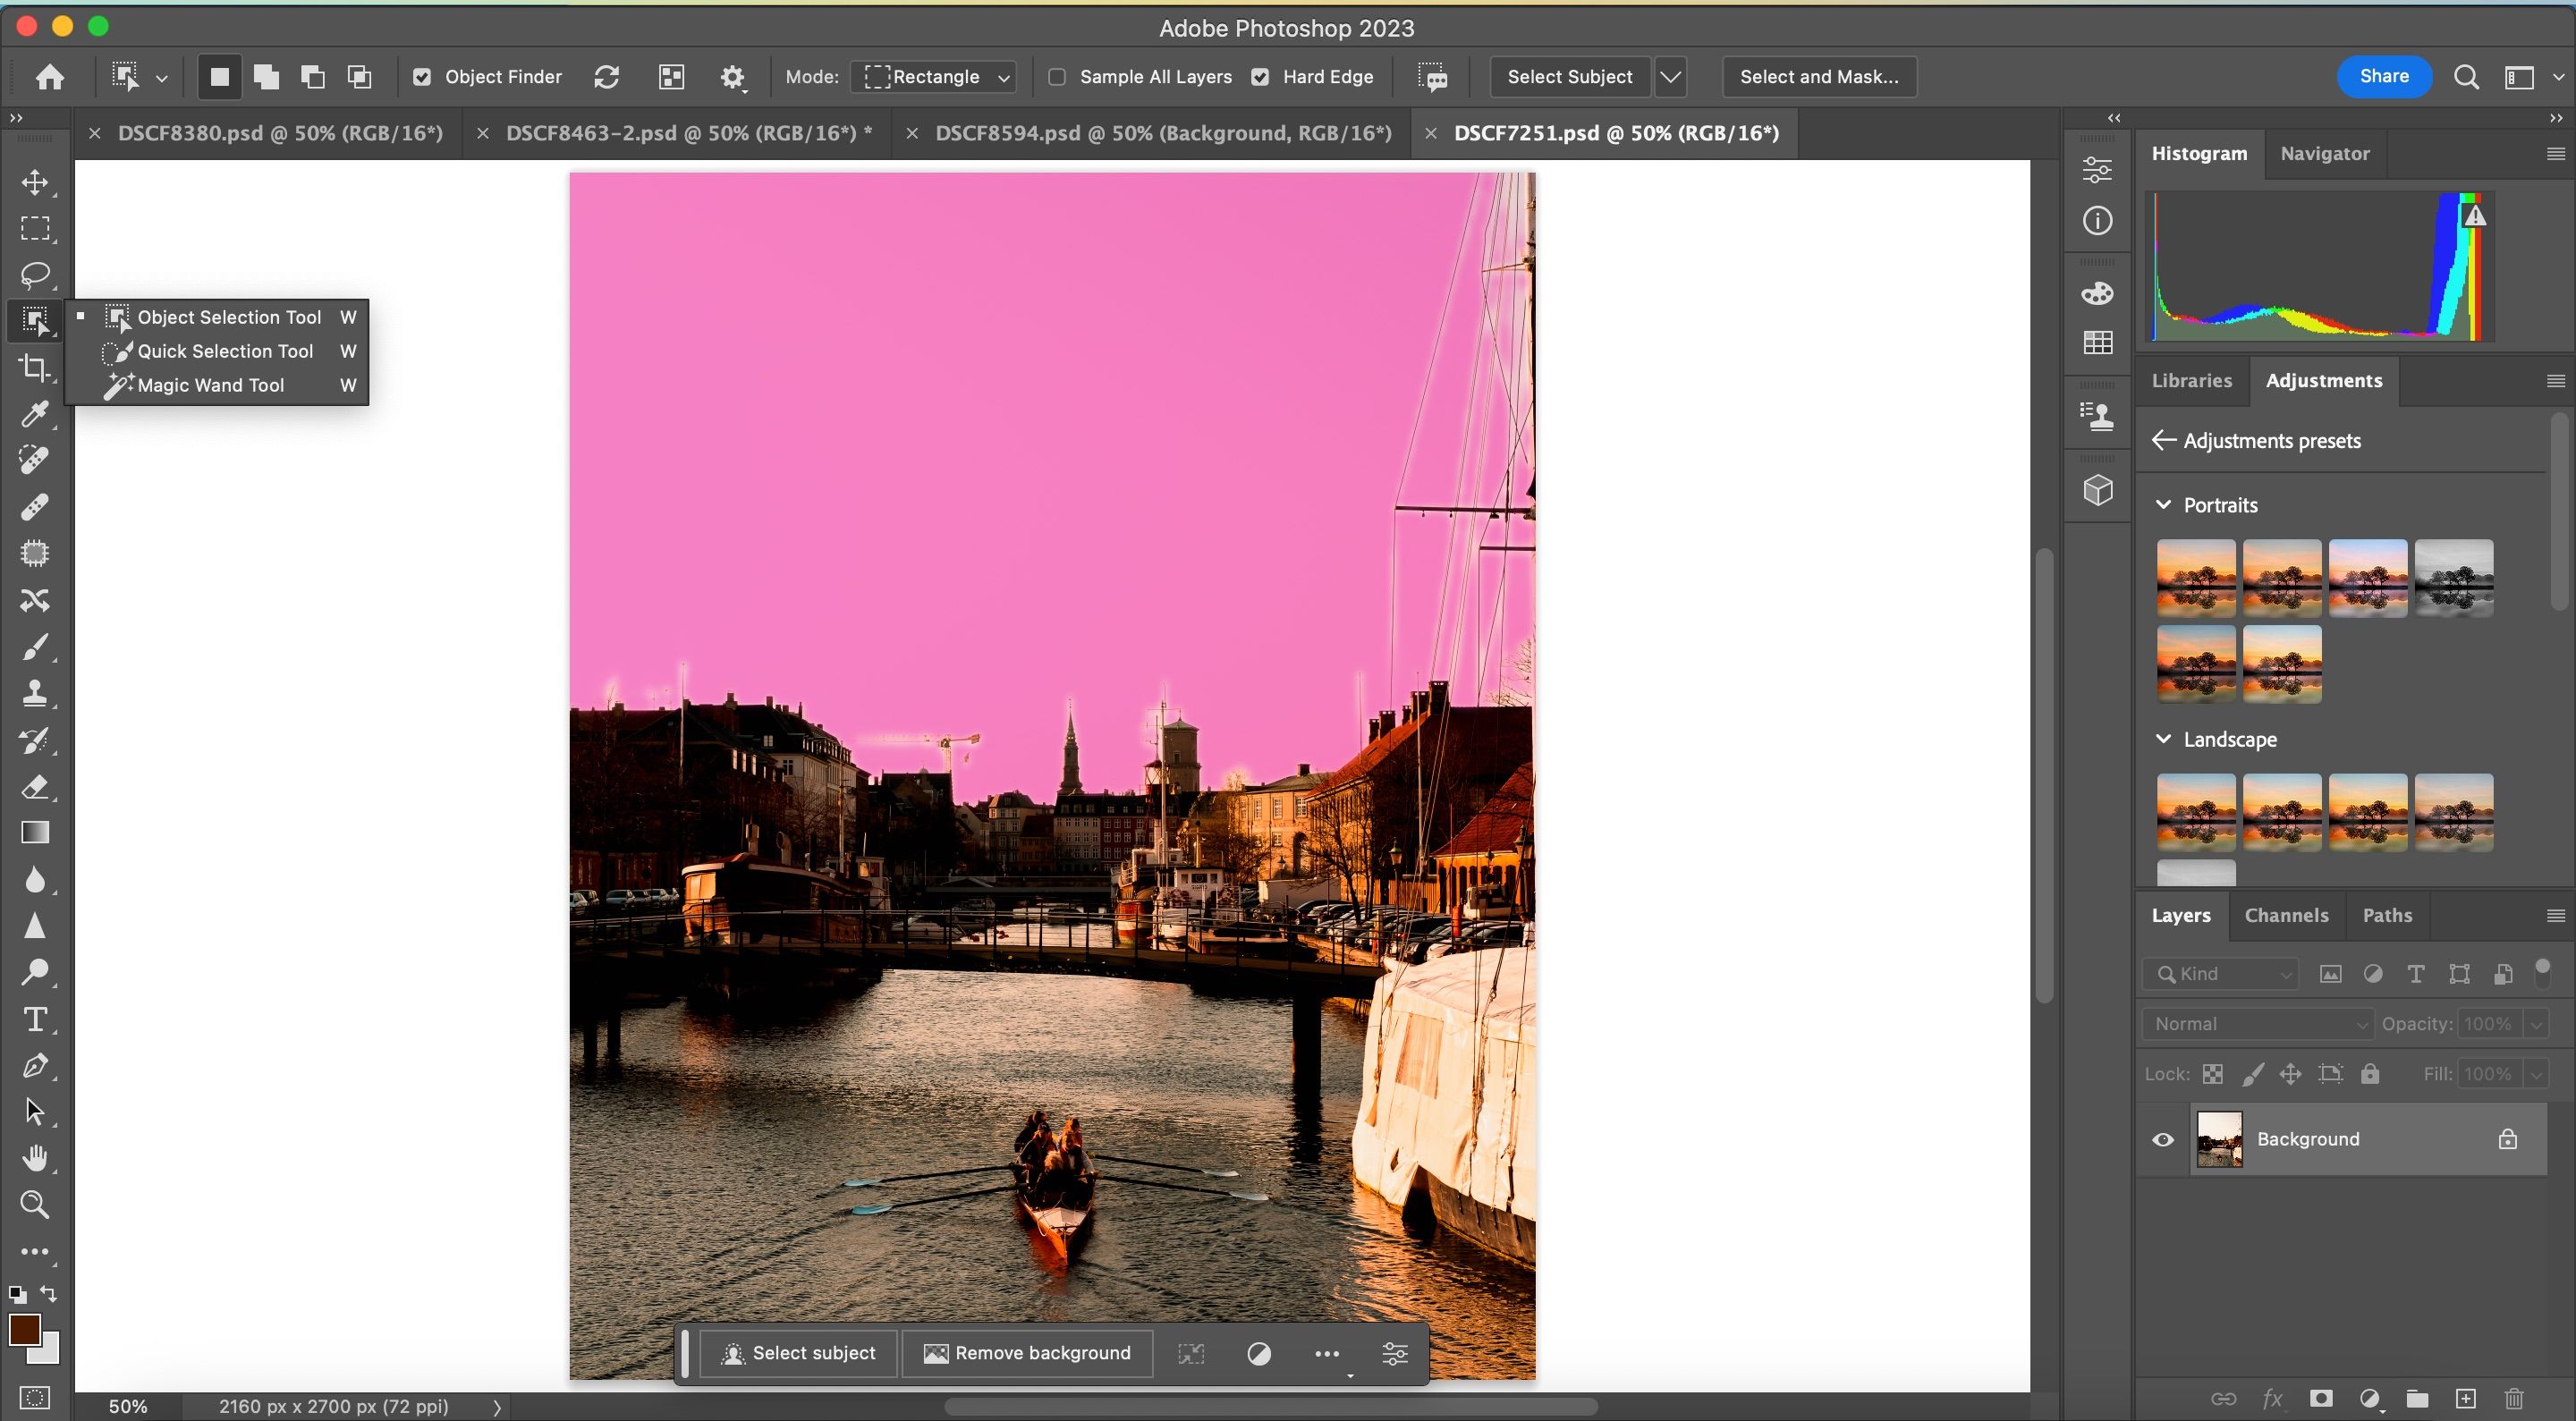
First, you need to select the area or object in the photo that you want to change the color of. There are different selection tools in Adobe Photoshop, but usually, the Quick Selection will work like a charm.
-
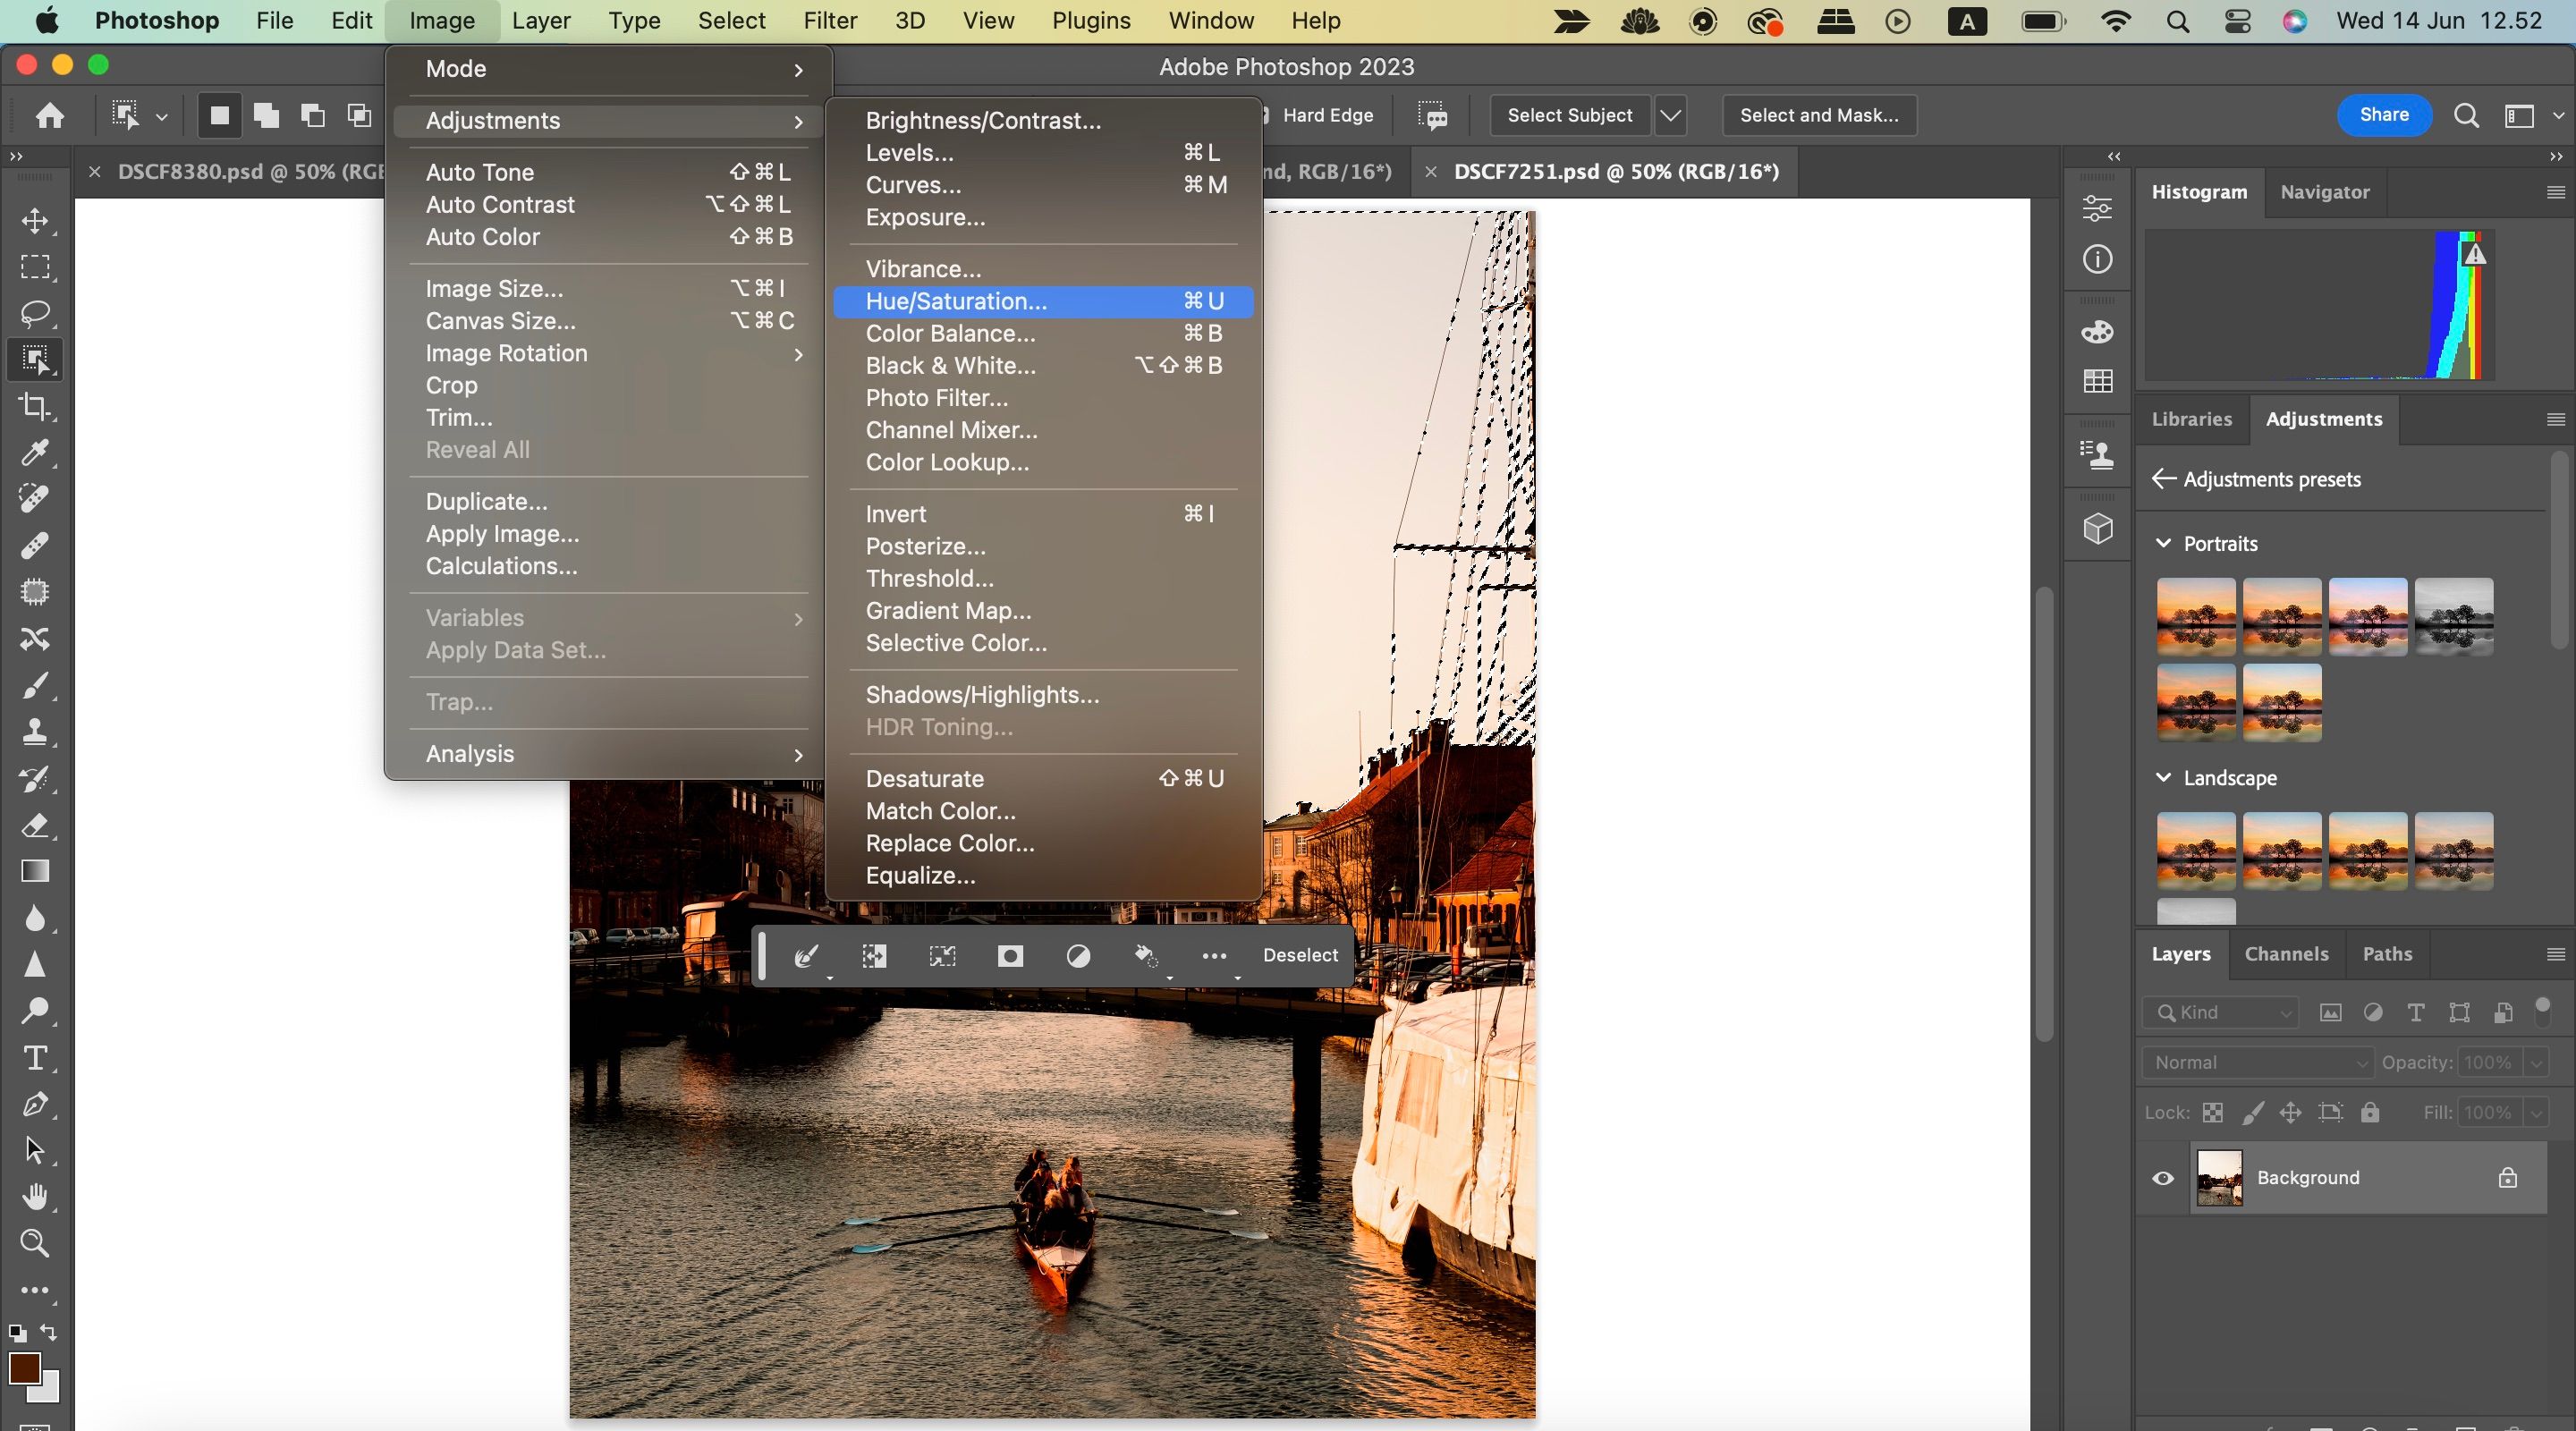
Once you select the area, go to Image > Adjustments > Hue/Saturation (or press Ctrl + U on your keyboard).
-
A window will pop up, and there you can play around with the settings. Hue changes the color of the selection, Saturation can make the selection go from black-and-white to saturated, and Lightness can make the selection lighter or darker.
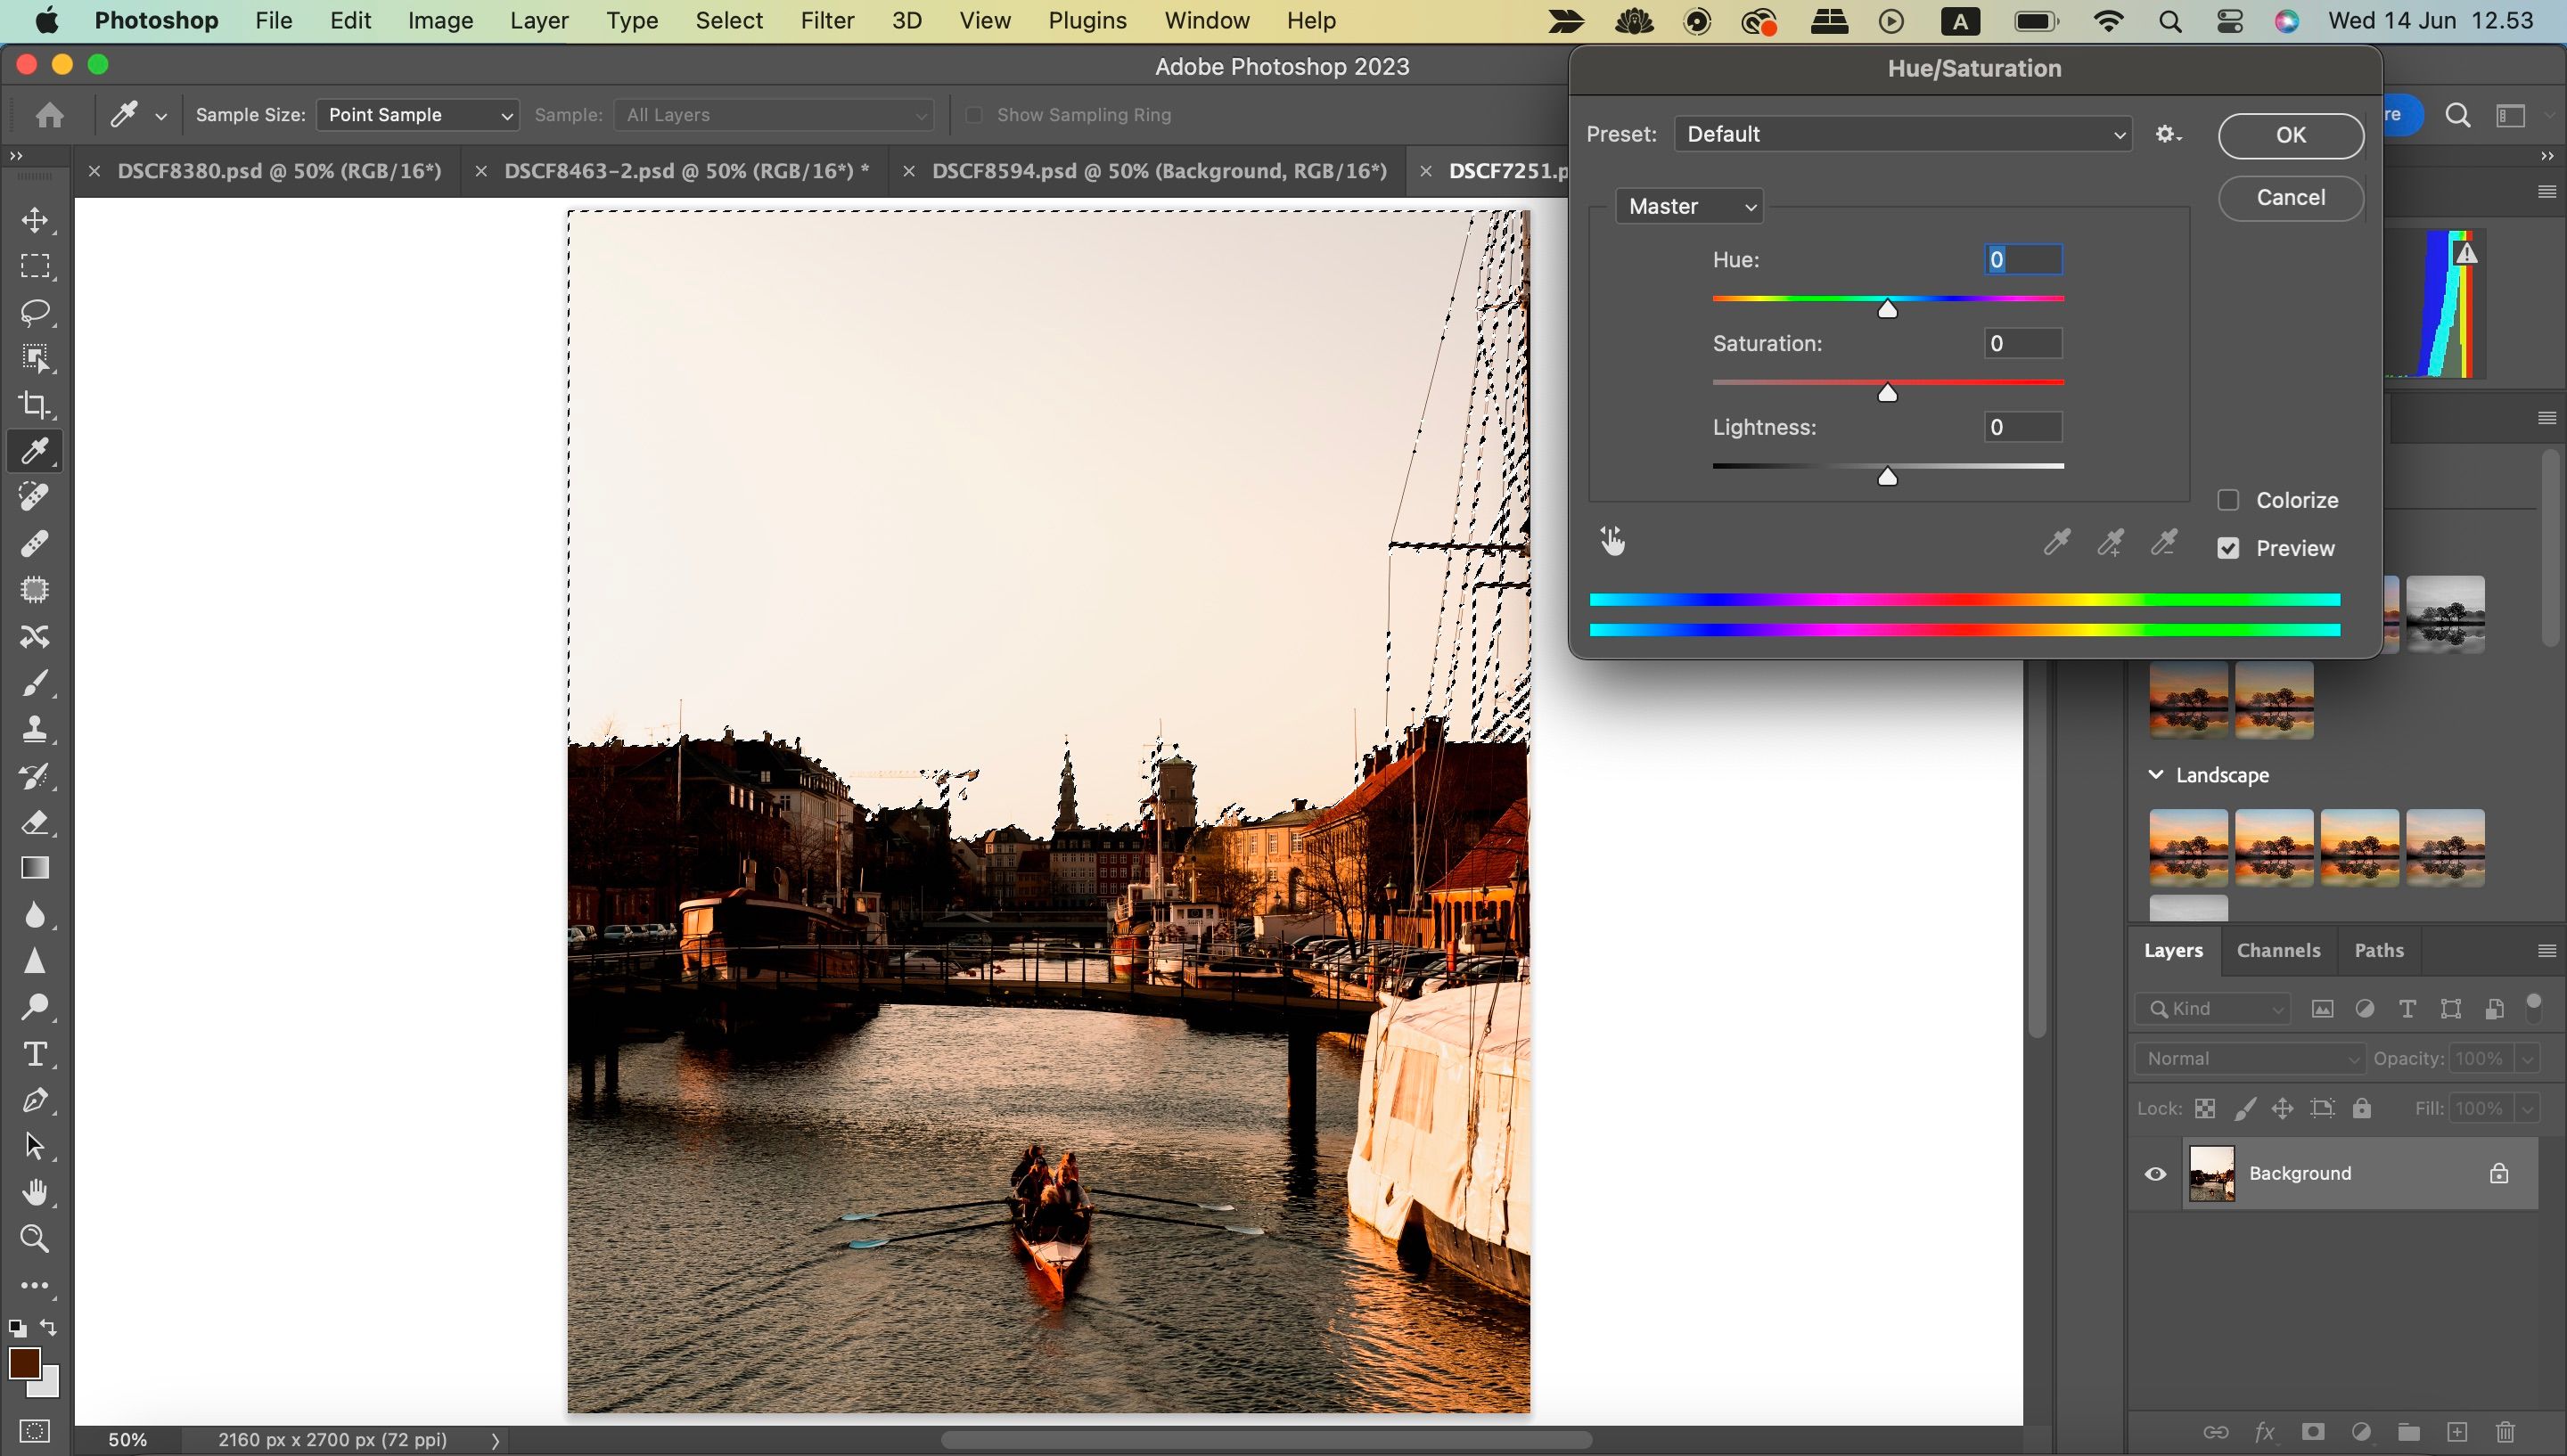
- When you are happy with your results, click on OK.


You can also edit the hue and saturation for your entire image by skipping the object selection process and jumping straight to Image > Adjustments > Hue/Saturation.
2. Replace Color Tool
When learning how to change an image color in Photoshop, the Replace Color tool is another feature you should consider using. Below, you'll find the steps you need to use this option to its maximum effect.
-
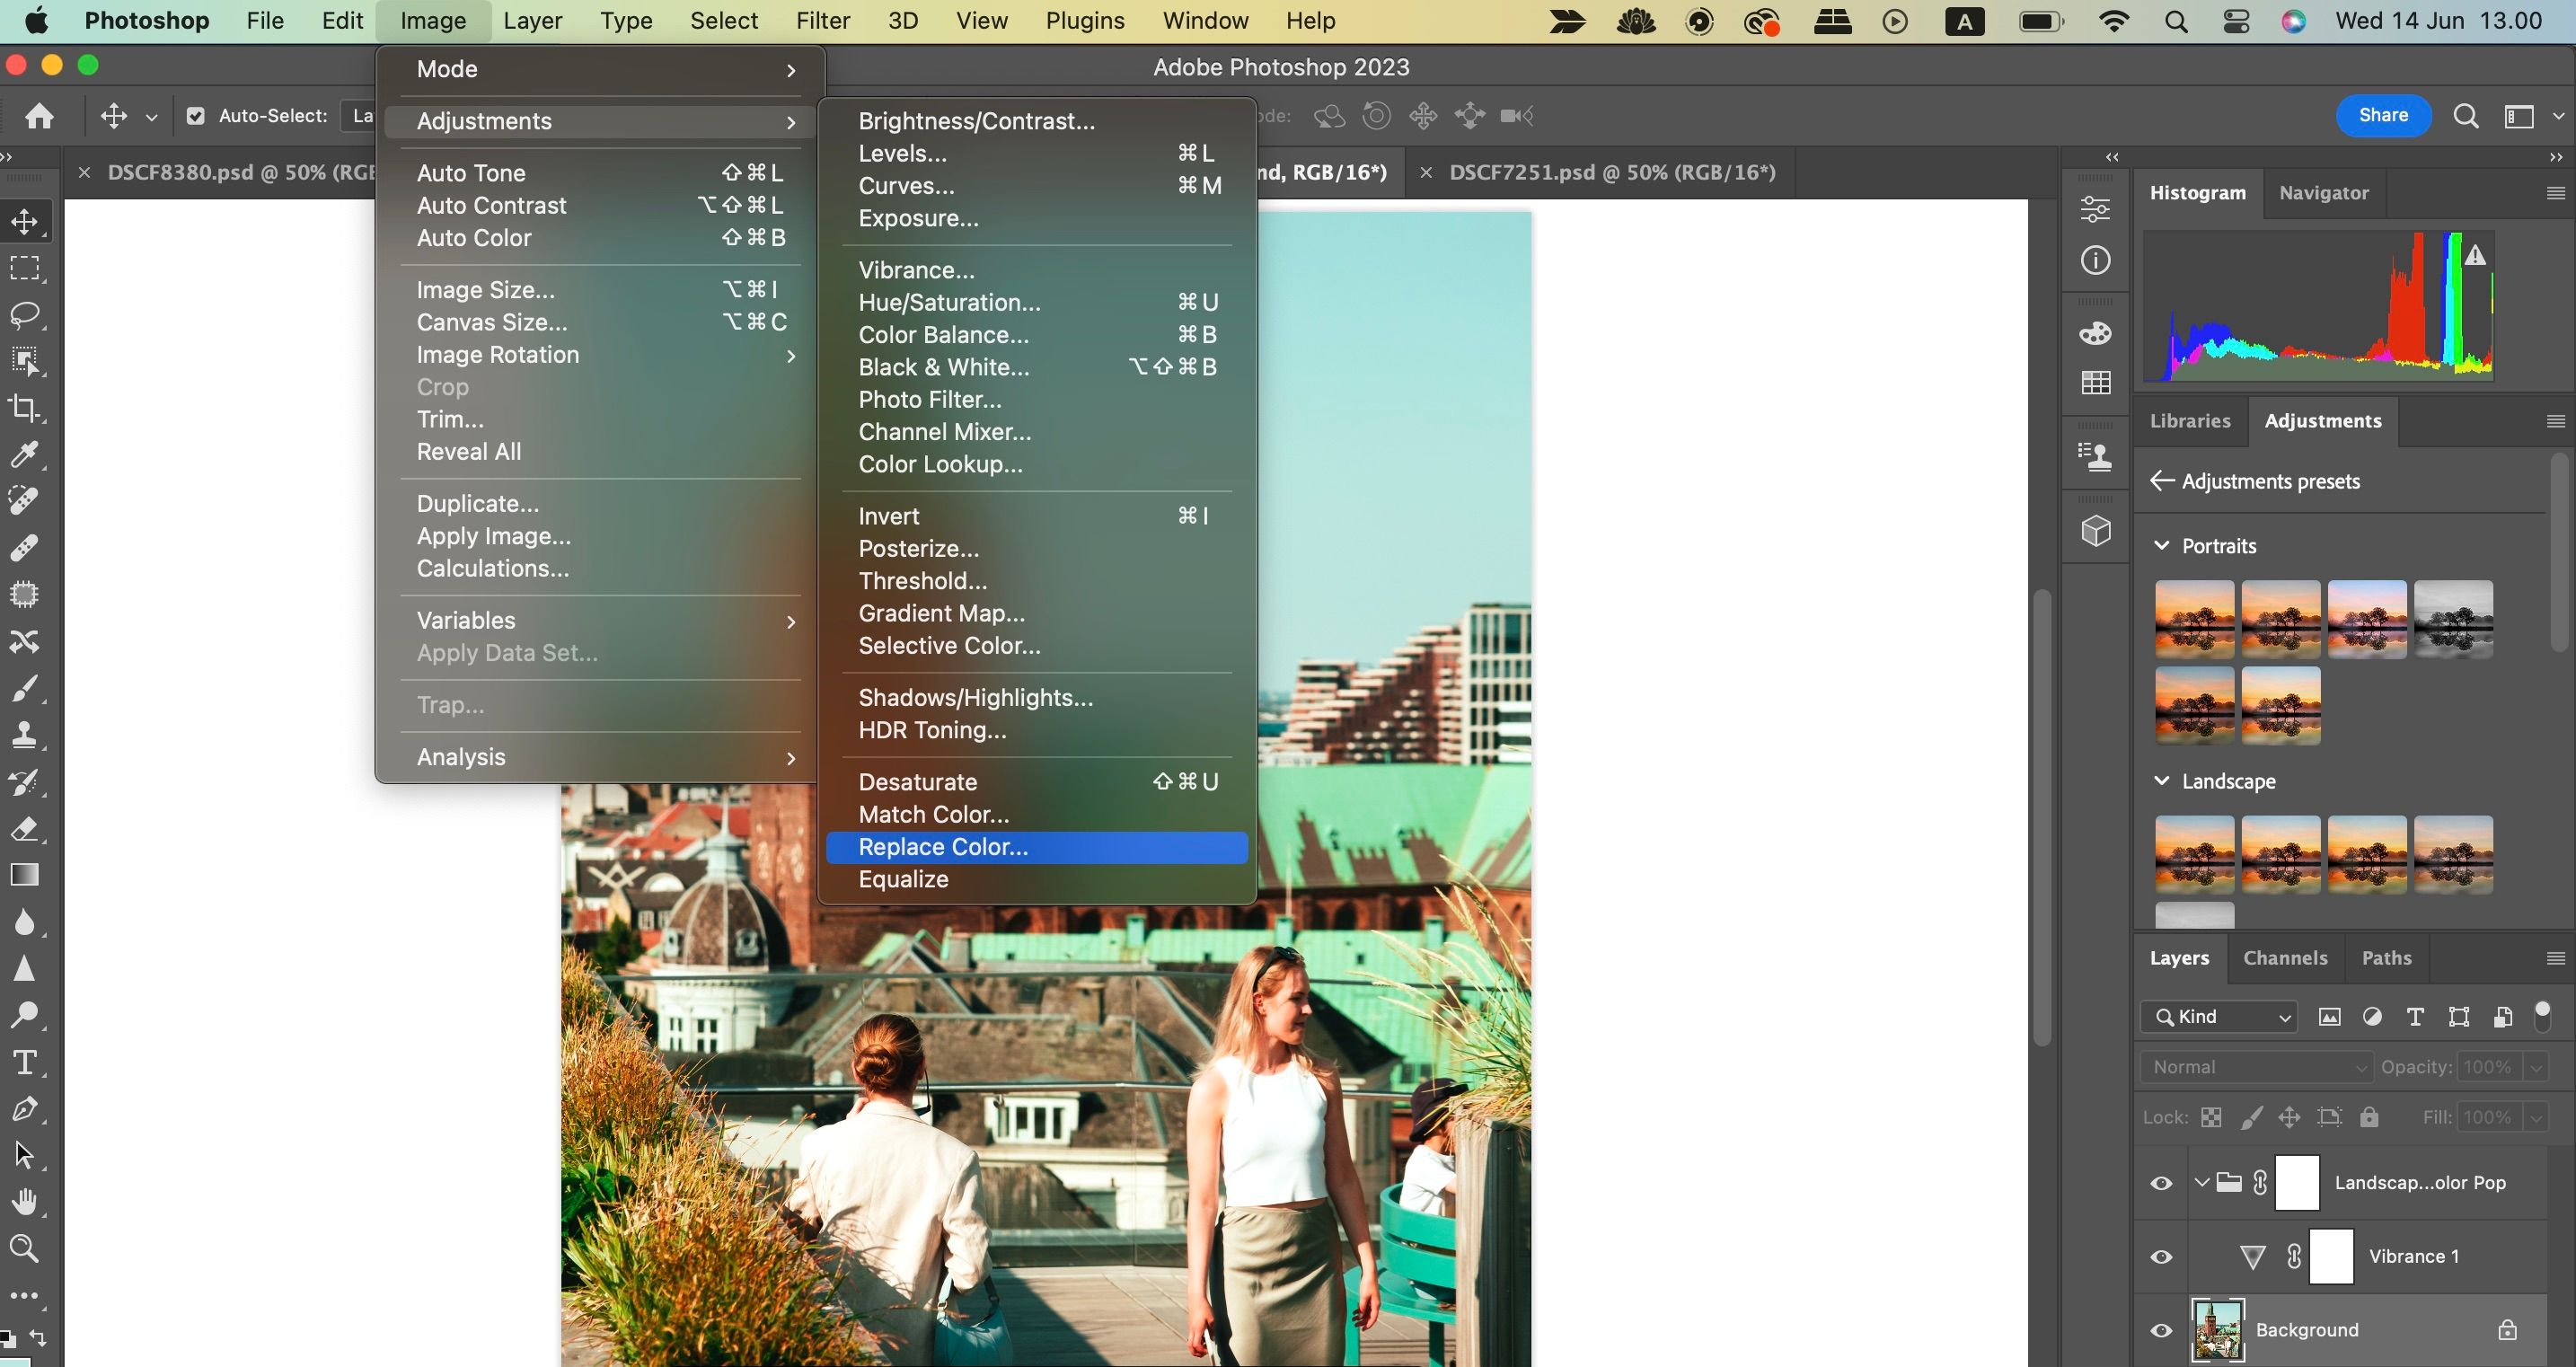
After opening your desired photo in Photoshop, go to Image > Adjustments > Replace Color.
- Use the eyedropper tool to select the color you want to change. To add areas, click on the Add to Sample tool or Shift + left-click on the areas. To remove areas, use the Subtract From Sample tool or Alt + left-click on the areas.
- Make sure to have Localized Color Clusters checked, as that gives you more accurate masks.
-
You should also have the Preview option checked because that will let you see all the changes as you make them.
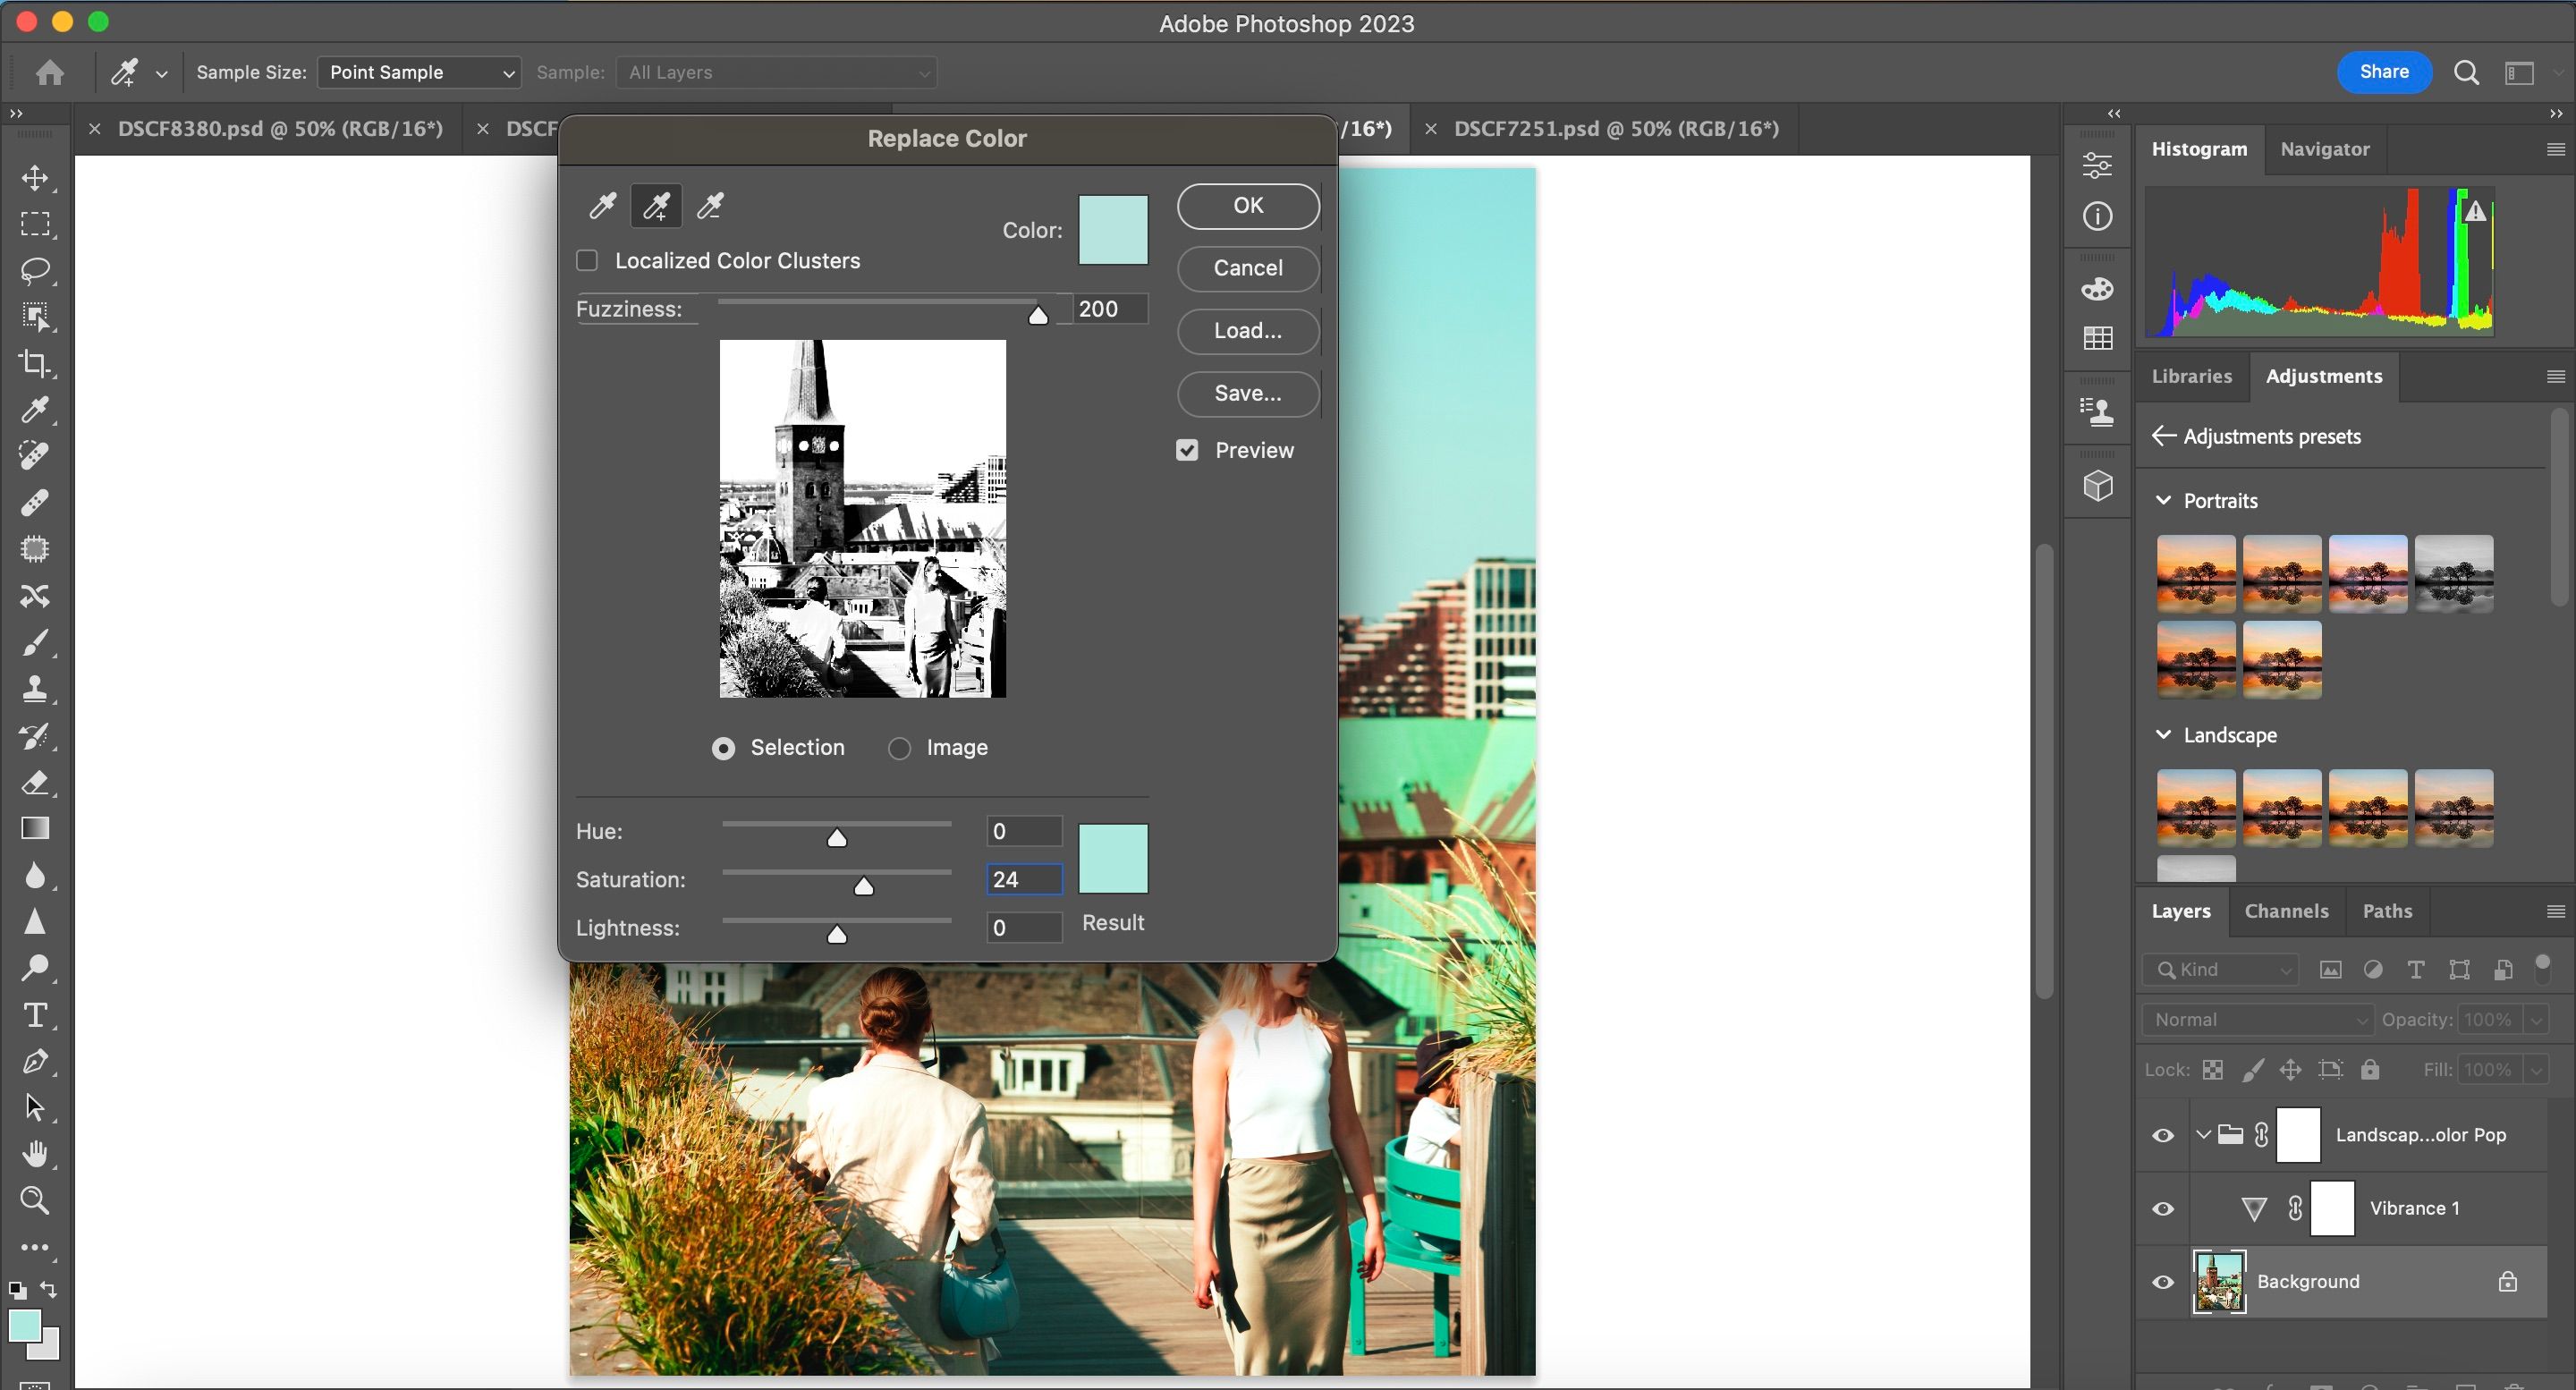
- Change the Hue, Saturation, and Lightness options until you are happy with the results.
- When you are happy with the outcome, click on OK.


It's quite easy to go overboard with the Replace Color tool, so if you're a beginner, it's worth using the feature more subtly until you feel comfortable adding your own twist.
If you want to delete the color from some areas, you can use the History Brush tool. Go to the toolbar on the left-hand side and choose this option.

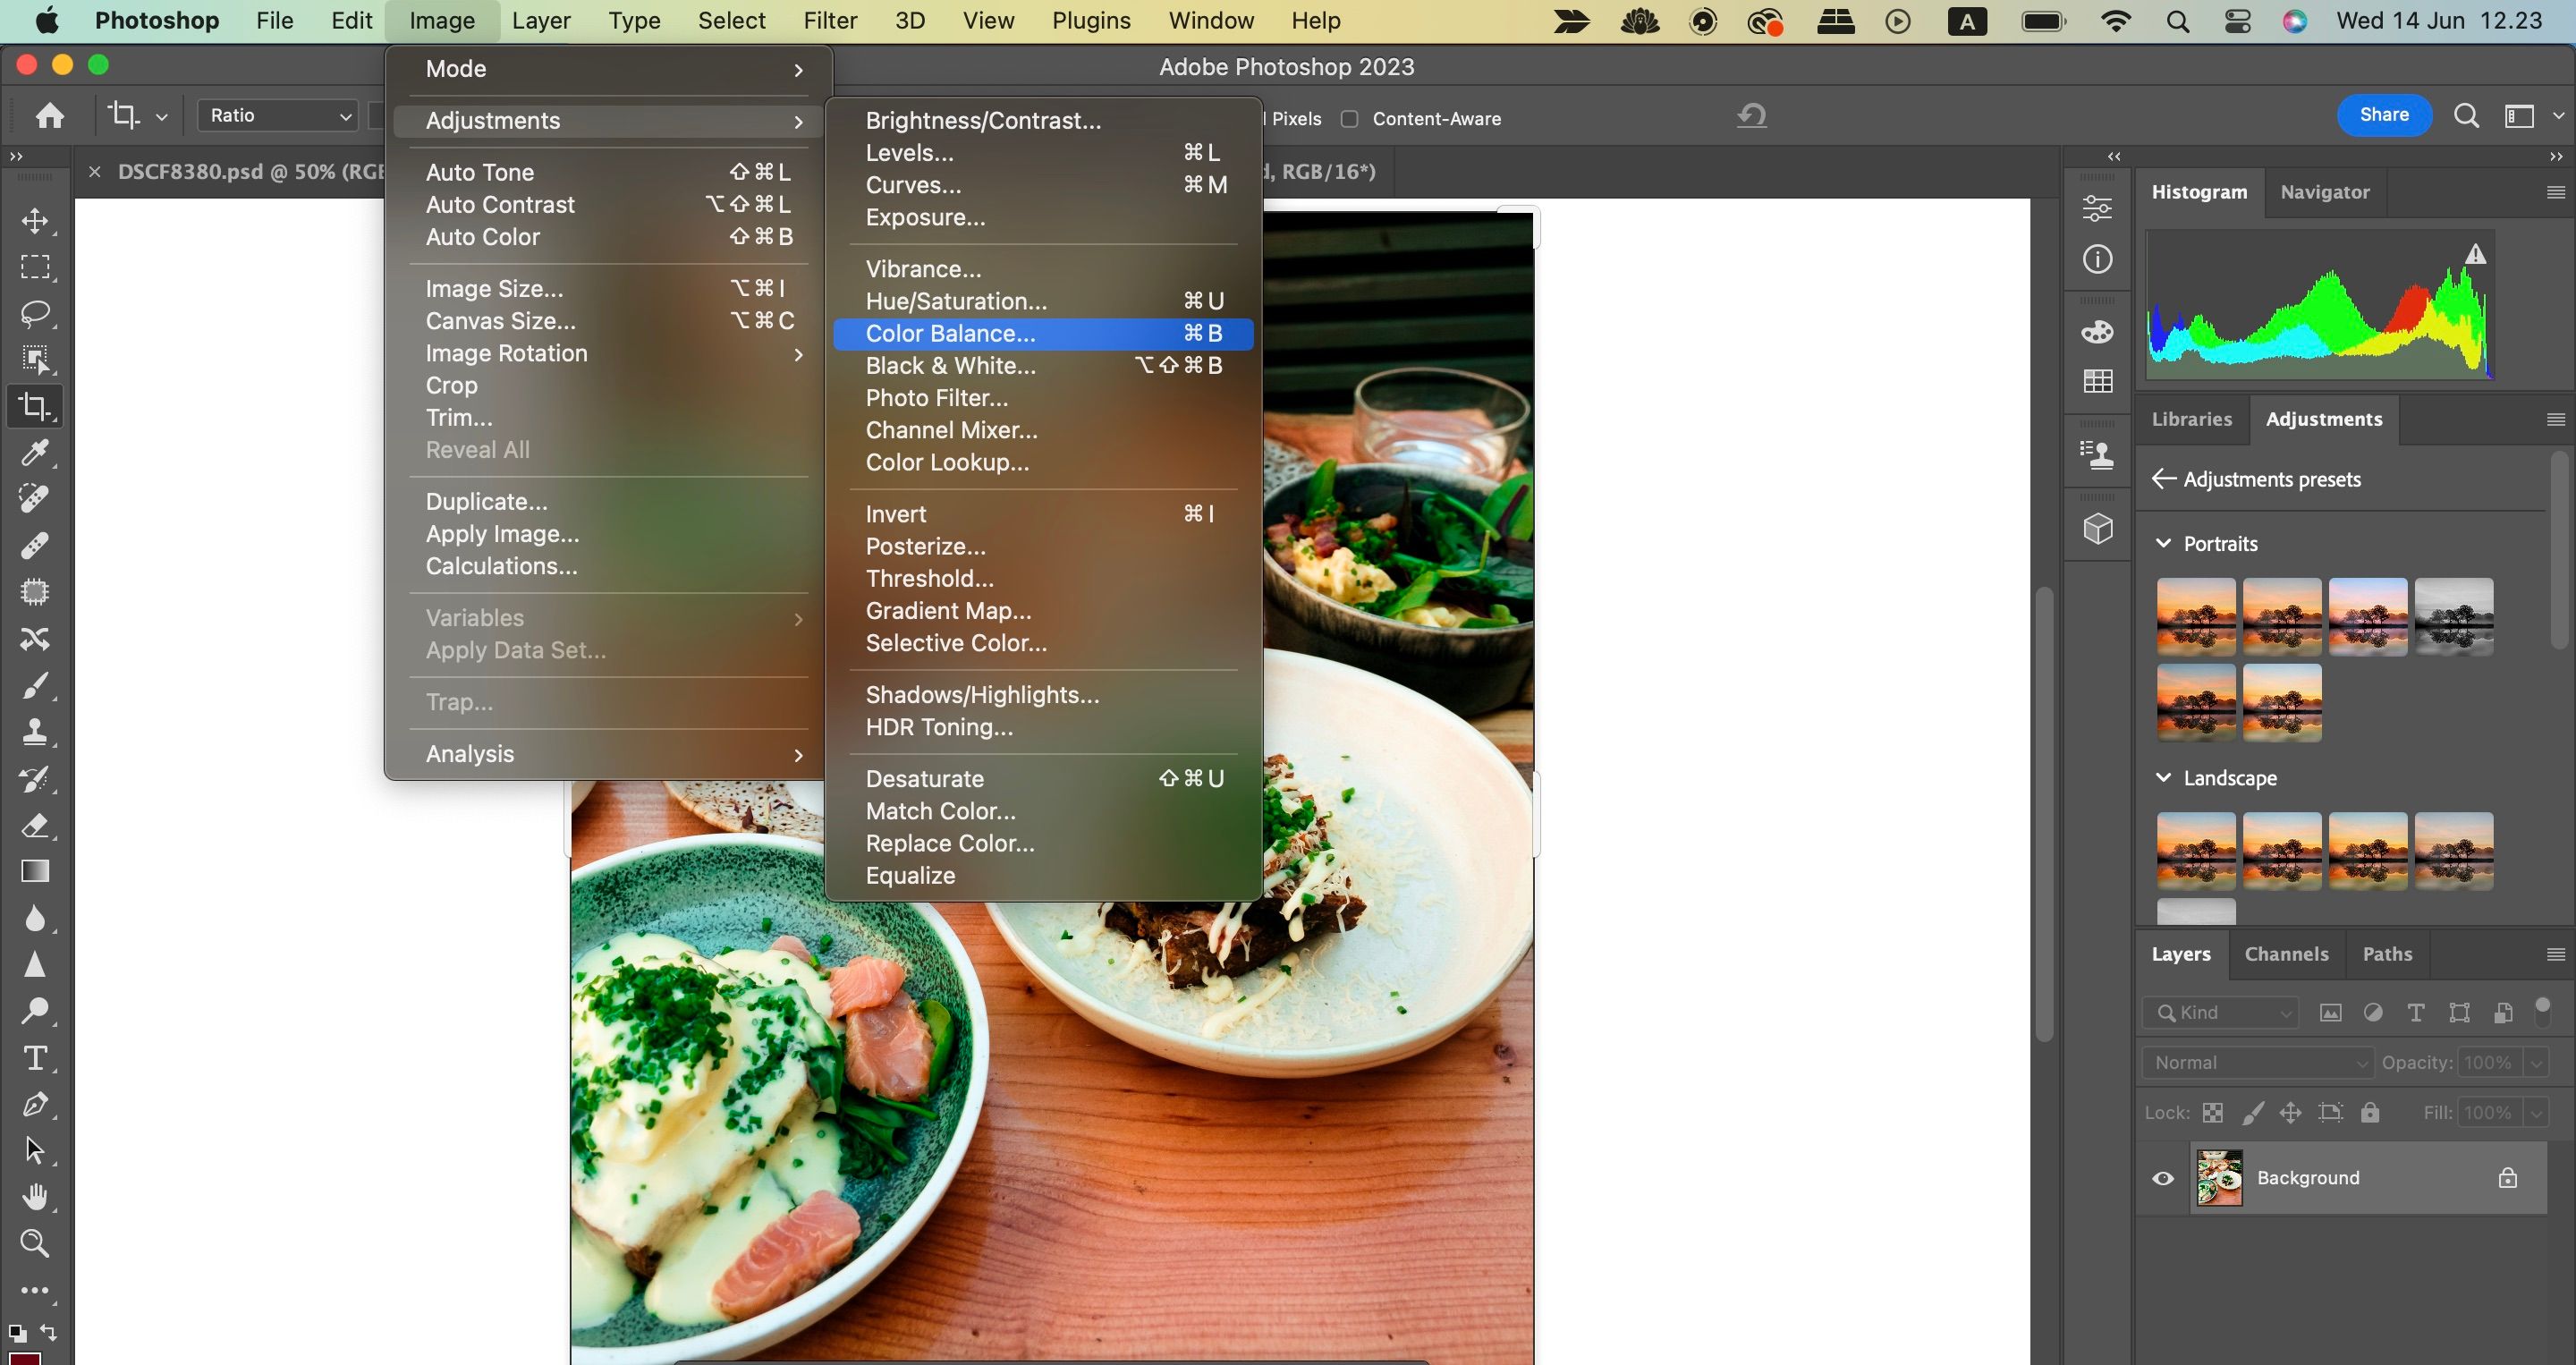
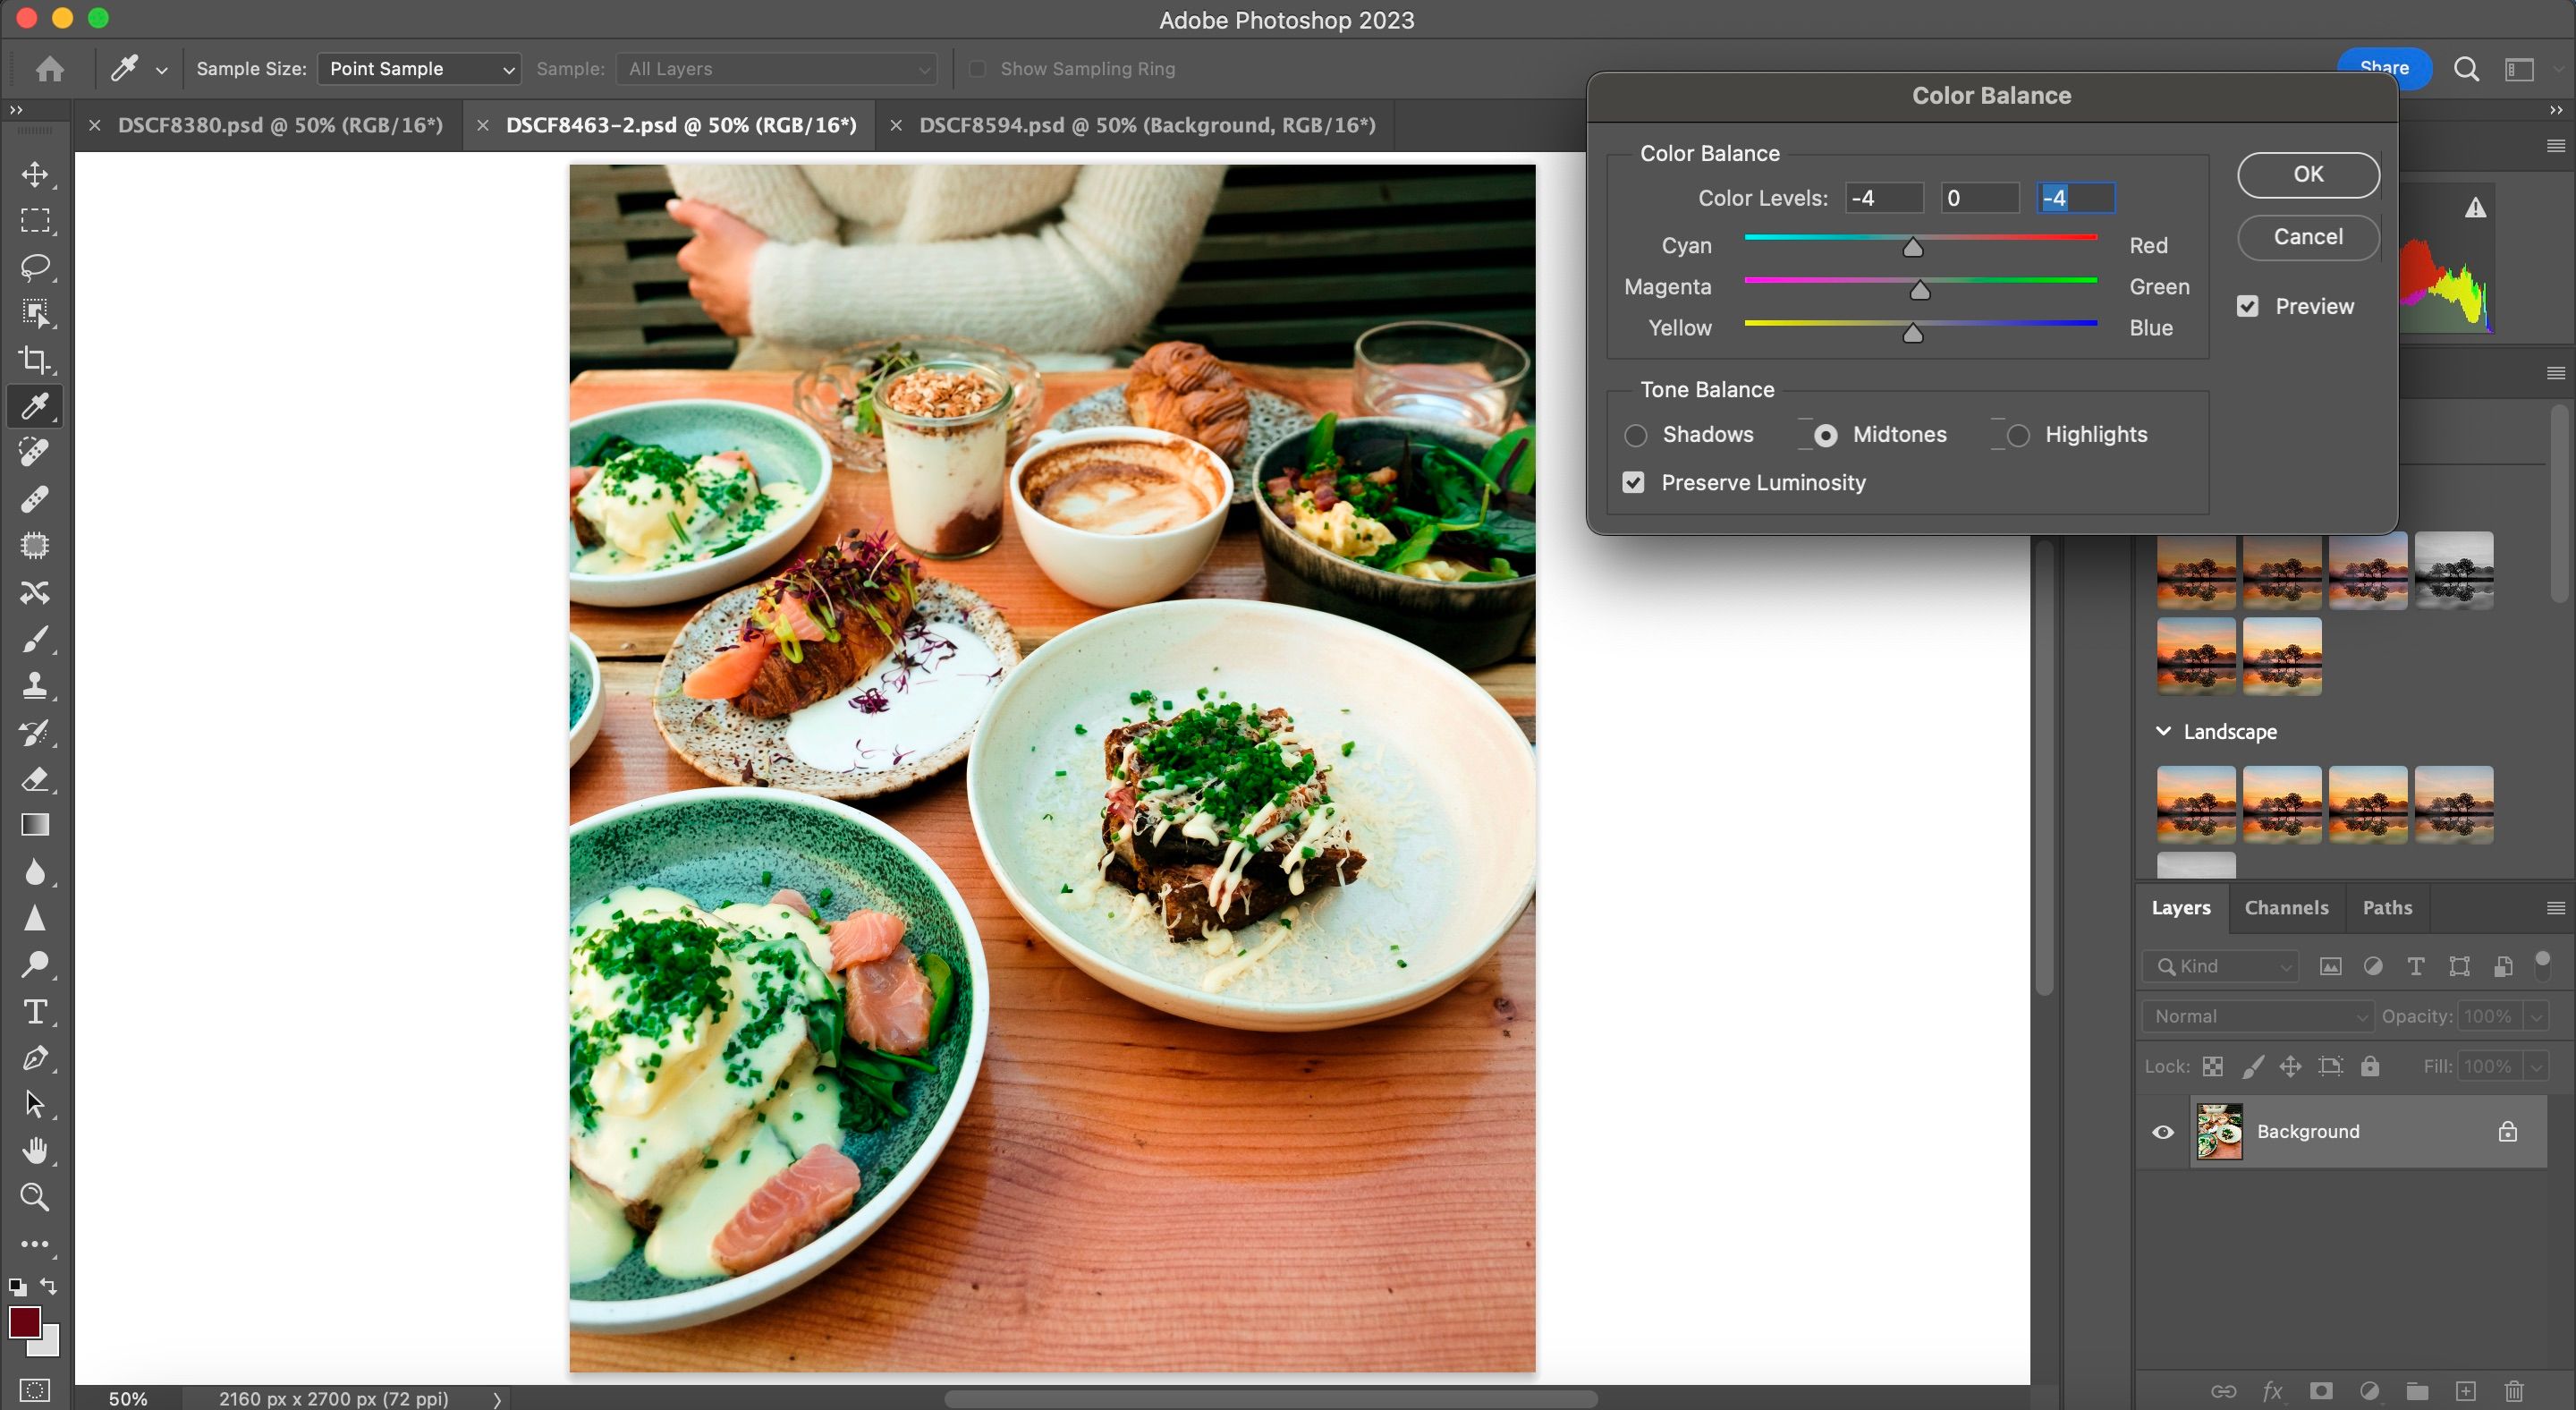
3. Color Balance
Sometimes, you might notice that the colors don't look quite right in your pictures. Maybe you didn't set the white balance in your camera correctly, or perhaps your edits in Lightroom—before importing your image to Photoshop—didn't change the parts of your picture that you really wanted to. Thankfully, you can use the Color Balance tool in Photoshop to make further adjustments.
Color Balance lets you adjust the midtones, highlights, and shadows. You'll get three identical sliders in each section:
- Cyan - Red
- Magenta - Green
- Yellow - Blue
Using the Color Balance tool is quite simple, and you can follow these steps to achieve your desired result:
-
Go to Image > Adjustments at the top of your screen.
-
Select Color Balance from the dropdown menu when it appears.
-
Move the sliders however you think is necessary. When you've finished, click on the OK button.


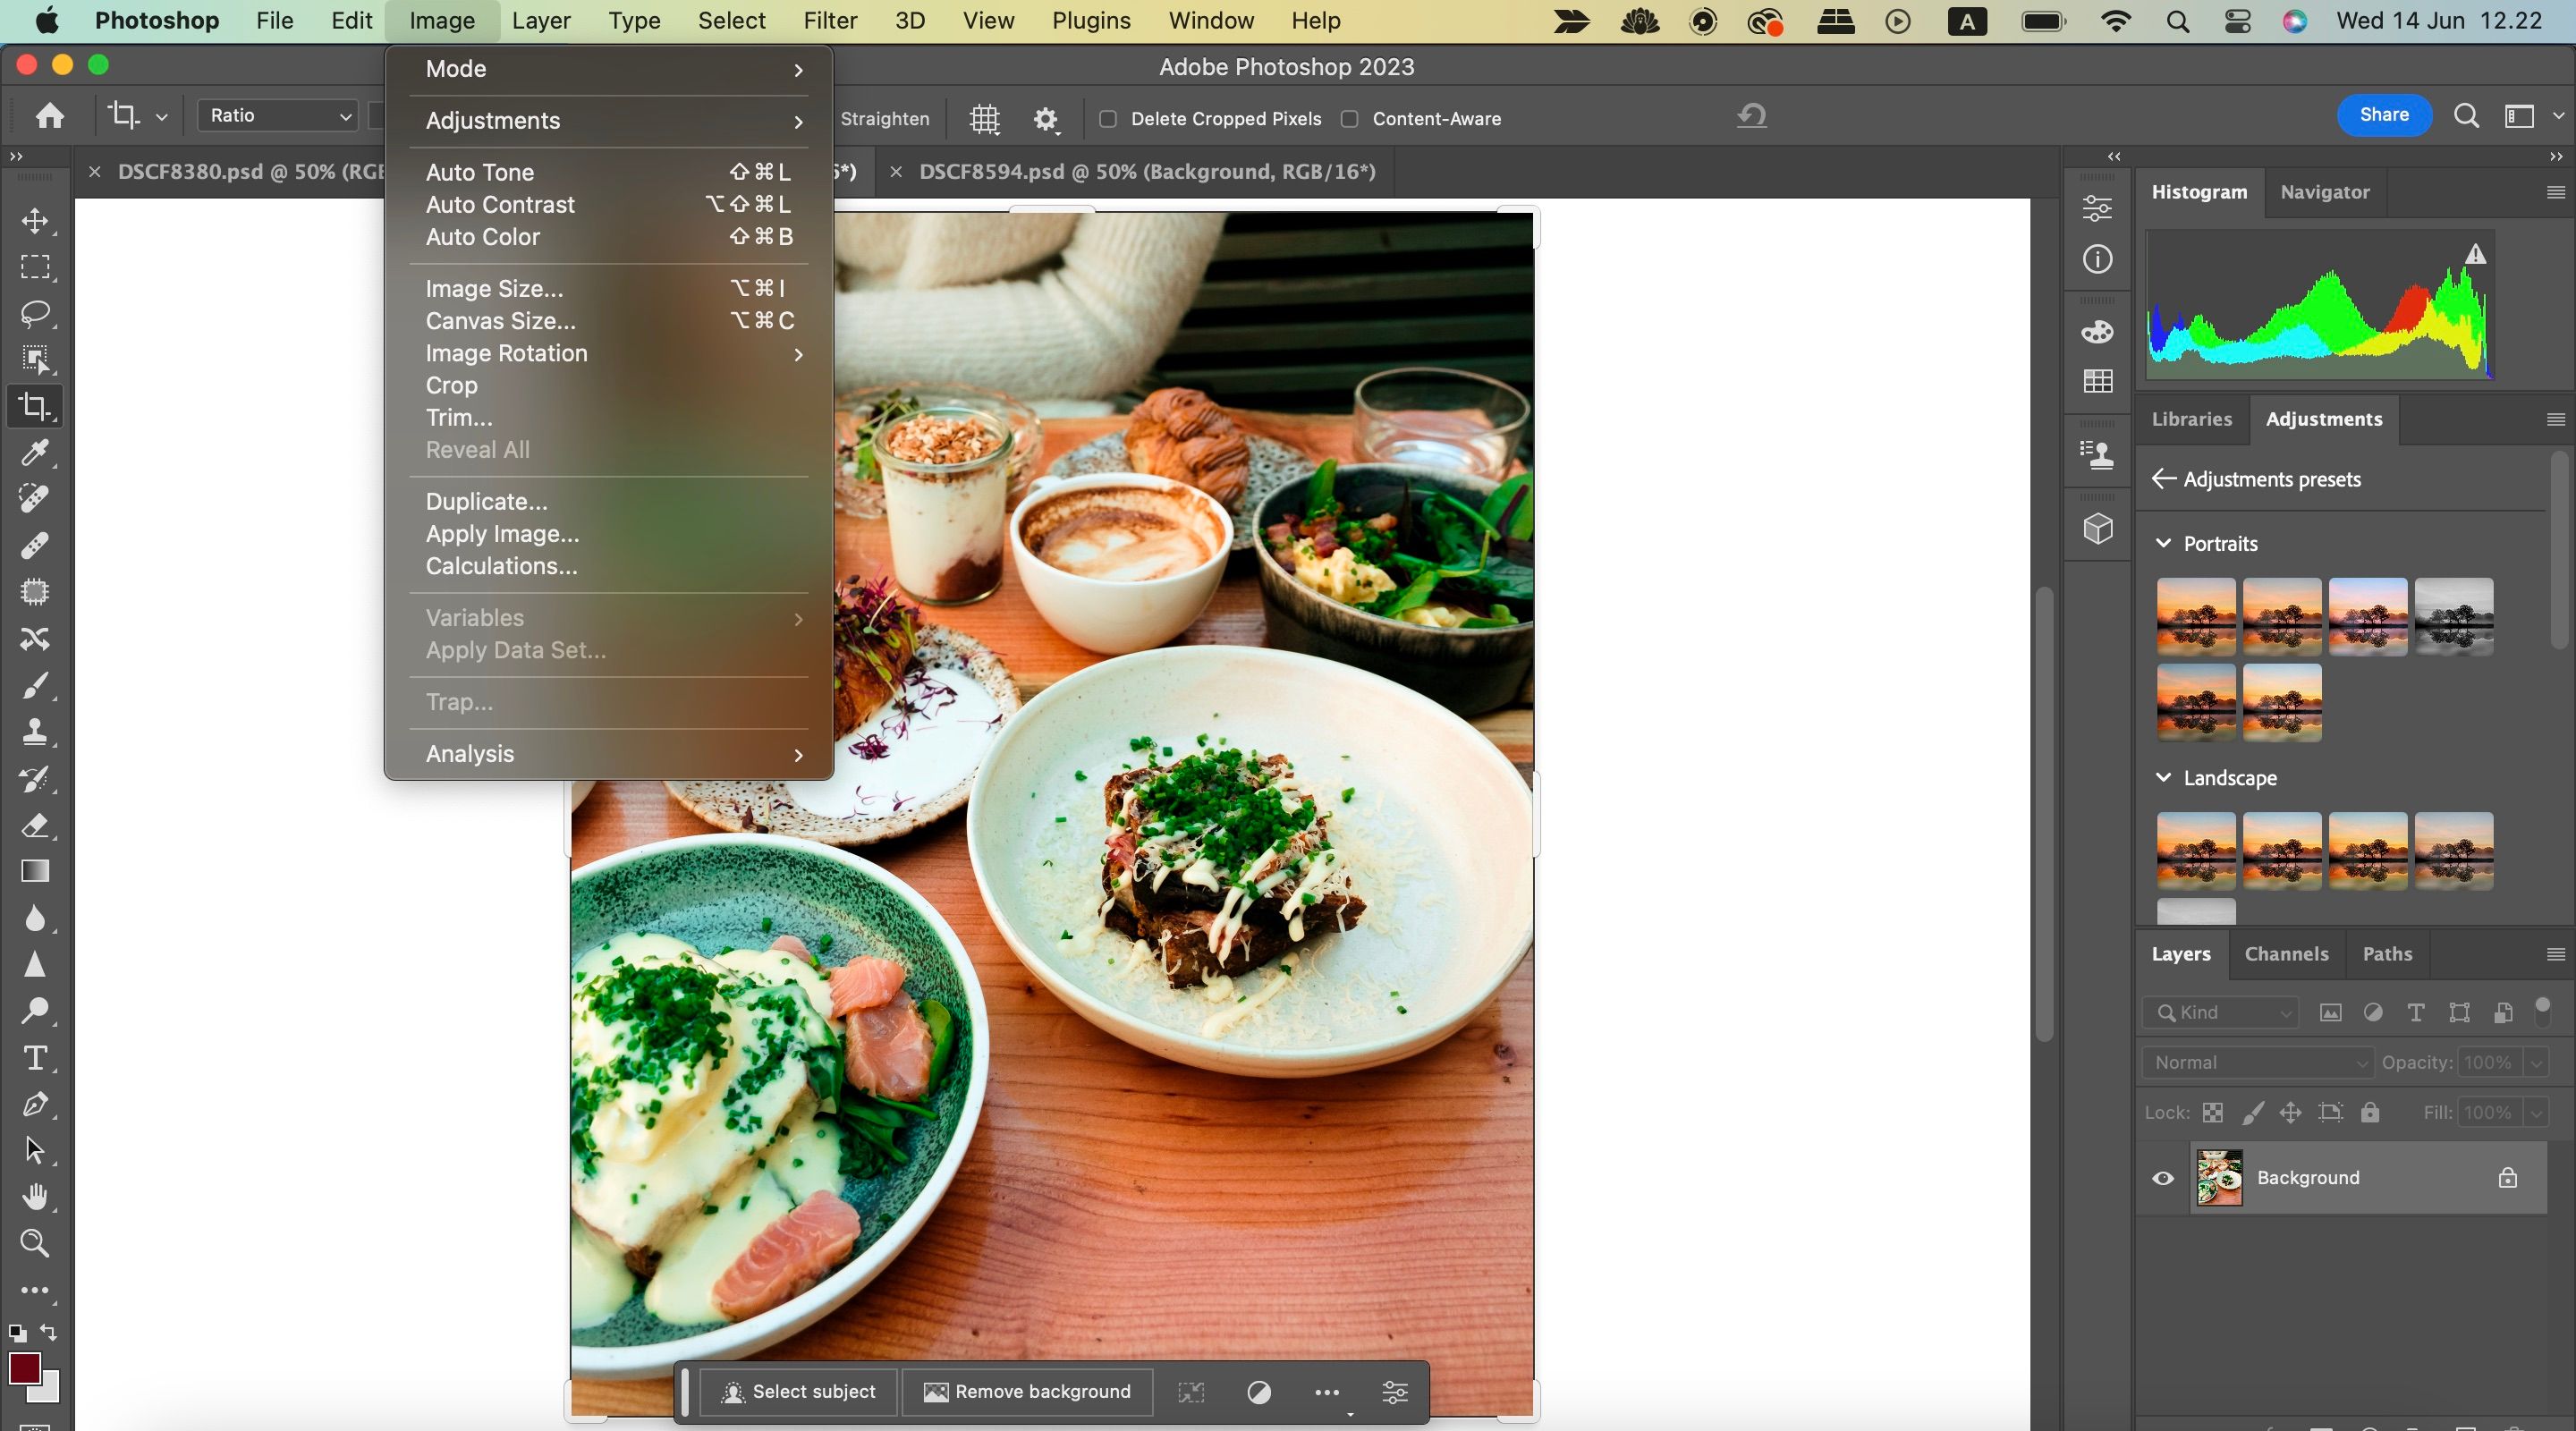
4. Auto Color
Sometimes, you might not want to do too much manual work with adjusting the colors in your Photoshop images. And in other instances, you may feel like your pictures don't require a huge amount of work. Either way, you can try using the Auto Color tab in Photoshop.
The Auto Color feature will automatically adjust how your photo looks based on what Photoshop thinks is right. Unlike Color Balance, it will adjust the colors in all areas of your picture at once. To use the tool, go to Image > Auto Color; your changes will take immediate effect.

Note, however, that Auto Color will sometimes not show the results you want. You can try using it with Auto Tone (Image > Auto Tone) as a starting point, but in other cases, you may need to make manual adjustments to fit your style. Consider checking out these top tools you need for editing colors in Photoshop.
5. Calibration
Photoshop has an app called Camera Raw that offers several handy color-editing tools, and Calibration is one of the best. You can adjust the hue and saturation in your red, blue, and green primaries—and each will transform how your image looks. The feature is especially useful if you feel like your picture's colors are somewhat flat.
Here's how to use the Camera Raw Calibration tool:
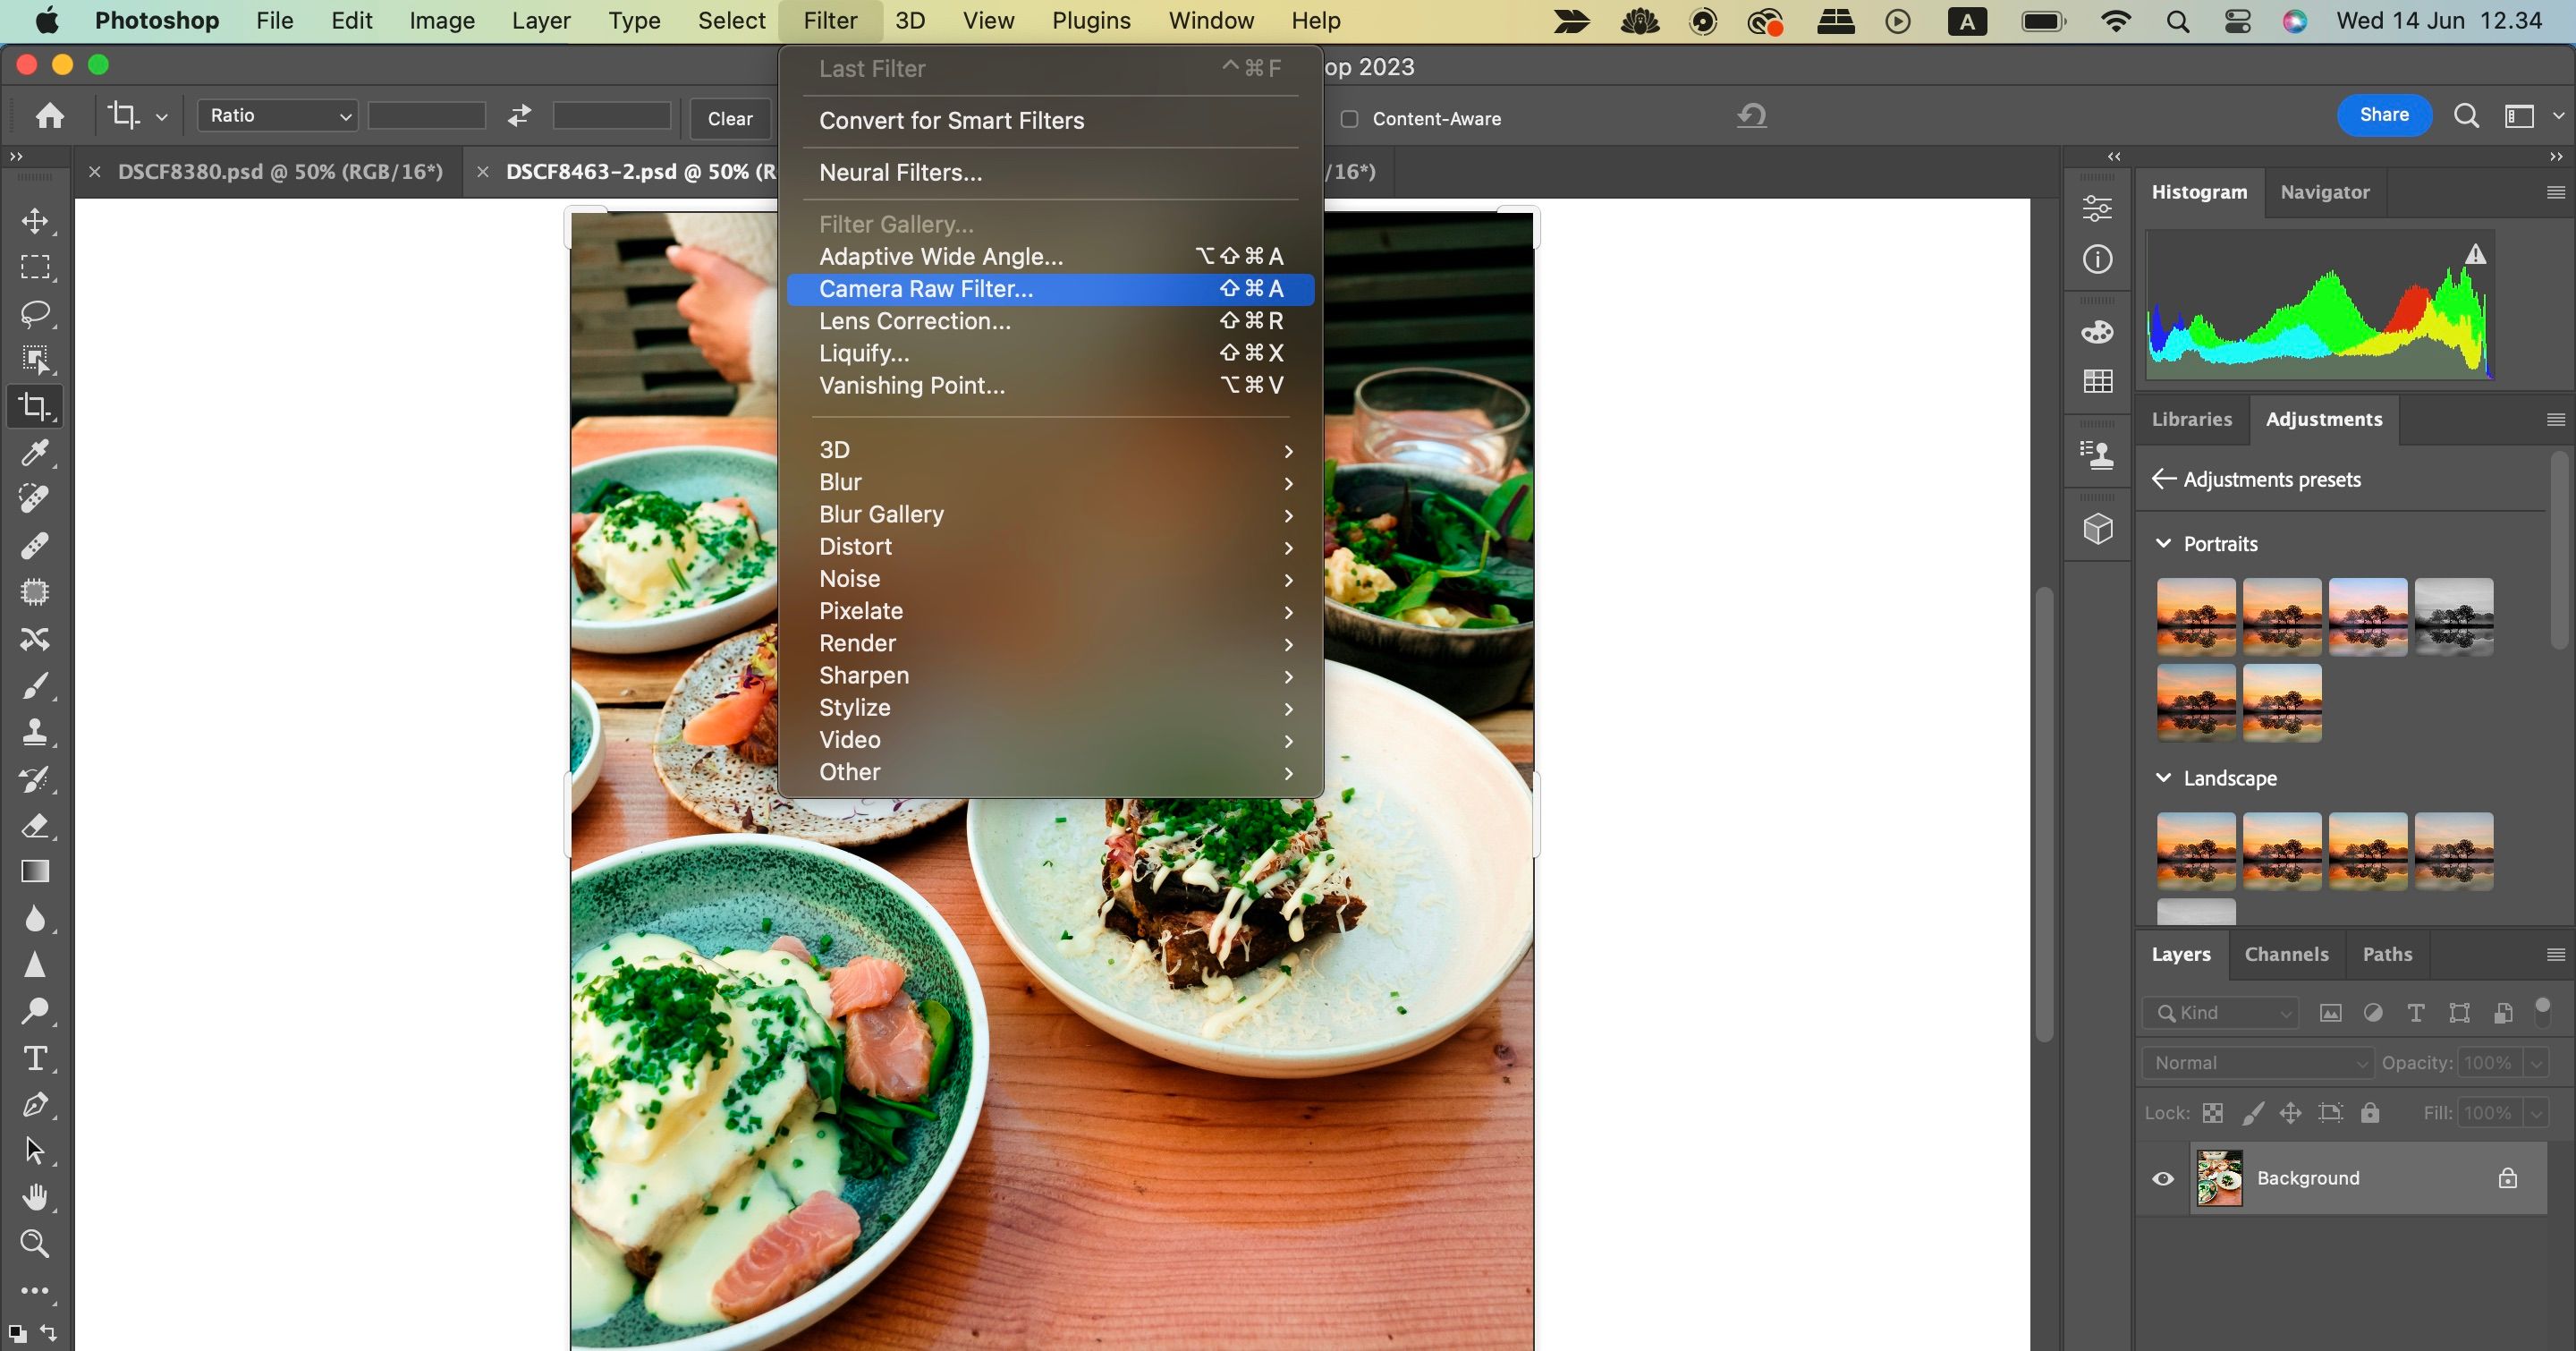
- In Photoshop, click on the Filter tab in the toolbar at the top.
-
Choose Camera Raw Filter when the dropdown menu appears.
-
Scroll down to Calibration.
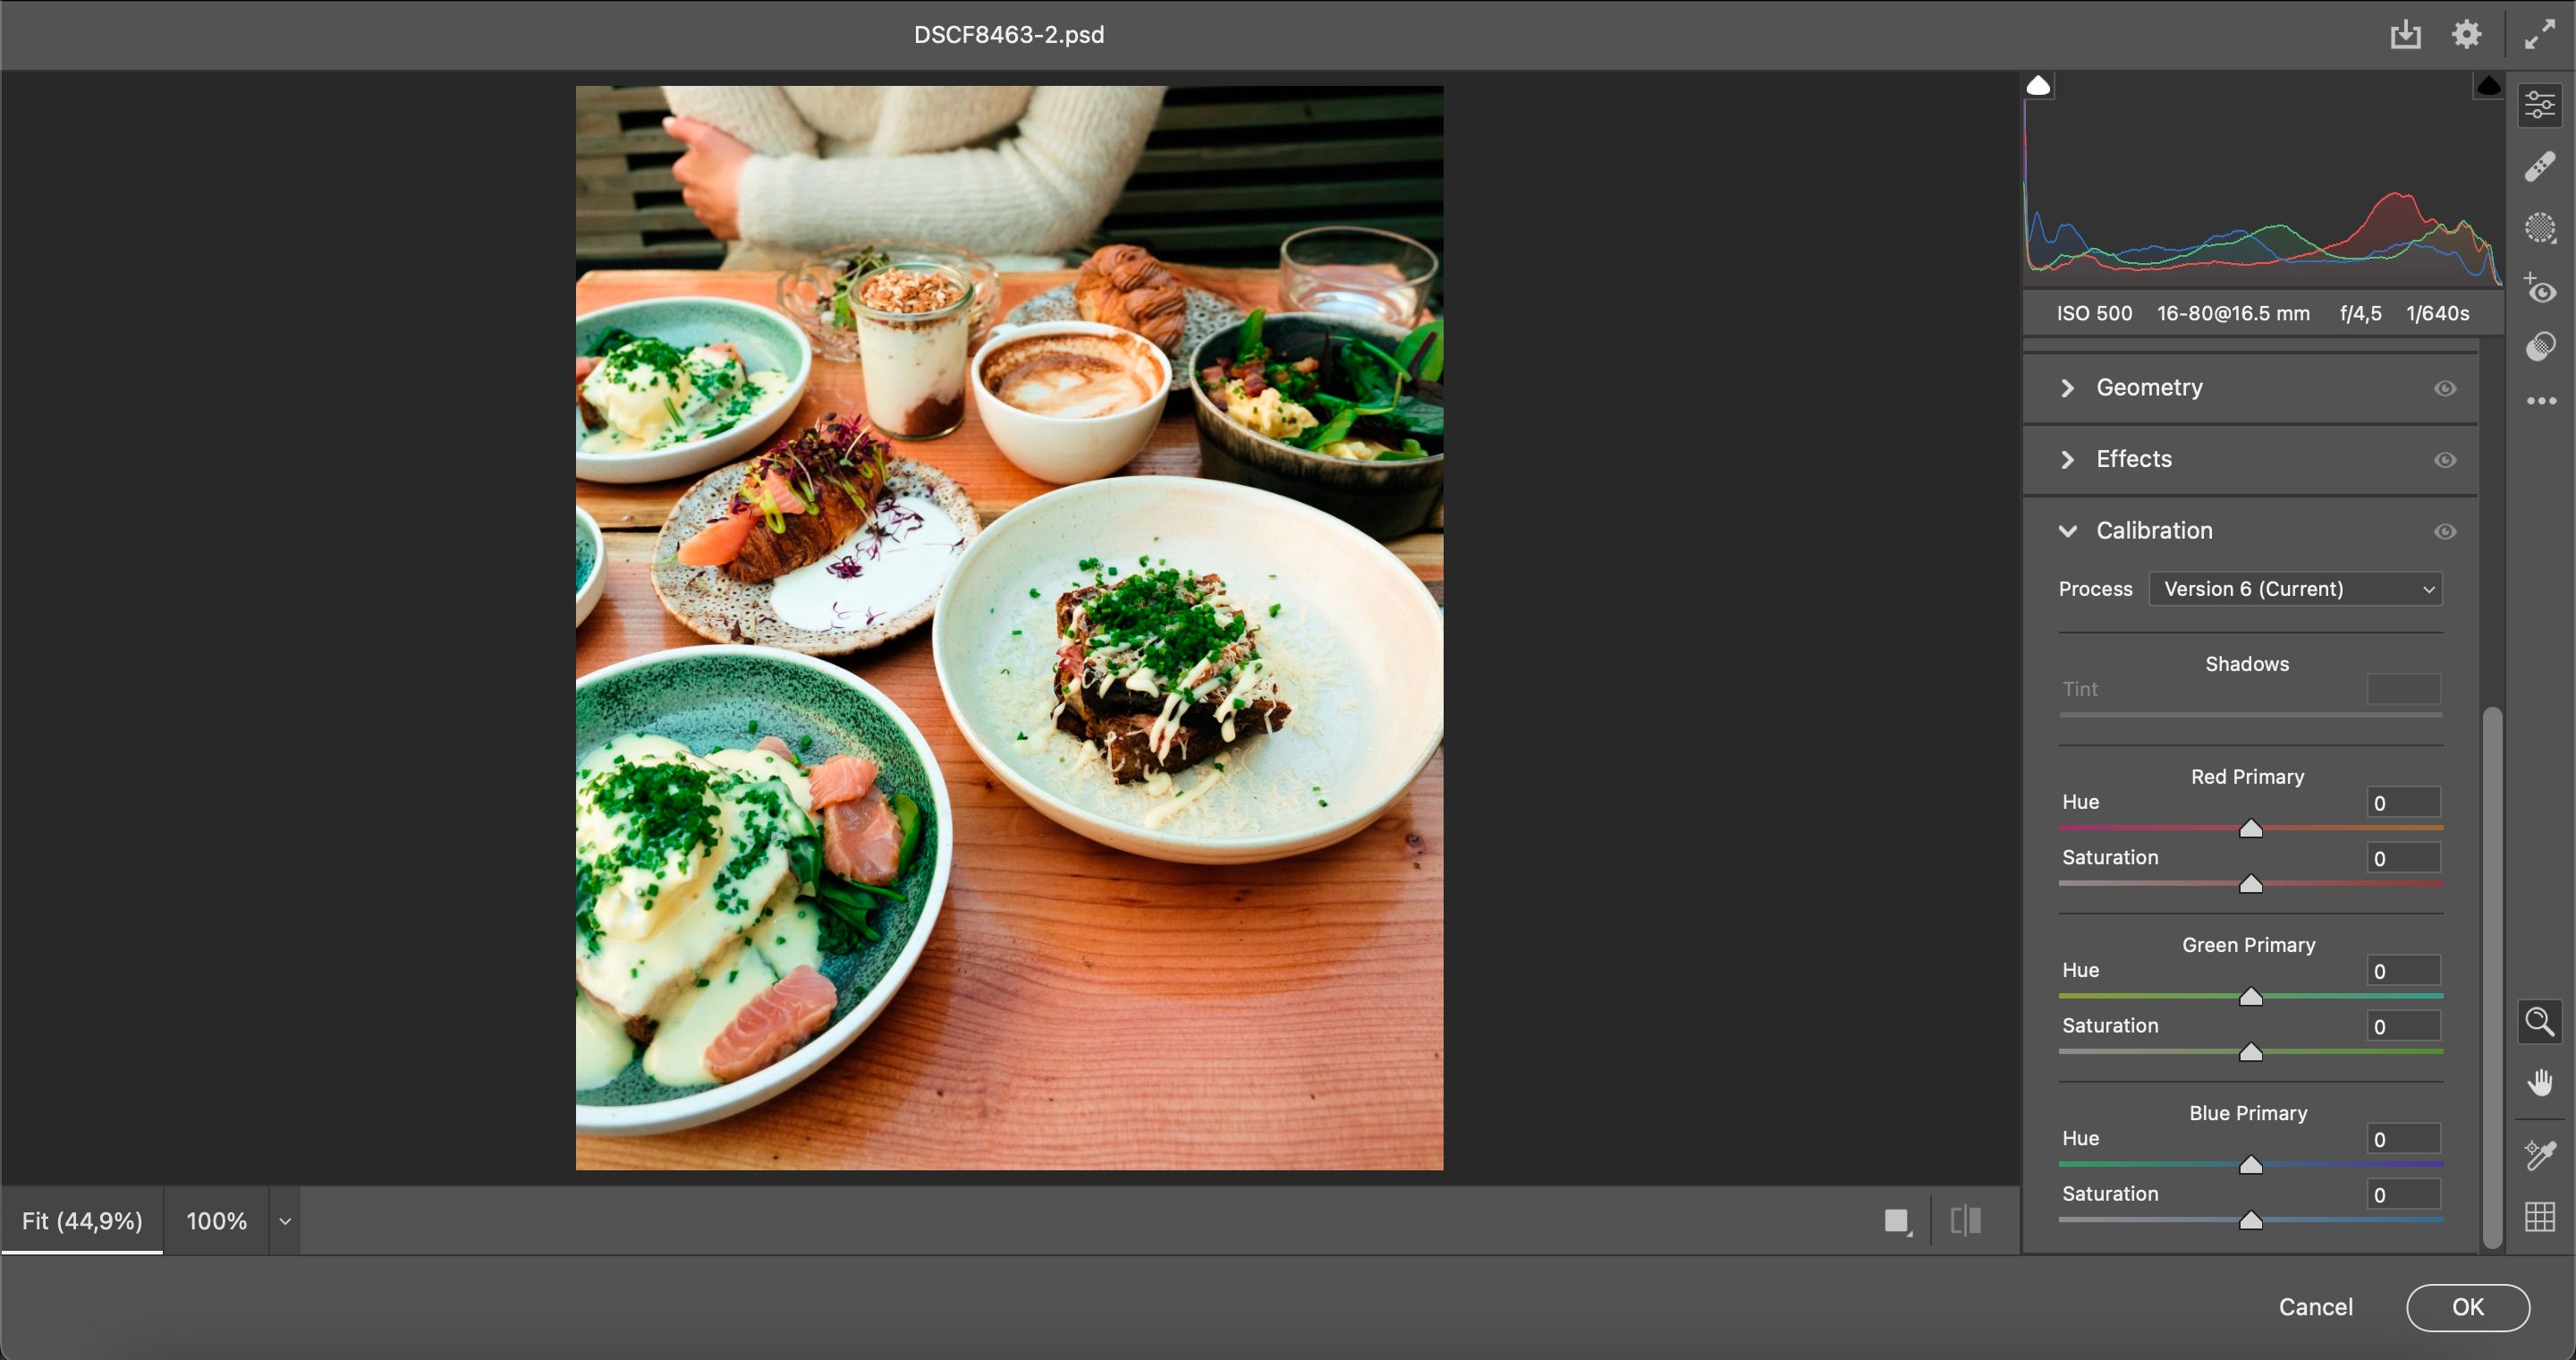
-
Adjust your sliders however you feel is necessary.
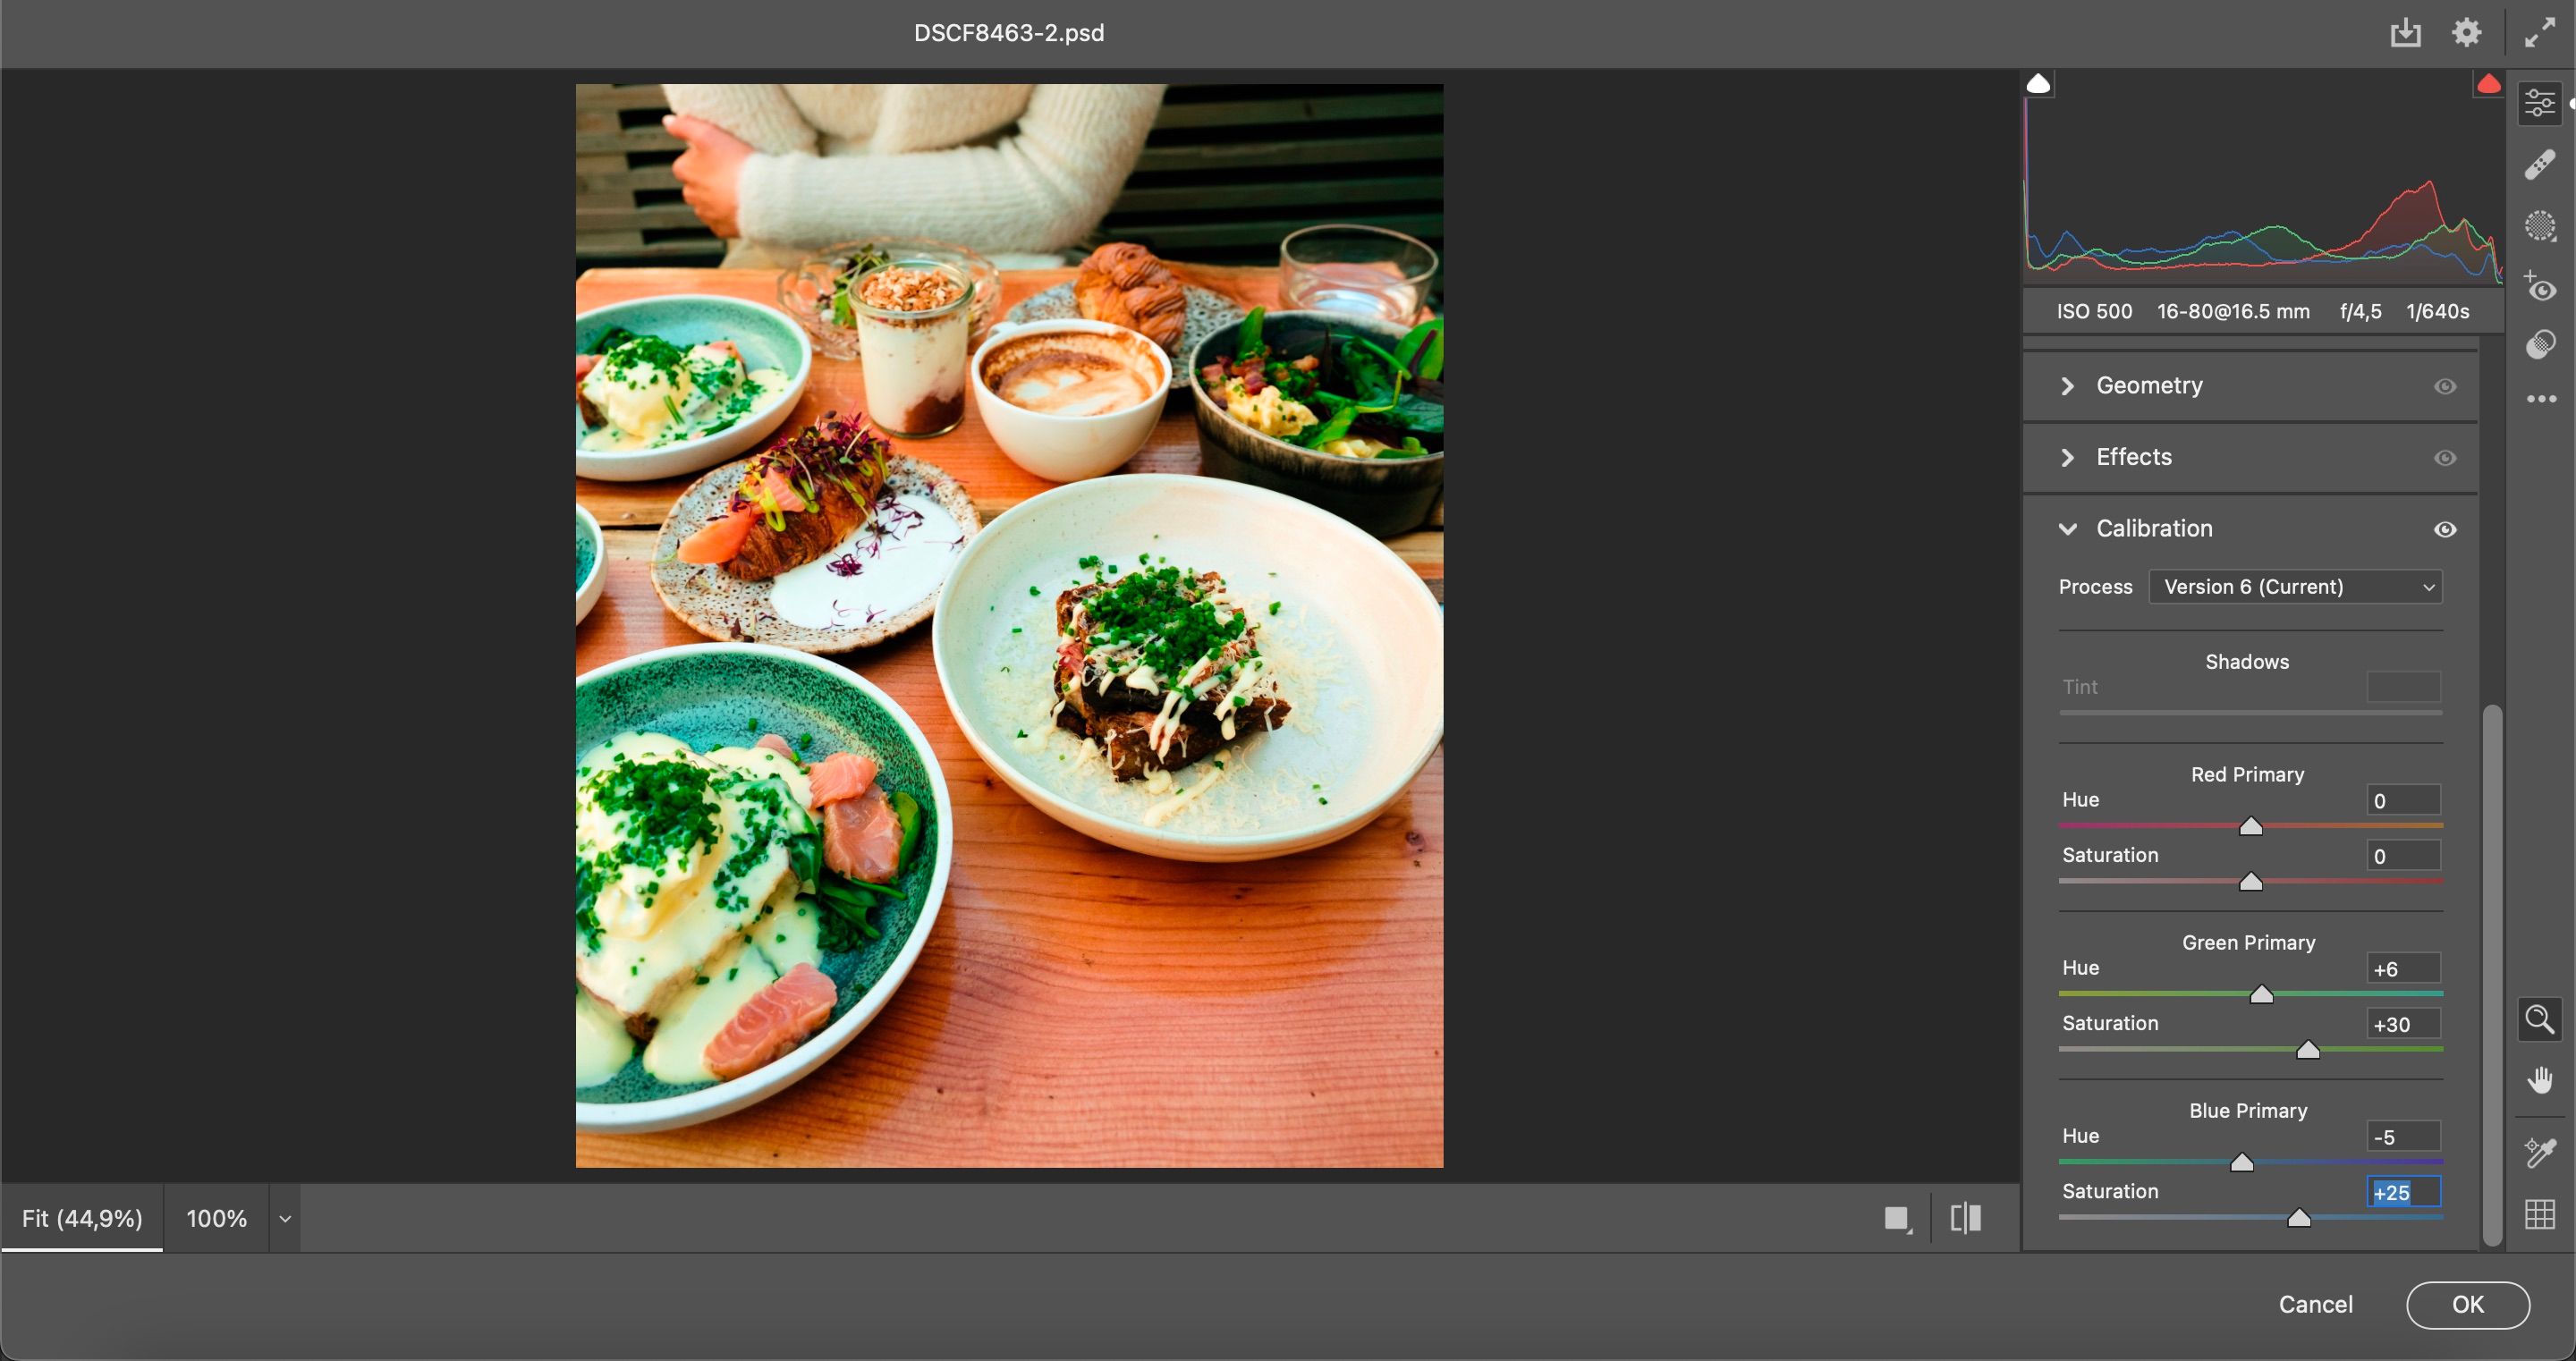
- Click on OK when you're happy with how everything looks.


We've got a full guide on how to work with Camera Raw in Photoshop if you want to use it more effectively for your editing.
6. Presets
Another way to quickly edit colors in Photoshop is by using some of the presets already within the app. You can choose from Portrait, Landscape, and numerous other categories. Some presets, such as Color Pop, will increase the saturation of your pictures.
To use presets in Photoshop:
- Go to Adjustments on the right-hand side.
-
Choose the preset you want to add under this section. If you need further options, click on More.

Easily Change the Color of an Image in Photoshop
Having read this guide, you should now have a better understanding of how to change the color of an image in Photoshop. The app has plenty of useful tools to help you develop more of a unique style, and you can also use Photoshop to make any color corrections that you feel are necessary.
You can either use Photoshop as a standalone app for photo editing, or—if you'd prefer—you can add solutions like Lightroom to your editing workflow. Regardless, it's easy to change the color of an image in Photoshop—and both hobbyists and pro photographers can achieve superb results.