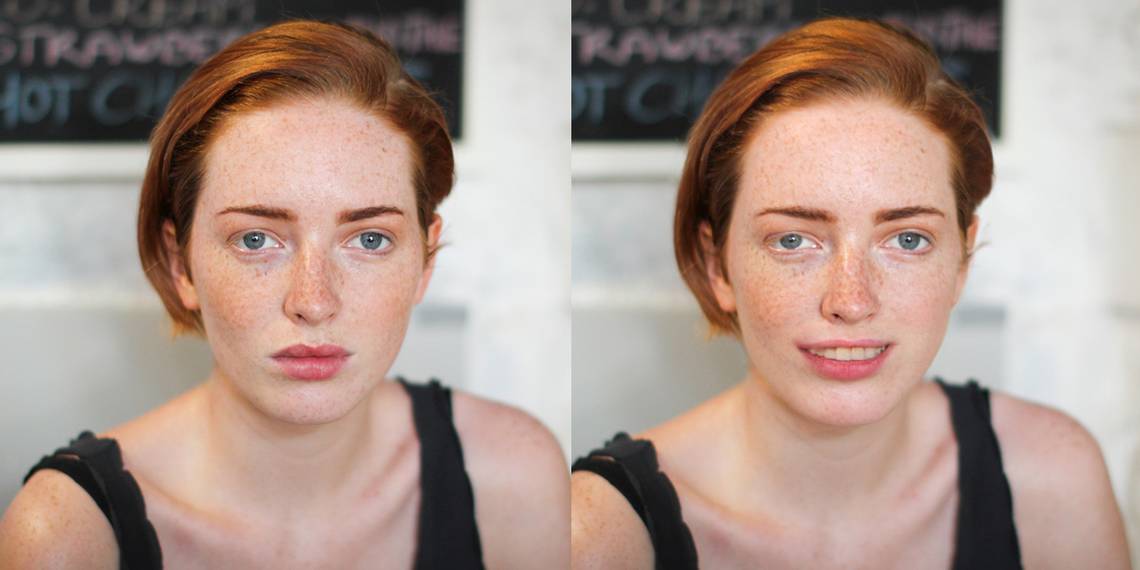
Do you have the perfect photo of someone, but you just wish they were smiling instead of scowling? It’s an easy fix in Photoshop. There are several ways to add a smile to a picture, and we’re here to break down each one.
We will be using the Liquify tool, neural filters, layers, and the Puppet Warp tool. Let’s jump right in.
1. Add a Smile Using Another Image

Superimposing images and using Photoshop Layers and the Selection tool is an older technique to replace smiles. While this technique can work with much success, it is dependent on having suitable images.
It works best to use another photo of the same person rather than a similar photo of a stranger. It may be the case that you took multiple photos of a group, and most of your subjects look great, but one person isn’t smiling. If you have another shot of them smiling, it’s easy to “transfer” that smile onto the better shot.
If you don’t have a photo of the same person smiling, you may be able to replicate this with an image of someone who looks similar from the same angle. You could match their skin tone to help stitch the images together.
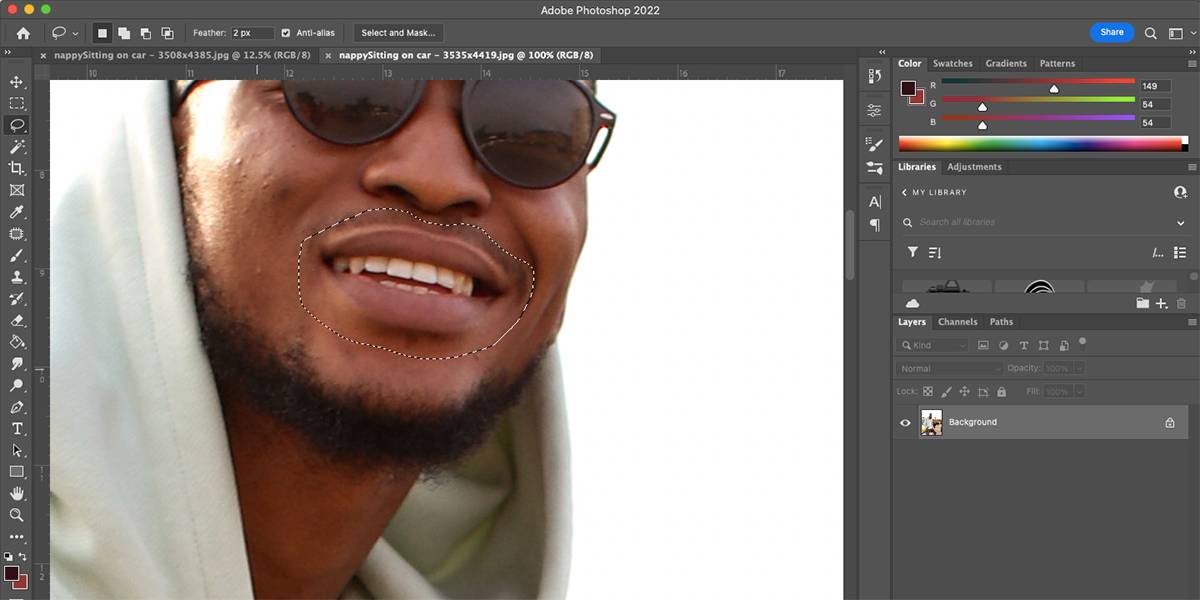
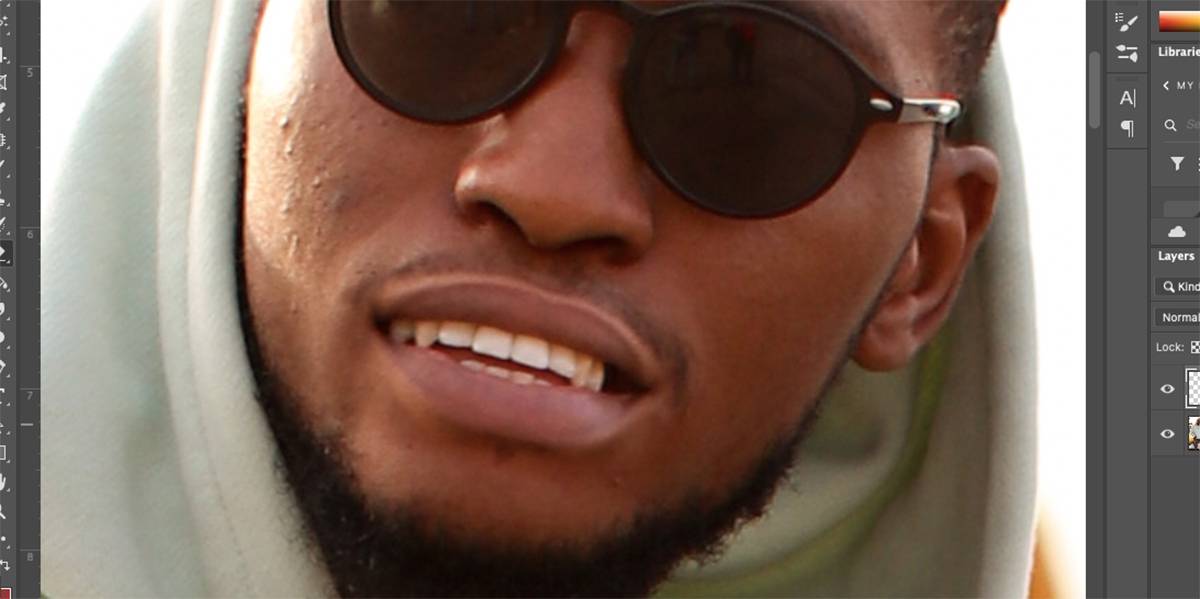
Open both of your images in Photoshop. On the smiling image, use the Magnetic Lasso (L) to select around the smile and then copy the selection (Cmd + C for Mac and Ctrl + C for Windows).
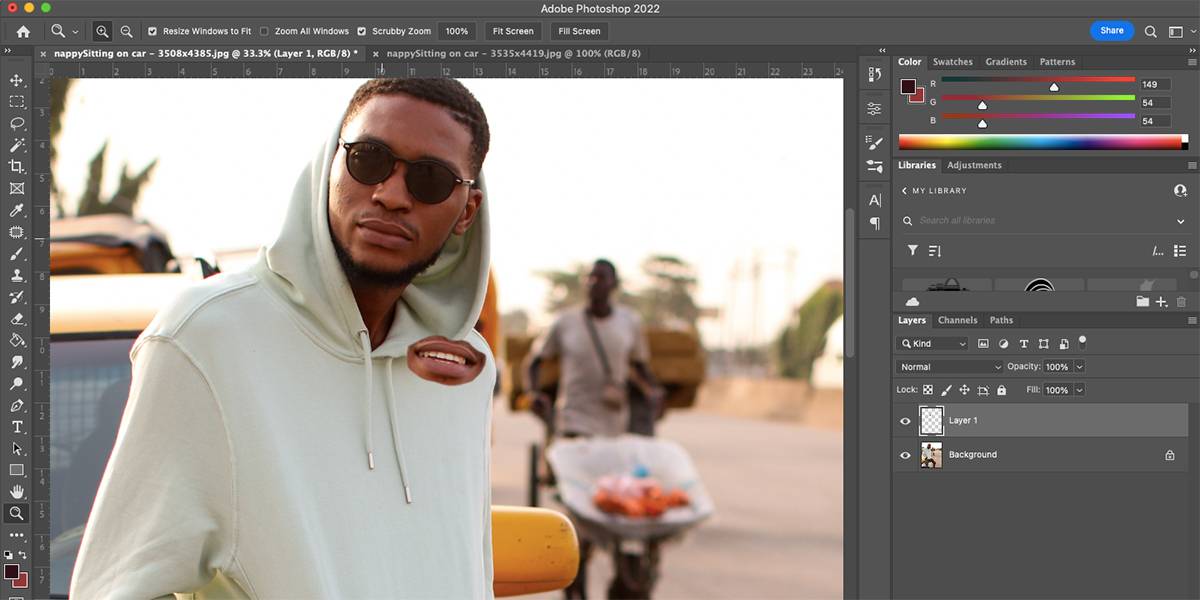
Paste your selection (Cmd + V for Mac and Ctrl + V for Windows) onto a new layer on the non-smiling image. Use Free Transform (Cmd + T for Mac and Ctrl + T for Windows) to select the smile.
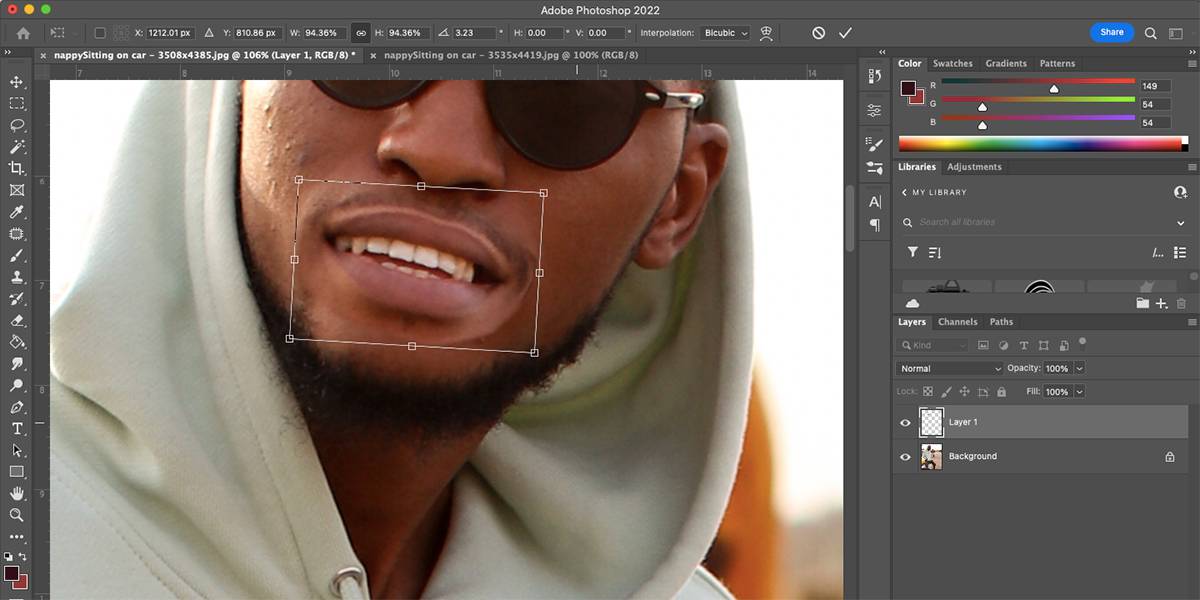
Move the smile so it fits perfectly over the non-smiling mouth. You can resize it by dragging the corner nodes, and rotate the smile by hovering your cursor near a corner until the cursor changes to arrows, then click and drag the corner to rotate.
You may want to flip the smile horizontally to reflect the new facial angles. While in Free Transform mode, right-click the smile and choose Flip Horizontal. Move the smile around until it fits the new image.
Once happy with the placement, double-click the smile to get off the Free Transform tool. Use the Eraser Tool (E) to remove any unwanted parts of the superimposed image, like extra skin around the mouth.
2. Add a Smile Using the Be Happy! Filter

Photoshop’s neural filters can create an artificial smile on any portrait. This technique utilizes the Adobe Sensei tool and offers a quick and easy way to add a smile to a photo using facial recognition technology. This can work for group or individual portraits.

With your photo on the artboard, go to Filter > Neural Filters. If this is your first time using the Smart Portrait filter, you will have to download it by clicking the cloud button. Toggle the filter on.

Under Featured, you’ll see the Be Happy! filter. Move the slider to the right to add a smile of varying degrees to your portrait. Once you’re happy with the smile, click OK.
This filter only uses one smile image, which means it may not suit everyone. If you personally know the person in the photo, it may not look like them when they smile. And if you apply this filter to multiple people in the same photo, it will look like they all have identical teeth.
However, for a quick and easy smile, this feature works great, because the slider gives you some control over how big the smile is.
3. Add a Smile Using the Liquify Tool

Convert your photo into a Smart Object by right-clicking the layer in the Layers panel and choosing Convert to Smart Object.
In the upper tools, go to Filter > Liquify. This opens the filter settings. Use the Zoom Tool (Z) within the settings box to zoom into the mouth of your image.

Select the Face Tool (A) in the left-hand toolbar. Hover your cursor around the mouth and use the guide to move the edges of the lips upwards. You can also use the properties on the right to change these values.

The other properties on the right give you options to move the eye position, extend the width of the jaw, move the nose, and more. You can change these settings until the facial features work naturally with a smile. Click OK when you’re happy with the results.
4. Add a Smile Using the Puppet Warp Tool

Photoshop’s puppet warp tool is great for treating a 2D image as a movable puppet. While it works best on a full body, you can also use it for isolated body parts like the mouth.

Duplicate the image in the Layers panel by right-clicking the layer and choosing Duplicate Layer. Use the Lasso Tool (L) to select the bottom half of the face.

Go to Edit > Puppet Warp. This will apply a mesh to the selected area. Untick Show Mesh on the top toolbar so the face becomes more visible.
When you hover over the puppet-warped area, your cursor will turn into a pin. Click the pin on areas that would naturally move during a smile, such as the corners of the mouth and the middle between both lips. You can also pin the cheek areas if those are within your selection.

Once all the pins are in place, subtly move each pin to show a natural smiling position. If you move too much, the warping will be obvious, so be careful. If you’re happy with the smile placement, click any other tool then click Apply on the popup that appears.
To further touch up the image, check out our guide on using the Clone Stamp tool in Photoshop.
Create Smiles in Photoshop
If you can’t get the perfect smile in your photo, it’s not the worst thing to happen. With a choice of different techniques for adding a smile, you’re bound to find one that suits your editing needs.
The Liquify and Puppet Warp methods are best for adding a subtle smile to your photo. But if you want to show a smile with teeth, your best bet is either superimposing another photo or using the Be Happy! filter.