Photoshop's Generative Fill tool is changing the way we edit images and create derivative works. With Photoshop's powerful AI engine, Generative Fill uses Adobe Stock images to lend pixels to our own images for photo editing and creative use.
In this article, we'll explore the ways you can use Generative Fill to improve your images in Photoshop. Let's get started!
1. Expand the Frame for Better Composition
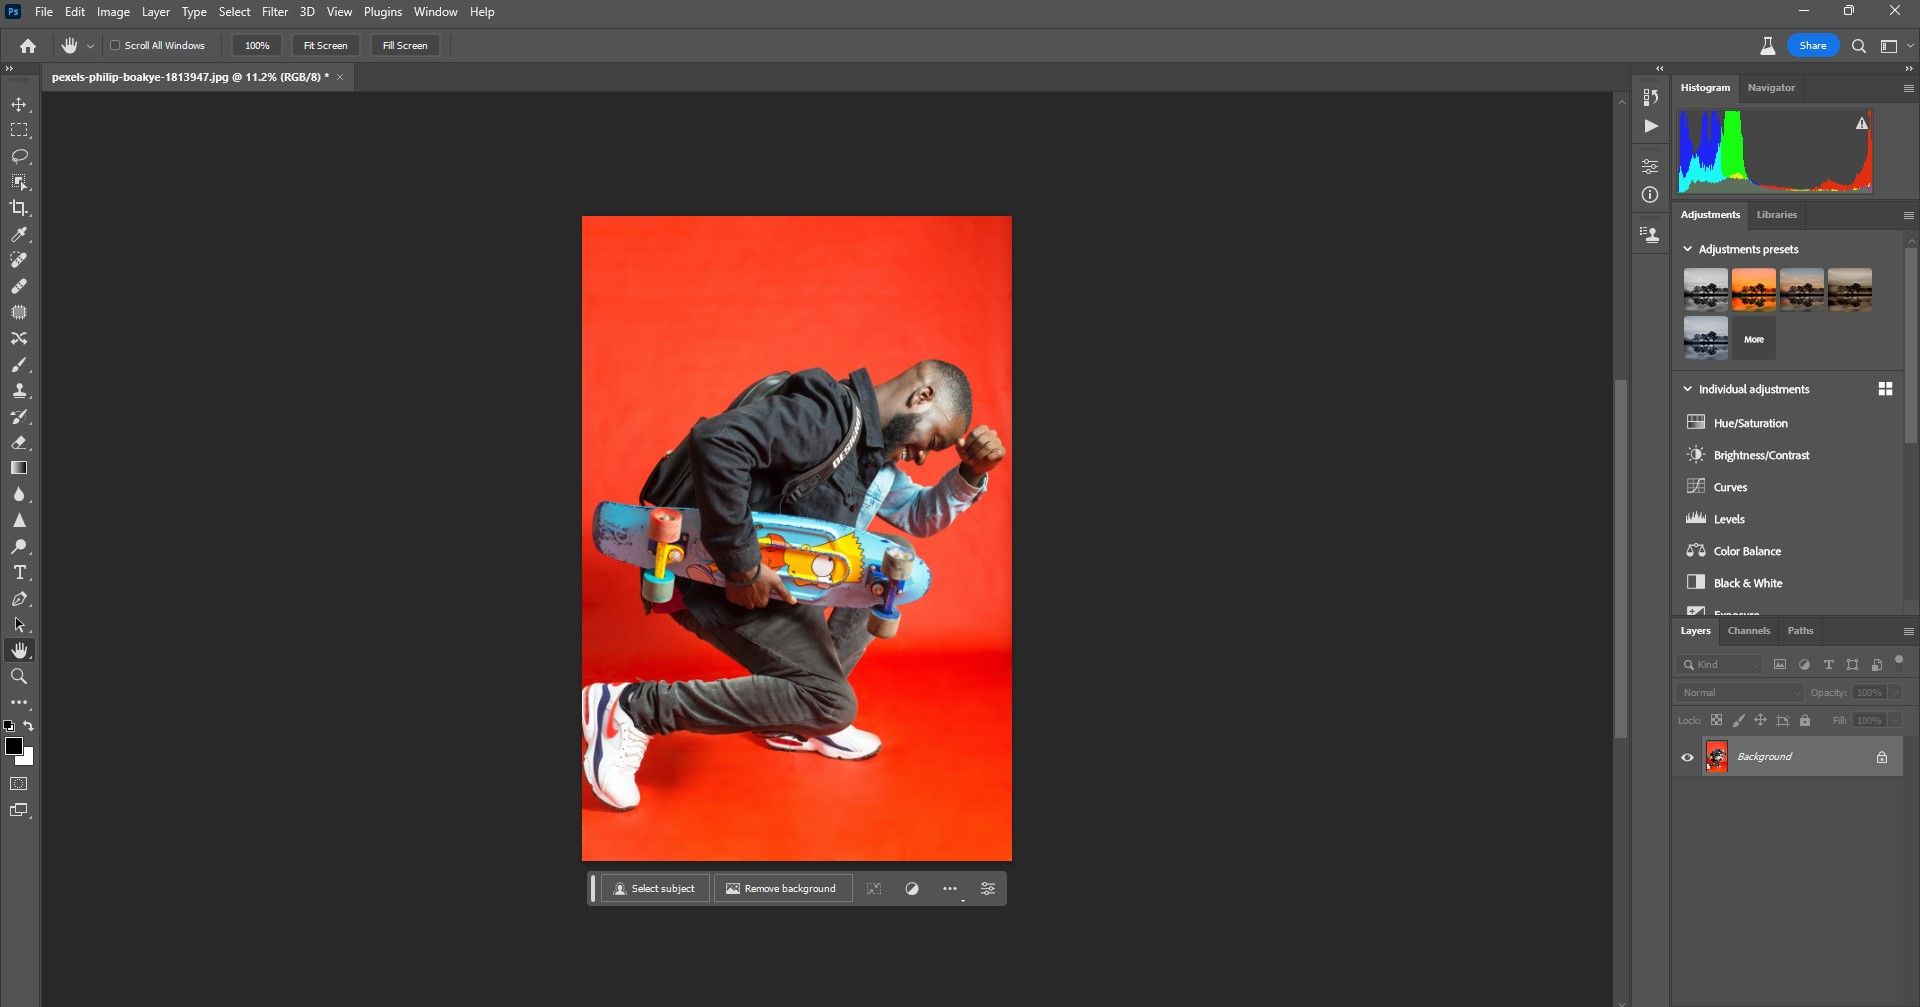
The ability to use Generative Fill to expand the frame of your image is nearly priceless, especially if you have negative space around your subject. Since our example is capped at 1,024 pixels on the long side for each generation, expanding the frame with negative space is the perfect use of Generative Fill because details aren't important.
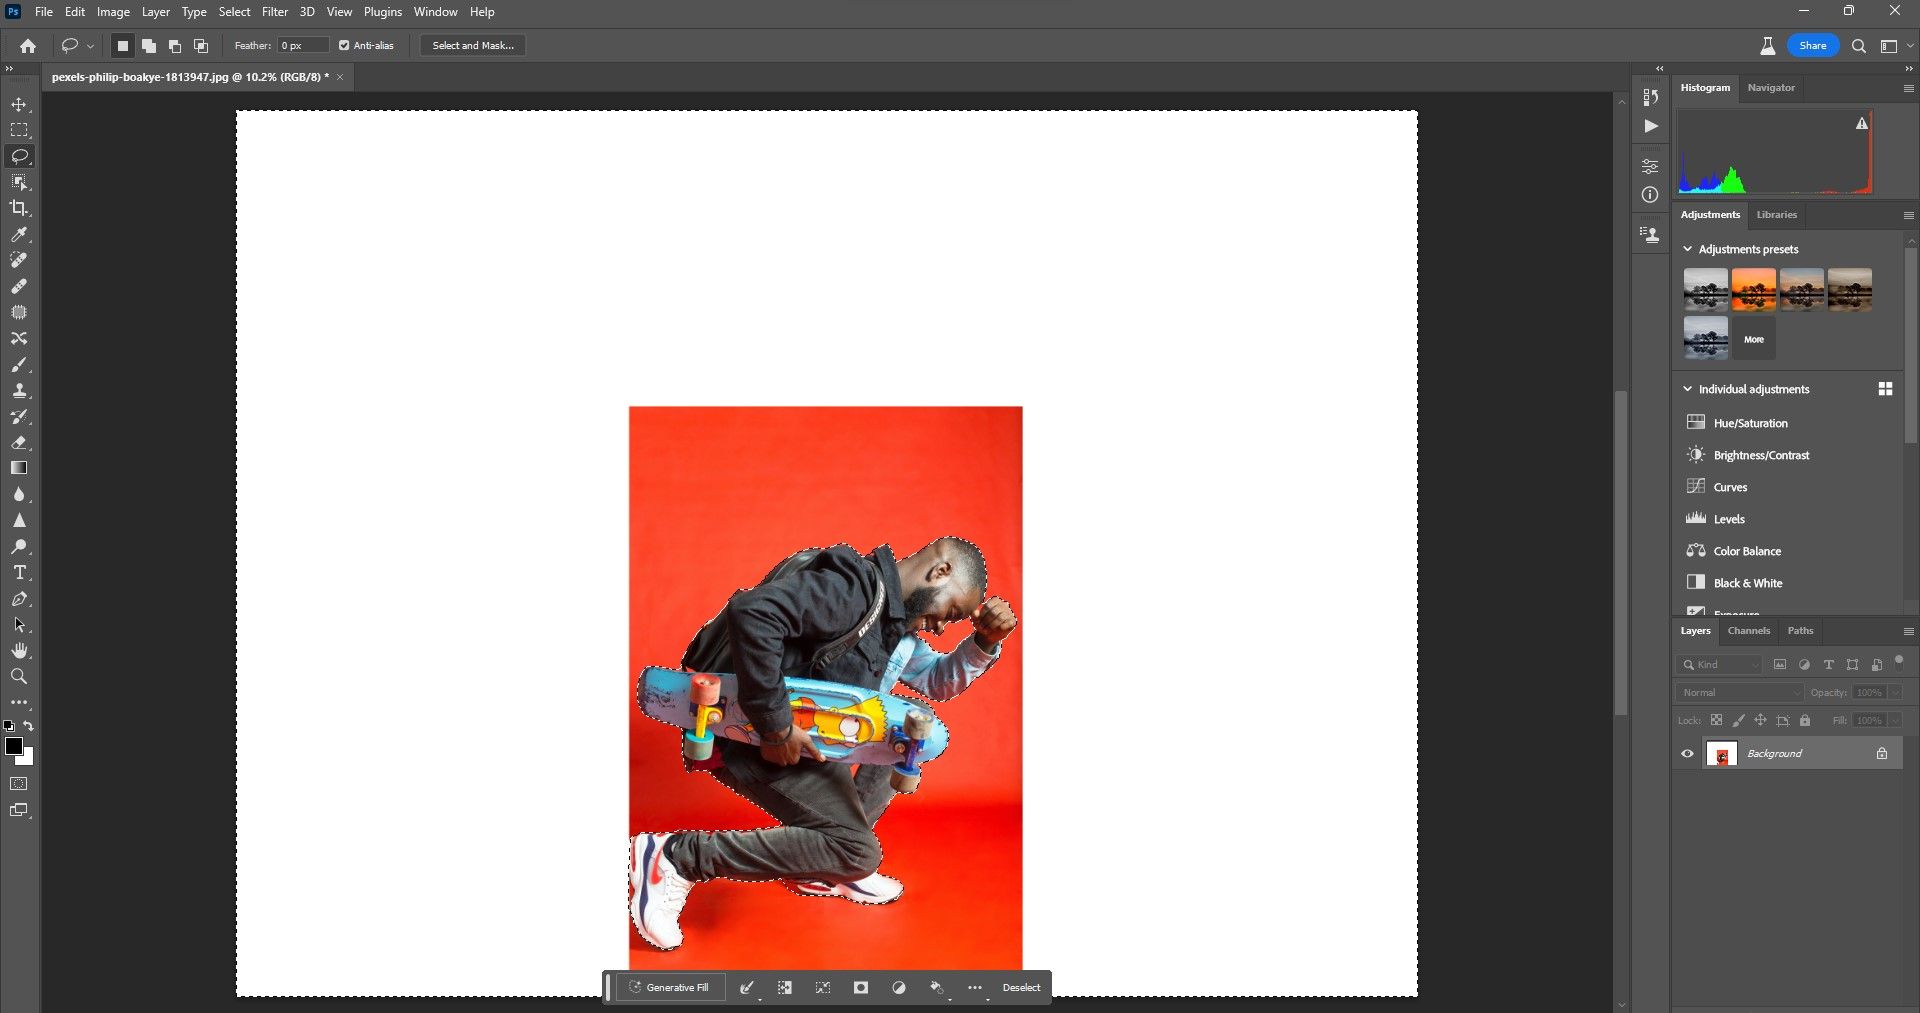
Simply use the Crop Tool in Photoshop to expand the frame and use Generative Fill to fill in the gaps.
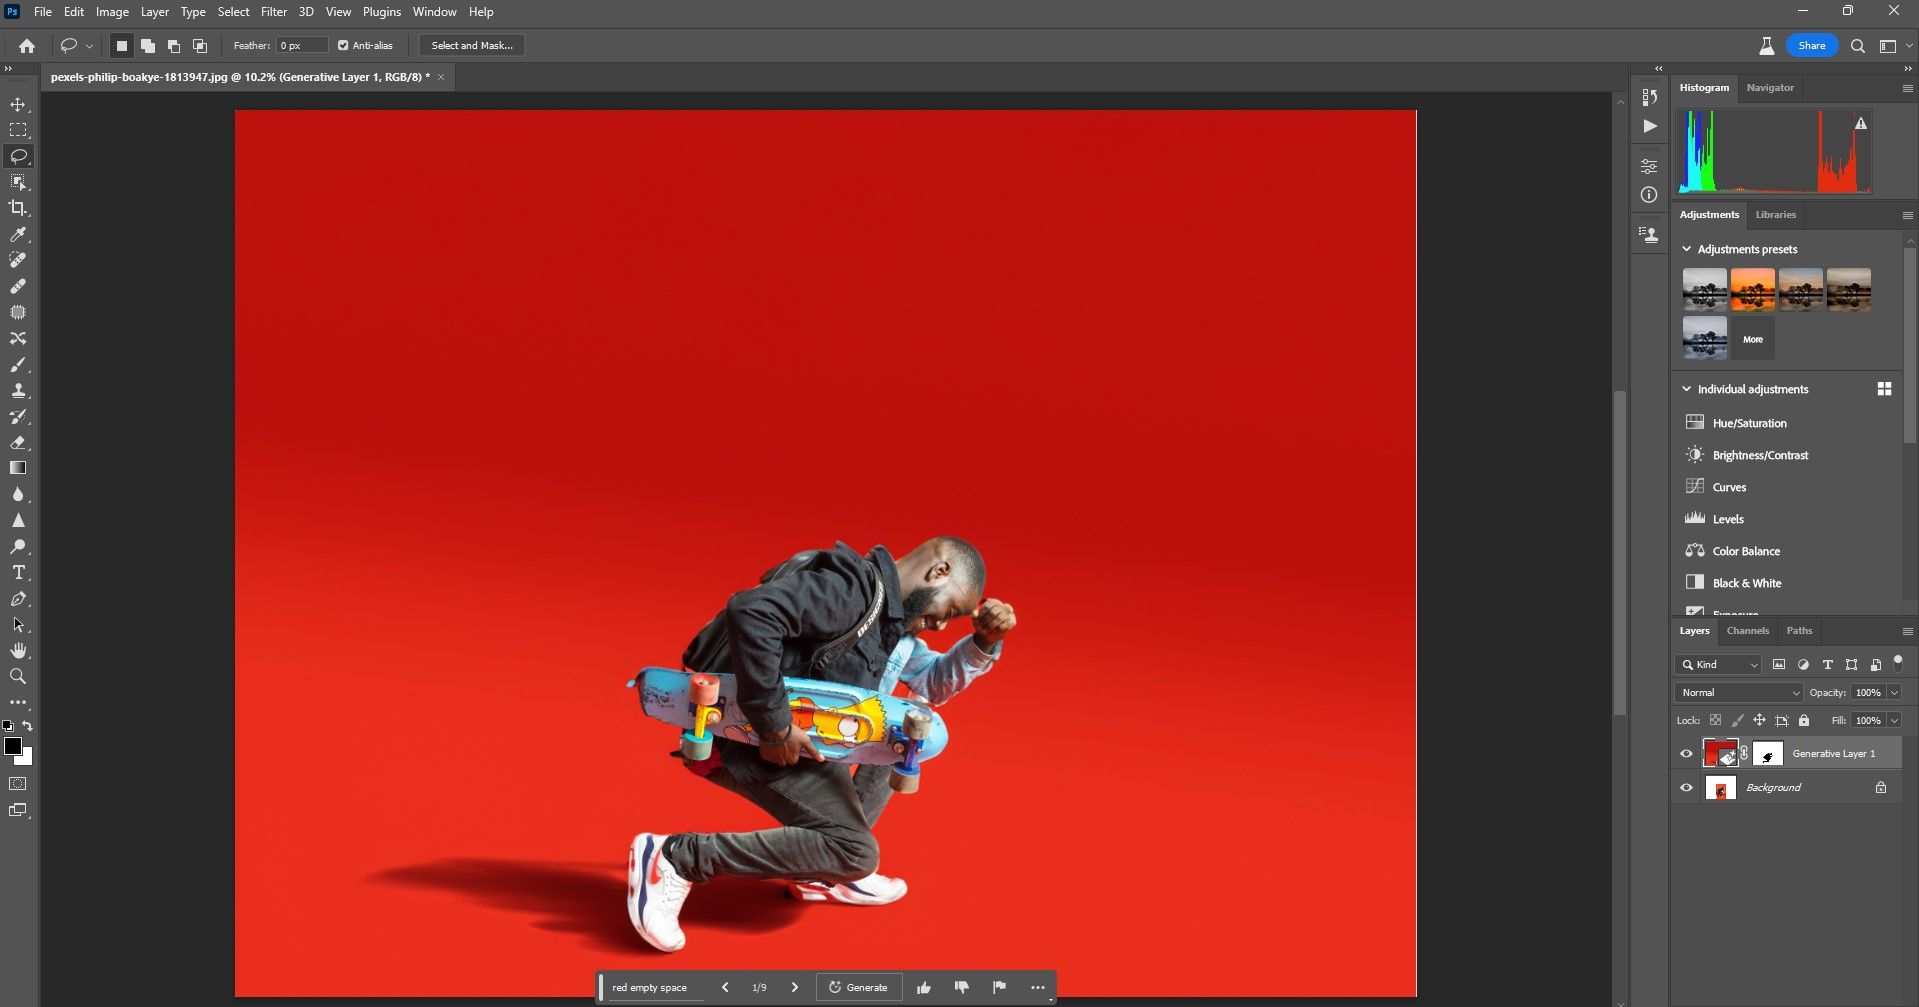
Click on Generative Fill and then Generate (leaving the text field blank) and see which of the three options works best. If you need to use text to get a different result, keep the description short, like "red empty space", which was what we used here.
In situations like this, it doesn't matter if the resolution of the negative space is poor because there are no textural details, only color and the nice shadow that Generative Fill decided to add.
2. Erase Unwanted Objects and People
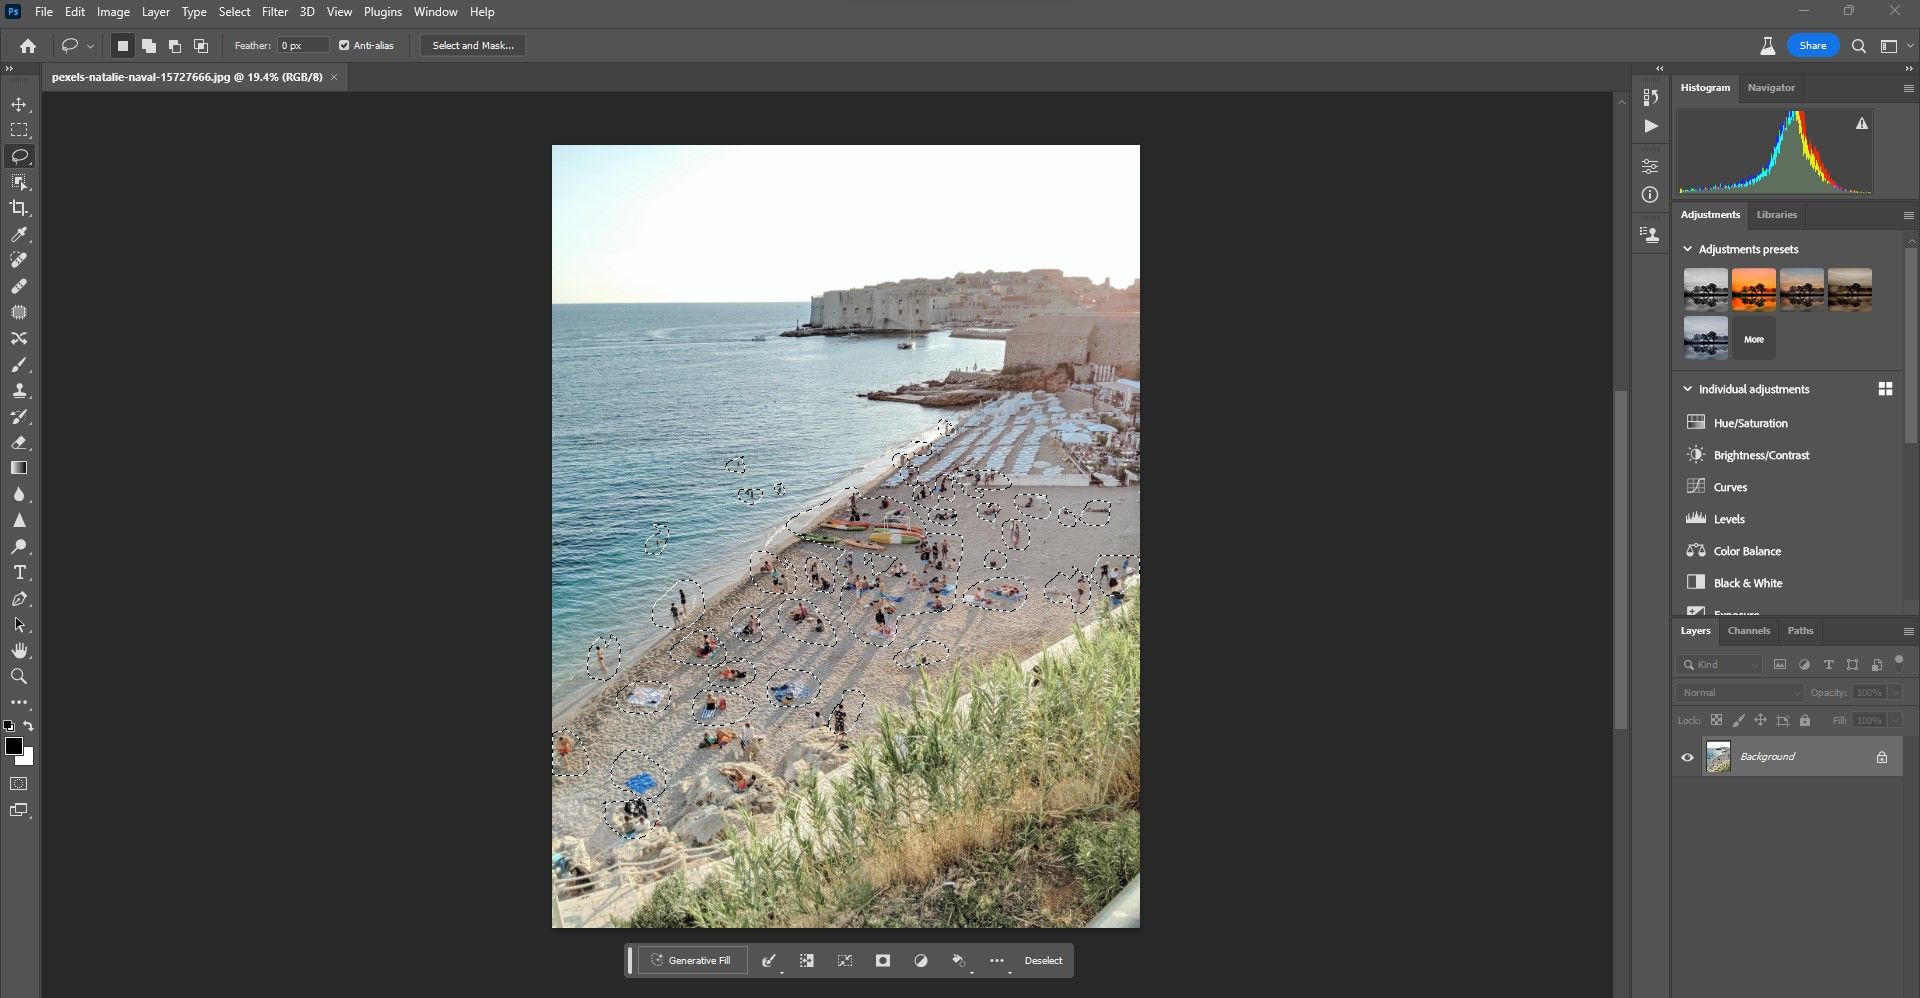
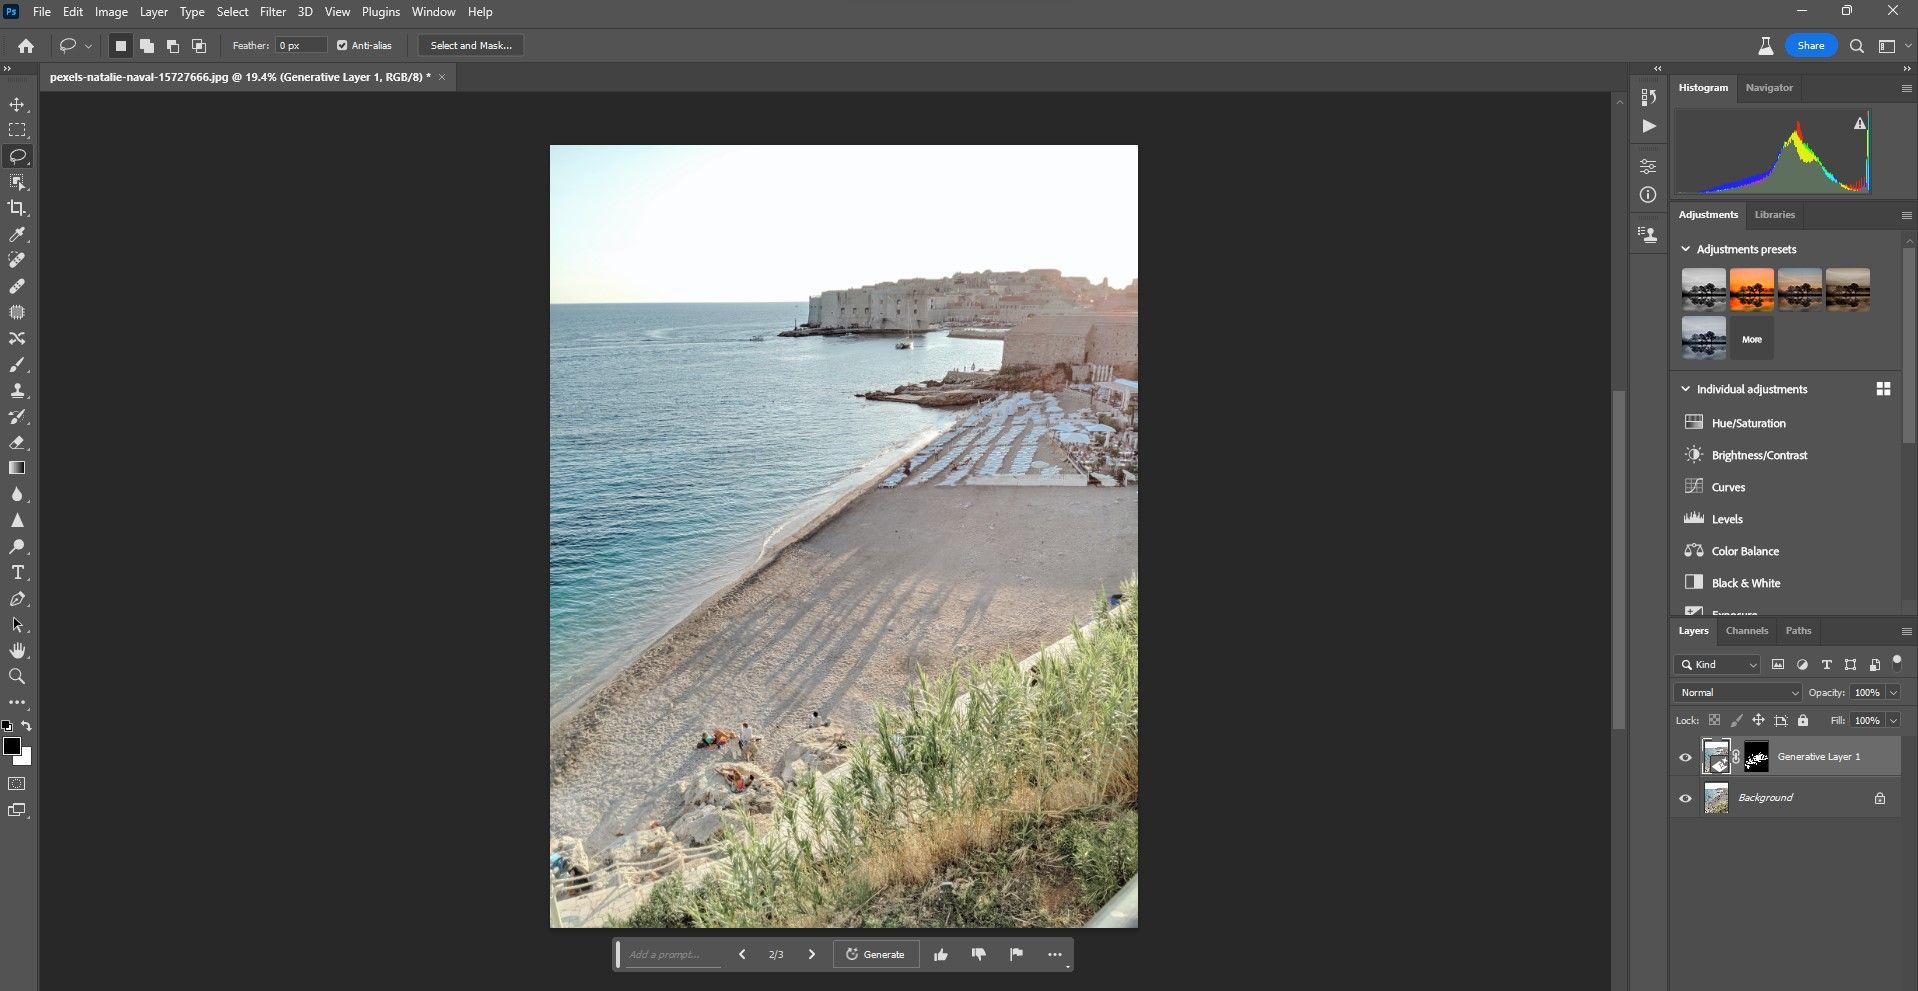
Forget about Photoshop's traditional tools to erase unwanted objects and people. With Generative Fill, you can simply select all the unwanted pixels and click. For this example, we circled everything we wanted to erase with the Lasso Tool.
You get the idea. Click on Generative Fill and then click on Generate.
A good general rule is when you want Generative Fill to simply erase, don't enter anything into the text prompt unless you're not getting the desired results. Otherwise, use any of Photoshop's selection tools to make the selection(s), and then Generative Fill and Generate.
3. Create Objects and People
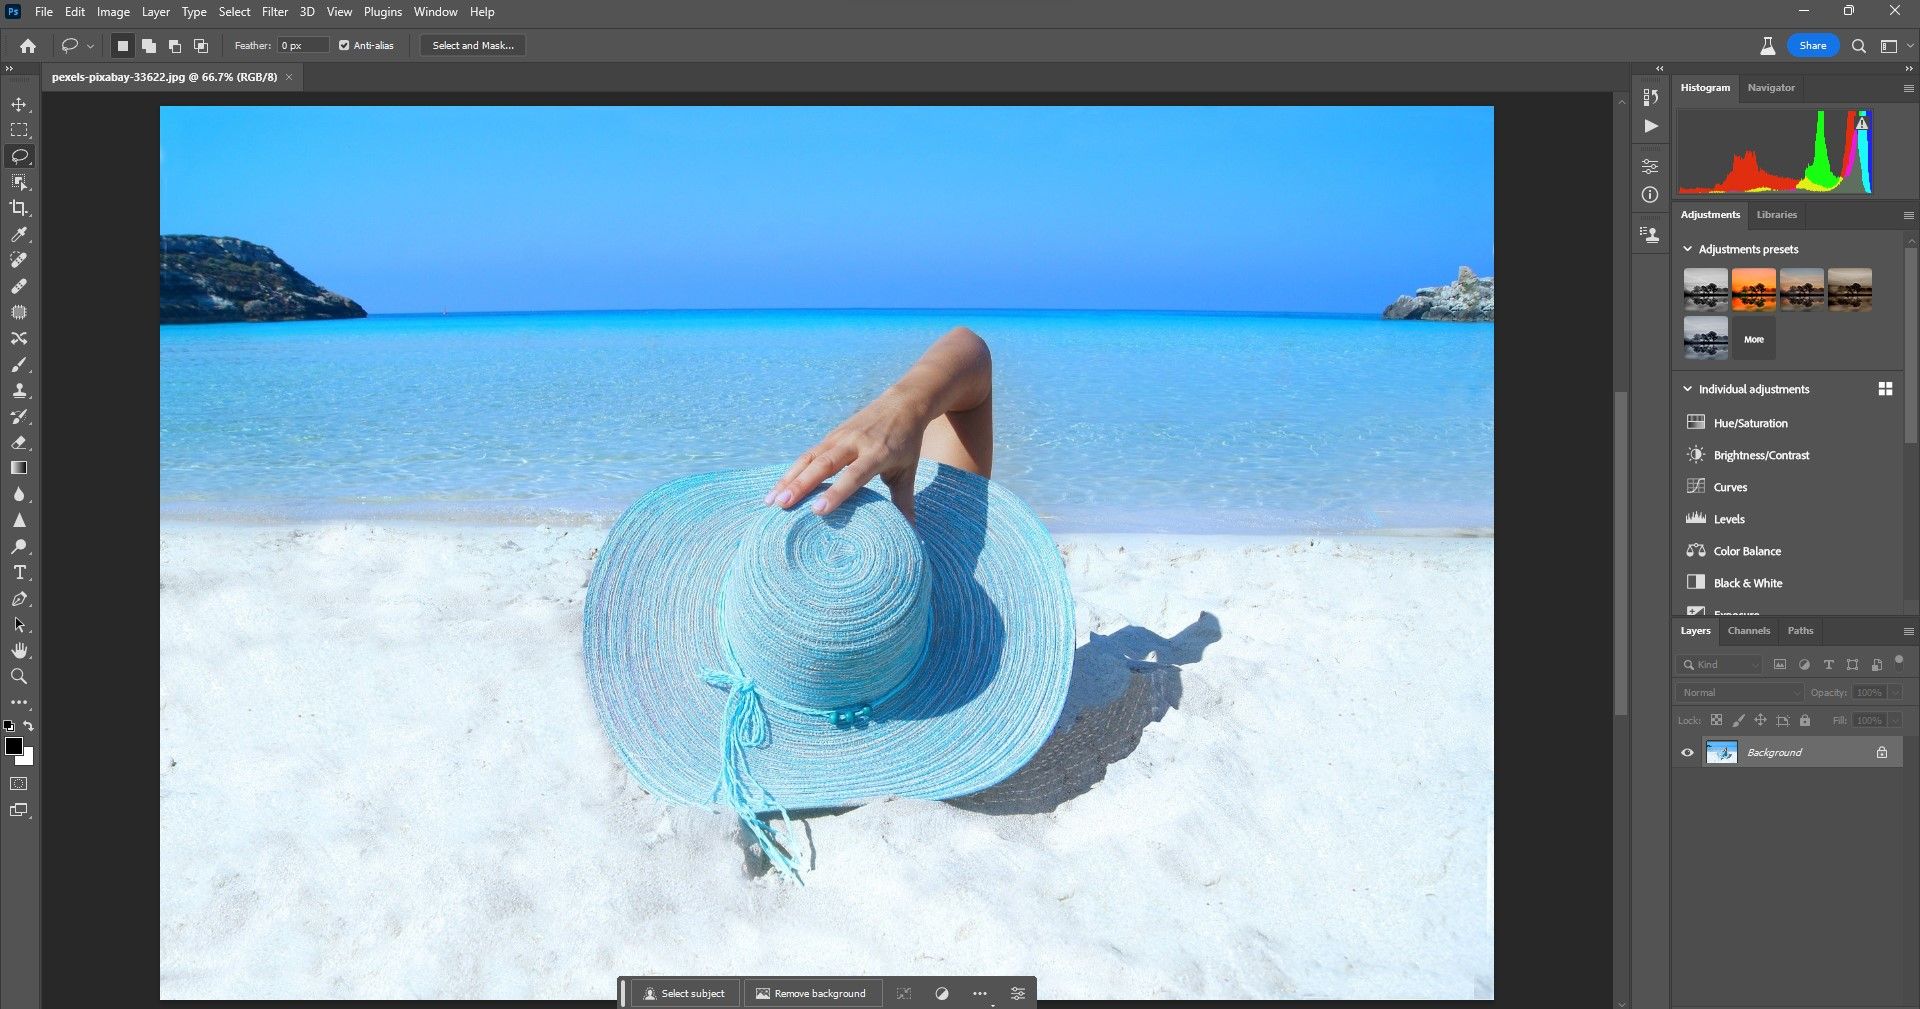
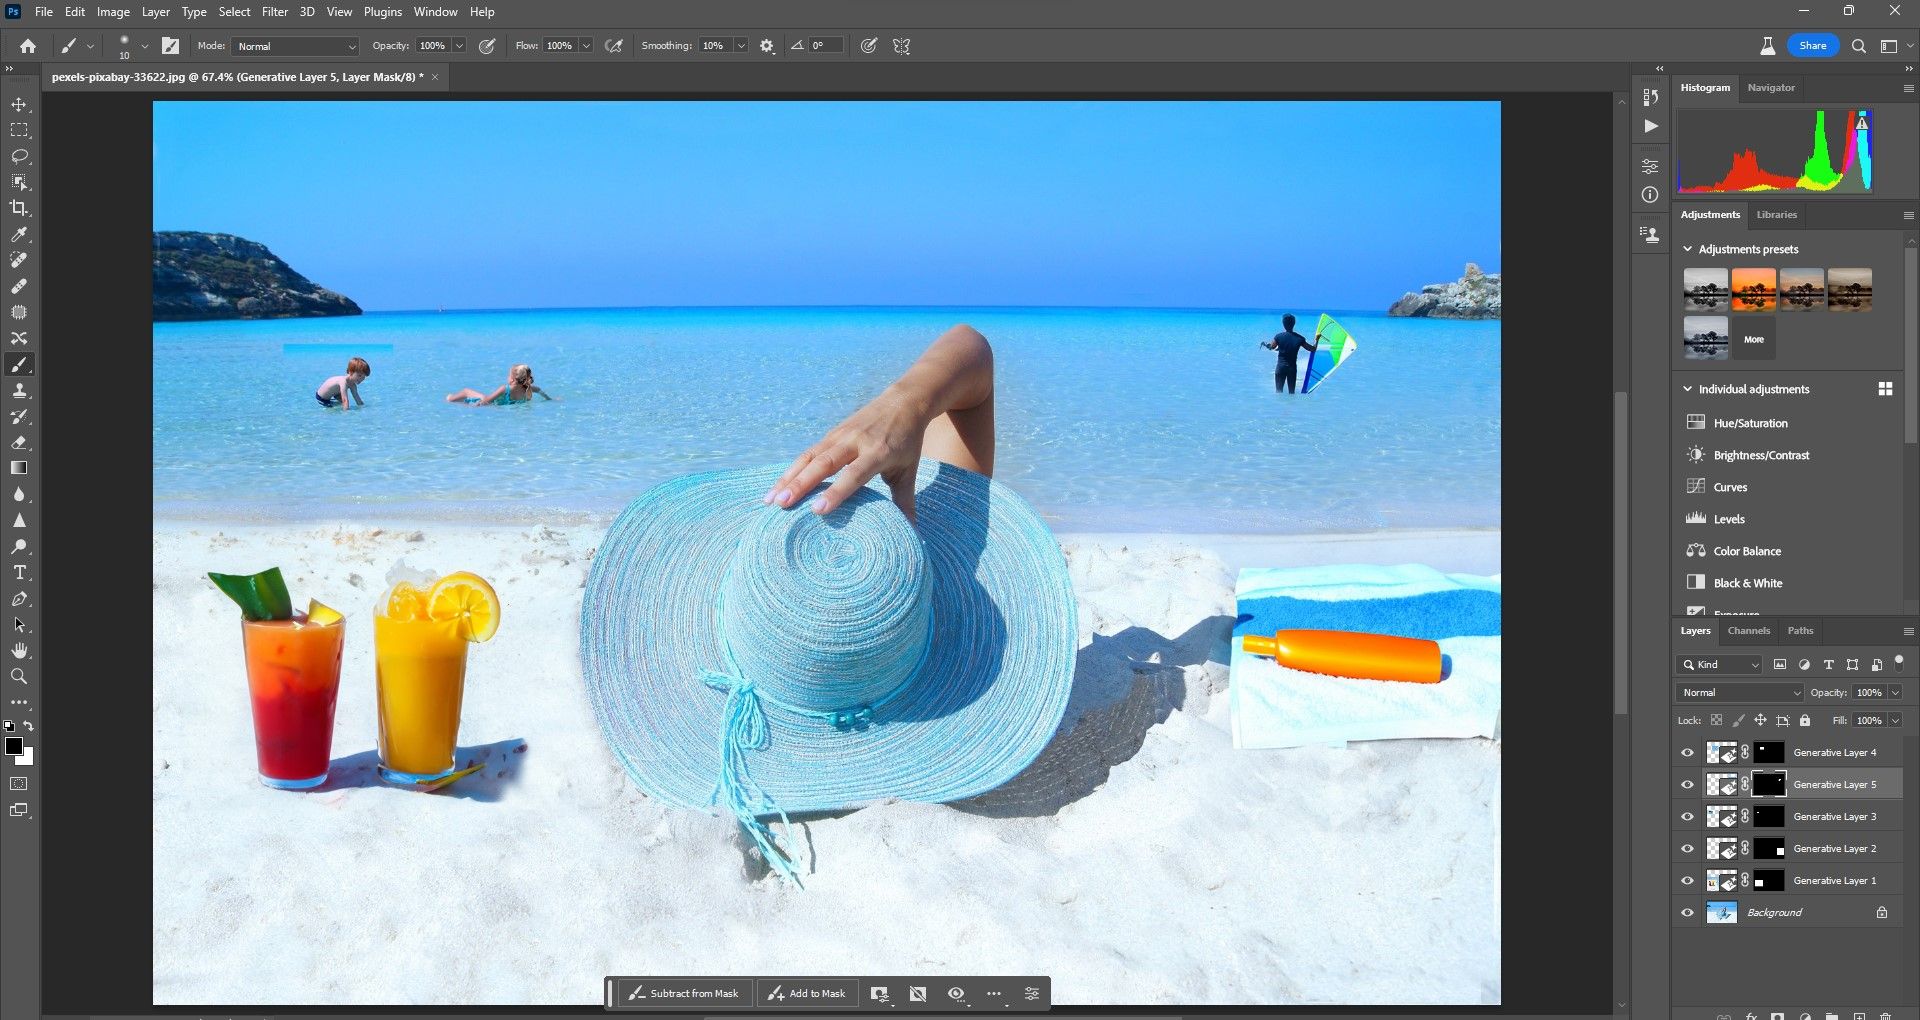
You can also create objects and people to add interest to your images. Simply add as many generation frames as you'd like and type into the text box what you need.
It's worth your time to make more selections because of the potential resolution issues. Use the Transform Tool to reduce the size of the objects or people if Generative Fill didn't get the scale quite right.
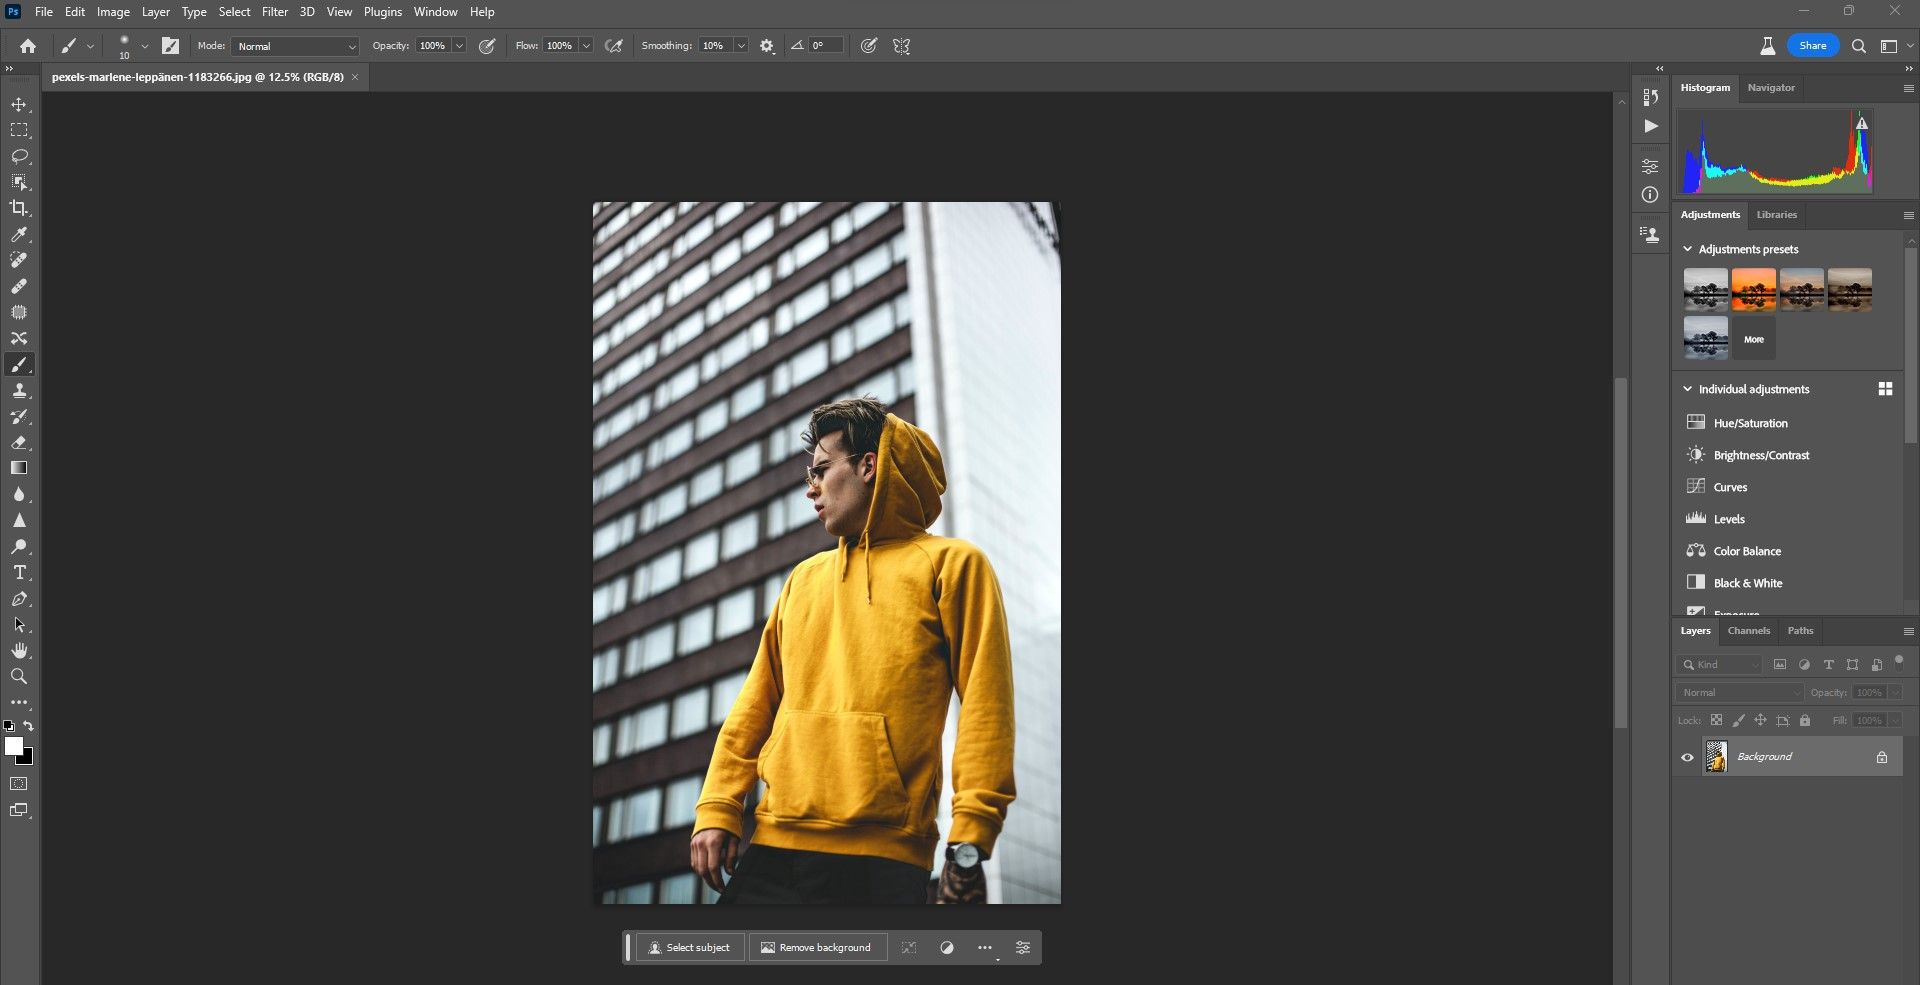
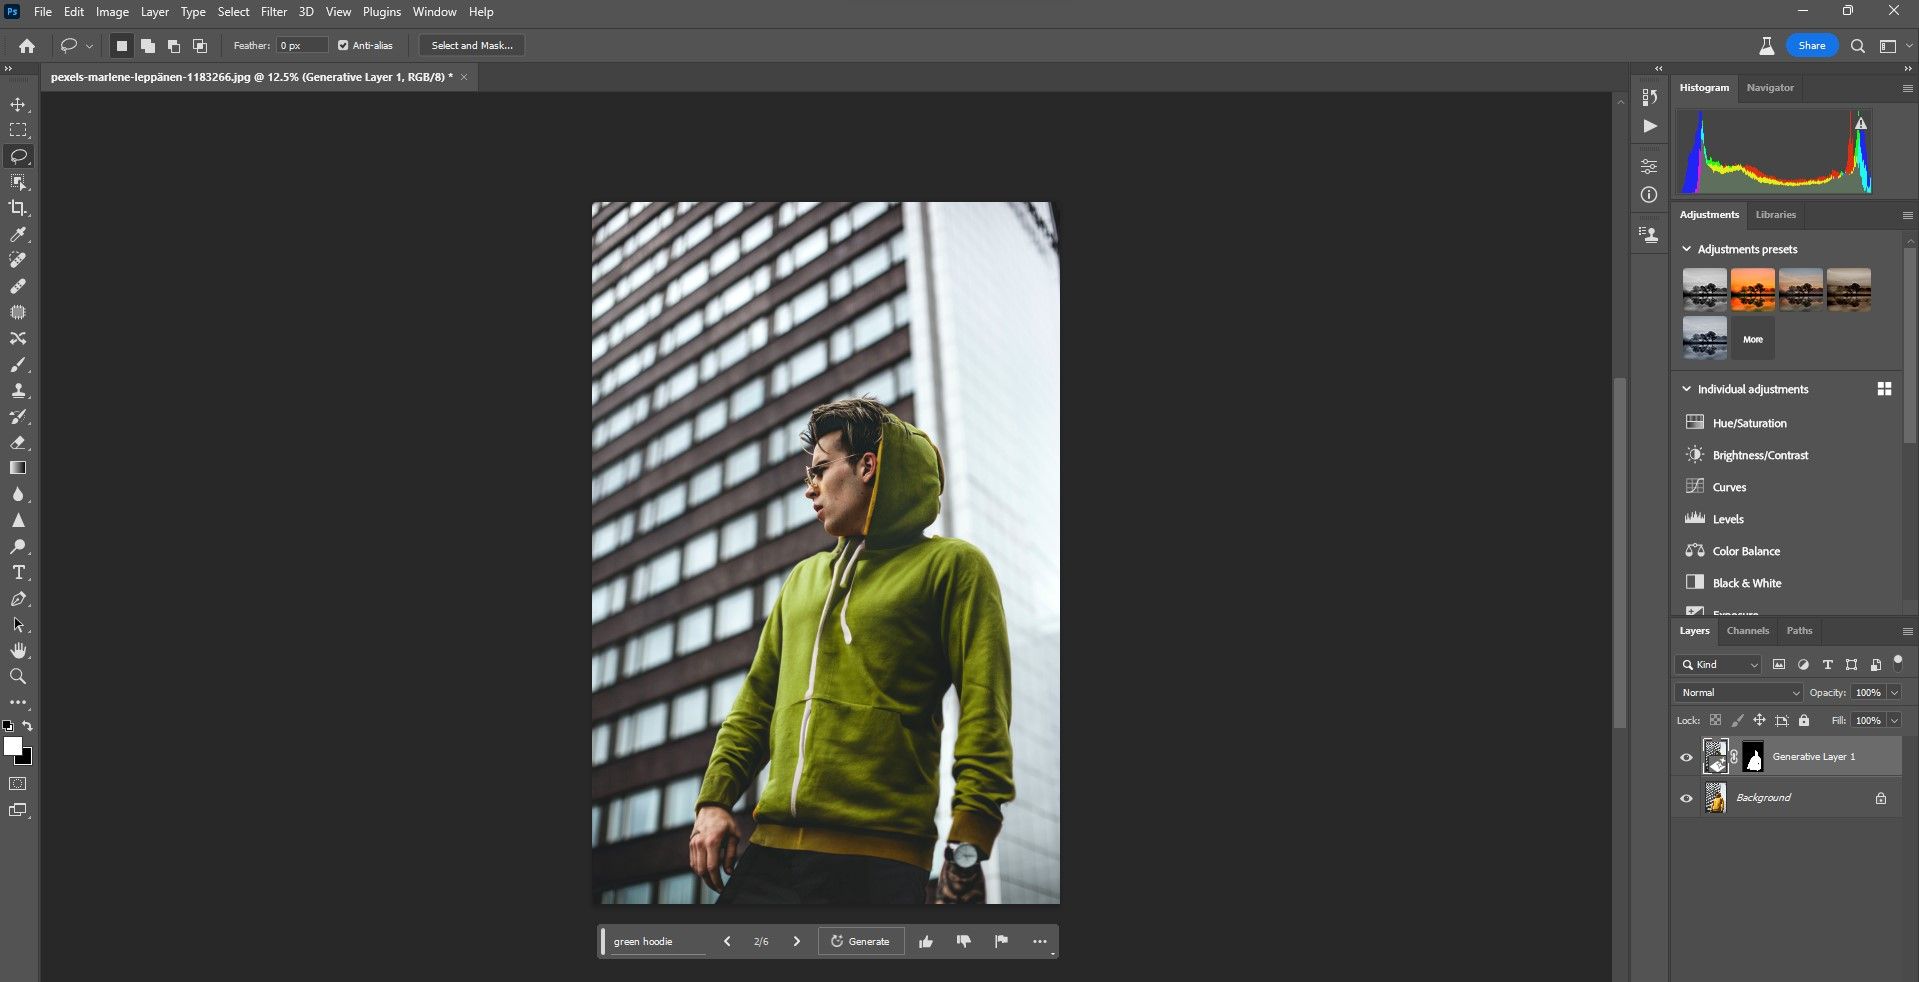
4. Change the Color of Clothing
You won't be able to change the color of the same clothes your subjects are wearing. That's an advanced feature that will probably come after Generative Fill is out of Beta. But at the time of writing, you can change the color of clothing if you don't mind the actual clothing being changed some as well.
Be careful to make a selection of just the clothes. Use the Brush Tool on the mask if you need to make adjustments.
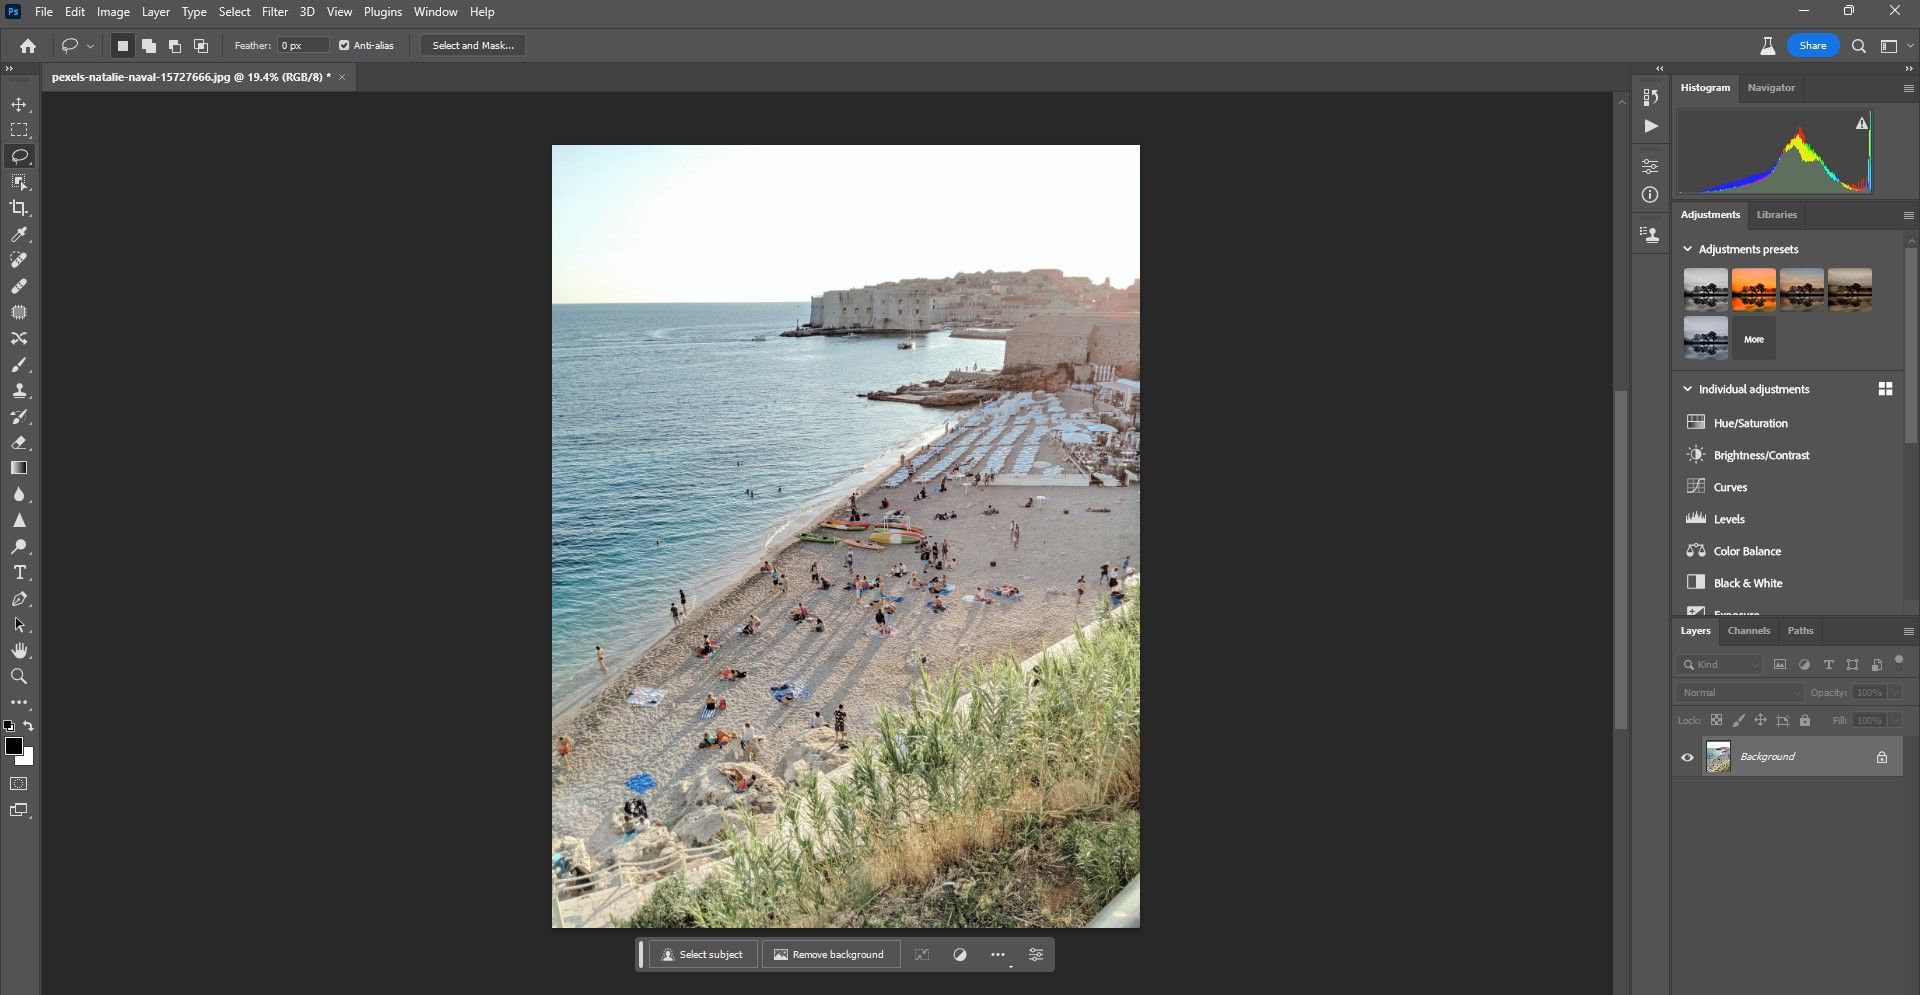
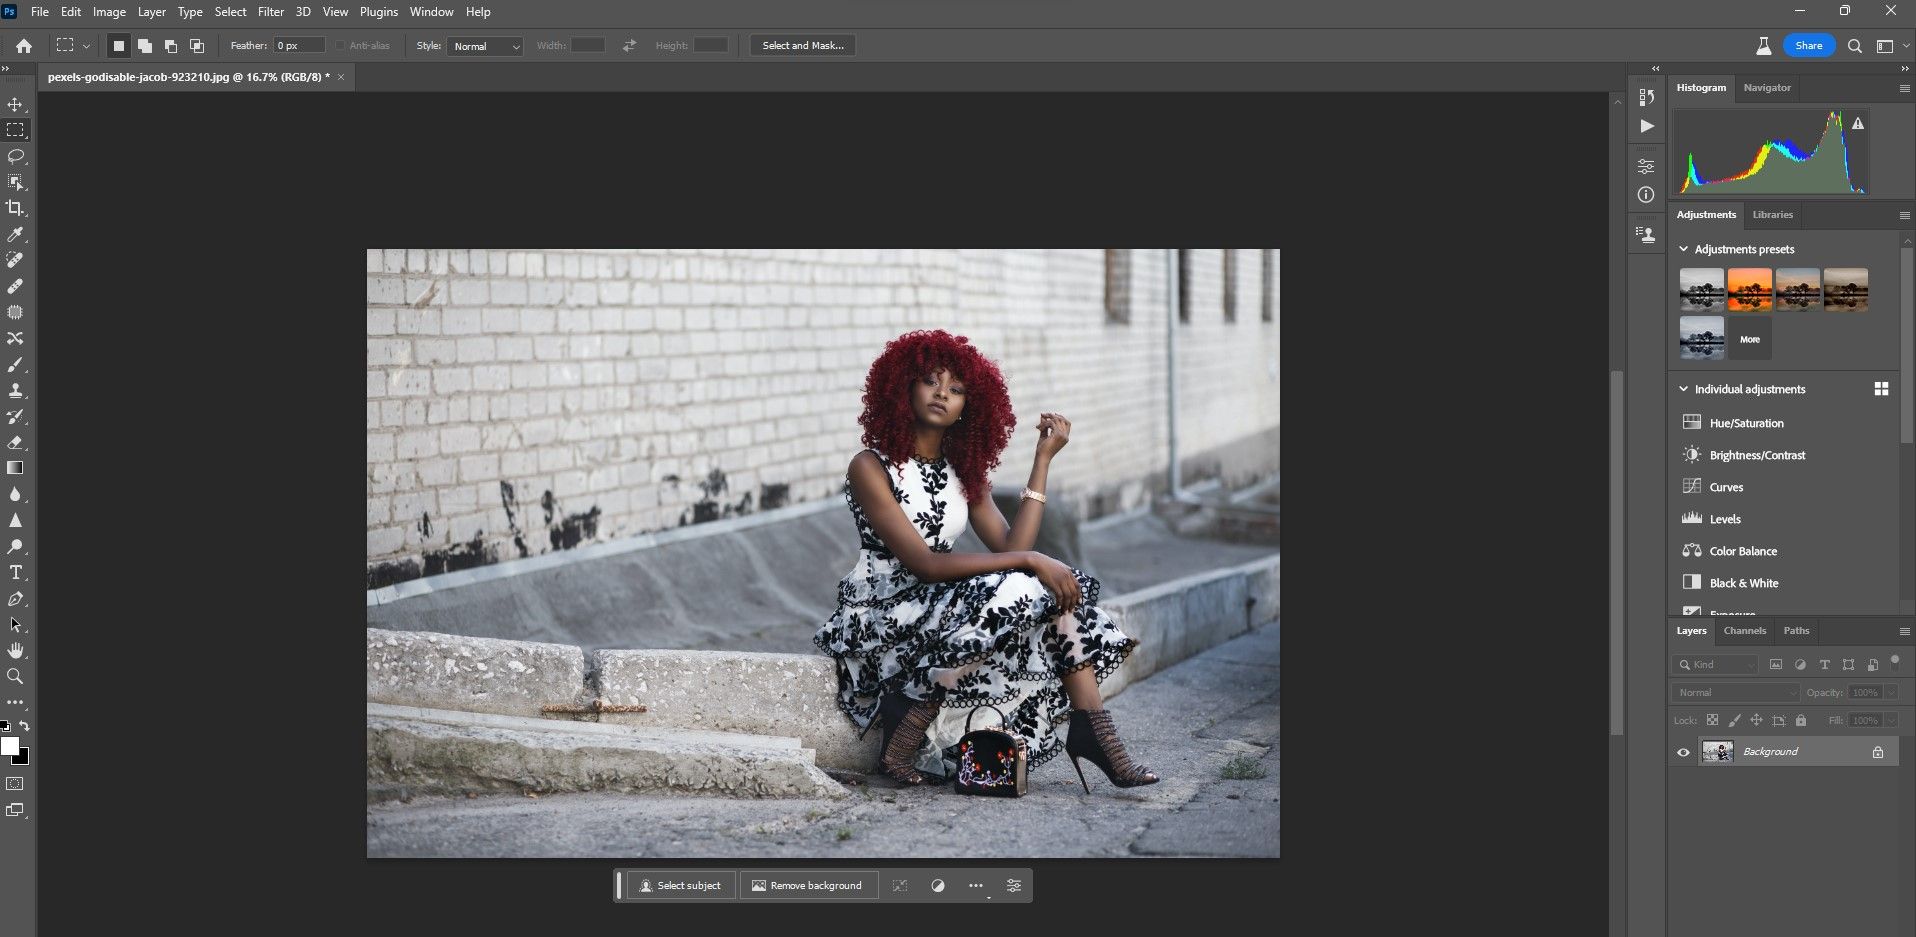
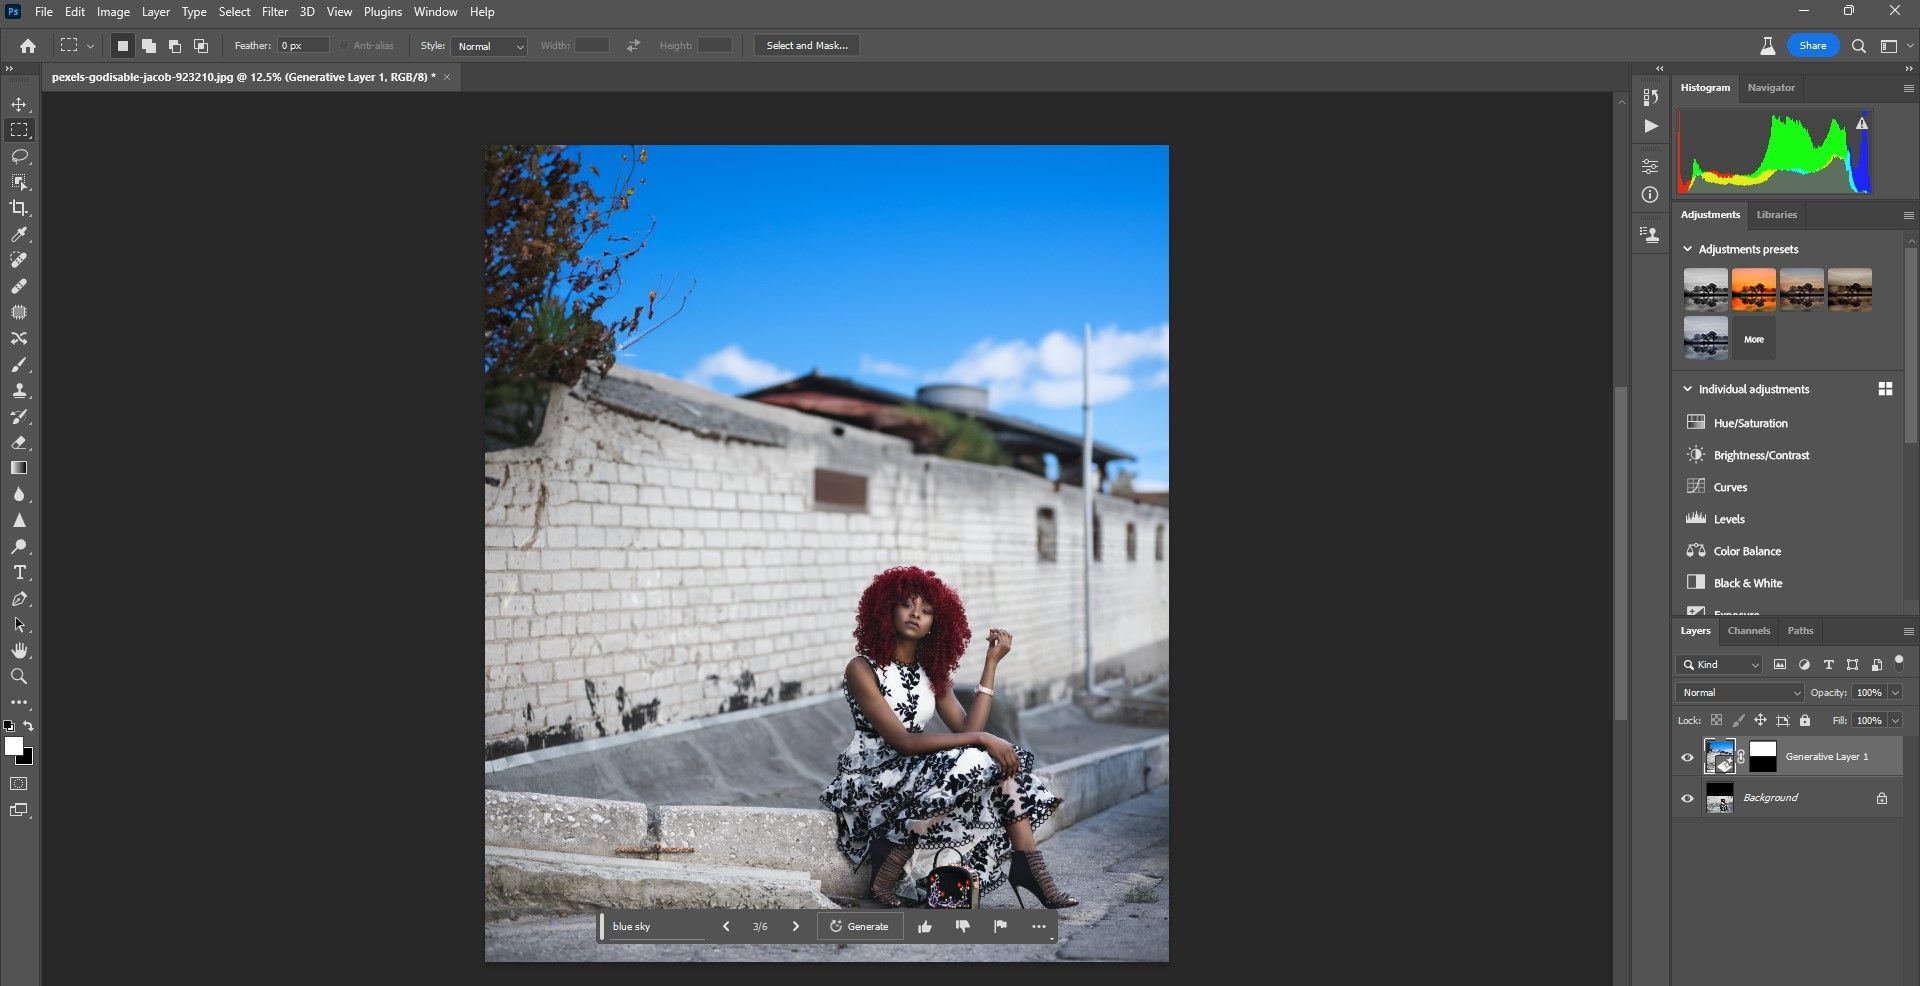
5. Add a Sky to Your Image
With Photoshop and many other photo editing apps out there, you can replace a sky very easily. But with Generative Fill, you can actually add a sky.
Just expand the frame using the Crop Tool and use Generative Fill to create a sky.
6. Add Accessories Like Hats and Sunglasses
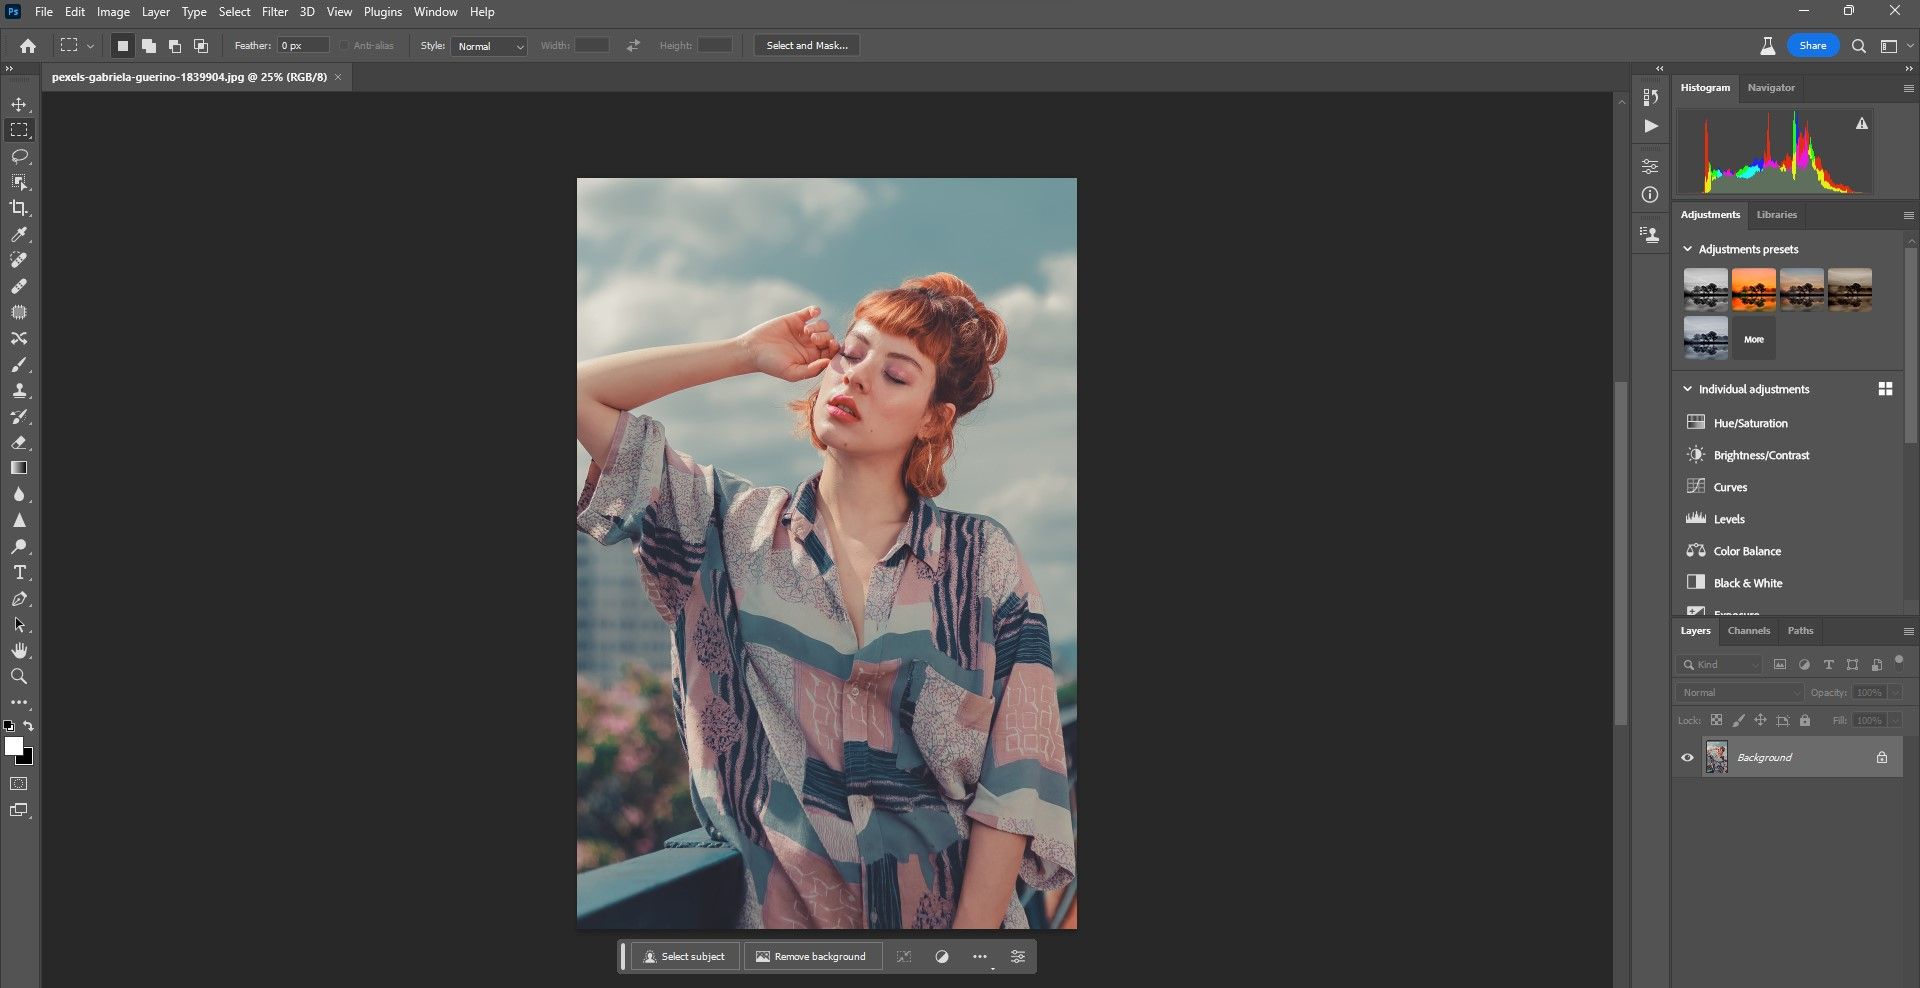
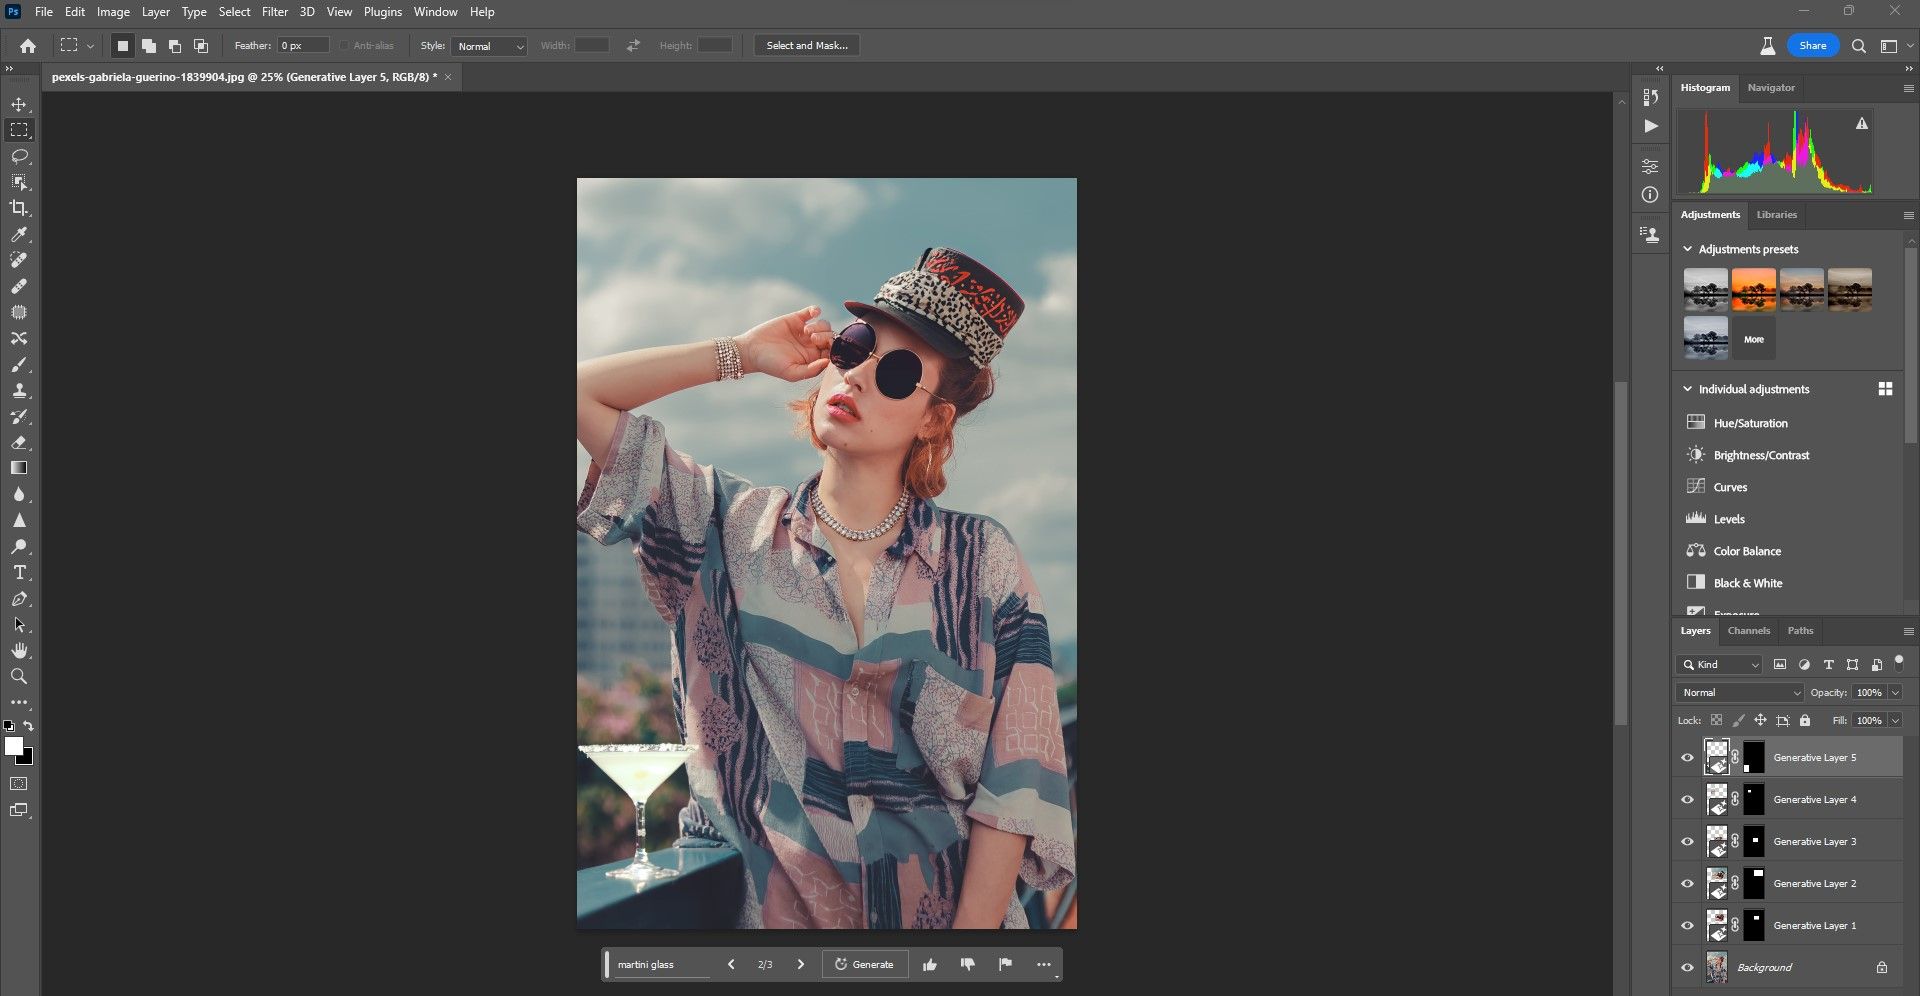
Generative Fill makes it easy to add accessories like hats and sunglasses. It's up to your imagination.
In this case, we also added jewelry and a drink on the railing. It's quite amazing that Photoshop is even getting the reflection in the sunglasses along with the correct lighting adjustments for each object.
To make more complex corrections, it's good to have an understanding of the Select and Mask workspace in Photoshop.
7. Change Expressions and Facial Features
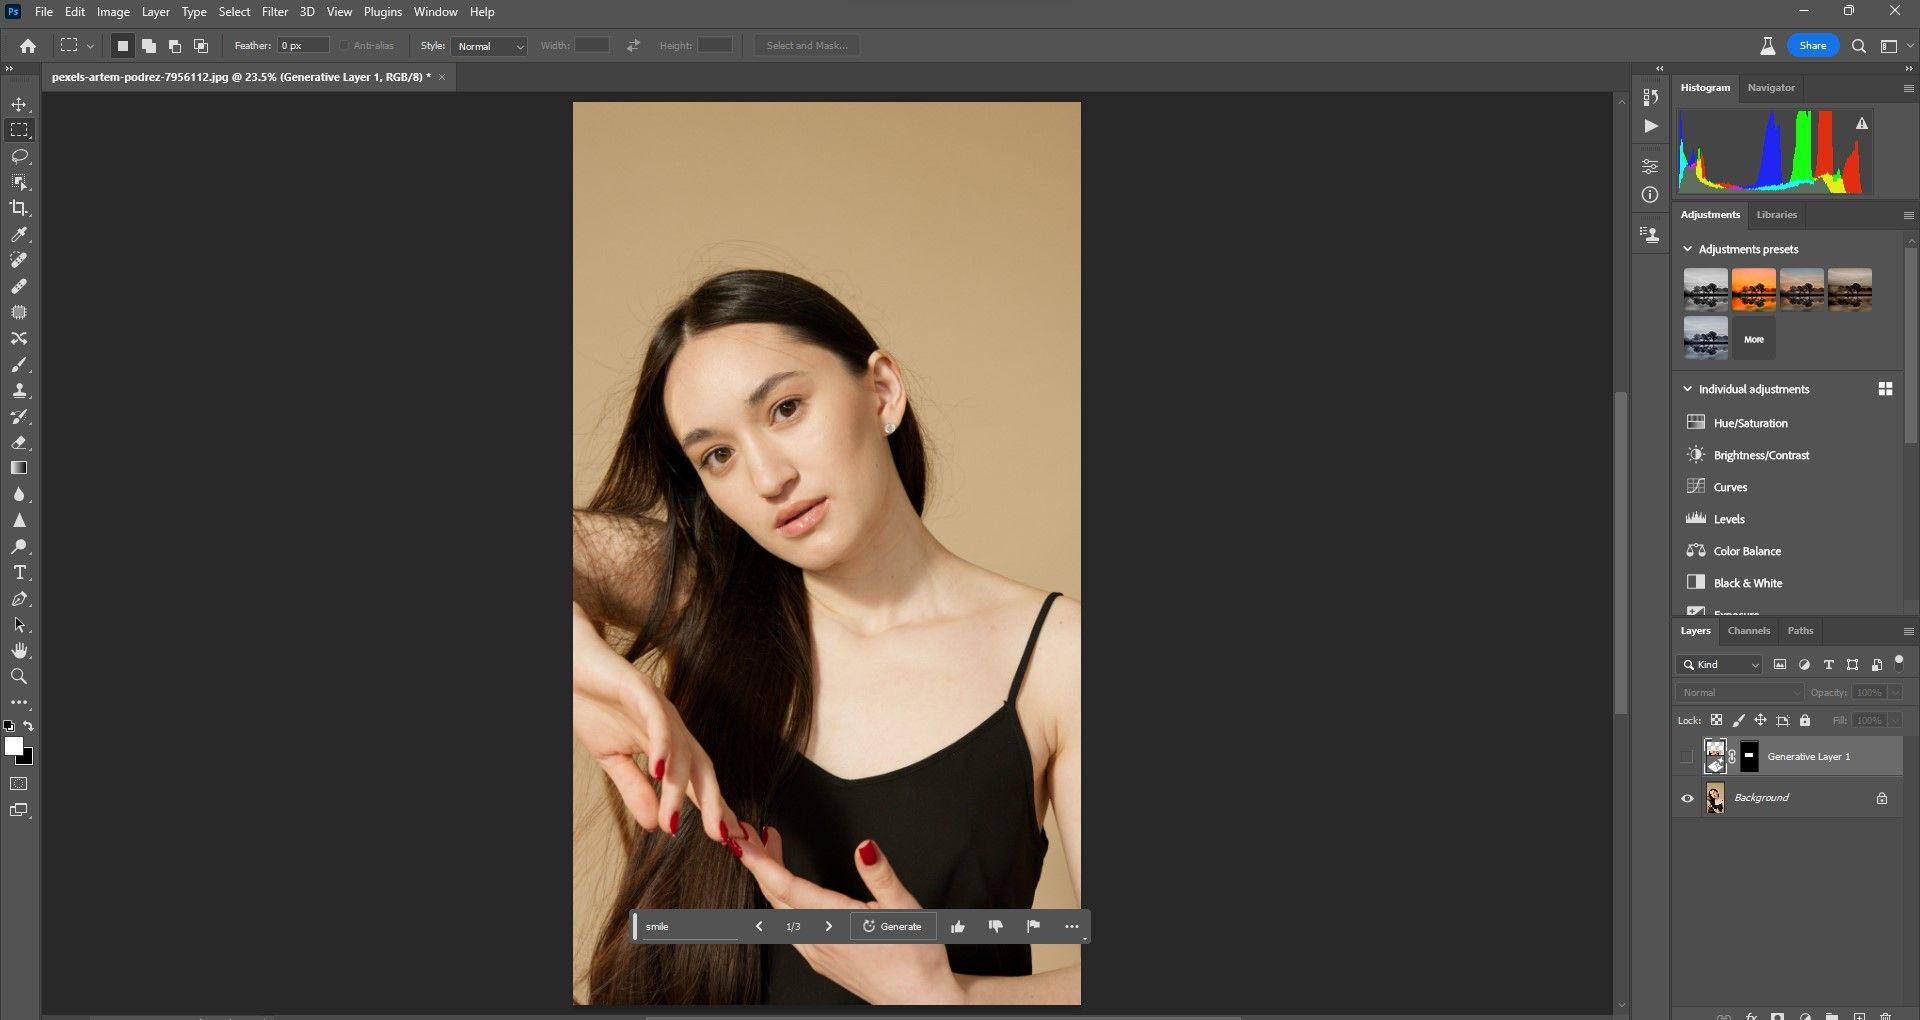
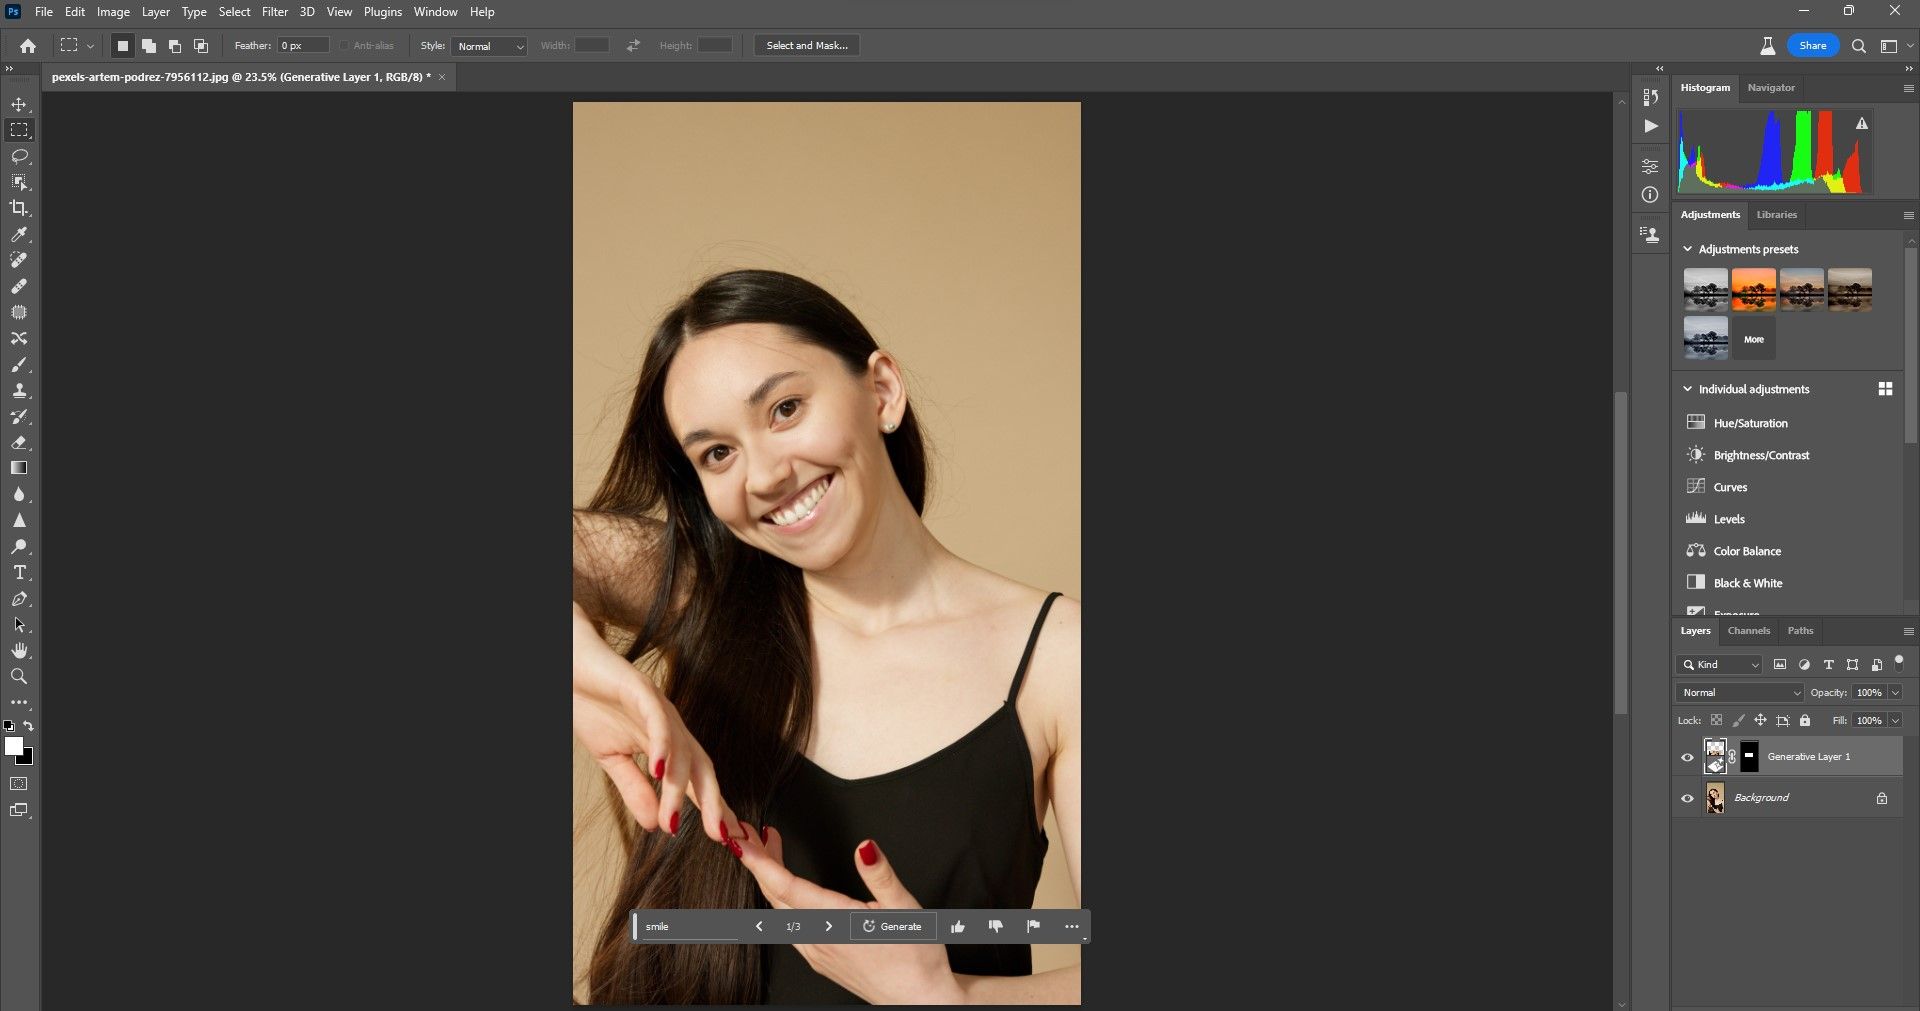
What used to be extremely time-consuming you can now accomplish within a few moments in Photoshop. You can change the expression on someone's face with a simple text prompt, like "smile".
The trick to this is to make sure to select more space than you might actually need to change the expression more precisely. That's because when someone emotes, there are other muscles that are used to create that expression apart from the focus area.
You can also use third-party plugins like PortraitPro to enhance your images after using Generative Fill.
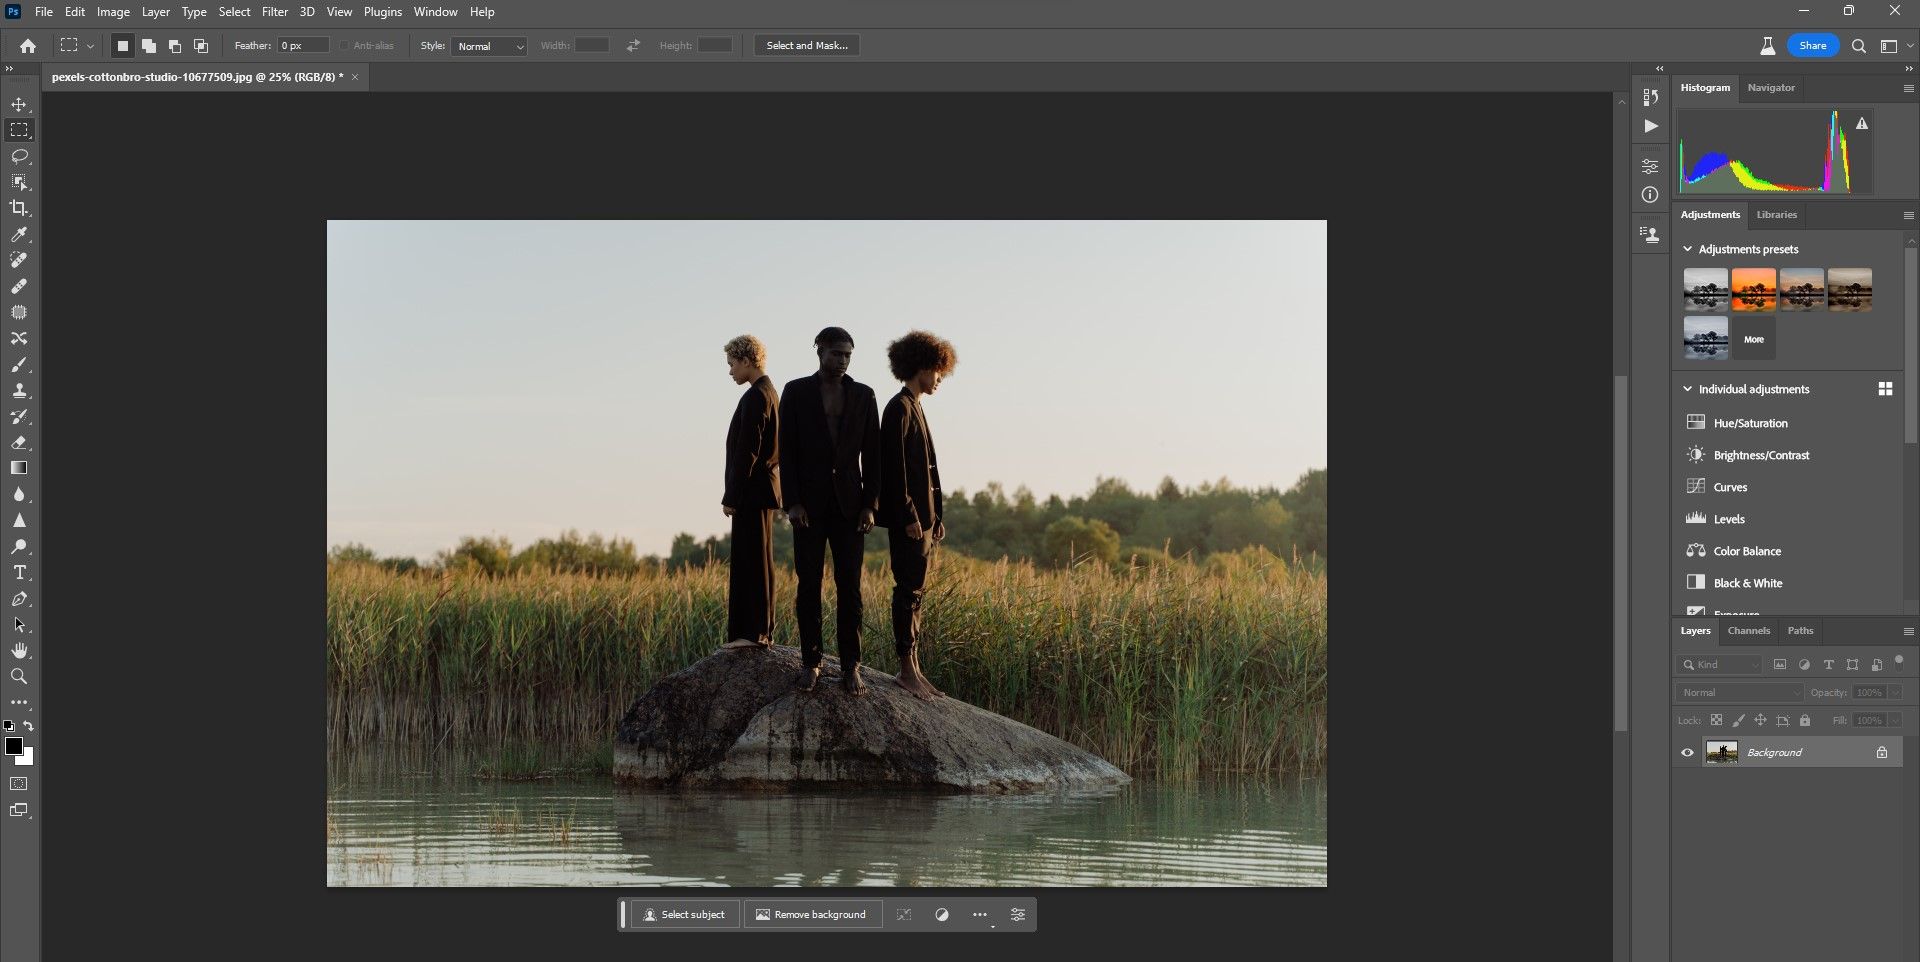
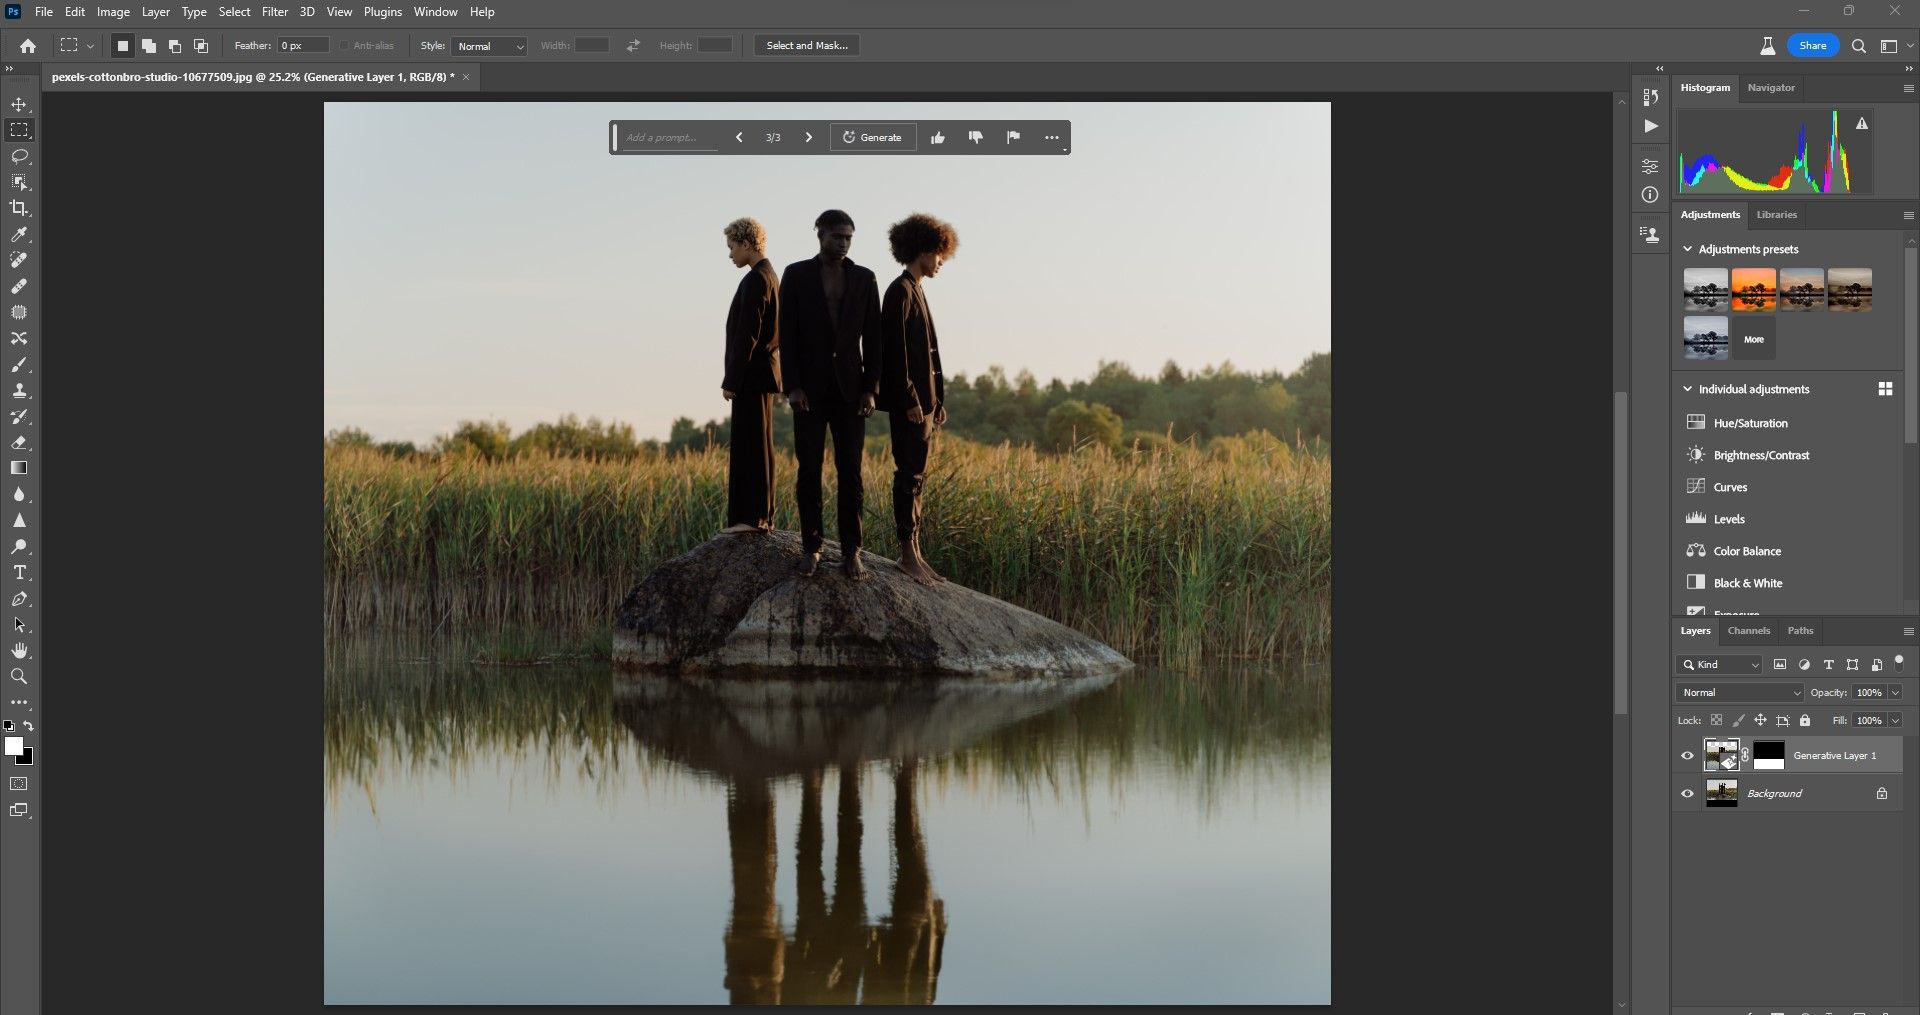
8. Create Reflections
You can create reflections without having to enter anything in the prompt section. That's because Generative Fill takes into account the entire image. But if you want a really nice reflection, you may have to extend the frame by cropping to allow space for the reflection.
This is another task that used to only be possible in Photoshop after going through several steps—such as this Photoshop guide on creating water reflections of skies. Once again, it only takes a few moments with Generative Fill.
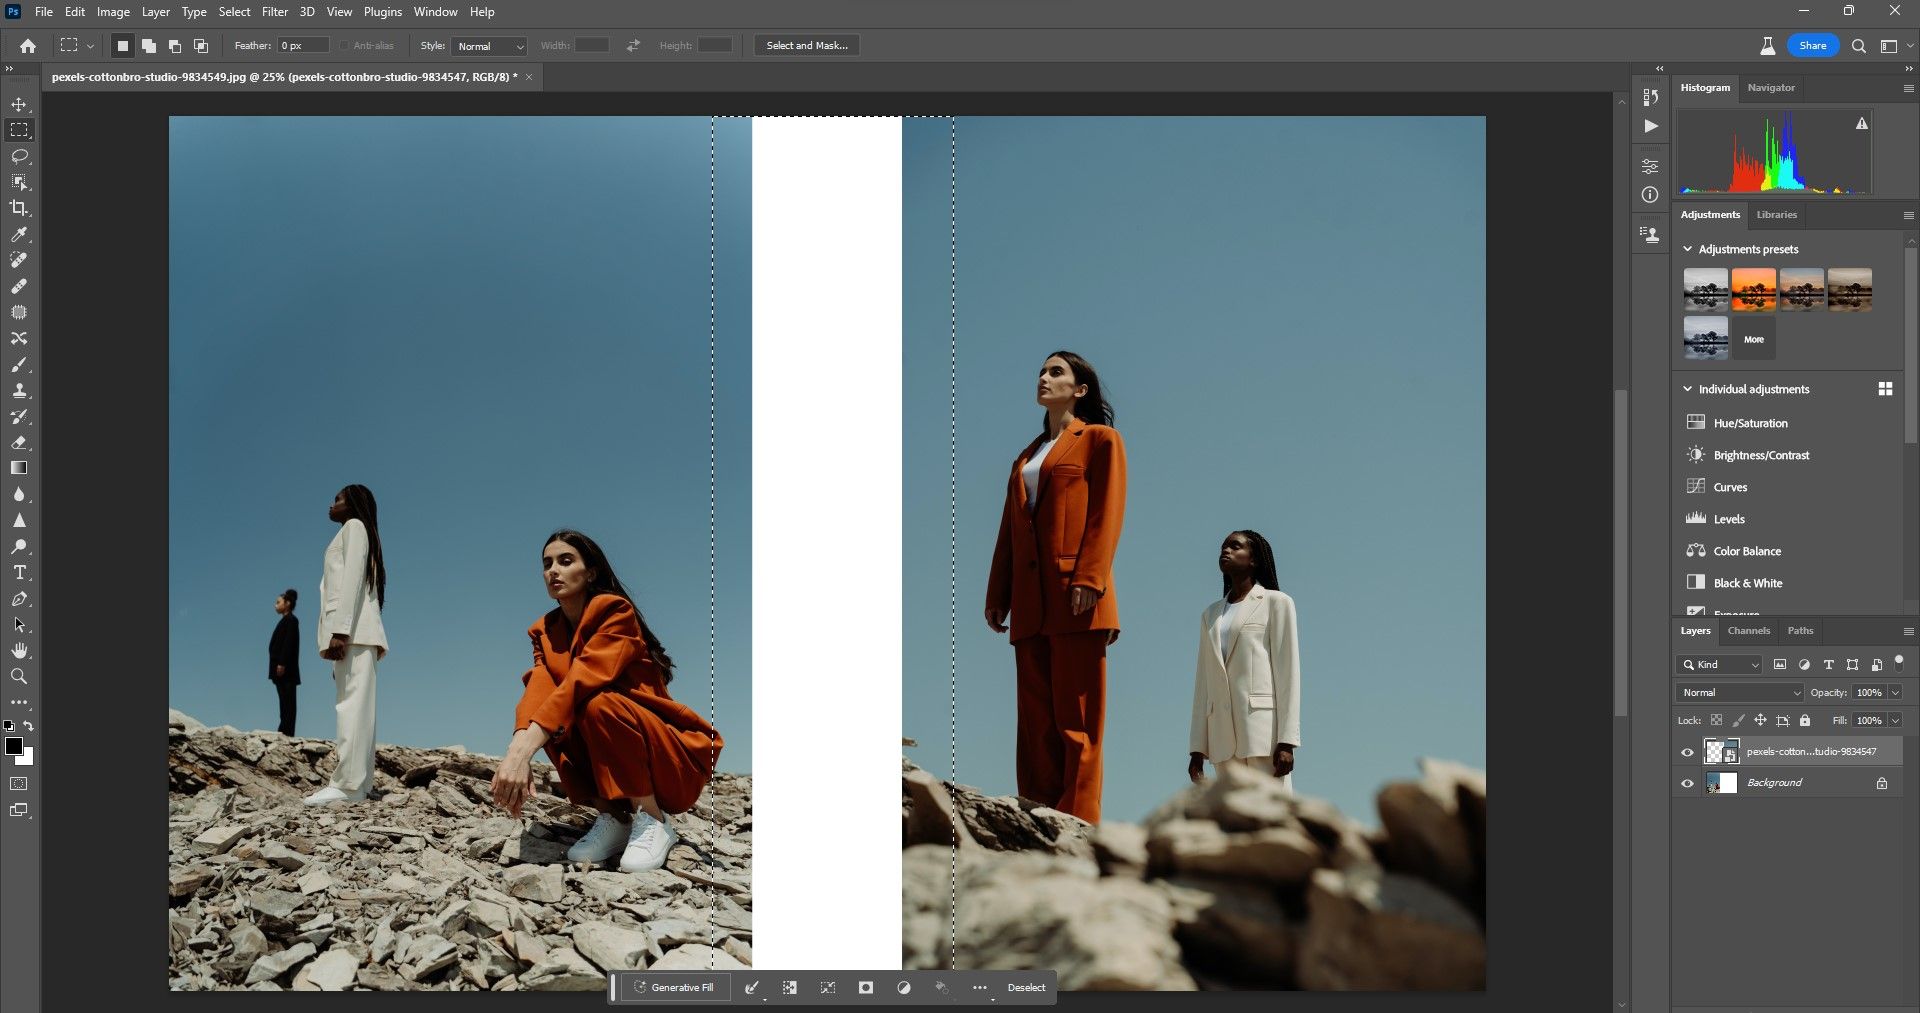
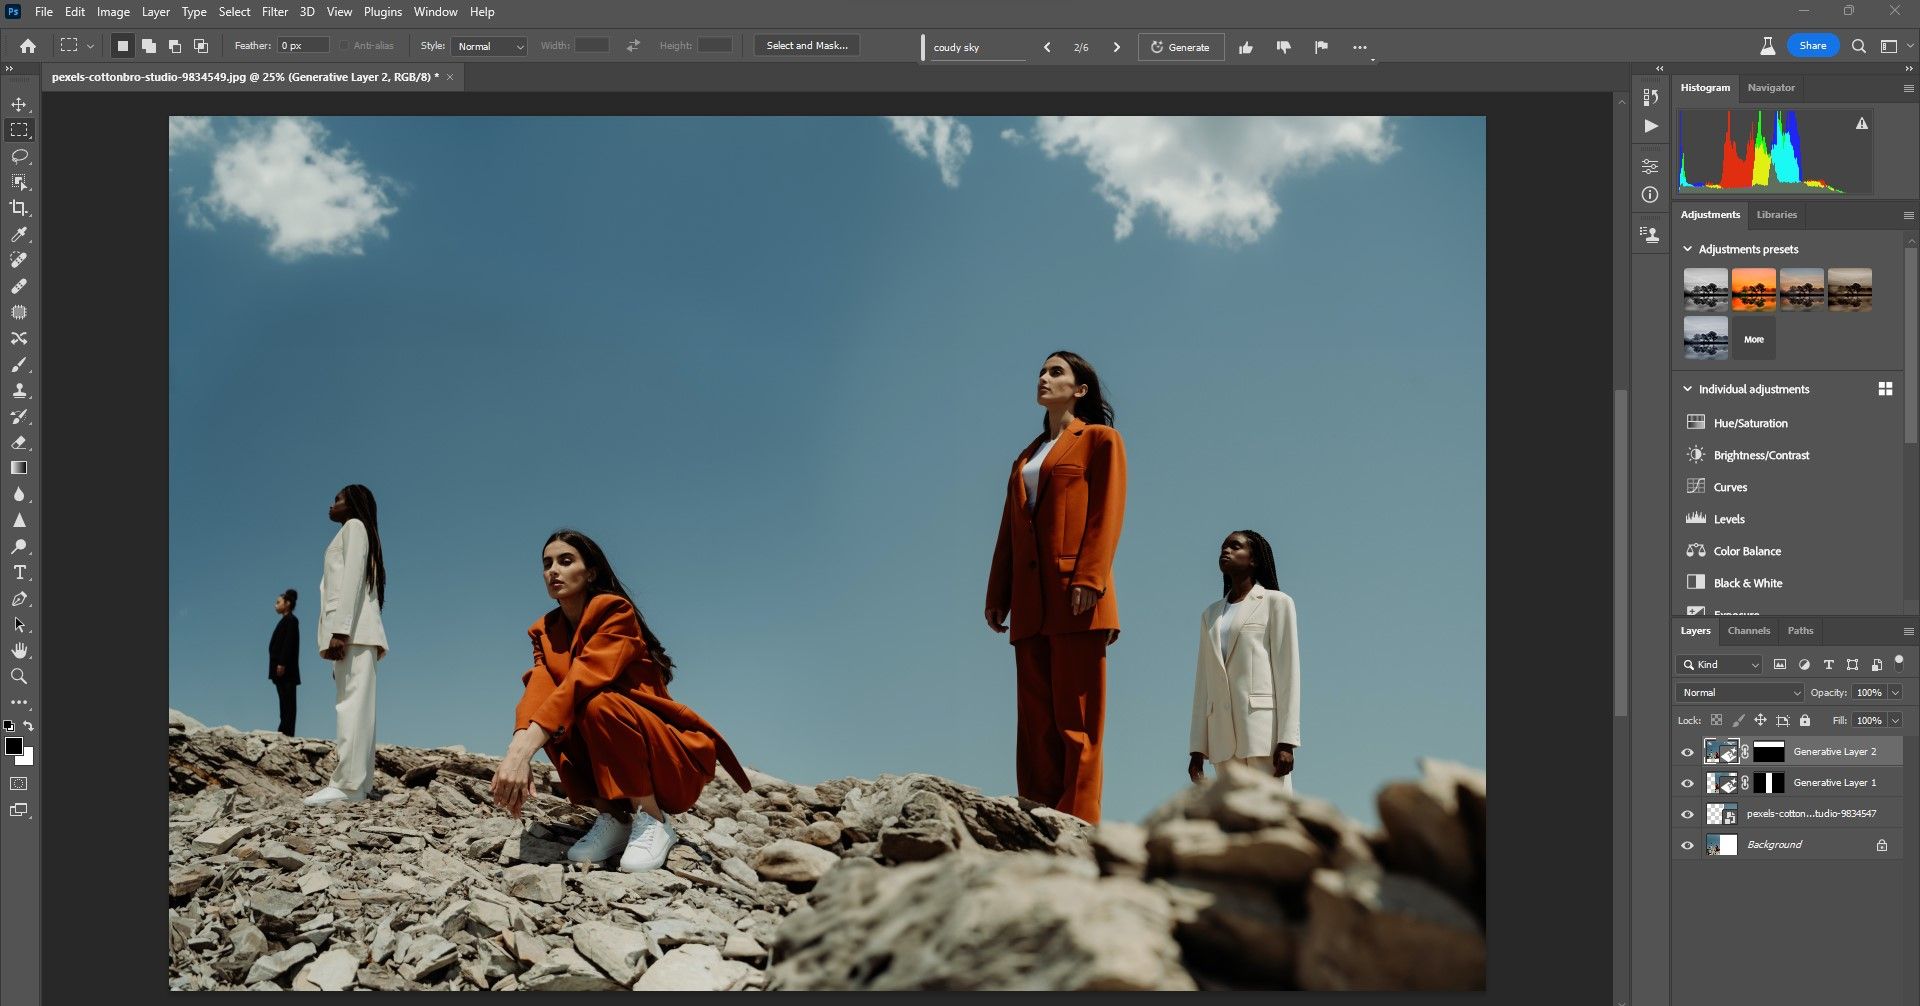
9. Blend Two or More Images Together
You can seamlessly blend two or more images together using Generative Fill. Place the images side-by-side and then make a selection. The Rectangular Marquee Tool works well for this.
For this example, we also selected part of the sky after the initial selection to add some clouds. Generative Fill also did a pretty good job at blending in foregrounds with different focus values.
10. Create an Image From Scratch
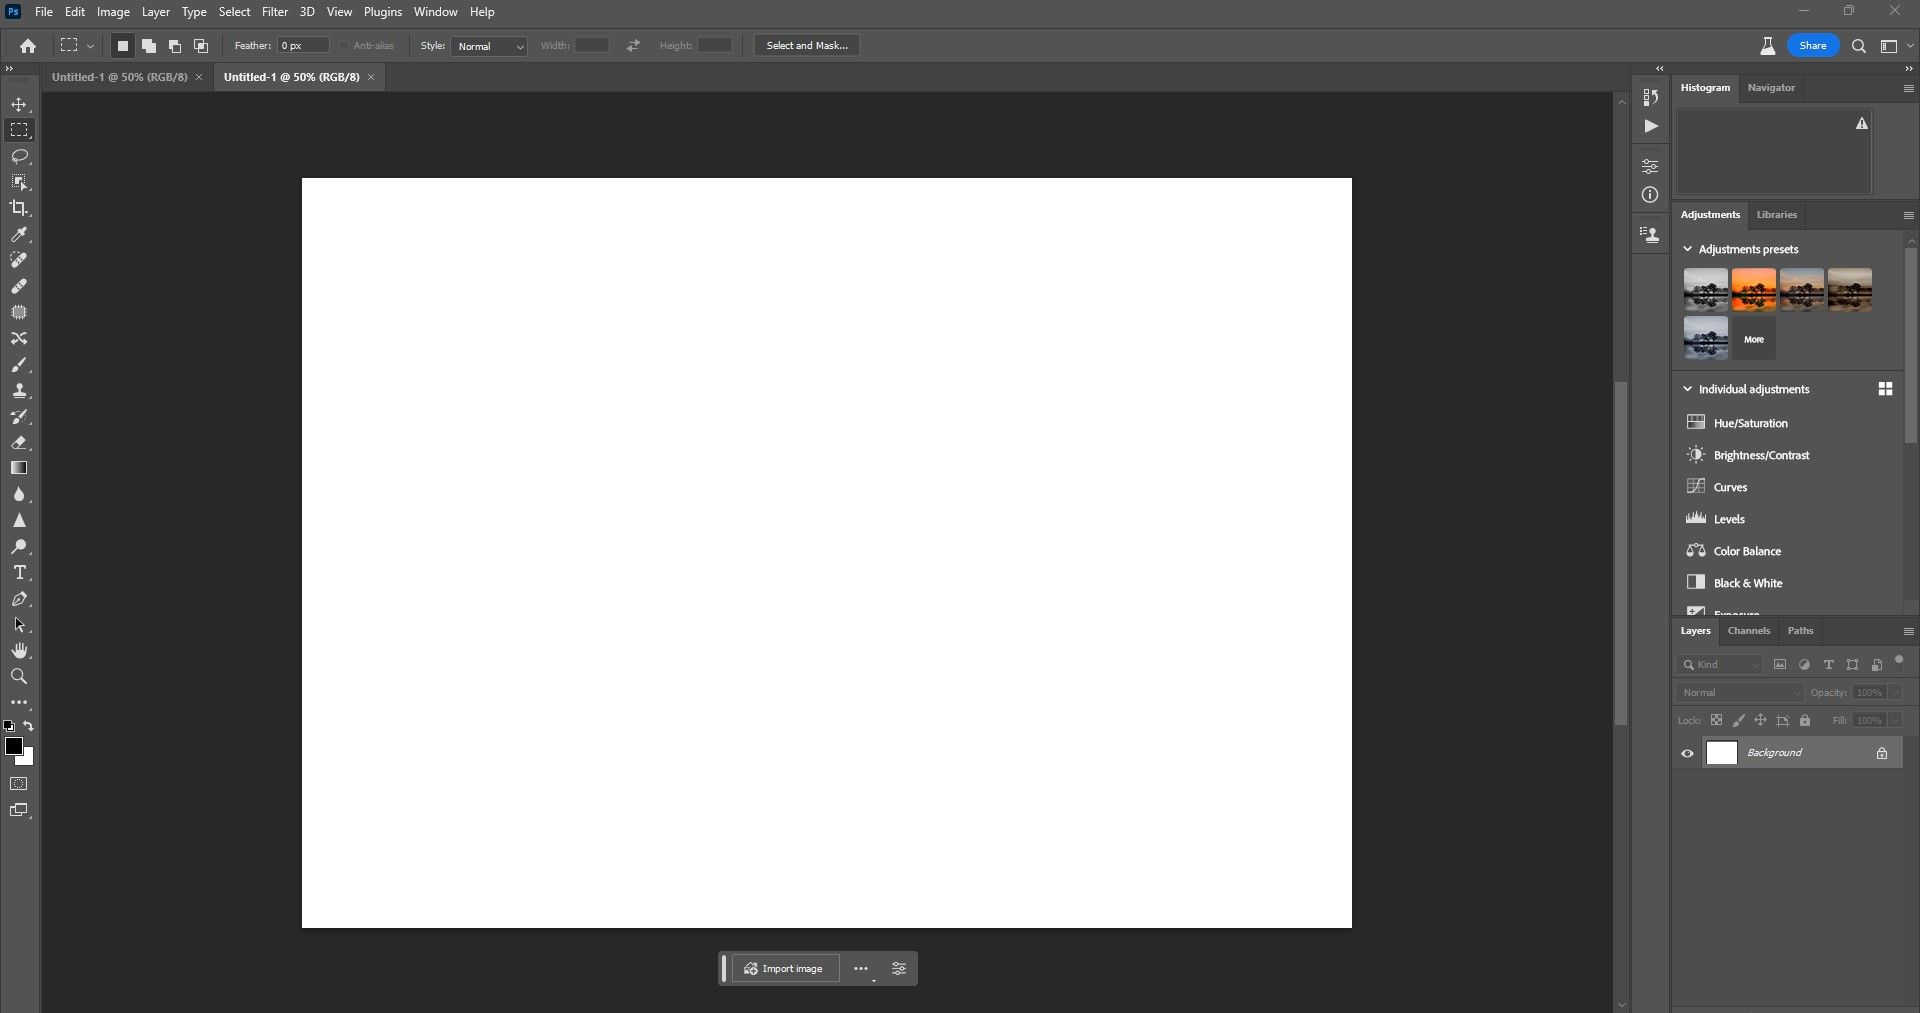
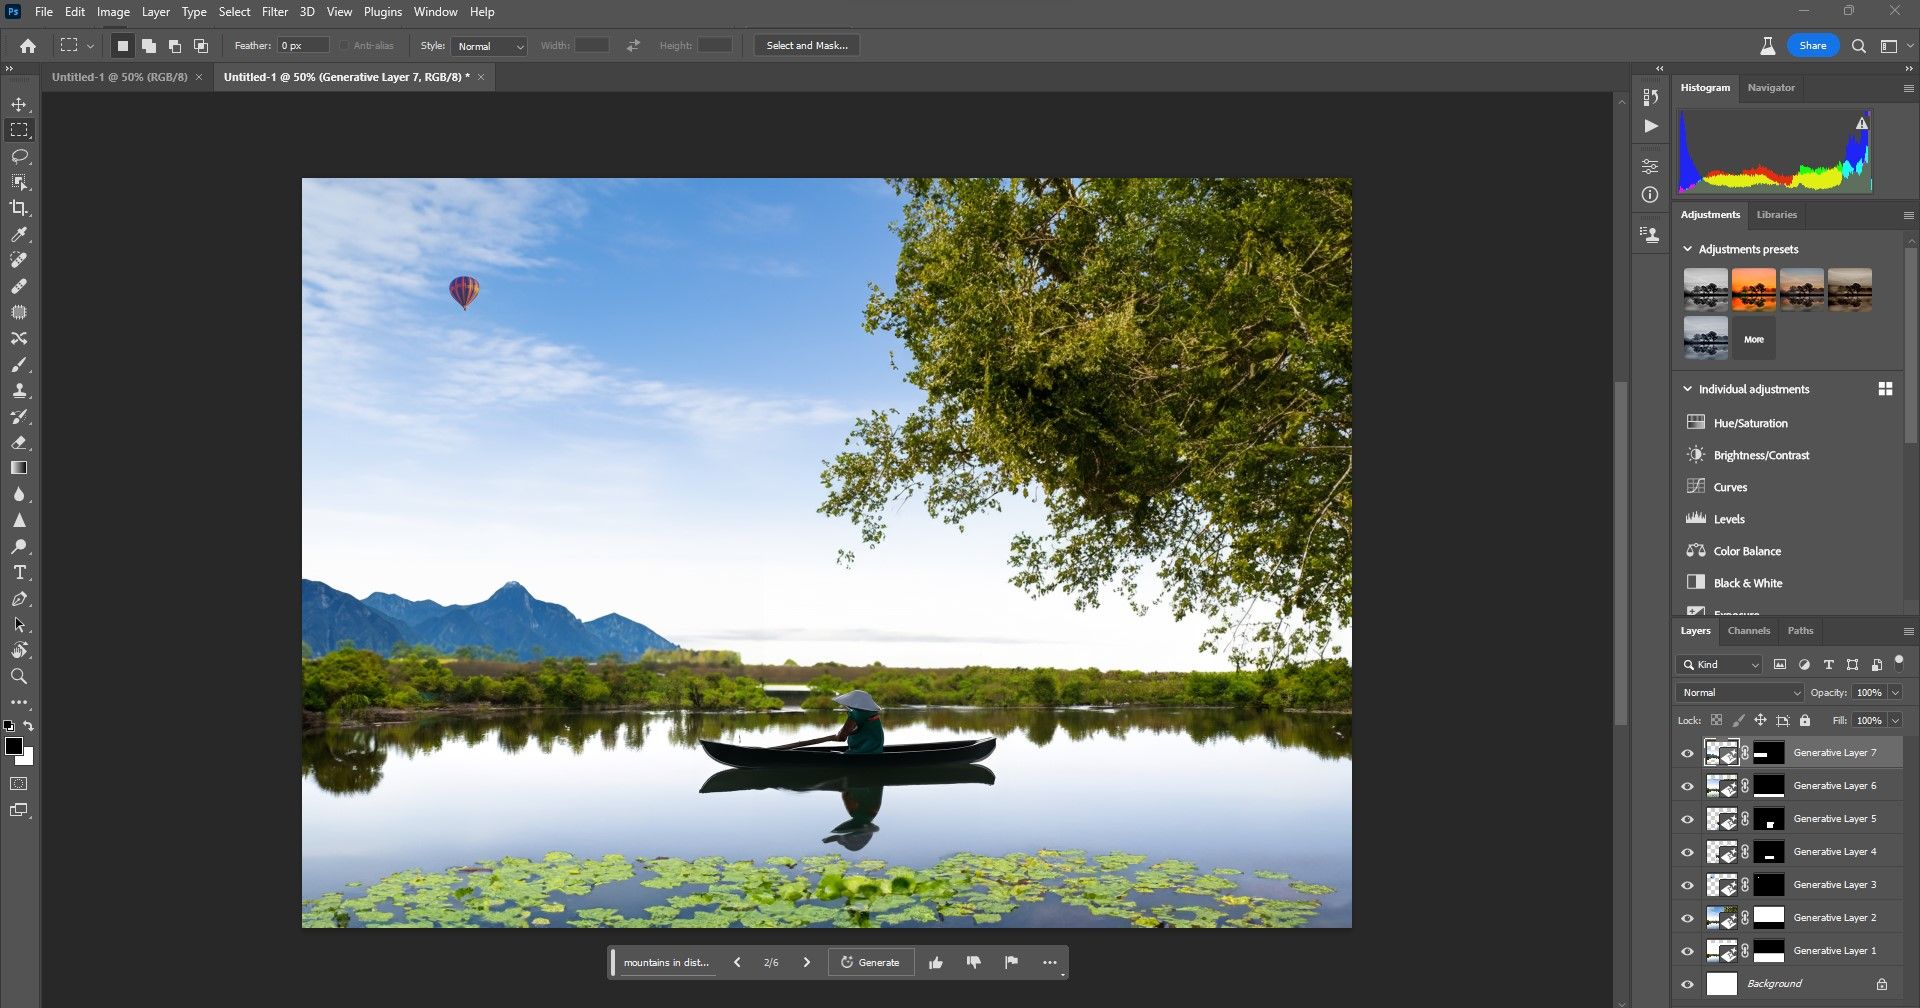
You can use Generative Fill to create images from scratch. All you have to do is create a New Document in Photoshop and choose the dimensions. Then add your selections and create your image, frame-by-frame.
It's simply amazing what Generative Fill can create in Photoshop Beta. We expect more control and expanded capabilities in future releases.
Generative Fill Is Changing the Photoshop Landscape
There's no question that AI tools like Generative Fill are going to change how we edit and create in Photoshop going forward. While we shouldn't expect Photoshop tools to be replaced with all AI substitutes anytime soon, it's certainly going to be easier for beginners to open up Photoshop and start using it in the not-so-distant future without any intensive training.
We highly recommend that Photoshop users and newcomers alike check out what Generative Fill can do for your creative workflow.


