
Photobombers and other people you no longer want in your precious photos can sometimes be difficult to remove in Photoshop. One of the main reasons for this is that the unwanted person may be obscuring the person you want to keep in the photo.
This can create a nightmare scenario of missing pixels that could be next to impossible to replace using standard Photoshop tools like the Clone Stamp tool, the Patch tool, and the Healing brushes. This is the perfect job for DALL-E 2, however.
In this tutorial, we'll show you how to easily remove an unwanted person using Photoshop and replace the missing pixels with the AI magic of DALL-E 2. Let's get started!
Step 1: Select the Person You Want to Remove in Photoshop
First, we need to make a selection of the photobomber (we'll use this term for any unwanted person in the photo) and delete it from the image.
-
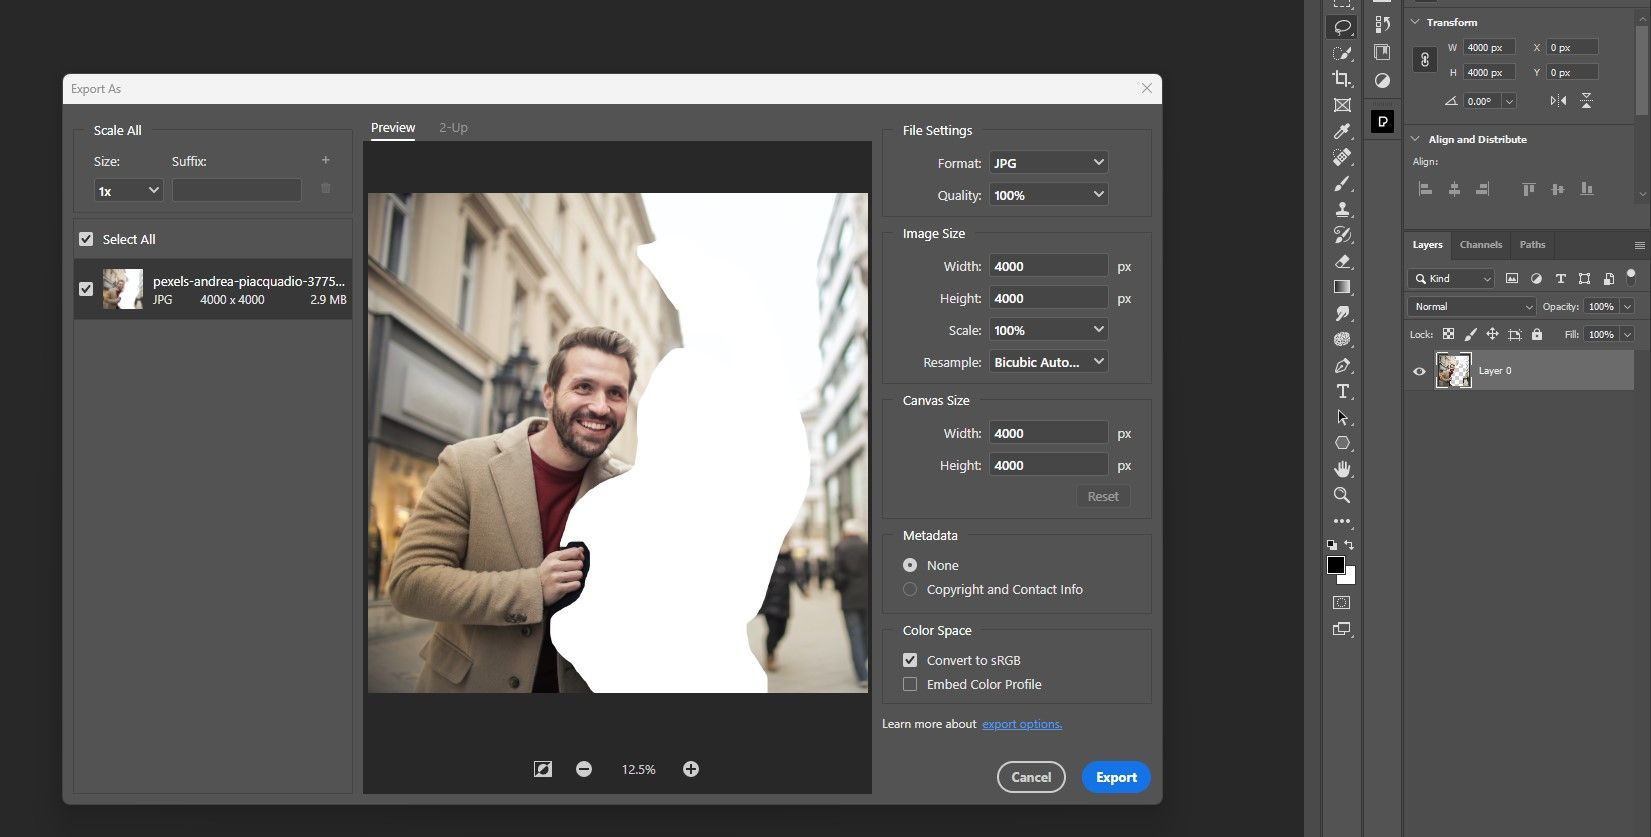
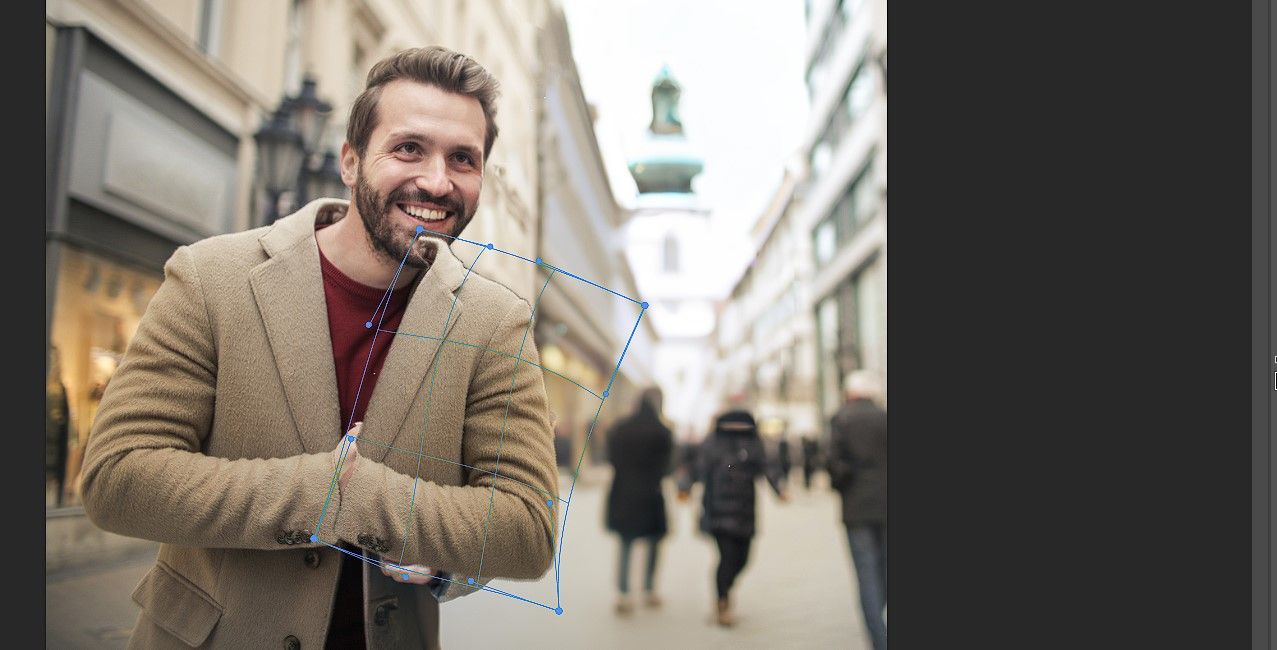
Crop the image to a square since DALL-E 2 outputs a square image. Then press Enter or click on the checkmark. There are multiple cropping methods in Photoshop that you can utilize.
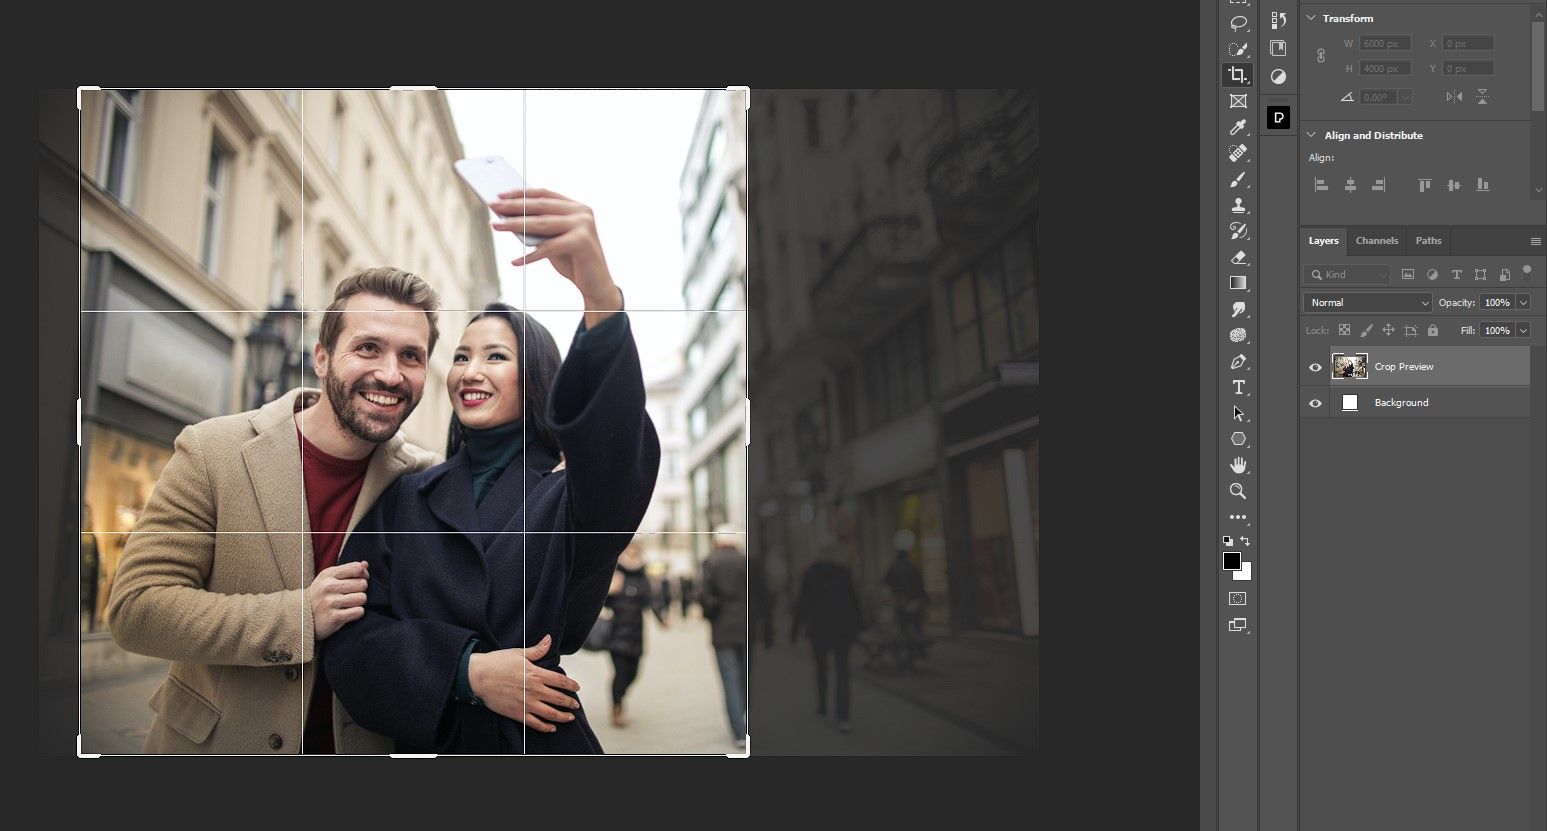
-
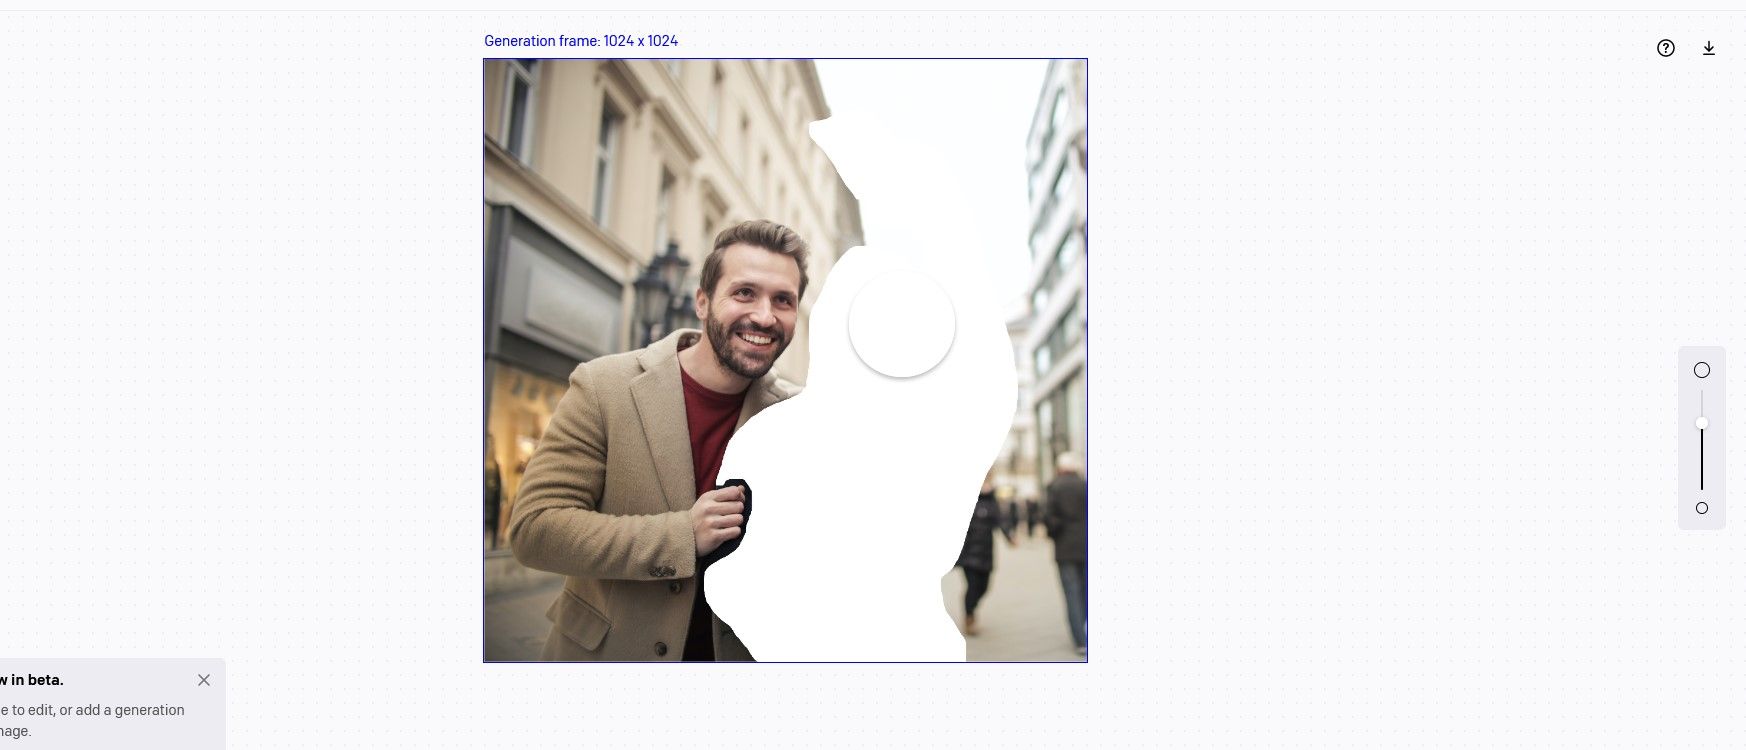
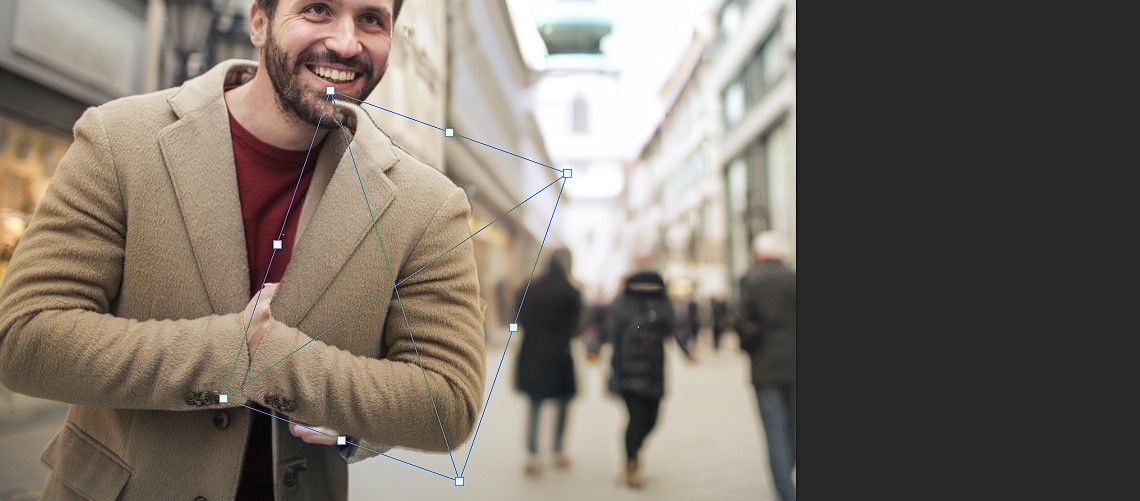
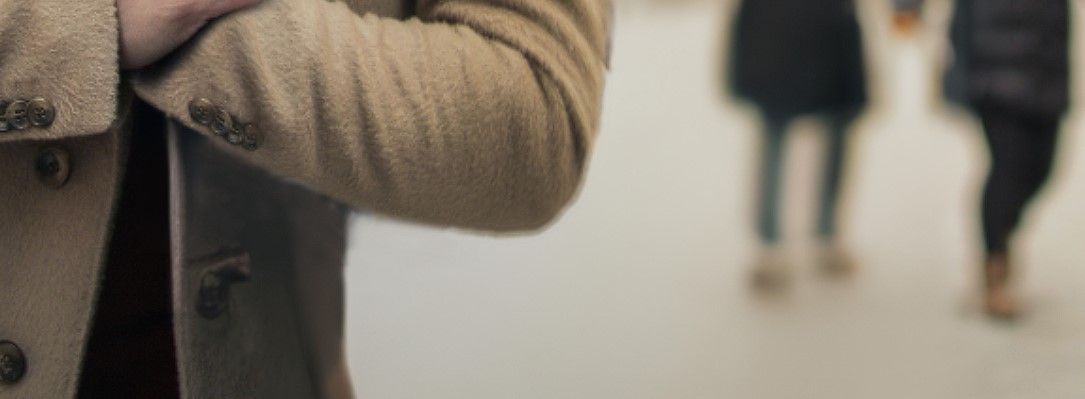
Press L for the Lasso tool, which you're then going to use to select the photobomber. In this example, we left some of the coat's pixels around the man's hand so that DALL-E 2 doesn't try to replace it.
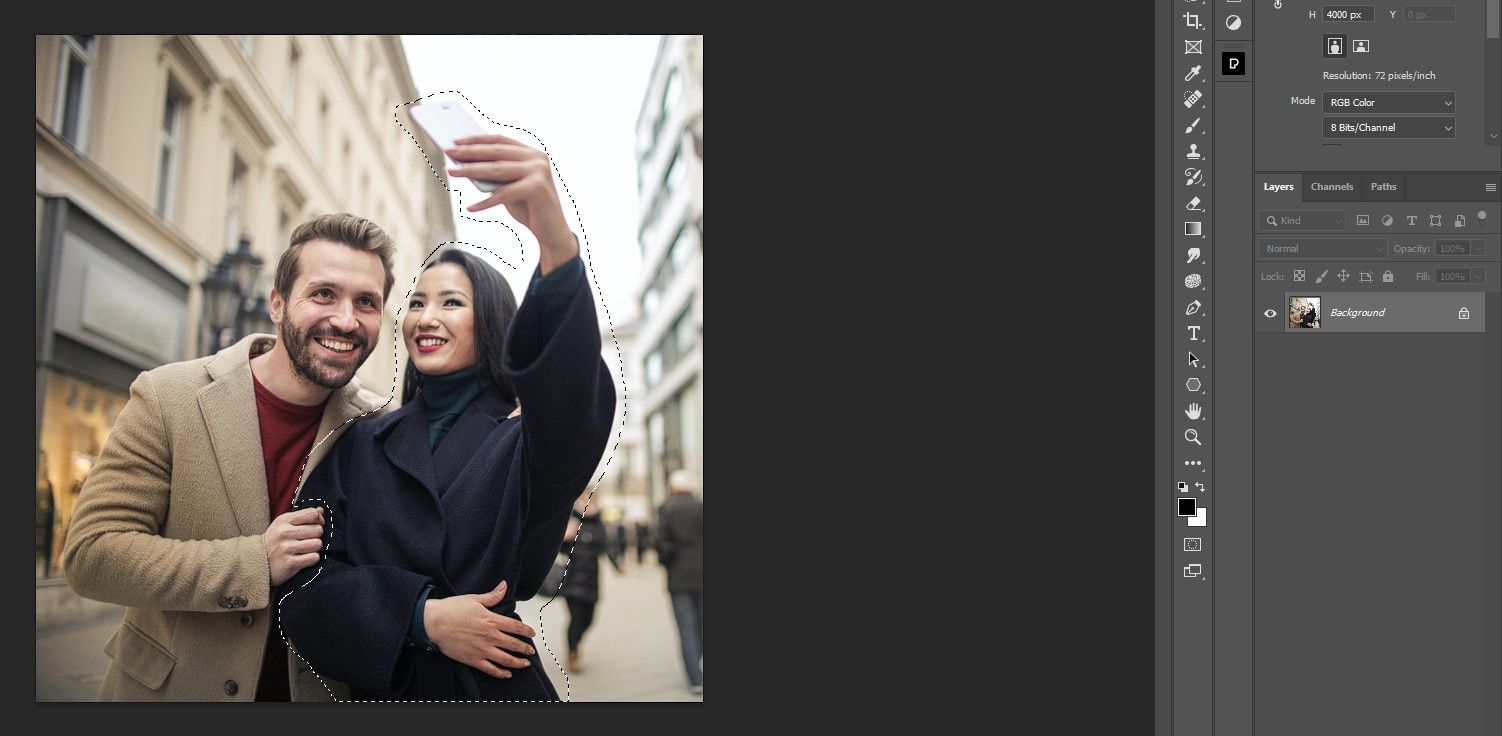
-
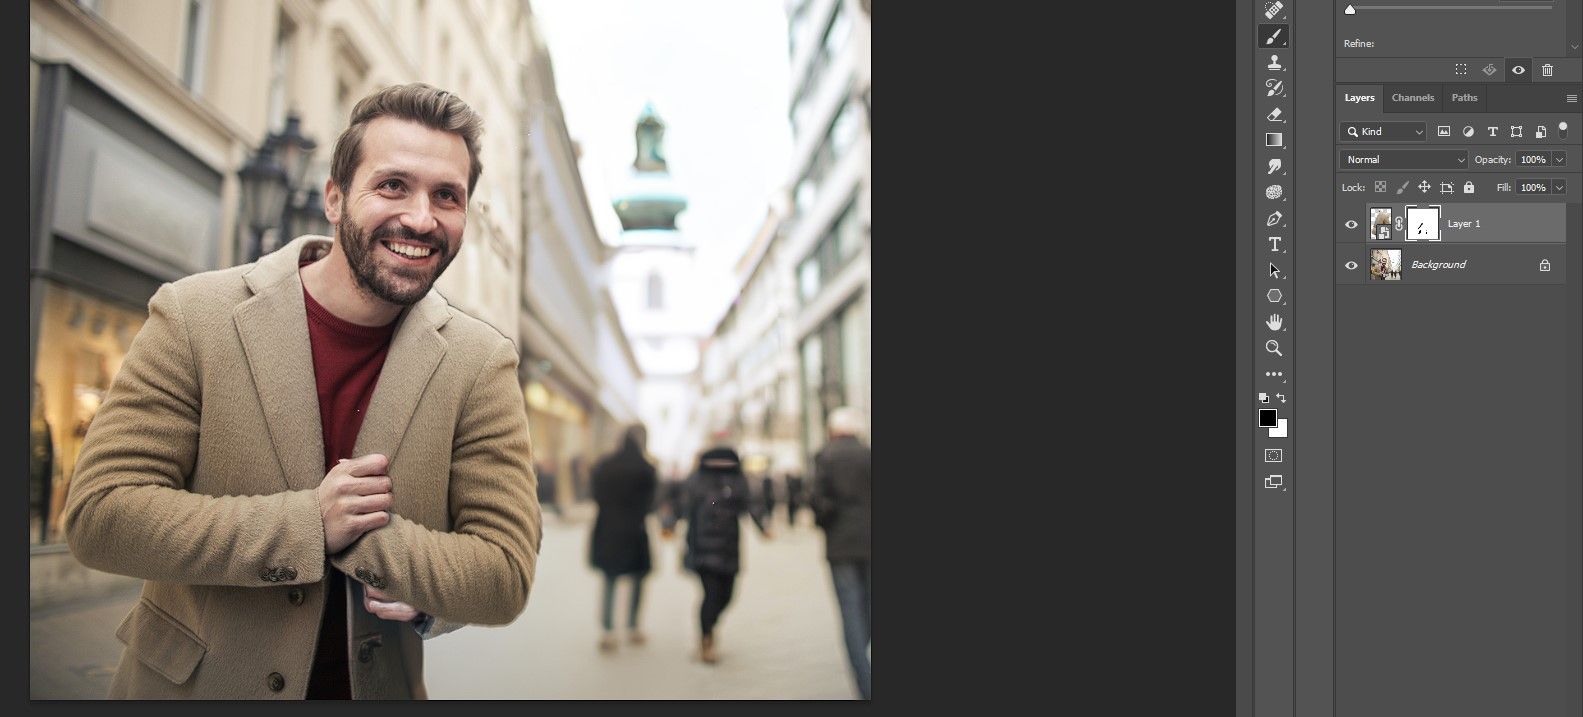
Unlock the Background layer by clicking on the padlock icon.
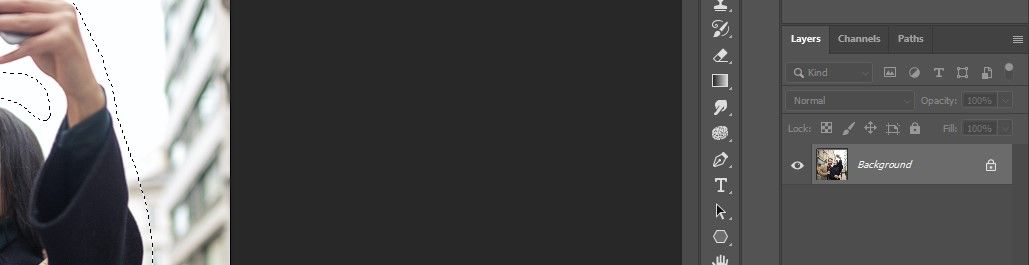
-
Press the Delete key to remove the selected photobomber from the image.
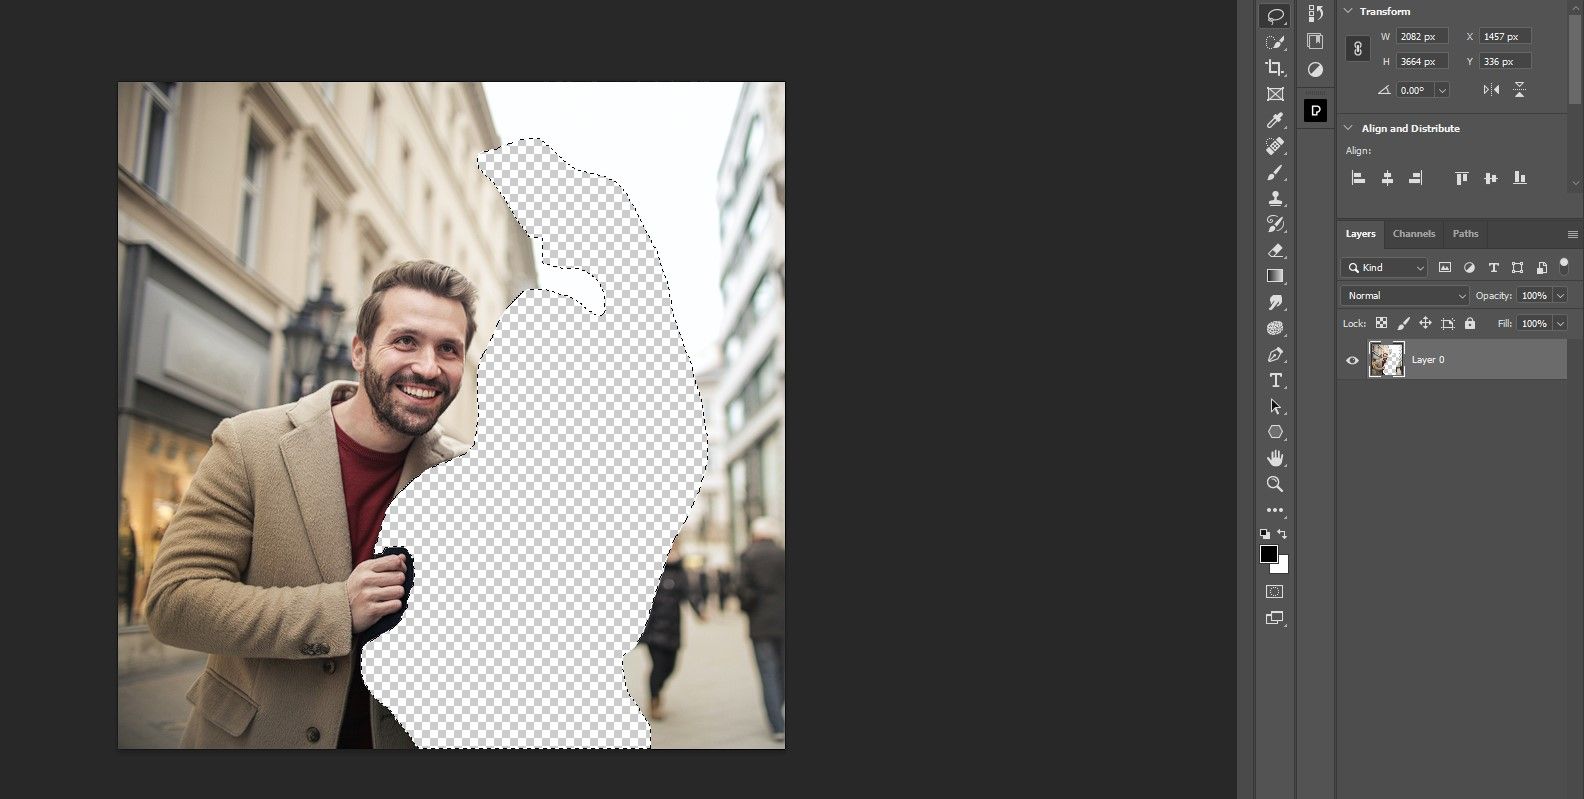
- Press Ctrl + D to deselect the deleted pixels.
-
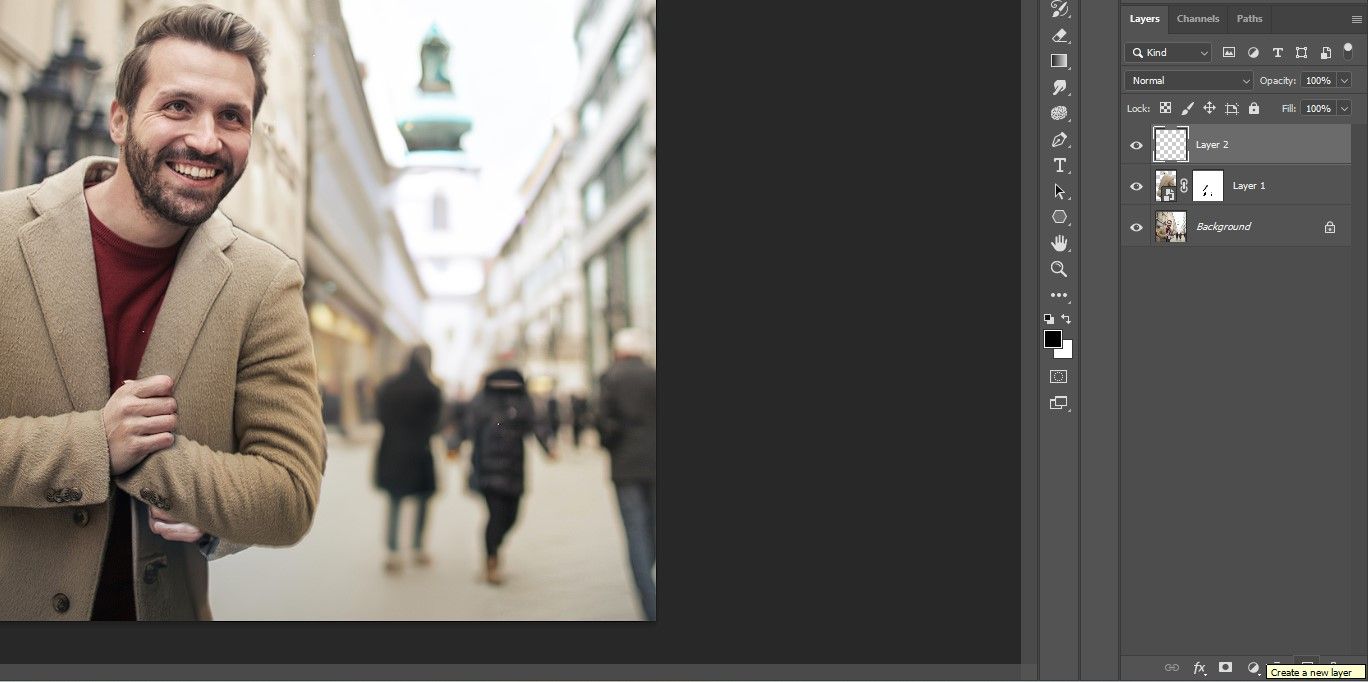
Export the image as a JPEG file. You can use Photoshop's Quick Export feature to speed up your workflow.


Now we're ready for DALL-E 2 to fill in those missing pixels of the photobomber, and some of the background details too.
Step 2: Recreate the Missing Pixels With DALL-E 2
In this step, we get to tap into our creativity and fill in the missing pixels of the photobomber using DALL-E 2. Once the file is uploaded to the site, you'll be able to experiment quite a bit to find the perfect version. The goal is to find something that will look realistic and contain as few flaws as possible to fix later in Photoshop.
-
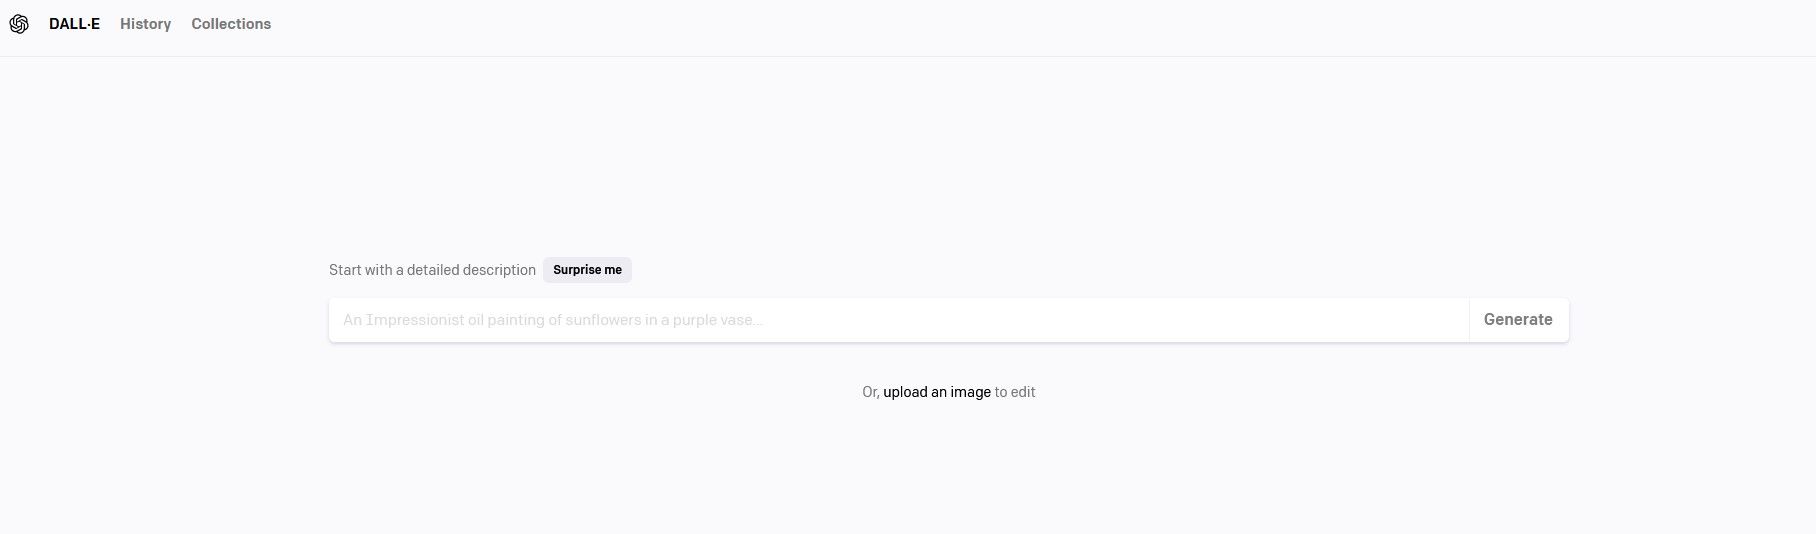
In DALL-E 2, click on Or upload an image to edit.
-
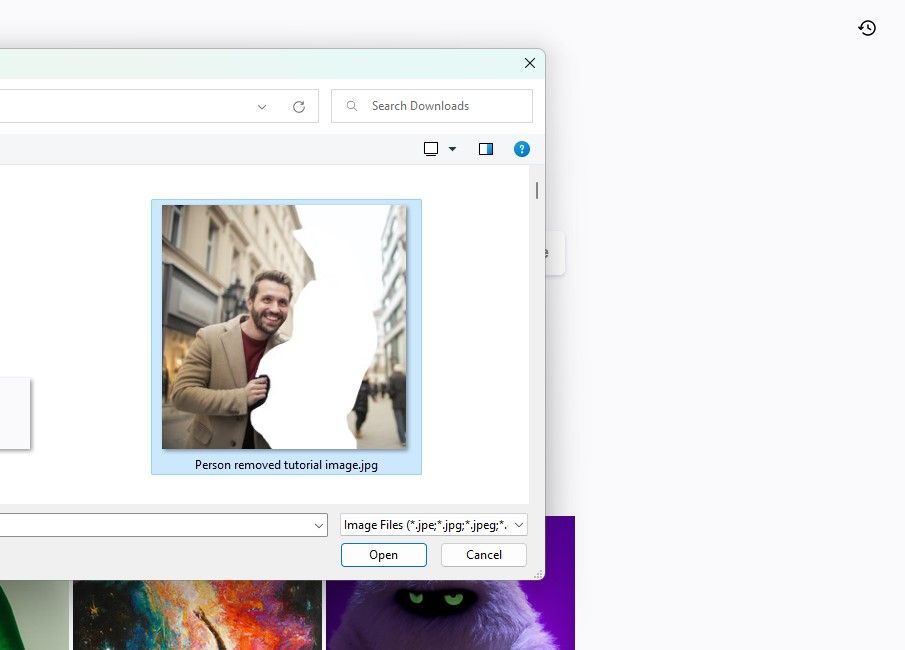
Select your file and press Open.
-
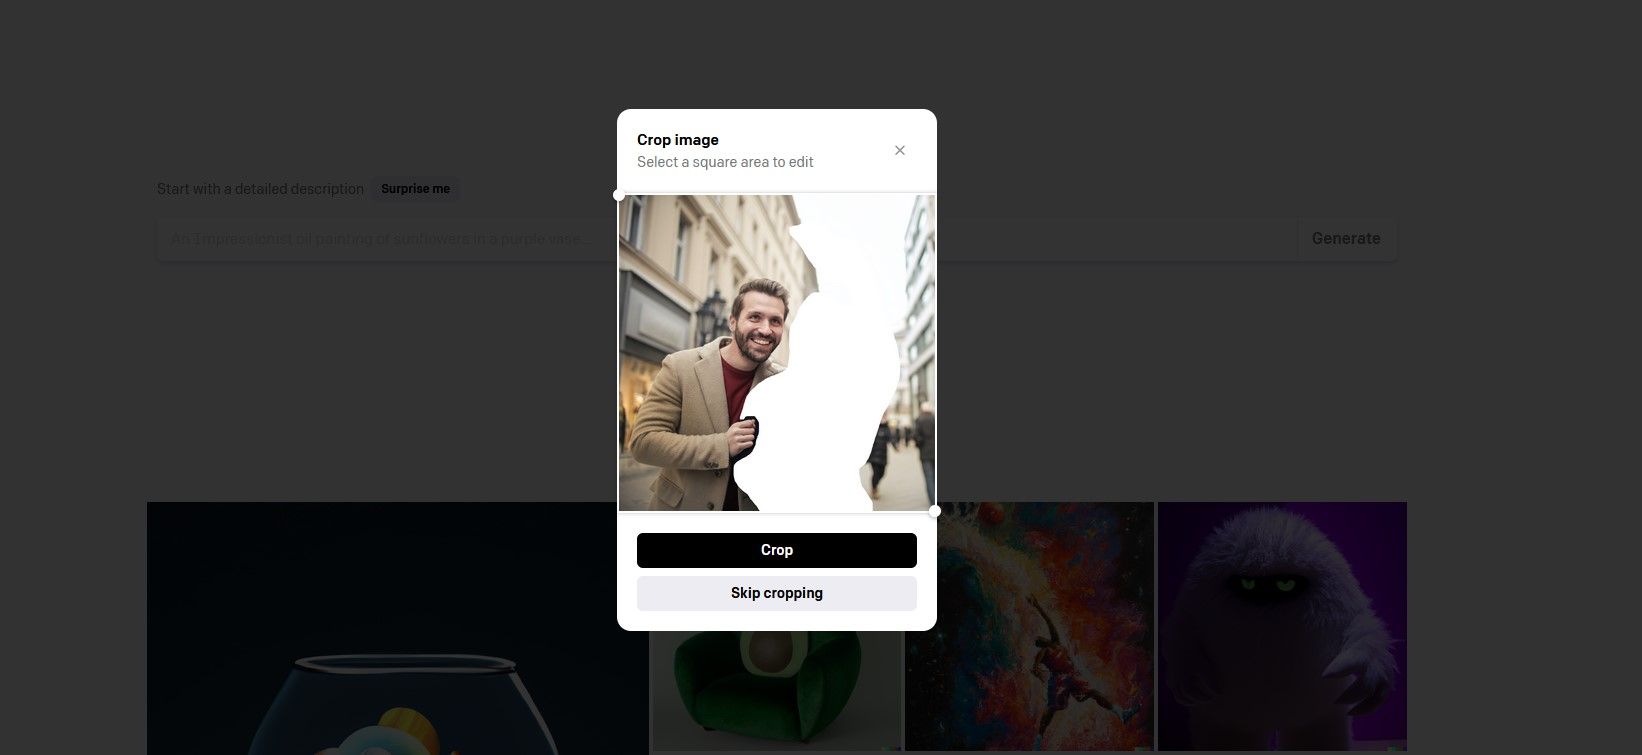
Since the image is already in a square format, just click Crop. Then click Edit image.
-
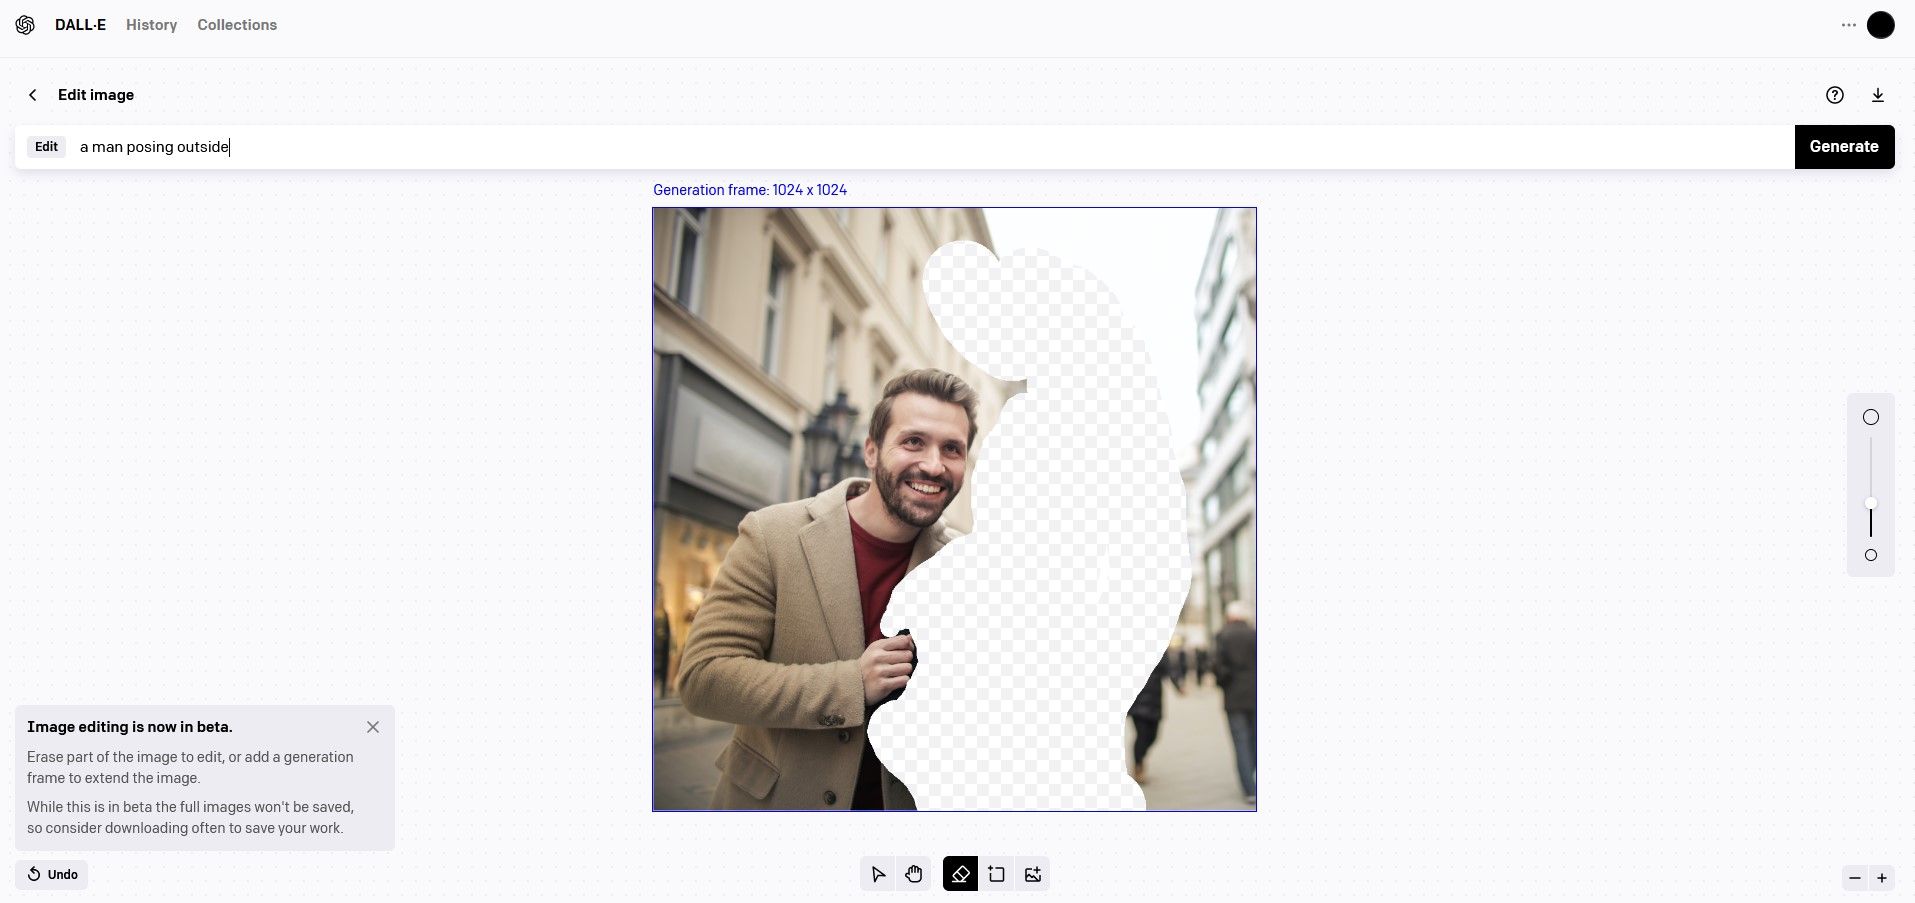
Using the Eraser tool (active by default), go over the areas in white where the photobomber once was. You can adjust the size of the brush using the slider on the right of the screen.
-
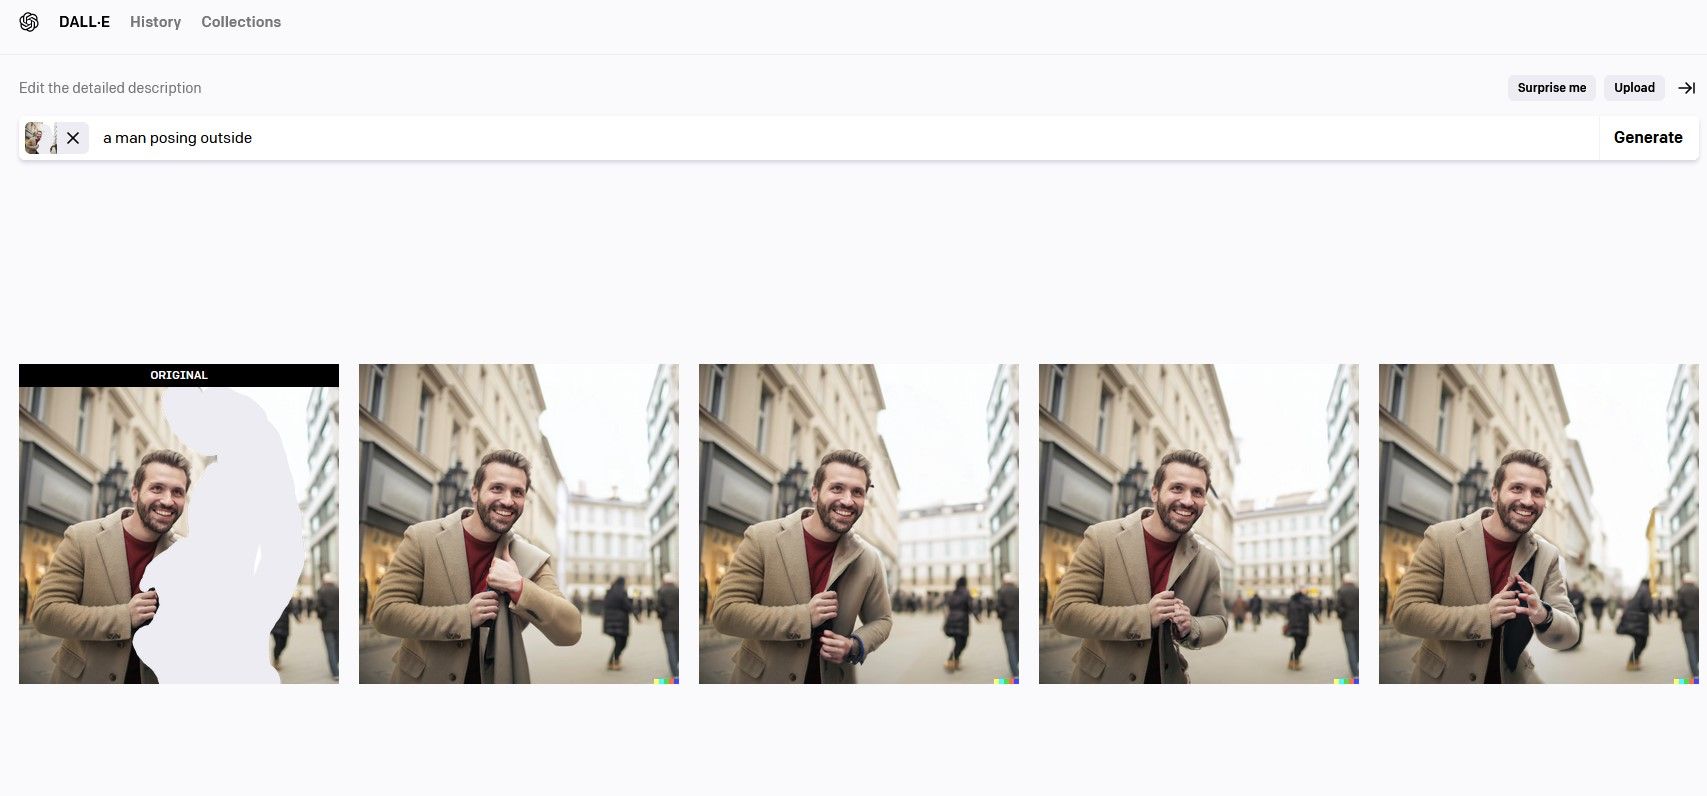
In the Edit field, enter a text description of what you want to see. For this example, we entered "a man posing for a picture outside". Then click Generate.
-
The results will vary by image and each time you click Generate. For our first result, we didn't find a suitable version, so we clicked Generate again.
-
After a few tries, we found a version that would be suitable for further editing in Photoshop. Click on the Download icon to save it to your computer.
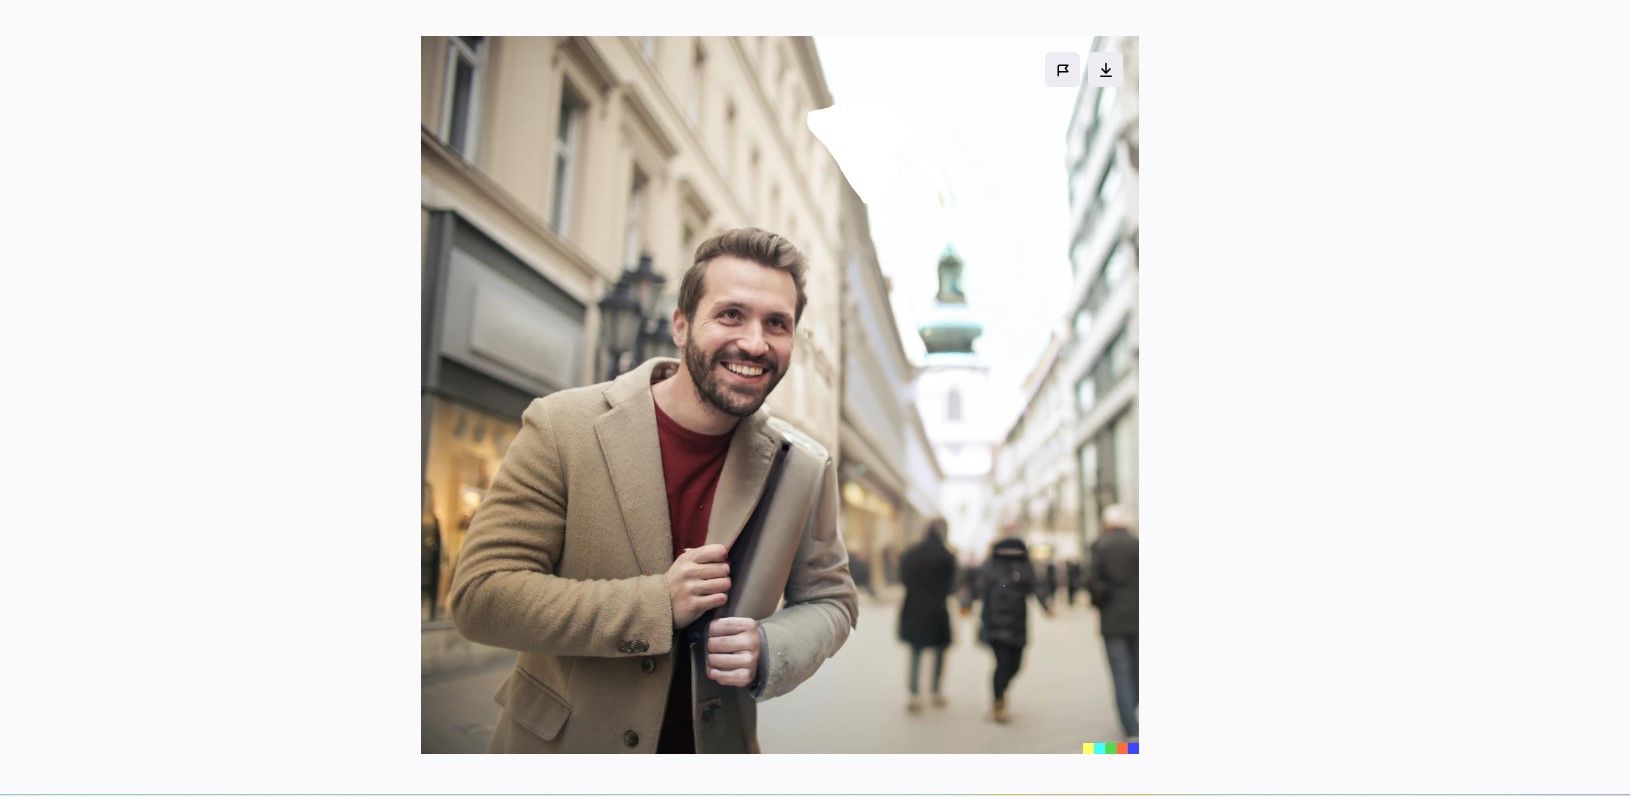


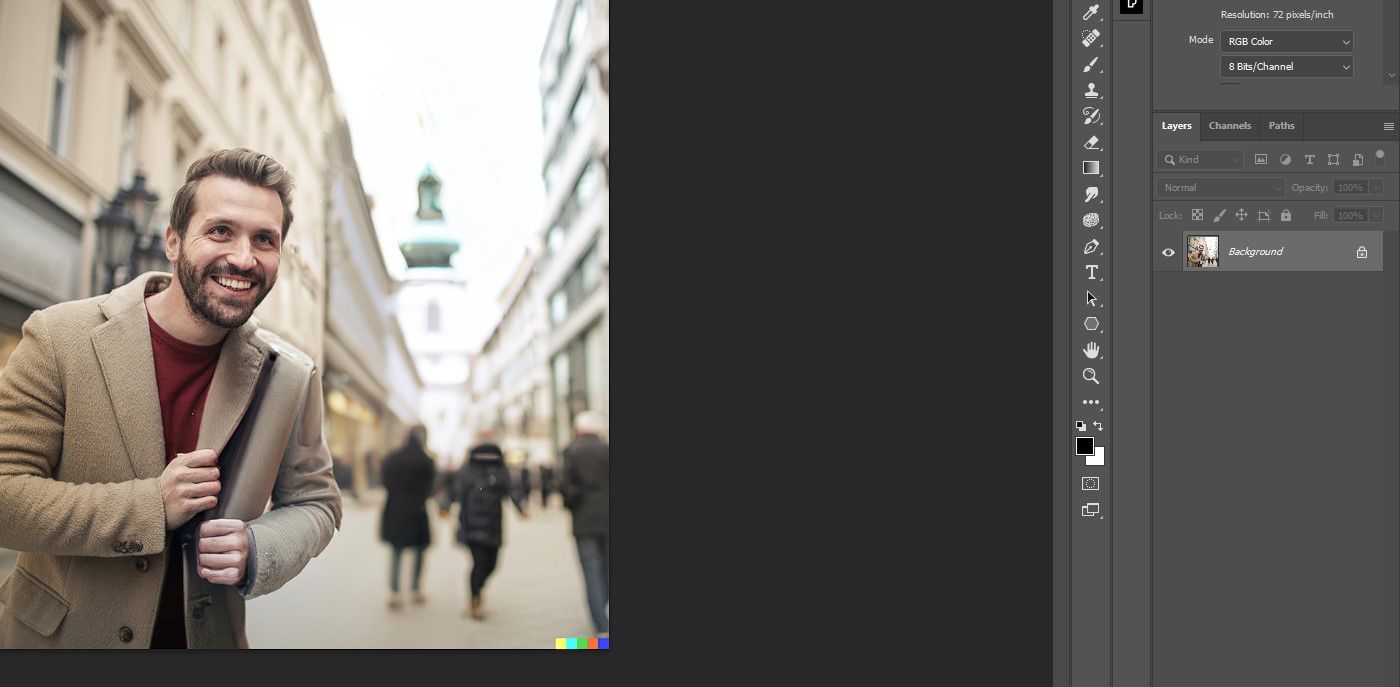
With the photobomber a distant memory now, let's finish up in Photoshop.
Step 3: Final Edits in Photoshop
This step can potentially be easy or very difficult depending on what version you picked in DALL-E 2. You may also choose something that's time-consuming but worthwhile if you know your Photoshop skills are up to the challenge. Whatever the case, it's here where the clean-up work in Photoshop begins.
What needs to be done exactly in this step will vary by image and the work rendered in DALL-E 2, so the following is just one example and not what must be done every time.
-
With the DALL-E 2 version loaded into Photoshop, press L for the Lasso tool and select the first area that needs to be cleaned up.

-
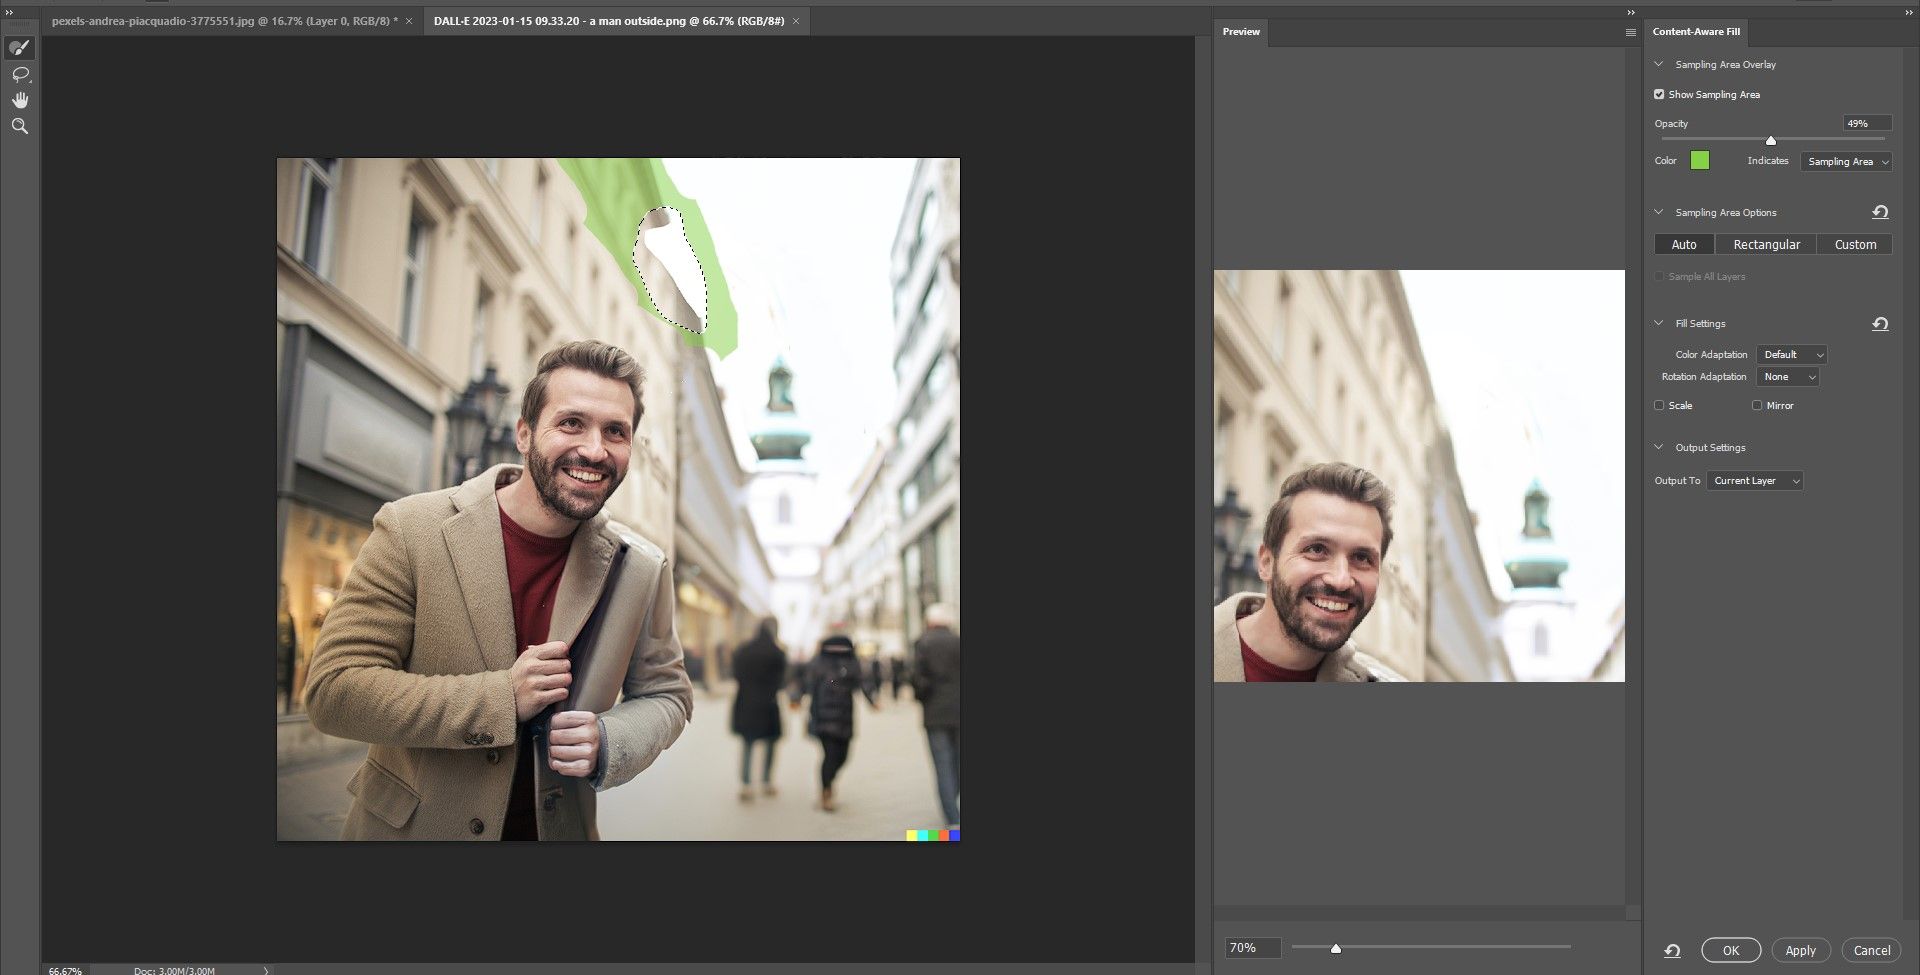
Go to Edit > Content Aware Fill.
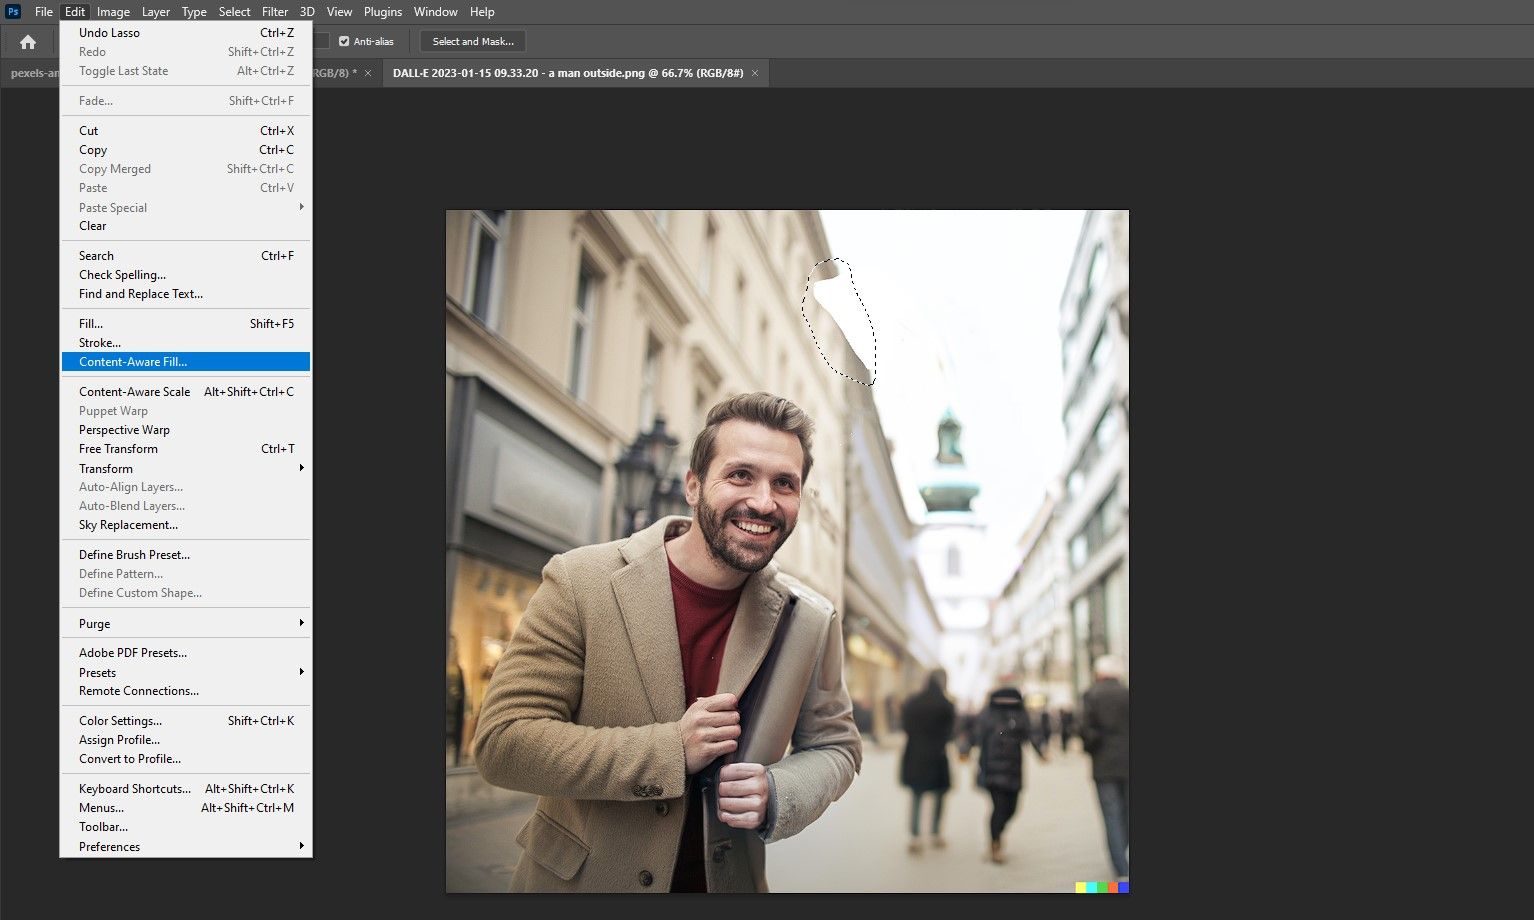
-
With the Eraser tool, subtract all the green areas that Photoshop shouldn't sample from in order to generate the correct pixels. Then click OK to accept the changes once the preview looks good.
-
Repeat the previous three steps for any other distortions in the sky as well as the DALL-E watermark in the bottom right corner.
-
We're going to use the Quick Selection tool to select the left side of the man's jacket, and then we're going to duplicate and flip it. So these next steps are optional but handy if your image is similar.
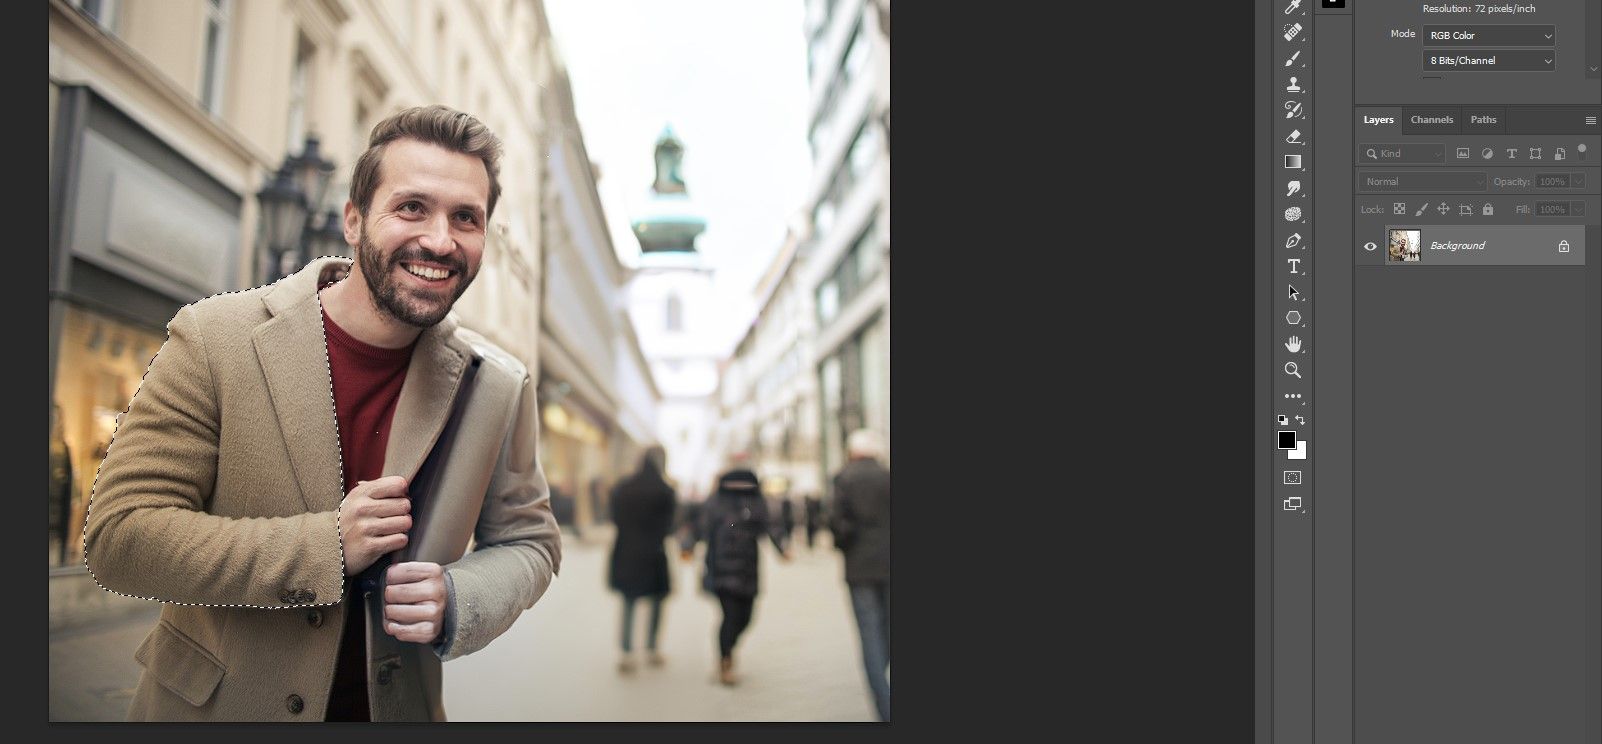
- Press Ctrl + J to create a duplicate layer of the selection.
- Right-click on Layer 1 and select Convert to Smart Object.
- Press Ctrl + T for the Transform tool.
- Right-click inside the selection and choose Flip Horizontal.
-
Drag the selection and place it where you need to, in our case, over the right side of the man's suit. Use the handles to rotate and resize the selection.
- Right-click inside the selection and choose Warp.
-
Using the mouse, reshape the selection so that it matches the underlying pixels. When you're happy with how it looks, click the checkmark.
- Add a Layer Mask to Layer 1 by clicking on the icon (rectangle with a circle) at the bottom in Photoshop.
-
Using a Soft Round brush, mask out the unwanted pixels. We show you how to use layers and masks in Photoshop if you need a refresher.
-
Create a blank New Layer above Layer 1 by clicking on the + icon.
-
Press S for the Clone Stamp tool and cover up the unwanted pixels, in our case, right beneath the man's right arm. See our detailed guide on using Photoshop's Clone Stamp tool if you need help with this part.


Note that if you spend more time finding the right version in DALL-E 2, it will greatly reduce the amount of time that you spend working on corrective edits in Photoshop. And as DALL-E 2's AI power improves, making additional corrections may not even be necessary in the near future.
More Creative Solutions in DALL-E 2
You can take advantage of the full creative powers of DALL-E 2's AI if you aren't satisfied with the corrective edits in Photoshop—or if you want to take the image in an entirely different direction.
This is where things get interesting and fun! For example, we can upload a version of the original photo but with only the man's head.

Then enter a new text prompt, like "man in a suit outside". Here are the results after hitting the Generate button.

Your imagination is the only limit to what you can create.

With fewer pixels to work with, it's amazing what DALL-E 2 can do to completely transform your photo. And Photoshop is always there if you need to polish up the image.
Use Photoshop and DALL-E 2 to Remove Unwanted People From Photos
With Photoshop and AI, you can remove photobombers that used to be next-to-impossible to remove because of the missing pixels issue. Use your imagination to recreate just about anything you want. It's time to go back through your old photos!