Sometimes you might have a seemingly perfect photo, but something feels a little off: the color doesn’t fit with everything else, and you want to change it. But how can you do this without affecting the color of the rest of the image?
In this simple tutorial, you’ll learn how to use the Object Selection Tool and mask layers in Photoshop to change the color of a single object in an image.
Before Getting Started
Before diving into the fun, let’s introduce the tools we’re going to rely on in this tutorial.
Instead of painstakingly selecting an object manually, you can easily sweep the Object Selection Tool over your chosen object, and it selects it for you. Any good tool can have a few hiccups though; this one works best on simple contrasted photos with noticeable color differences, but there are ways to work with more complex images.
The mask tool allows us to edit parts of a photo in a non-destructive way by masking (or covering) parts of the image from our view. We can use masks for editing images together, changing colors, or even creating detailed mockups.
Along with the Object Selection Tool, we’re going to use masks to change the color of an object in a photo. Let’s begin the tutorial.
1. Prepare Your Photo
Ideally, there should be a high contrast between the object and the background of the image. If the colors are too similar or blurred together, it can make this technique hard, or even impossible, to complete.
Once you’ve got your image, load it up in Photoshop.
2. Use the Object Selection Tool
The Object Selection Tool is in the toolbar to the left as shown below. Use the W shortcut on your keyboard for quick access.

With the Object Selection Tool, drag your selection over the color of the object you’d like to change. You can do this with the Rectangle Mode to begin with, but you can also toggle to the Lasso Selection Mode for more precision.
While the Object Selection Tool works well, it isn’t always perfect. If you missed anything in your selection, hold the Shift key on your keyboard and drag the selection over any missed areas to add them to the selection.

If there are areas in your selection that you don’t wish to change, hold down the Alt key while selecting those areas. This will remove them from the current selection.
Once only the color you wish to change is selected, go to the Layers Panel and click Create a New Group.
3. Create a Mask
On the Layers Panel, click the Add Layer Mask icon; it will turn your selection into a mask. This mask allows you to change the color in a non-destructive way, thus leaving the rest of your photo intact if you change it again in the future.
4. Change the Color
Once you’ve got your mask, go to the Layers Panel again and click the Create New Fill or Adjustment Layer button. This brings up a menu; select Solid Color.

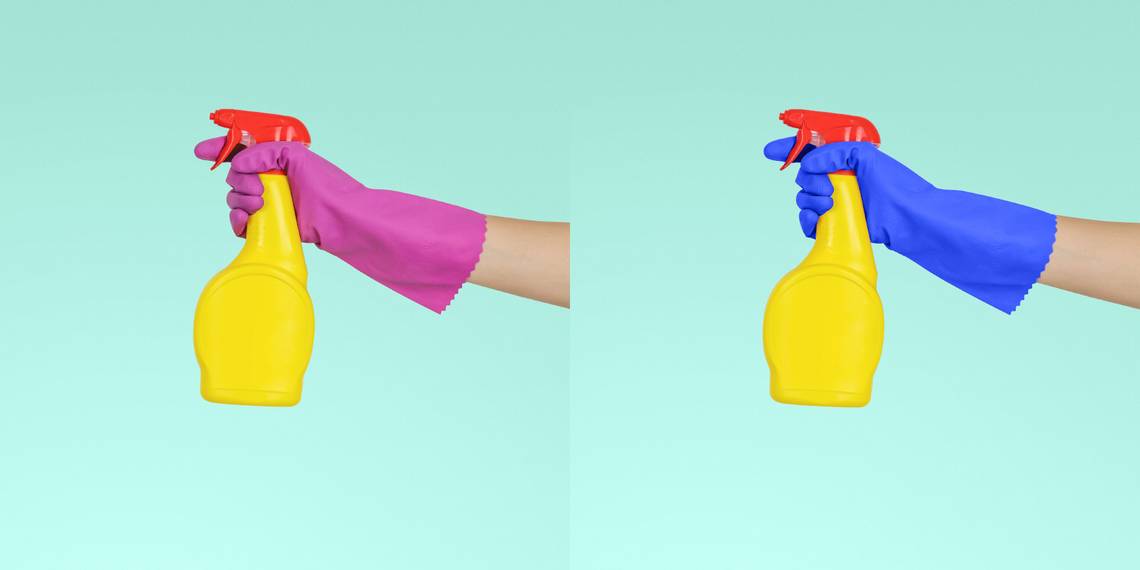
Use the Color Picker to pick any color on the spectrum. For the best results, pick a color that is starkly different from the original (this technique can also be used to enhance a color or make a subtle change).
Once you’ve chosen your color, click on OK. At this point, the color will be solid, lack texture, and won’t look like a realistic color change.
5. Adjust the Brightness and Contrast

To make the color change look realistic and let it take on the same texture as the original, you need to adjust the brightness and contrast levels of the color mask.
Click the Create New Fill or Adjustment Layer button again, and this time, go to Brightness/Contrast. This should bring up a settings menu, but you can ignore that for now.
Go to the Layers Panel, click and drag the color fill layer above the new brightness and contrast layer, but keep it within the group. With the color layer selected, change the layer blending mode to Color. This already makes it look more realistic.
Finally, click on the brightness/contrast layer to open its settings panel again and change the brightness levels to your liking. Changing the contrast level will display more shadow or texture details that may be present in the original image. Experiment with both settings until it looks realistic.
6. Save Your Image

Go to File > Save As. Saving your image as a PSD file will allow you to edit the color again in the future by clicking back into the solid color layer. If you’re sure you don’t need to edit it again, save it as your preferred file type.
Experiment With More Detailed Pictures

Now that you’ve learned the basics of this color-changing technique, you can experiment with other photos. While it’s best to learn and practice the technique on a high contrast photo with fewer colors and simpler shapes, the tool can be used for more complex images too.
When using the Object Selection Tool on detailed images, remember to toggle between Add to Selection (Alt key) and Subtract From Selection (Shift key) to get all those details. It will be more time-consuming than a simpler image, but the results will be worth it.
Change the Color of an Object in Photoshop
If you followed along with this tutorial, there are many ways you can use your new color-changing skill. Whether you want to change the color of someone’s eyes, try out different color options on something you created, or see what an item of clothing would look like in another color, it is a skill that can come in handy for anyone.
The Object Selection Tool and mask tool can be used for many other tasks as well.