Panorama mode has slowly gained popularity and now exists in just about every phone. You'd be surprised to find the striking difference it makes to your photographs, especially when you're traveling and want a shot of yourself with the fantastic views behind you.
Want to find out how to use it? Read on to see how panorama mode can help you take the best travel photos.
How Does Panorama Mode Help You Take Better Travel Photos?
Panorama mode has several benefits for helping you take better travel photos. Below are three of the main advantages.
1. Wide Landscape Photos
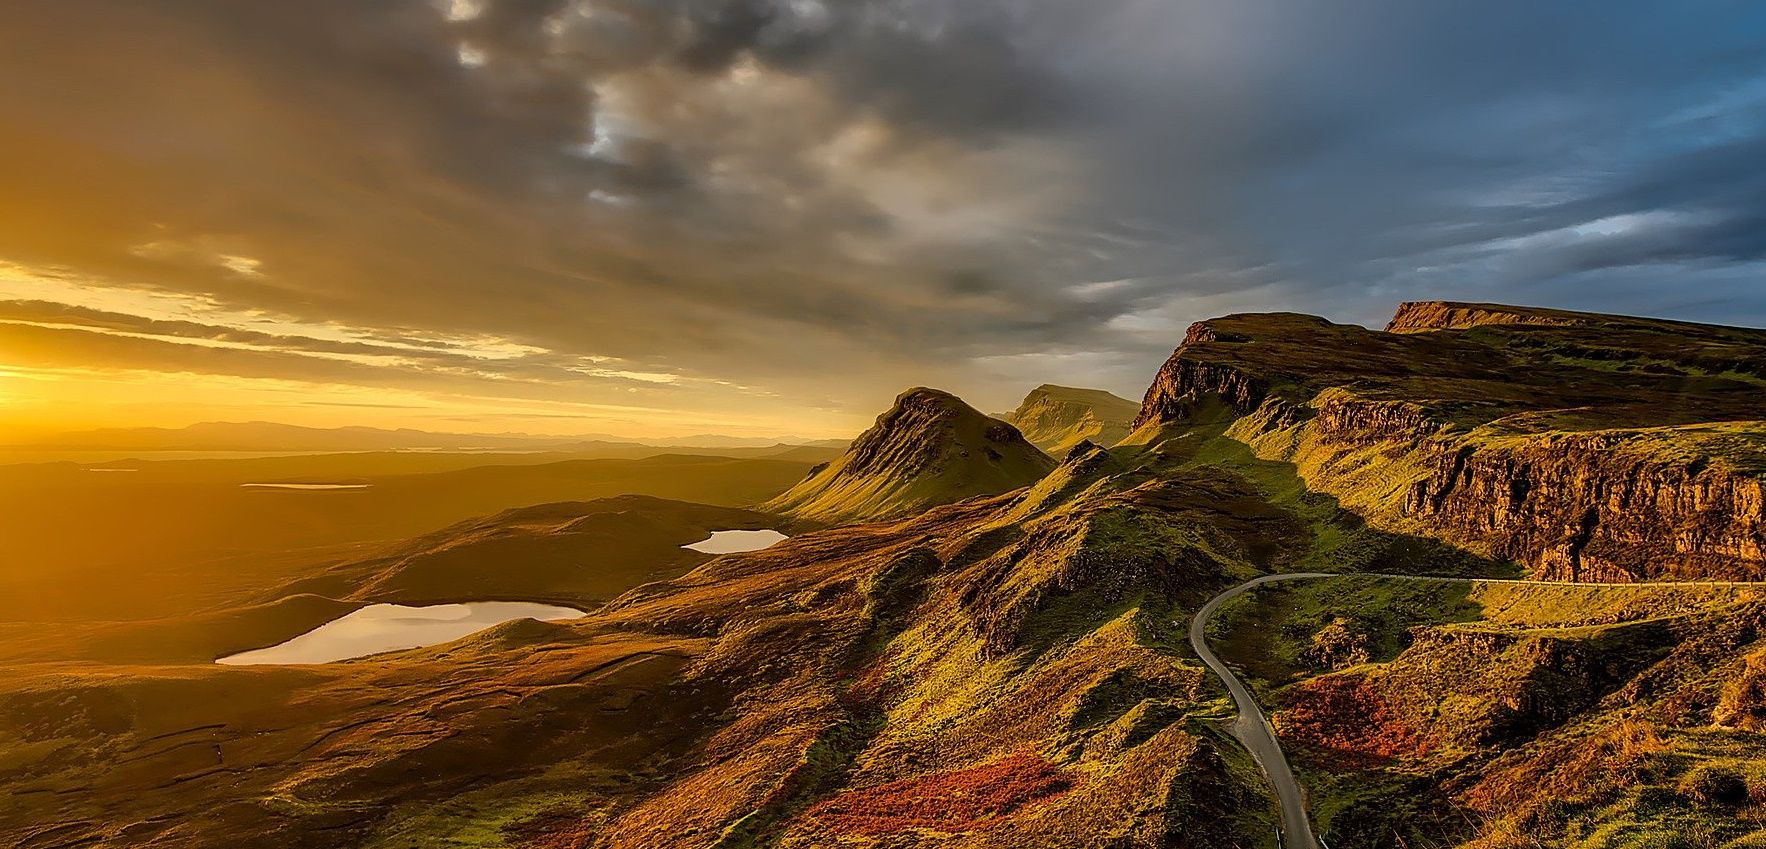
May it be a mountain range or a large river, stitching multiple images together will allow you to capture the entirety of the landscape instead of a small part. If you don't have a wide-angle camera lens, panorama mode on your smartphone is a possible alternative.
2. You Can Take Better Group Photos
Too many people that can't fit into a frame? Use panorama mode to bring in all the people along with the amazing views behind too. If you're traveling with a large group of people, or you've met lots of new friends at a hostel you're staying in, this is an excellent choice.
3. Capture Interesting Architecture
If you're visiting a city with lots of tall buildings, you might find that normal photography modes on your smartphone don't let you capture the entire structure. Using panorama mode will help you take a photo from top to bottom if you find a building too small.
How to Take Photos With Panorama Mode
Ever wonder how such a wide-angled photo is created? When you take a photo with panorama mode, your phone takes multiple photos from a focal point and then seamlessly stitches them together to make one large picture.
Here's how you can take a photo with panorama mode:
- Open Panorama mode on your phone.
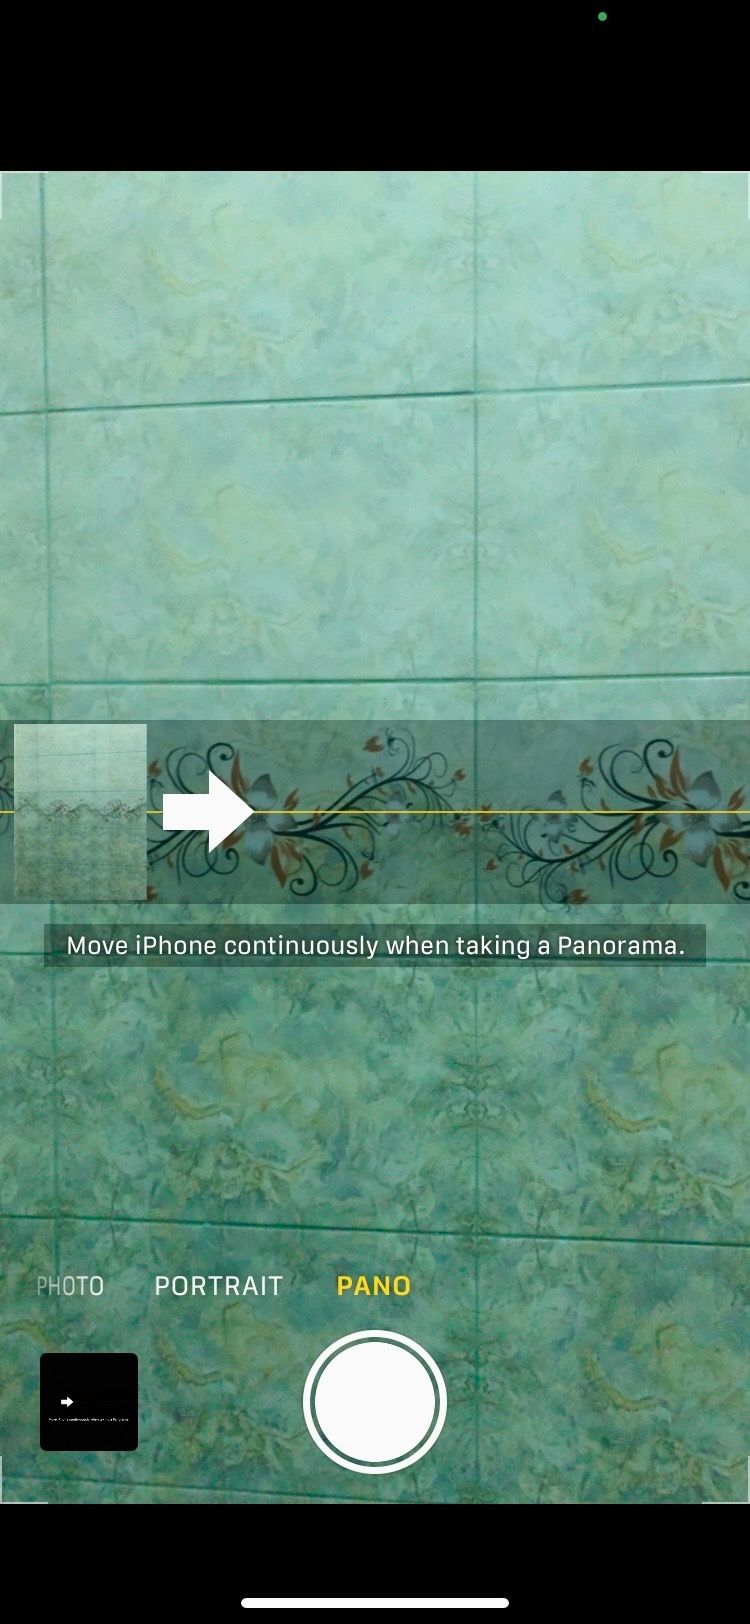
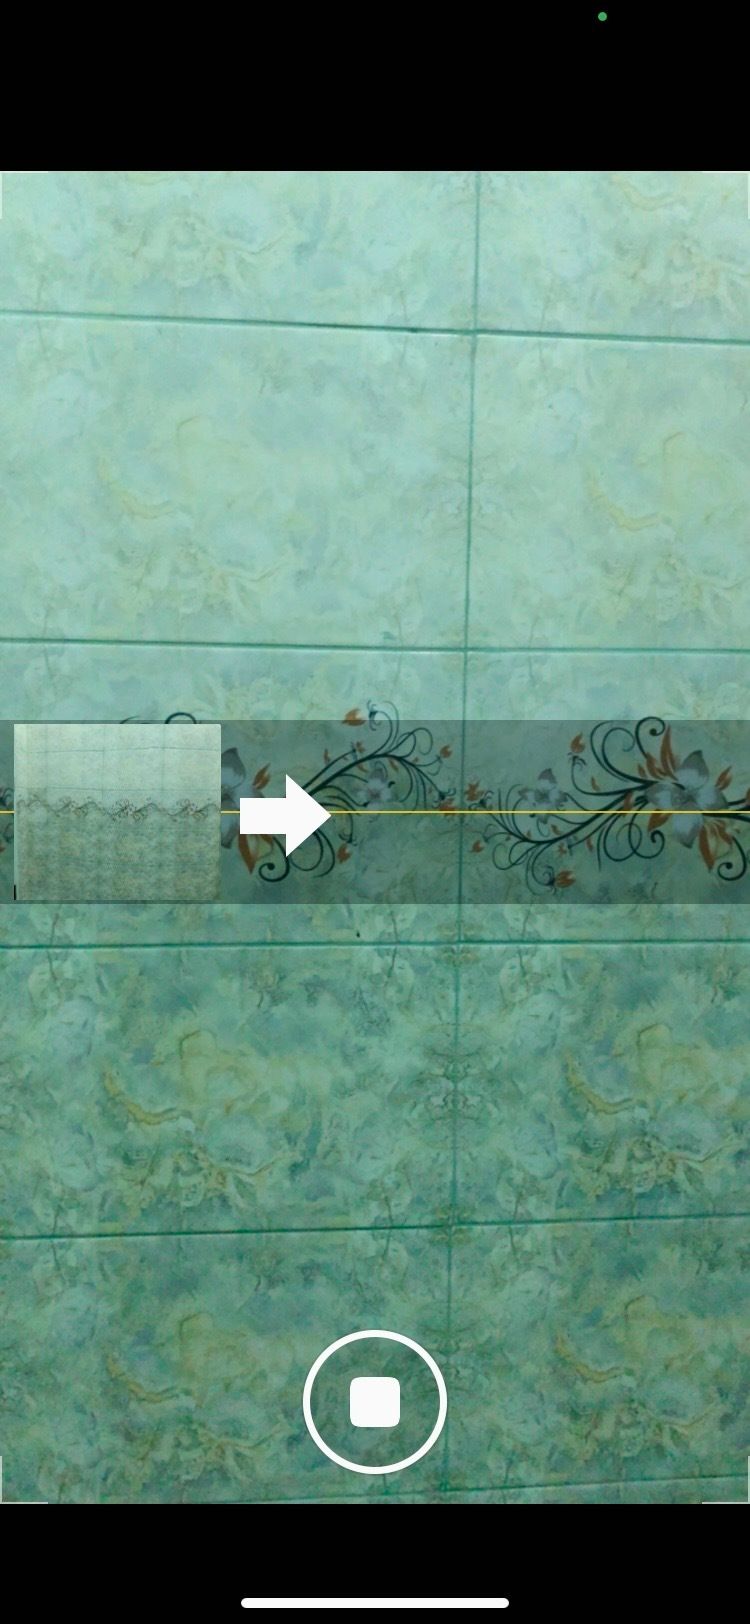
- If you want to take a horizontally-wide photo, place your phone in portrait orientation and point it towards your starting point. Most phones have an arrow to guide you, while the iPhone even has a line to make sure your hand remains as steady as possible.
- Tap on the shutter and start moving your phone in the direction of your photo. Try to move in a straight line.
- Once you reach the endpoint, tap on the shutter again to finish your photo.
Follow the same steps for a vertical panorama, but place your phone in a horizontal direction instead. Along with panorama mode, there are several tips to make your photos look cinematic.


A Panorama Photo Checklist You Should Follow
It may be a little tricky to get your panoramas perfect right at the beginning, but it's nothing practice can't improve. Here are some tips that may come in handy to help you along the way:
- Begin with a test shot to get a blueprint of your perfect travel photo.
- Move your phone at a medium pace. Too slow or too fast will result in blurred, imperfect images.
- Do not deviate from the line (if your phone has one)
- Make sure there is no movement in your shot, or your photo will turn out blurry.
- Keep your phone perfectly parallel with your subject.
If you happen to encounter mist or fog on your travels, use these tips to take great photos.
Panorama Mode: A Gem for Travelers
A steady hand and a bit of practice are all you need to get the most fantastic travel photos. Whether it's a scenic view or a large group photo, panorama mode will make your photo capture a wide angle that leaves no one out.
Apart from the panorama on your phone, there are great tools out there that let you create your own panorama using multiple photos.


