There are many Photoshop tricks out there that are so deceptively simple and effective that they defy belief. The reason for this disbelief is that Photoshop has a reputation for being a complicated program to use. It can be at times—there's no doubt about it.
But in this tutorial, we are going to show you one easy and highly effective lighting effect that beginners and Photoshop experts alike can use to take their photos to another level. Better yet, you won't have to remember complicated procedures or resort to downloading Photoshop actions or presets.
Let’s get started!
What Is the Overlay Blend Mode?
The Overlay blend mode is listed on top of the Contrast Blend Modes group in the Layers panel.

When applied to a layer, the Overlay blend mode will brighten pixels in an image that are brighter than 50 percent gray, and conversely, it will darken any pixels that are darker than 50 percent gray.
Pixels that happen to be in the 50 percent gray zone are left alone to be displayed in their original form.
In a nutshell, the Overlay blend mode serves to add contrast to an image by brightening the bright pixels and darkening the dark pixels.
How to Apply the Overlay Blend Mode
If you wish to follow along, you may want to download the original image from Unsplash.

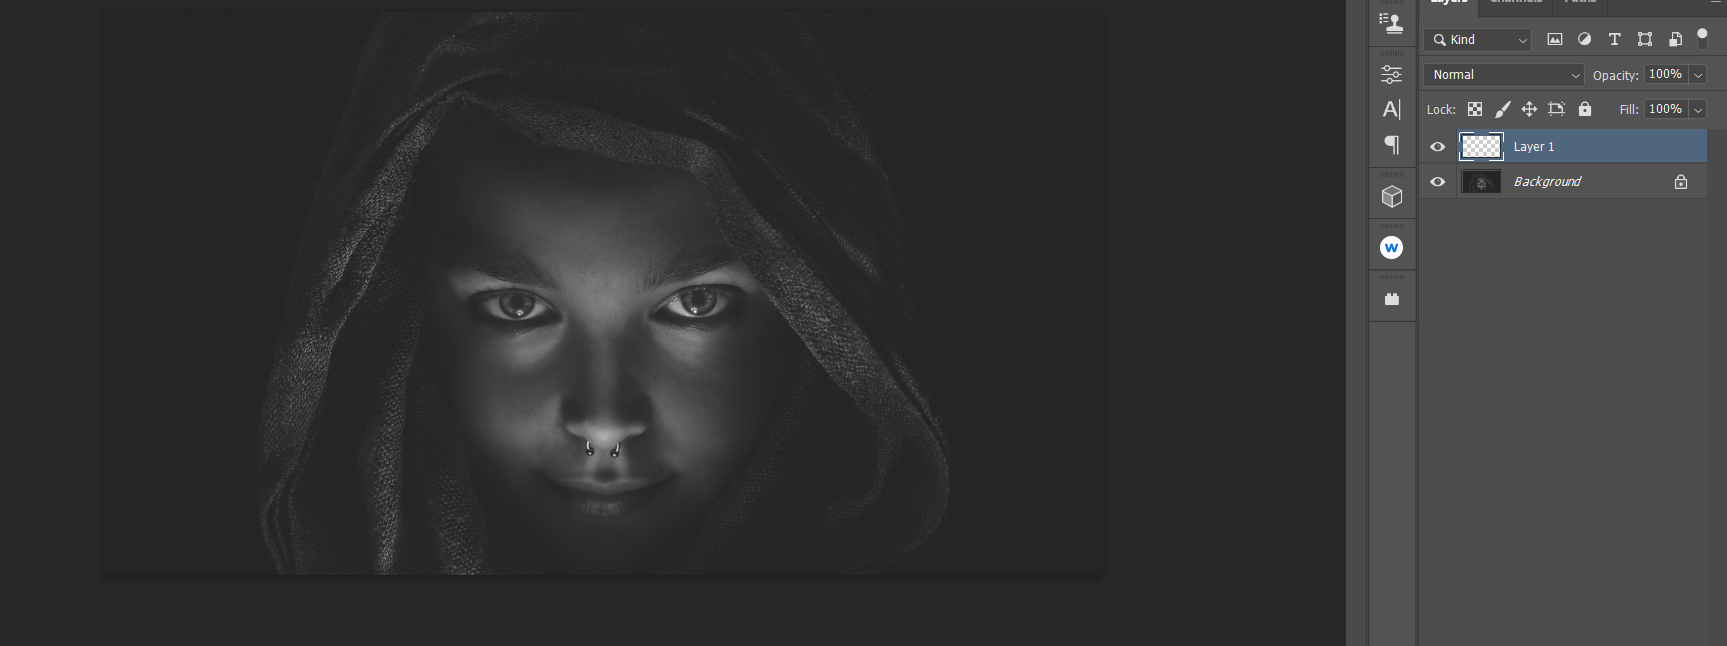
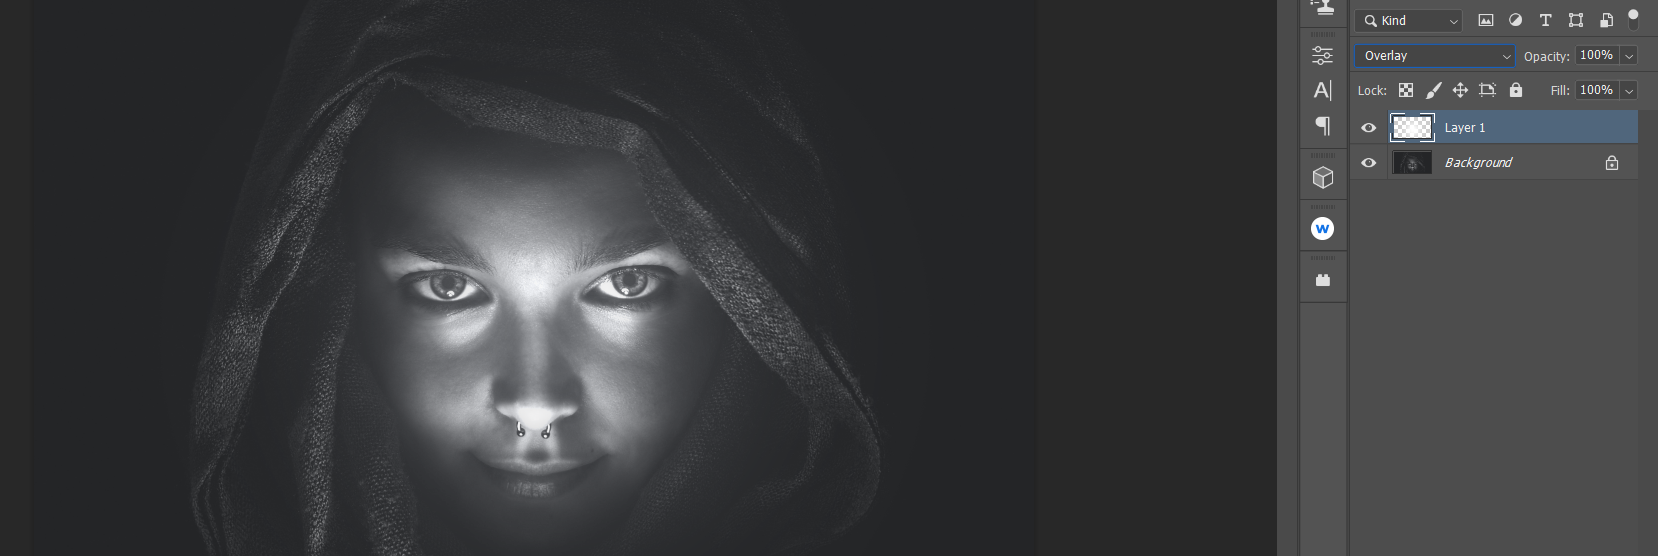
As you can see, this is a simple, but beautiful low-key image. But let’s say you wanted to brighten up the image without losing the overall low-key effect. Here’s one simple way to do it using a layer set to Overlay.
-
Create a new blank layer by clicking Shift + Ctrl + N, and then clicking OK.
-
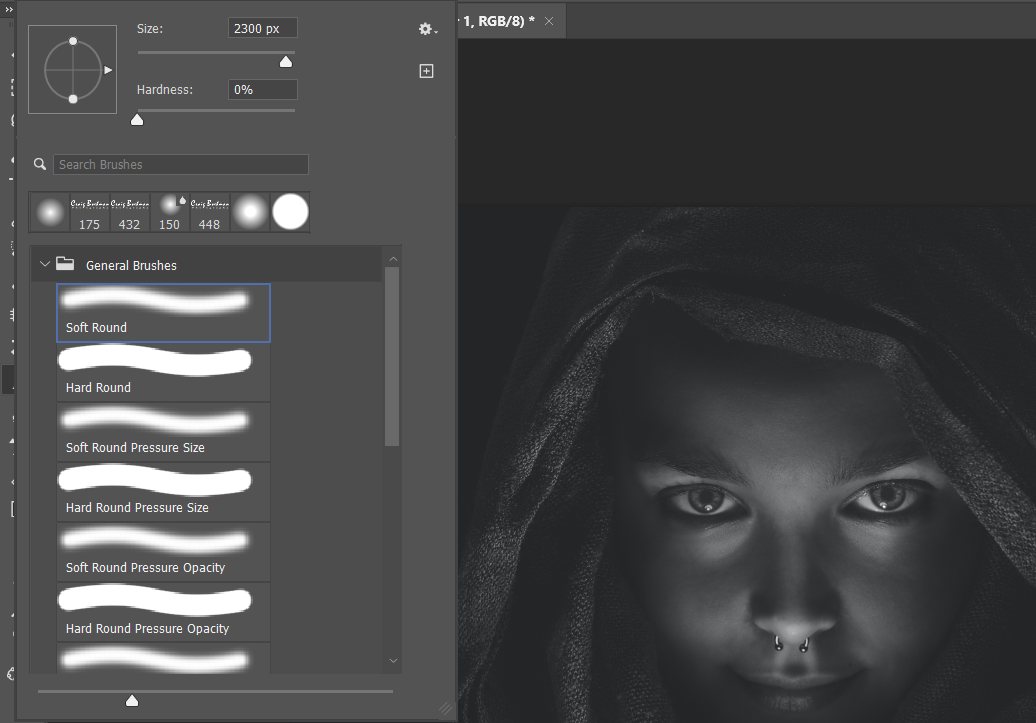
Click B for the Brush tool, and choose the Soft Round brush.
-
Make your foreground color White by toggling the X key if necessary.

- Using your bracket tools [ ], create a Brush size that is as large as the subject’s face, and center it there.
-
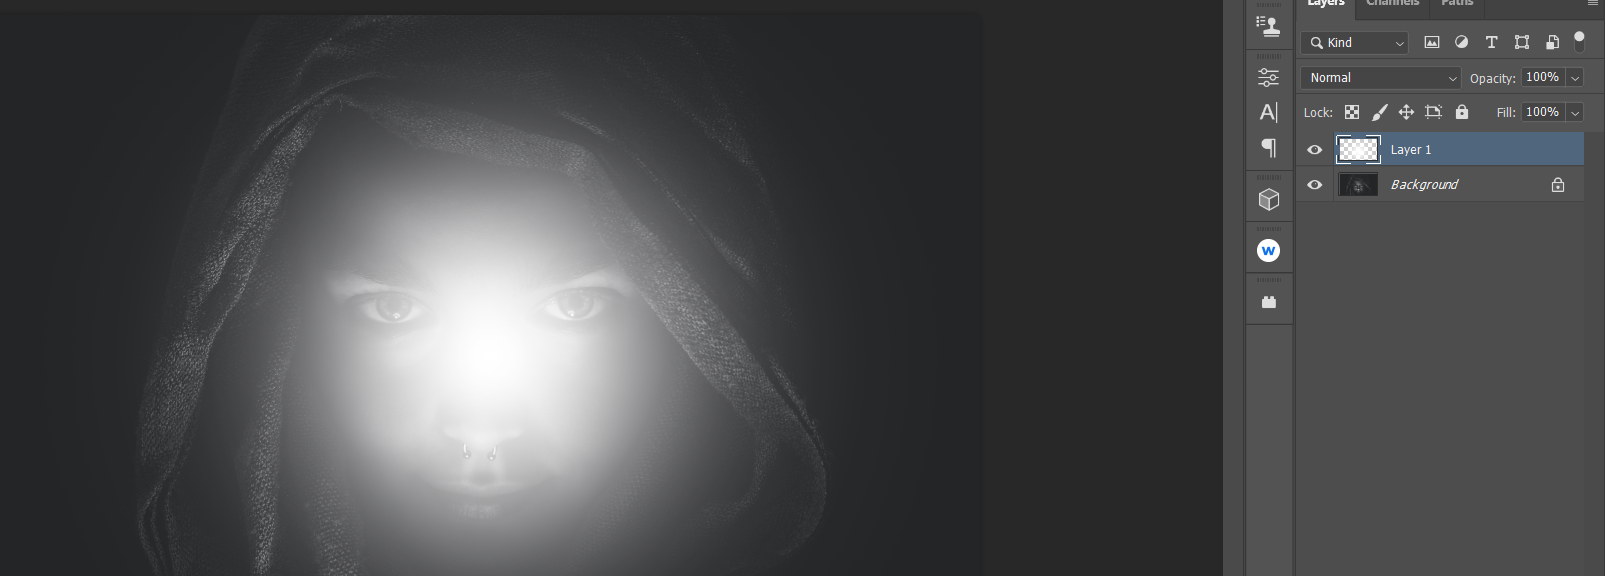
Left-click once to add White to the image.
-
Change the blend mode from Normal to Overlay.


Moving and Transforming Your Overlay Layer
Another thing you can do after creating your Overlay layer is to move or transform the affected area by clicking Ctrl + T to make use of the Transform tool.
When activated, you’ll notice that the lighted area will actually illuminate new regions as you mouse over the image, much like someone shining a flashlight.
This can’t be shown using images here, but if you try it yourself, you’ll see how flexible an Overlay layer can be when it comes to re-lighting a scene.
For portraits, you can take it a step further by using additional plugins, like PortraitPro, to enhance your photos.
Adding Colored Lighting
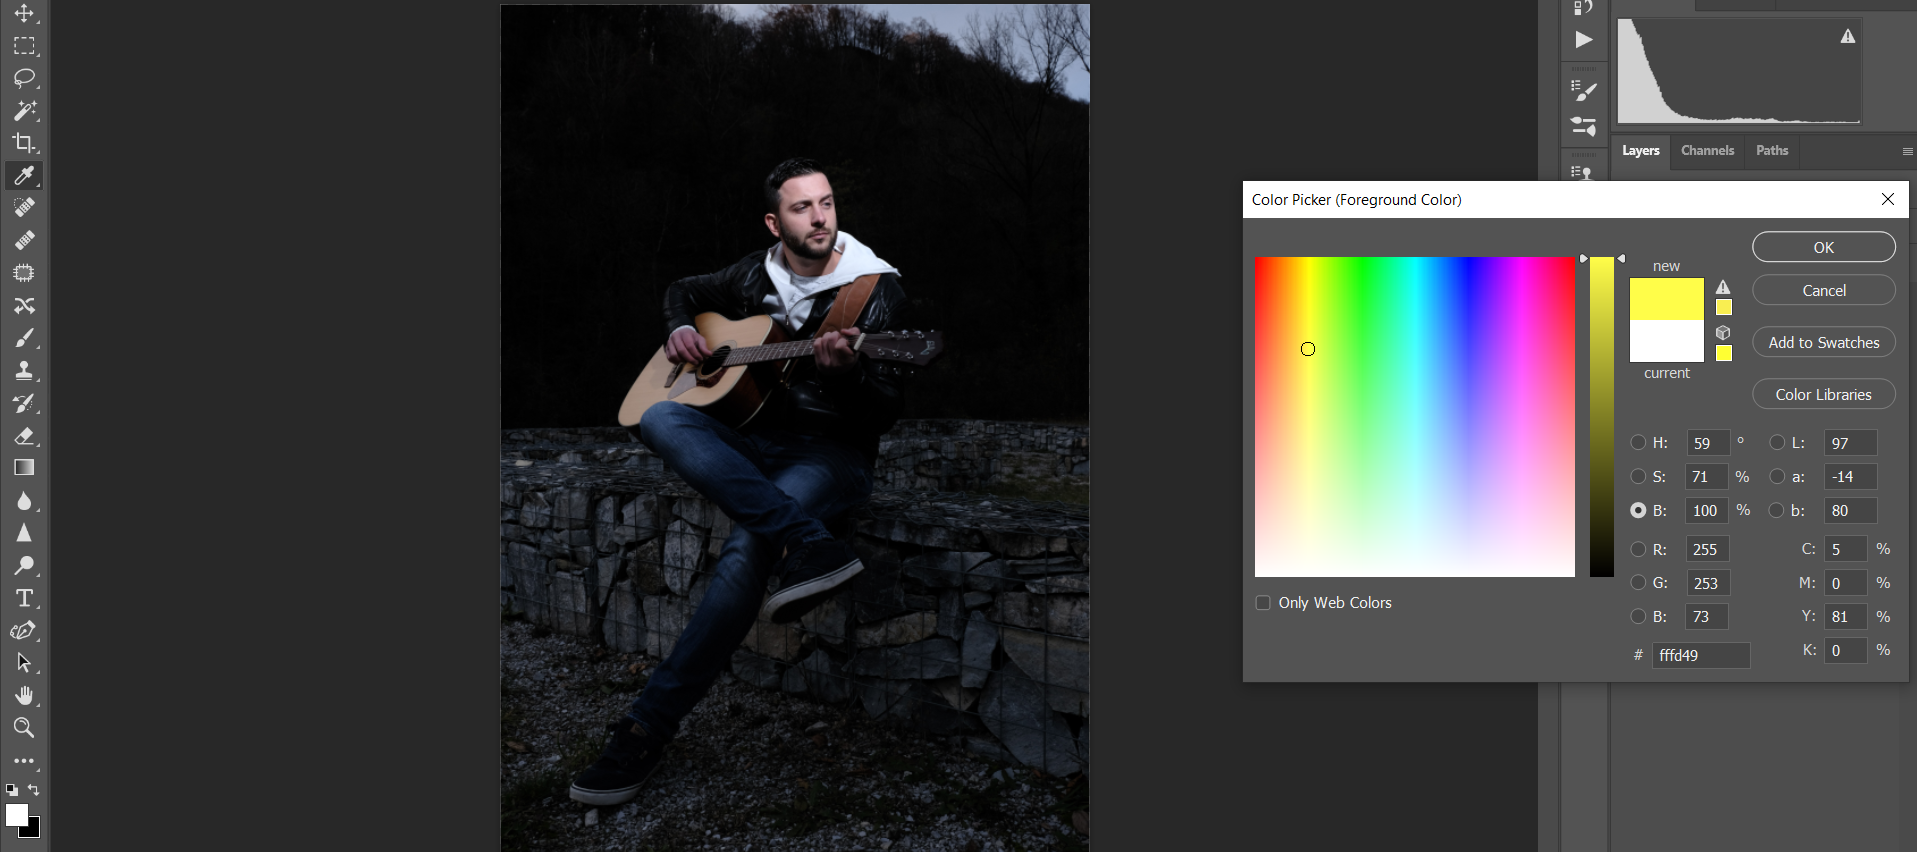
Let’s take a look at a color image. In this example, we’ll not only add light, but we'll also throw in some colored light to add an artistic touch.

You can download this image on Unsplash, and follow along if you'd like. The first two steps are exactly the same as before. In step three, we’ll change the color.
- Click Shift + Ctrl + N, and click OK to create a new blank layer.
- Click B for the Brush tool, and choose the Soft Round brush.
-
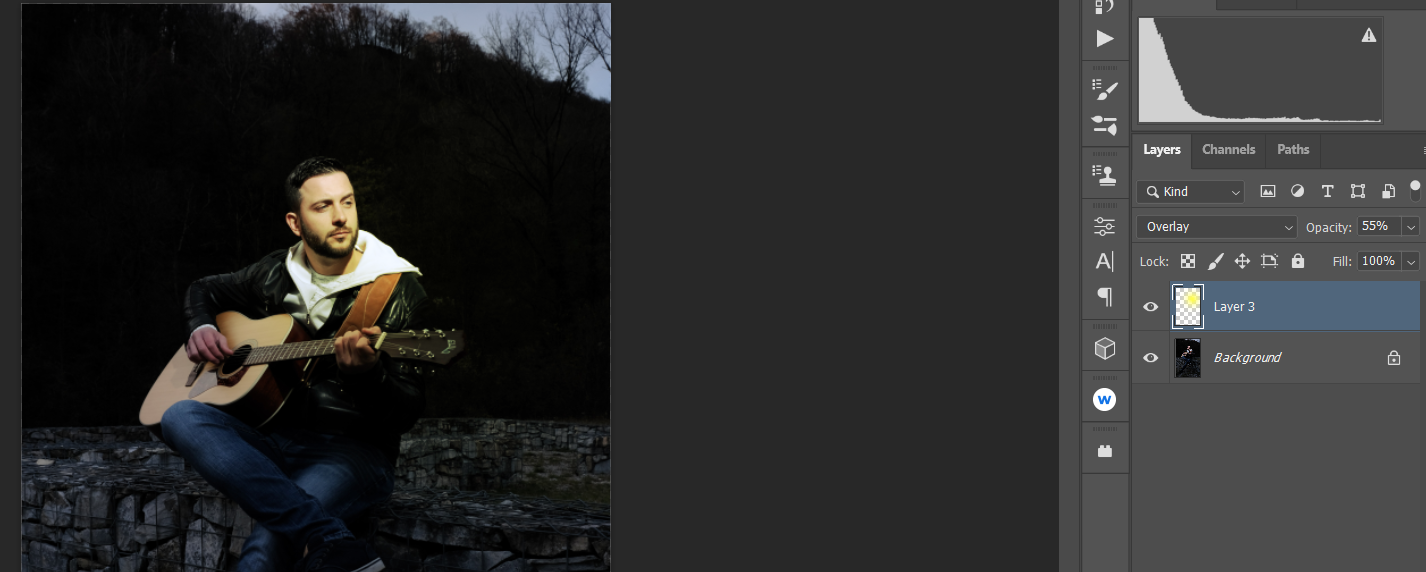
Click on your foreground color, choose a shade of yellow from the Color Picker box, and then click OK.
-
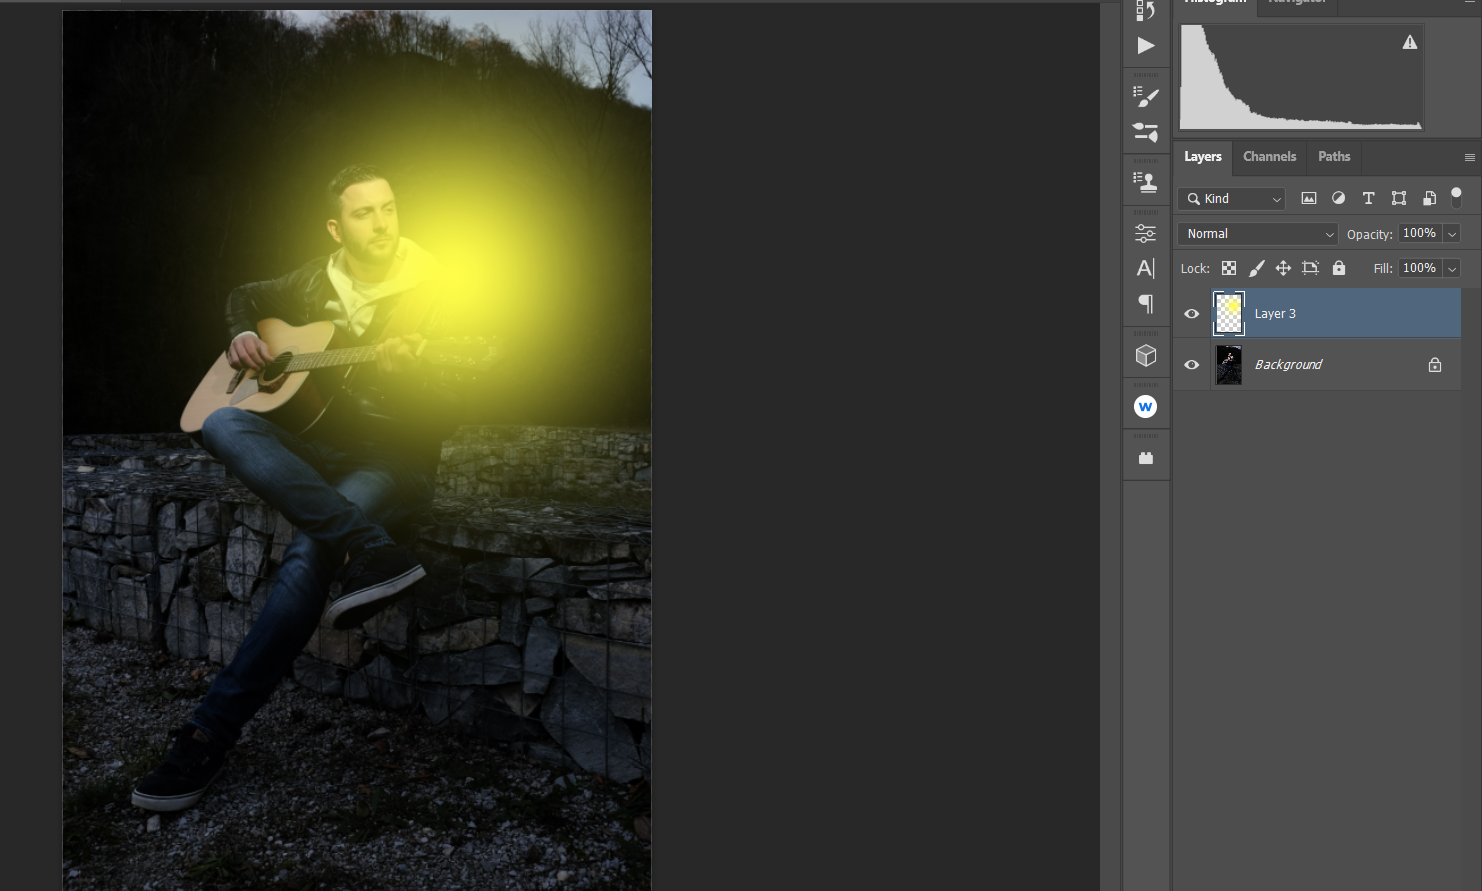
Using the Brush tool, click on the image next to the man’s face. You can adjust the Brush tool size using brackets.
-
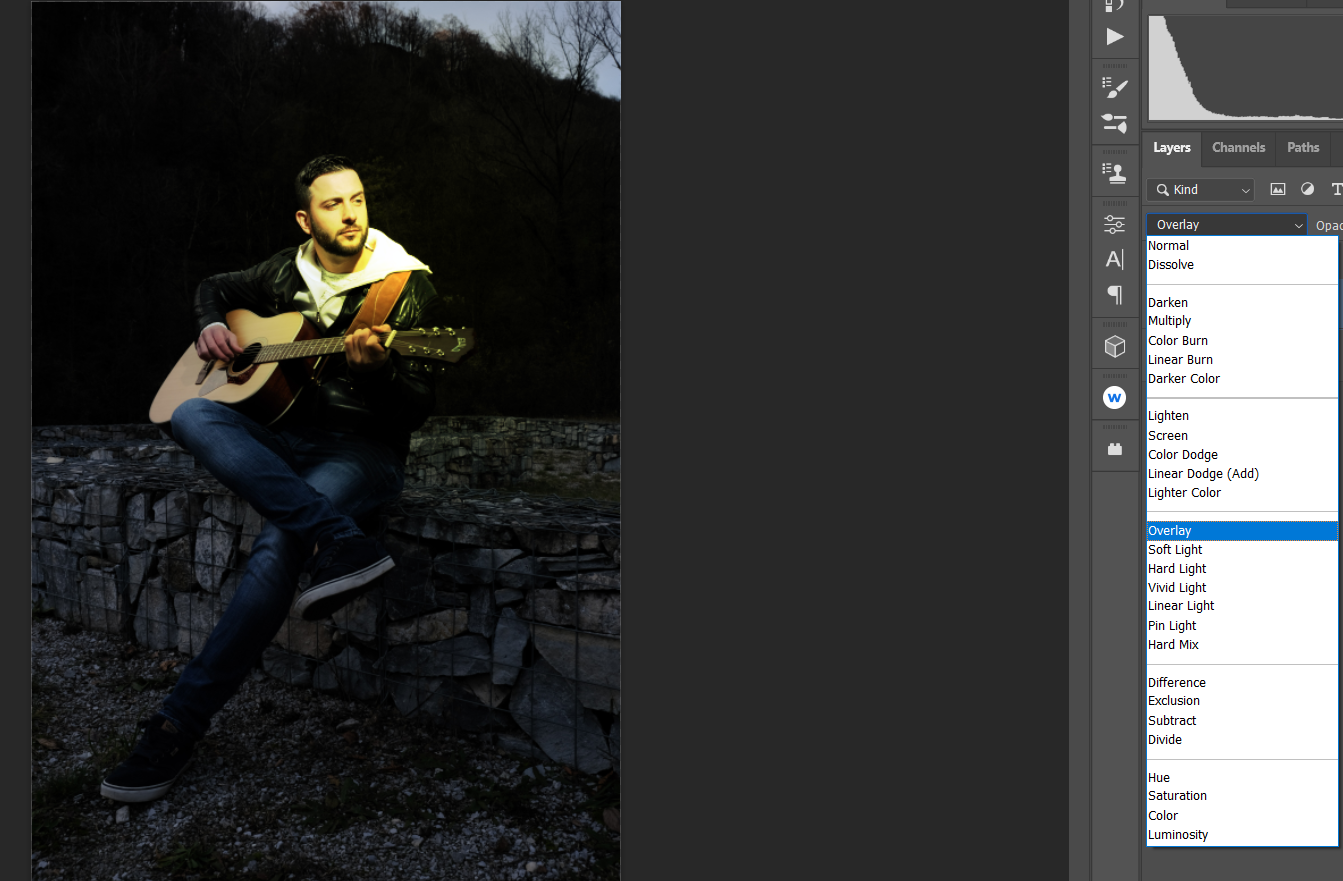
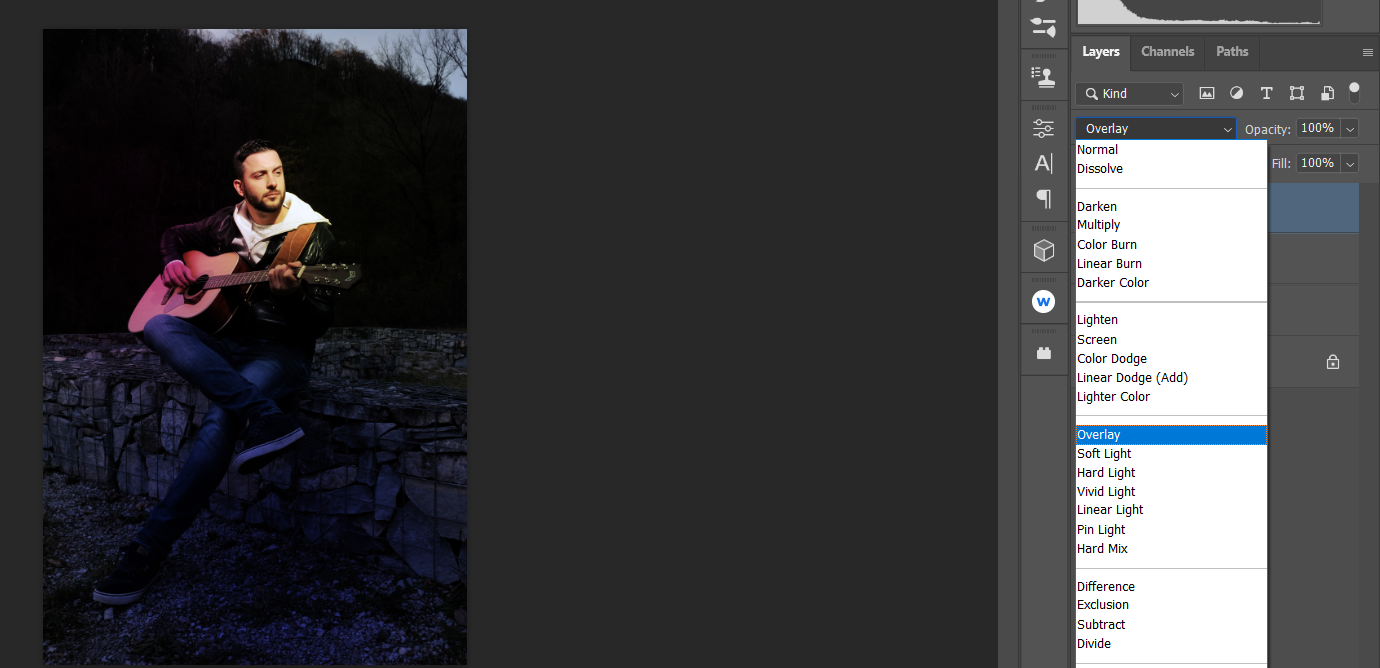
Change the layer blend mode from Normal to Overlay.
-
Lower the Opacity to reduce the effect. In our example, we lowered it to 55 percent.
-
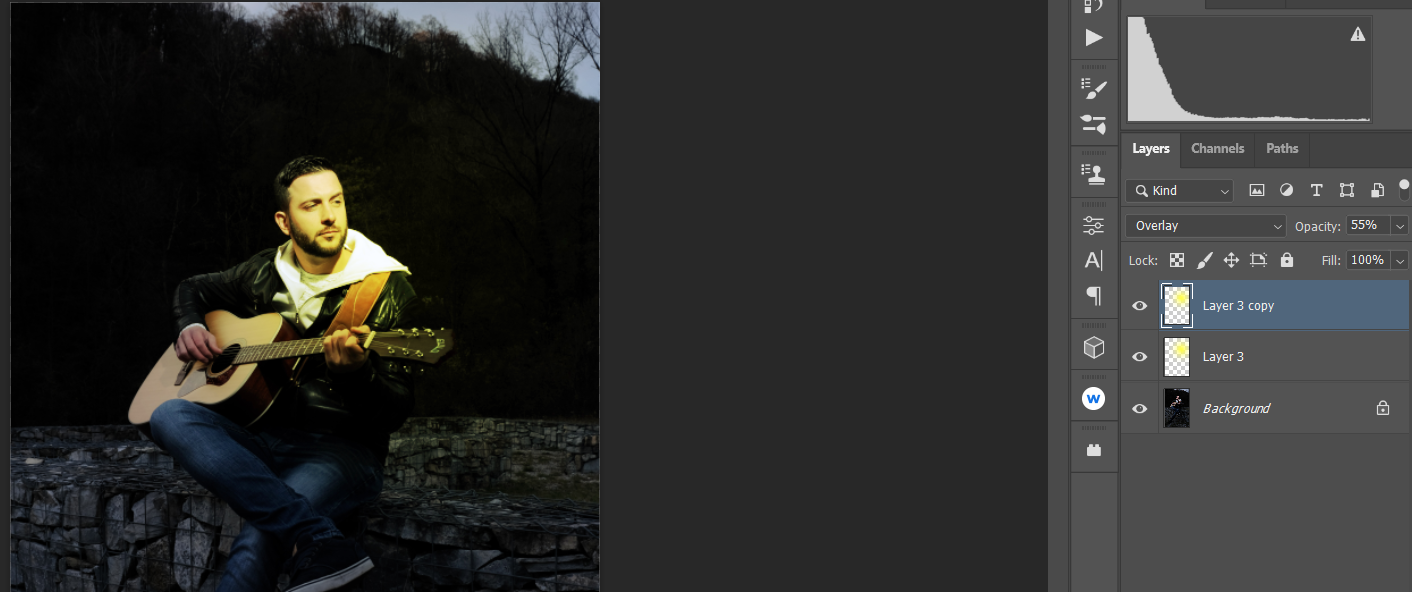
Duplicate the layer by clicking Ctrl + J.
-
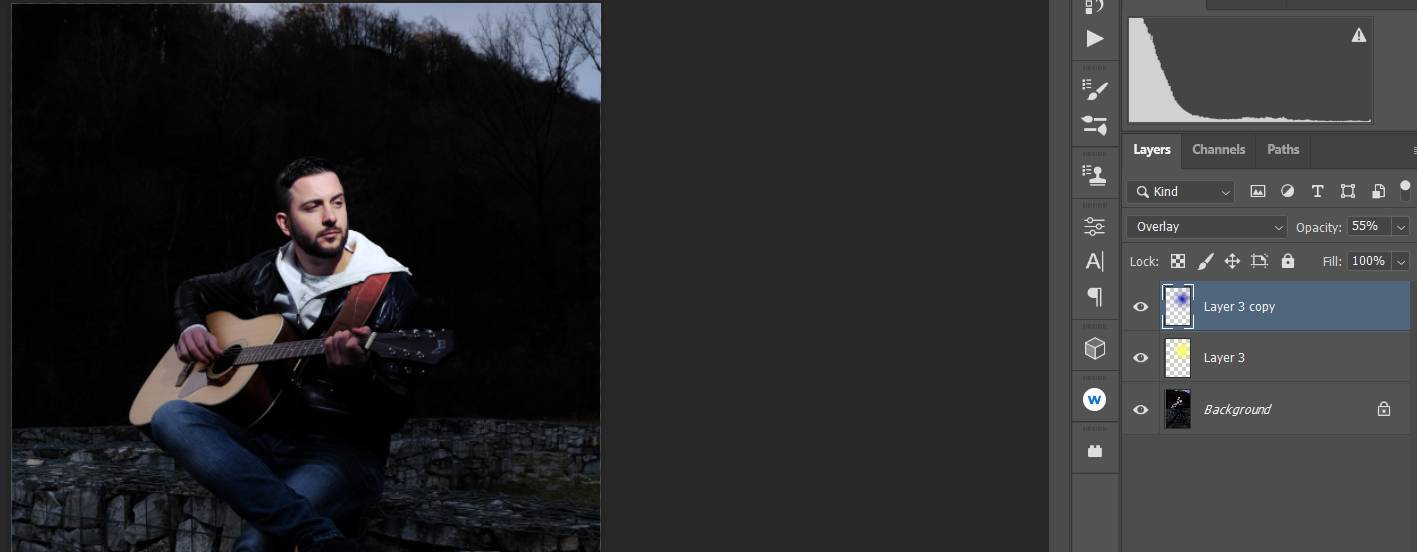
Click Ctrl + I to invert the color.
-
Click Ctrl + T to activate the Transform tool. Then, drag the layer down so that the inverted layer changes the color of the man from his waist down to the bottom of the image. Use the square guides on the blue box to expand or contract the selection. After that, click Enter.

-
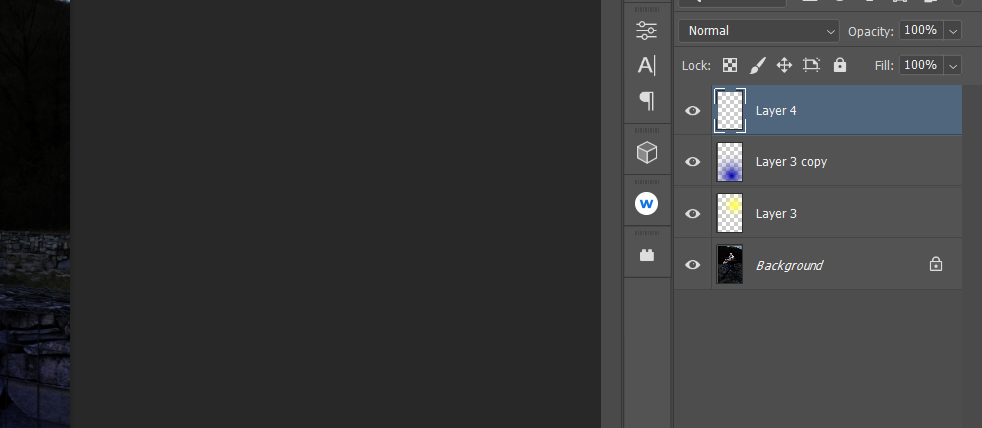
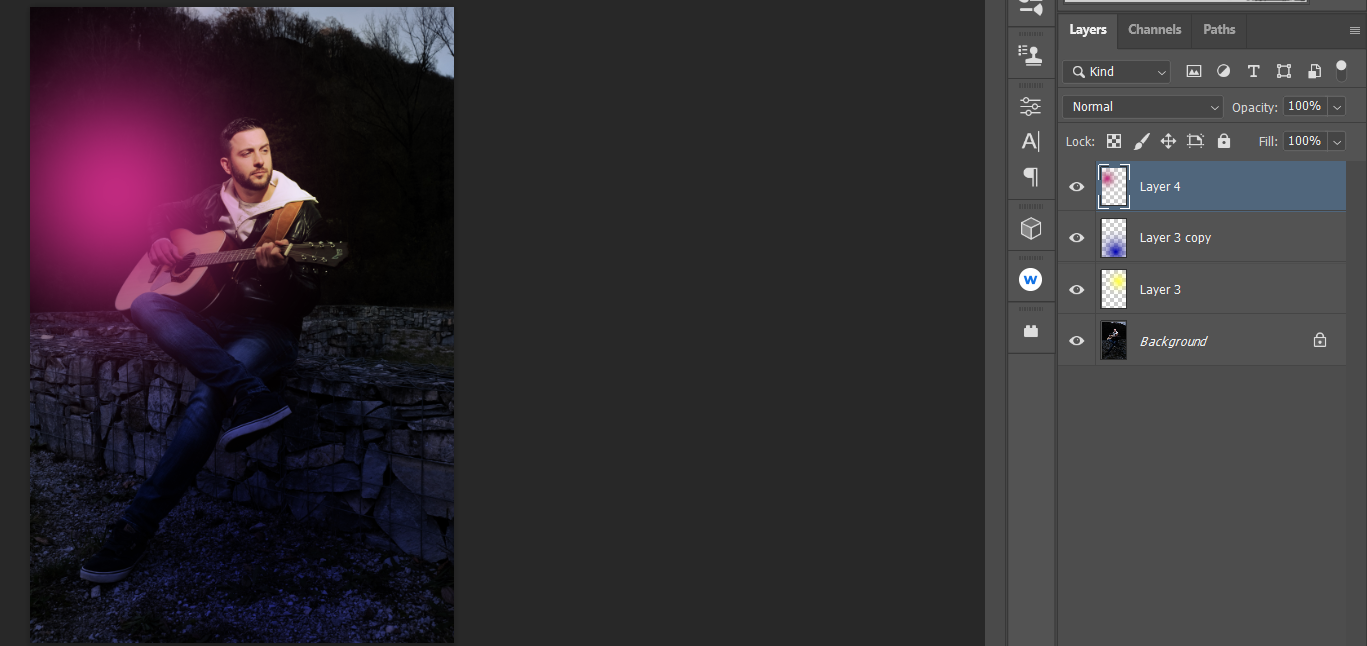
Create another new blank layer by clicking Shift + Ctrl + N, and then click OK.
-
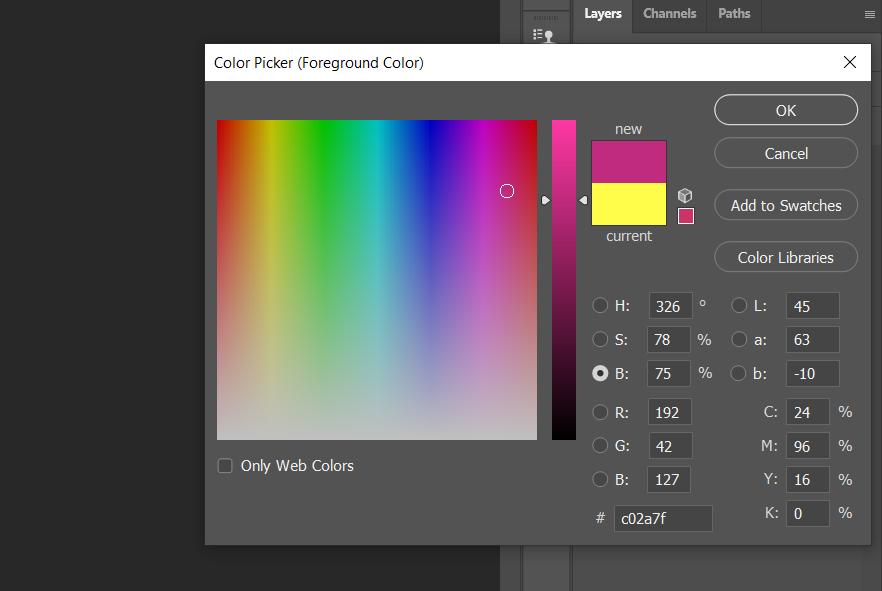
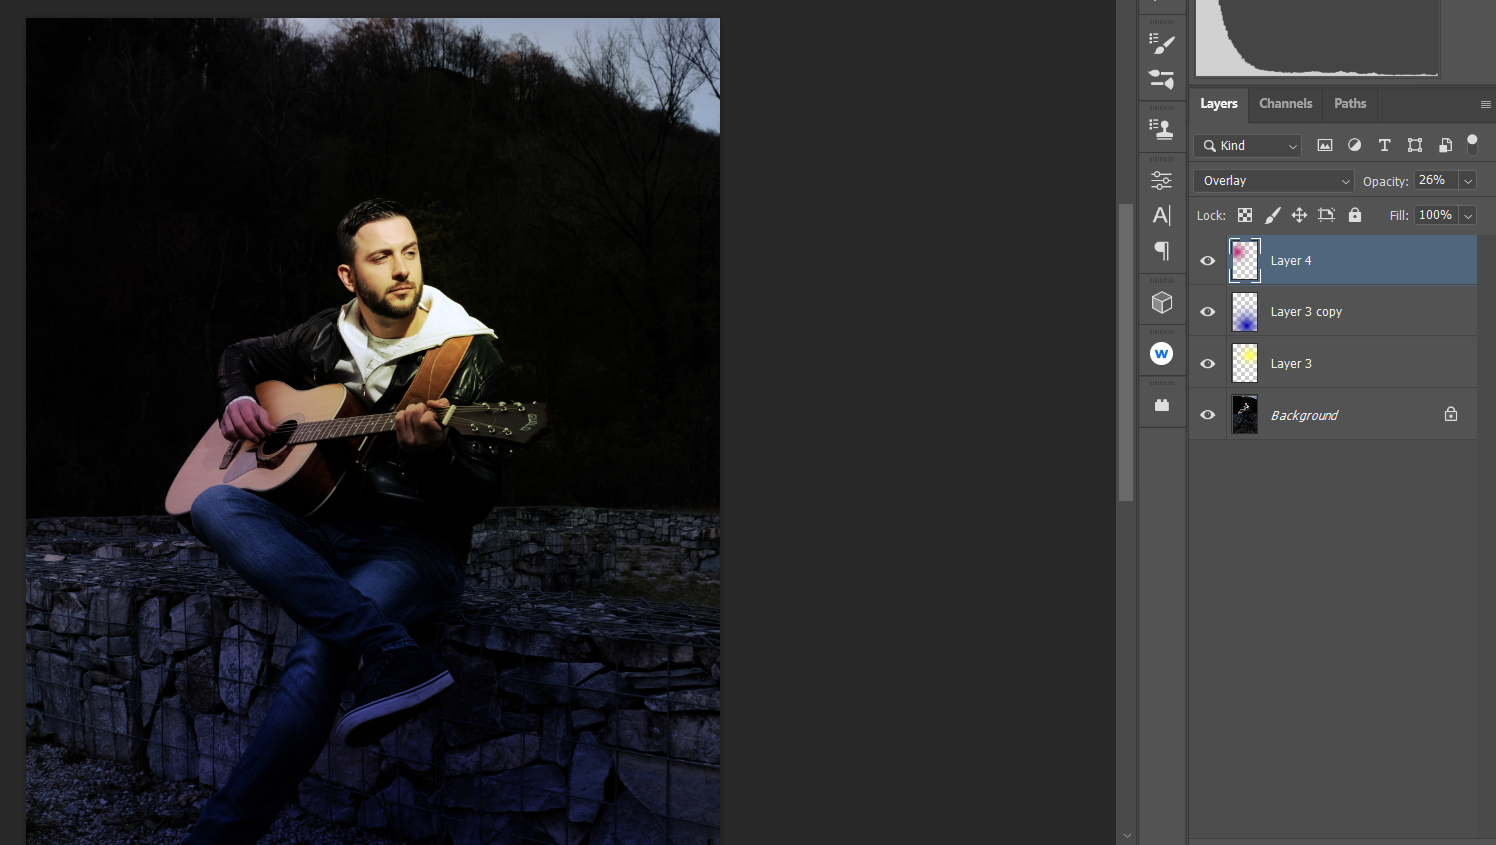
Click on the foreground color, and change the color to a shade of magenta or pink (it doesn’t have to be exactly like what we have). Then click OK.
-
Click B for the Brush tool (Soft Round), and left-click once to add color to the left of the man’s face.
-
Change the blend mode from Normal to Overlay.
-
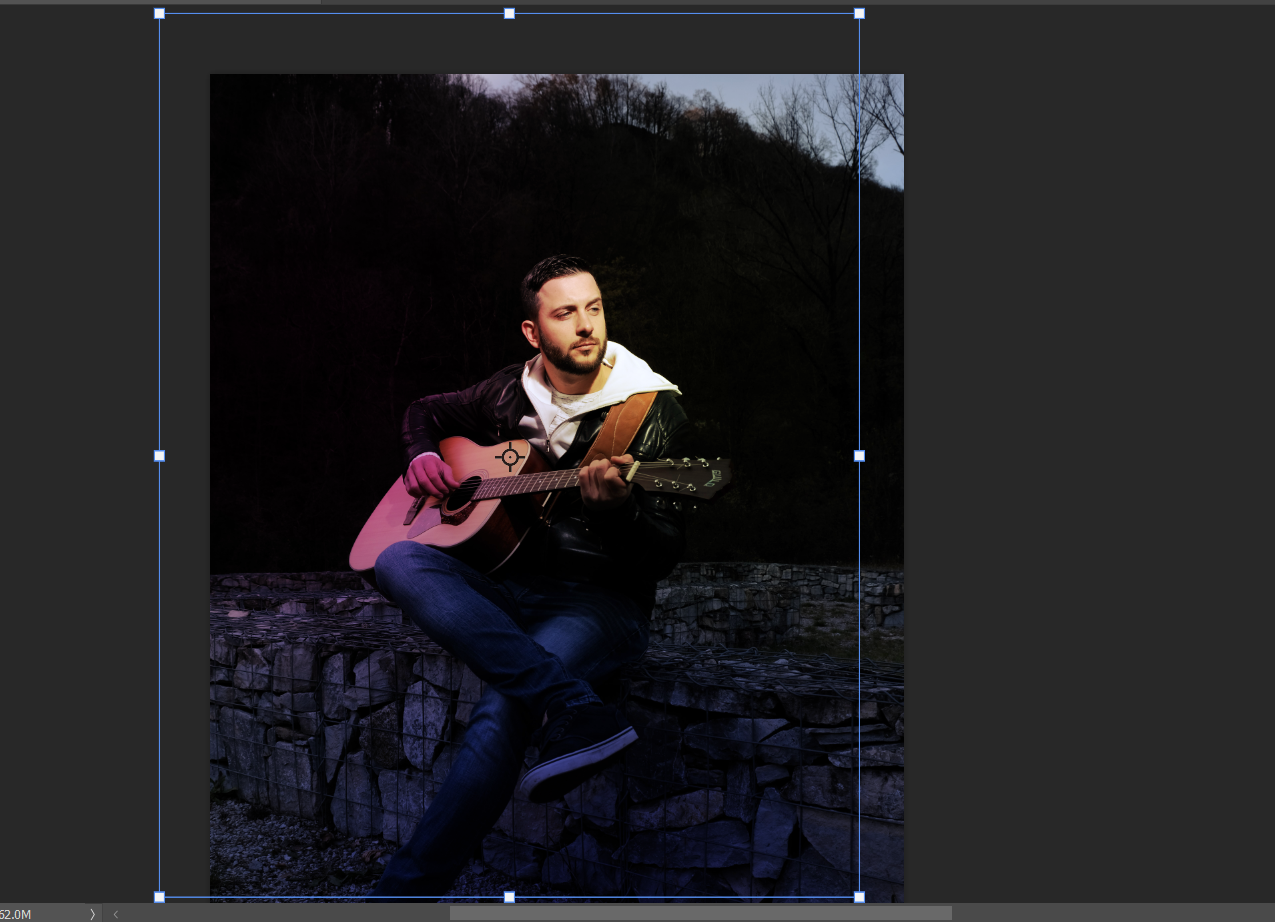
Click Ctrl + T for the Transform tool. Then, place the colored layer so that it covers only the guitar and the man’s hand. Use the boxes along the blue lines to move and place the color. Then click Enter.
-
Reduce Opacity to taste. We used 26 percent.


If you look at the before and after, you’ll notice a dramatic change in the color and mood of the image. Naturally, you could continue from here to make additional edits to transform the image completely. We’ll do just that in the next example.
More Advanced Lighting Techniques
You can download this image on Pexels to experiment on your own. It’s a fun image to apply these advanced lighting techniques to.

In our edited version, we applied the same techniques as shown previously. The only difference is that instead of applying a single blotch of color in the Overlay layer, we chose to paint the effect exactly where we wanted it to be.

We also applied Curves and Color Balance layers as finishing touches, and then grouped all of our changes together into one folder to make it easy to toggle between before and after views.
Easily Achieve Beautiful Lighting in Photoshop
There are dozens of ways to tweak lighting effects in Photoshop. Many methods are complex but offer huge rewards as a payoff for your precious time spent in the editing process.
But as we’ve shown here in this tutorial, using the Overlay blend mode is an easy and highly effective way to add stunning creative effects to your image without having to spend hours learning techniques. In fact, it takes much more time to read through the steps to create and use Overlay layers than it does to actually do it in practice.
For those of you who don’t use Photoshop, there are other image editing programs out there to get the job done. The important thing is to discover the simplest and most effective ways to edit your images to realize your vision.
Image Credit: Александр Раскольников/Unsplash