Rust is an excellent choice for building complex and reliable applications. One of the essential skills for developing Rust applications is structuring your projects effectively, including incorporating third-party packages.
Effective project organization is crucial for developing Rust applications. Well-structured Rust apps enhance collaboration and easy third-party app integrations, significantly reducing the time and effort required for app development. Rust provides a built-in package manager and other tools for effective code organization and management.
Setting Up Rust Projects
Setting up Rust projects is easy once you’ve installed Rust on your machine; you can use Cargo (Rust’s built-in package manager and build system) to create and configure a Rust project. It is similar to other package managers like npm for Node.js and pip for Python. Cargo manages dependencies, compiles code, and generates documentation, making it an essential tool for Rust development.
Run this command to verify your Cargo installation:
cargo --version
The command displays the installed Cargo version.
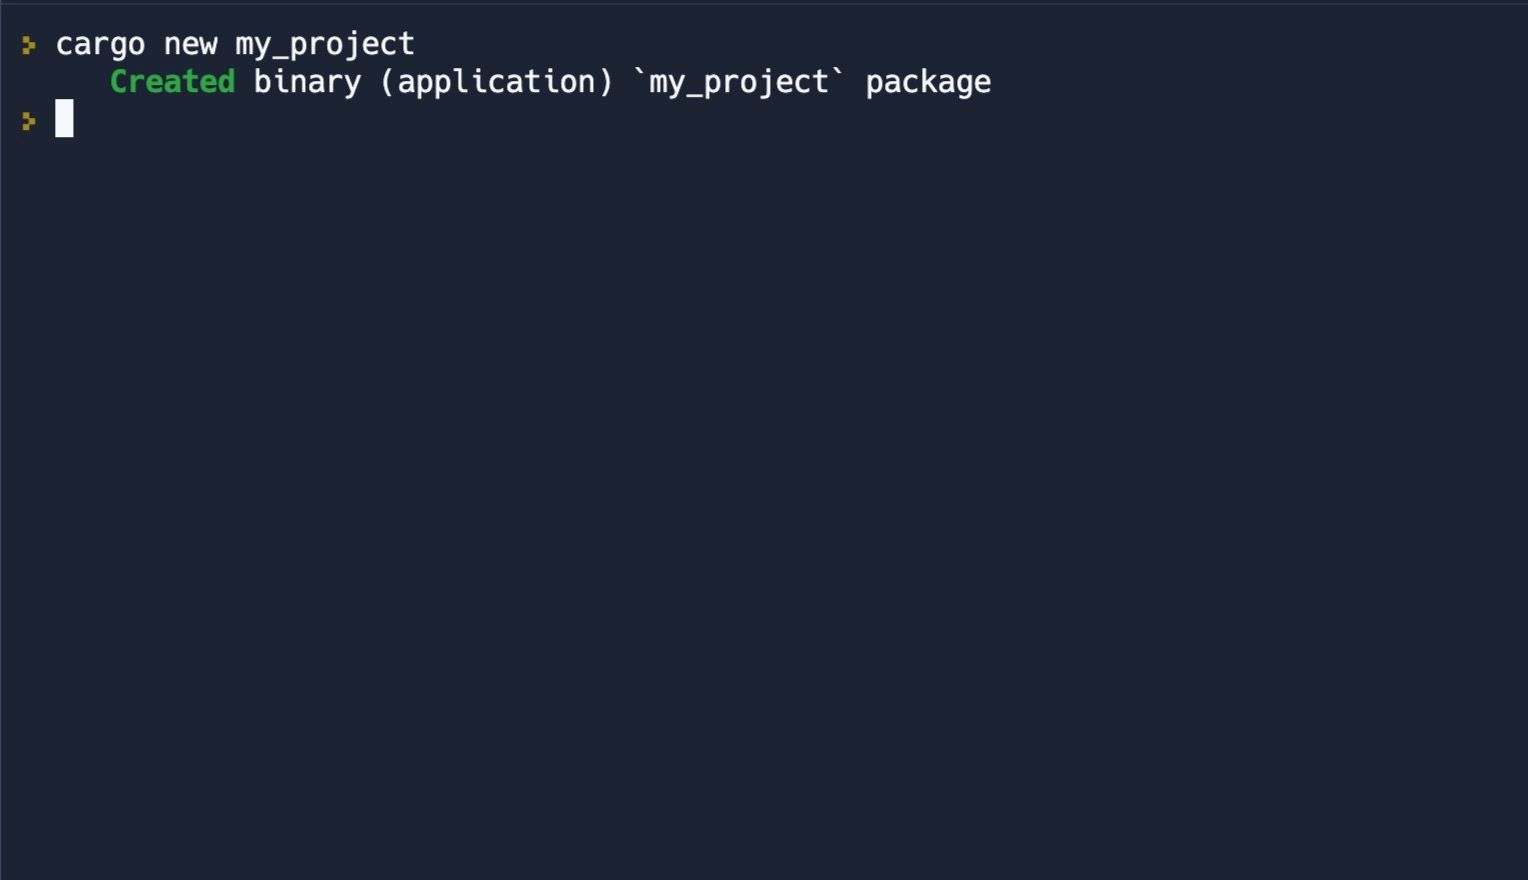
You can create a new Rust project with the cargo new command. You’ll need to specify the project name.
cargo new my_project
The command will create a new directory in the current directory containing the basic files you need for your Rust project, including a cargo.toml file for managing your project’s dependencies.
The Rust Package Namespace
Packages and crates are essential components in Rust. Crates are libraries or binaries that the Rust developers can use and compile for some specific use, and packages are a collection of crates. Packages usually contain a crate that holds the reusable code and a binary that provides a CLI for the library crate.
Crates must contain the Cargo.toml file containing metadata about the package, such as its name, version, dependencies, and build scripts.
Rust packages follow a naming convention to avoid naming conflicts between packages. Package names must be globally unique, lowercase, and contain only letters, digits, and hyphens. If a package name contains multiple words, separate them with hyphens, e.g. hyper-server.
You can access code within a Rust package namespace with the use keyword followed by the package and crate names.
Here’s an example of importing an Rng function from a rand crate:
use rand::Rng;
You can create multiple namespaces for packages. When you create a folder, you create a new namespace that you can access with the dot notation to specify the path to the identifier.
In Rust, there can be multiple namespaces for packages. When you create a folder, you create a new namespace. To access code from another namespace, you use a dot notation to specify the path to the identifier.
Here's an example of accessing a function from a different namespace:
        // file in folder1 namespace
pub fn folder() -> u32 {
    // some function body here
    return 0;
}

// file in folder2 namespace
use folder1::folder;

pub fn directory() {
    // accessing the folder function from the folder1 namespace
    let folder_func = folder();
}
The program defines two Rust modules in different namespaces, folder1 and folder2 respectively. The folder1 module contains a public function folder that returns a 32-bit unsigned integer value.
The folder2 module imports the folder function from the folder1 namespace with the use keyword, allowing the directory function to access the folder function from the folder1 module. The directory function calls the folder function, and the return value is assigned to the folder_func variable.
You’ll need to capitalize the name of the identifiers from a package or crate to export them. When you export an identifier, you make it accessible in other packages that use the code.
Here’s an example of a public function that can be exported.
        // function exported to other packages and crates
pub fn MyFunction() {
    // some function body here
}
You’ll also need to use the pub keyword. In Rust, the pub keyword is short for public. When a function, struct, enum, any Rust data type or module is marked with the pub keyword, it becomes accessible outside its module. The item is private to its module without the pub keyword and can only be accessed from within it.
Defining Modules to Control Scope and Privacy
You can use modules to control scope and privacy in Rust programs. Modules allow you to organize code into logical units that are easier to manage and maintain.
You can declare modules with the mod keyword followed by the module name and curly braces. Defining a new module creates a new namespace for its contents, meaning that functions, structs, or other items defined within the module are only accessible within the module except you explicitly export them.
Modules help prevent naming conflicts, making code more intuitive to understand.
Here’s the syntax for a simple module:
        mod my_module {
    // module contents go here
}
Within the module, you can define variables, functions, structs, enums, and other types.
        mod my_module {
    fn add_numbers(a: i32, b: i32) -> i32 {
        a + b
    }
}
You can use the pub keyword to export the function and access the function in other parts of the program.
        mod my_module {
    pub fn add_numbers(a: i32, b: i32) -> i32 {
        a + b
    }
}
Now, you can call the add_numbers function from other parts of your program.
You can also control the privacy of modules with the pub keyword on module definitions.
        pub mod my_module {
    pub fn add_numbers(a: i32, b: i32) -> i32 {
        a + b
    }
}
Now, the my_module module is public, and you can access the module from other modules.
If you need to make a module or item accessible to a specific module or set of modules, you can use the pub(crate) keyword. The pub(crate) keyword makes the item accessible from modules within the same crate but not from modules in other crates.
        mod my_module {
    pub struct MyStruct {
        pub(crate) some_field: u32,
    }
}
You can now access the specific item (in this case, the some_field field of the MyStruct struct) in other parts of your program.
        fn main() {
    let my_struct = my_module::MyStruct { some_field: 42 };
    println!("{}", my_struct.some_field);
}
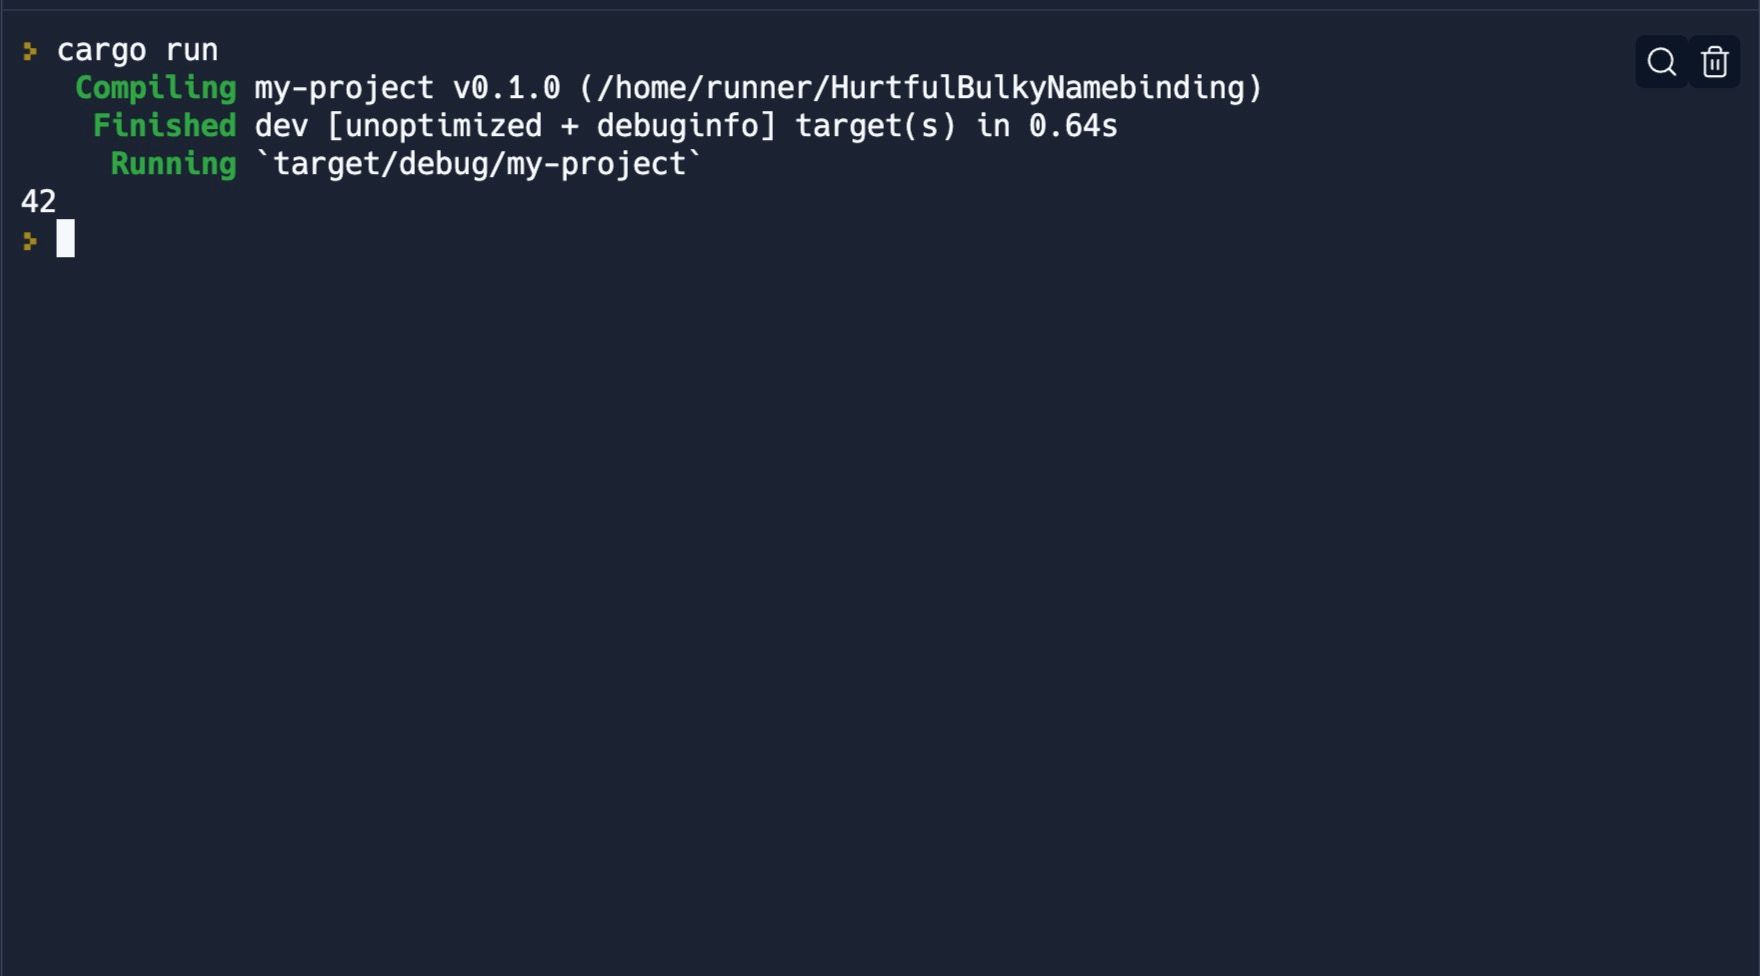
The my_struct variable is an instance of the MyStruct struct. The variable access the struct with the path separator (::). The main function prints the some_field field of the struct with the println! macro.
Rust’s Ownership Model Ensures Memory Safety
Organizing Rust code is one way to ensure your code is easy to maintain and support over time. It’s easier to tackle bugs and ensure safety in well-organized code that follows the Rust community rules and conventions.
On default, Rust ensures programs are memory safe with a built-in ownership model. The ownership model ensures memory safety by ensuring that variables in memory have one unique owner. The ownership model prevents data traces and many types of memory errors.


