It's easy to get distracted when you're working from home. You may even find it difficult to focus if you don't have a dedicated work space. To get things done, you need both a clear and actionable to-do list and a distraction-free environment.
It's tough to add an office to your home, but it's easy to add virtual workspaces using Task View! This article will teach you how to create a productive virtual work environment.
Organize Tasks With Virtual Desktops
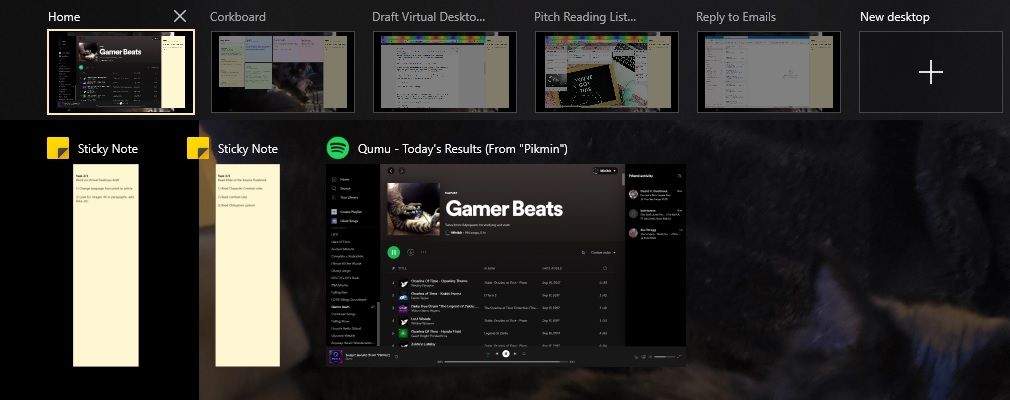
Let's start with a quick review. If you're using Windows 10, you can press the Windows + Tab key at the same time to open up Task View. You can also click the Task View icon in the taskbar (right-click the taskbar and select “Show Task View button” if you don't see it).
This shows all your open windows and virtual desktops, as well as a timeline of apps and files you've opened. Handy, right?
At the top, you'll see your Virtual Desktops. You can rename them by right-clicking, and add new ones by clicking the plus (+) sign. You can move windows between these desktops by clicking and dragging. Try right-clicking a window for extra options.
Using Virtual Desktops, you can organize your workday by task. This helps you avoid distractions from work. It also makes sure you stay on a task until it's done, rather than always switching between tasks but never finishing any of them. Here's how it works.
Step 1: Create a Home Desktop
The Home Desktop should be Desktop 1, the one farthest to the left. Its primary function is to hold your To-Do list. The to-do list can be any app you like to use, just make sure you add it to the startup folder, so it shows up automatically when you log in to Windows.
To add a program to your startup apps, follow these steps:
- Press WIN + R.
- When the Run dialog pops up, enter “shell:startup” without quotes.
- Paste a shortcut of the app you want to add into the folder that opens.
There are lots of excellent to-do list apps out there. But for this method, we recommend the Sticky Notes app. It comes preinstalled with Windows. If you don't want to use Sticky Notes, you can snap your app of choice by dragging it to the edge of the screen. Then skip to Step 2.
Set Up To-Do List With Snapped Sticky Notes
Sticky Notes is a simple but effective program. You can get a lot out of it if you know the tricks! We don't want a lot of distracting extra features such as chats or detailed setup options, so it's perfect for this method.
Start by making a note for each task. It's important that each task have its own note so that you only see one at a time. This helps prevent you from losing focus or getting overwhelmed by a long list.
It can be motivating to add a sequence note at the top. For example: “Task 2/4, Reply to Jenna's Email.” Remember to be reasonable about expectations for how many tasks you can accomplish in a day, and don't forget to add in a “Break time!” task.
Once you've made all your notes, move them to the side of the screen by dragging them all the way to the edge, starting with the lowest-priority task. This creates a stack where the highest priority task is always on top.
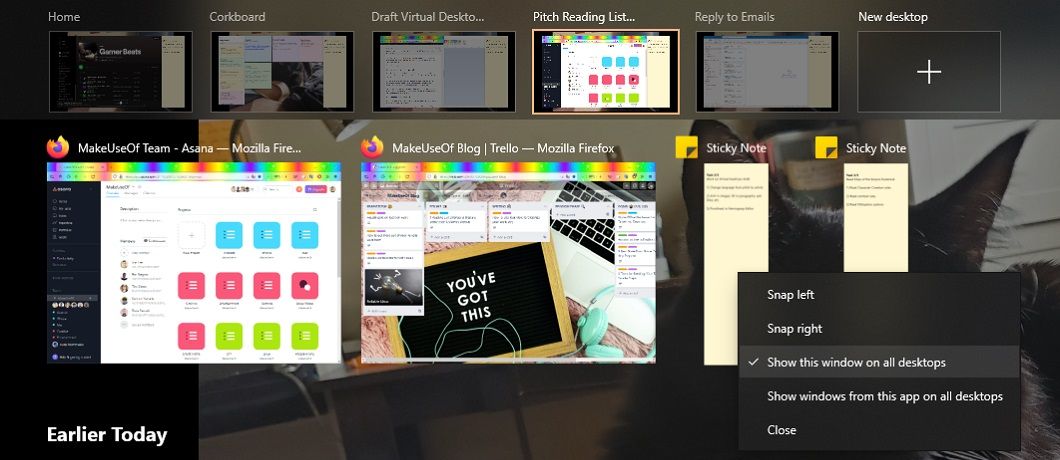
Lastly, open Task View by pressing WIN + Tab, and right-click Sticky Notes. From the options, select “Show windows from this app on all desktops.”
If you use Sticky Notes for many things, you might want to make sure the tasks are the only ones open. Alternatively, you could right-click each task note and select “Show this window on all desktops.”
Now you'll never forget what you're supposed to be doing!
Step 2: Create a Desktop for Each Task
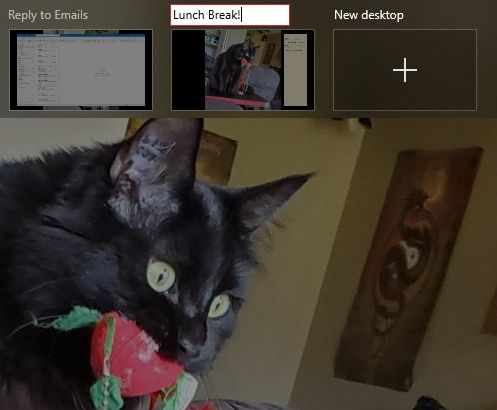
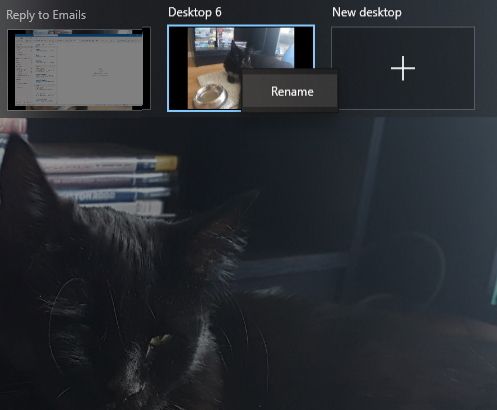
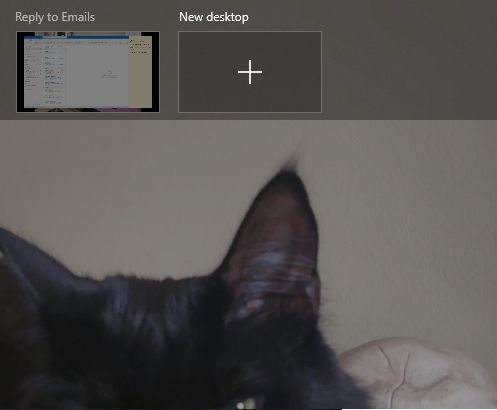
Almost done! While you're in Task View, press the Plus sign (+) to create new Virtual Desktops—one for each task. Give them descriptive names like, for example, “Jenna Email” or “Personal Work”
It's a good idea to create these desktops in priority order. That way, you snap to the next-highest priority task when you close the one you're working on! You can switch easily between Virtual Desktops using keyboard shortcuts, though, so this is optional.
Optionally, you can add an extra desktop to hold your music app, work chat, email client, or other utilities. It's also a good idea to have a leisure desktop for breaks and days off so your home page doesn't get too cluttered.
Step 3: Optional Enhancements
You're all set up to begin your workday, but you might want to take some extra steps first to really protect yourself from distraction. VirtualDesktopEnhancer adds some new features to your virtual desktops, including setting custom backgrounds!
You could use this to create motivational backgrounds for work desktops. If you have recurring tasks, you could also create desktops with text that reminds you what you're supposed to be working on.
Since you're likely using the same browser for leisure time, you could also use a distraction-proof site blocker. This helps remove that temptation to visit social media while you're working.
To go really hardcore, you could use a Focus Mode on your Android phone, to get phone-based distractions out of the way as well.
Putting It All Together
With this setup, your workday is organized and protected from virtual distractions! Start the day by creating a Sticky Note for each task. Keep them brief but specific—don't let this become a task in itself.
Next, create a desktop for each task and make sure the Sticky Notes are visible in all windows. Open the first task's desktop and get started! Once you've completed the task, close the relevant windows and desktop. On to the next!
Stay Focused With Virtual Desktops
Using Windows' native features, you can organize and focus your workday. This method works especially well for anyone who struggles to stay focused on a specific task, or who needs a clear structure in their workday. With this method, you will always have your task list available for a gentle “what's next?” prompt.

