Many people get the Oculus Quest 2 because it’s a standalone virtual reality (VR) headset that doesn't require a beefy PC to run. However, you can still effectively turn a Quest 2 into an Oculus Rift Windows PC VR headset and open up a whole new world of virtual reality.
Turning the Oculus Quest 2 into a Windows PC VR headset will enable you to access the full Oculus Rift library of apps and manage them from your computer. This is how you can transform the Oculus Quest 2 into a Windows PC VR headset.
What You’ll Need to Utilize Oculus Link on Windows
Oculus Link is a handy app that lets you connect and power an Oculus Quest 2 headset with your PC. This tool enables users to install Oculus VR apps on their PCs’ storage drives. Installed VR apps utilize the PC’s processor rather than the Oculus Quest 2's one, so you can enjoy PC VR software in Oculus Quest 2 much the same as the Oculus Rift.
However, not all PCs are compatible with the Oculus Quest 2 headset. You’ll need a VR-ready PC to utilize Oculus Link. Most VR-ready PCs are advertised as such, and some have stickers stuck on them to highlight their VR readiness.
If you’re not sure about your computer’s VR compatibility, have a look at your PC’s page on its manufacturer’s website for further details. This Meta Quest Link compatibility webpage also includes minimum PC system requirement info.
You’ll also need a long link cable for connecting the Oculus Quest 2 to your desktop or laptop. There is an alternative wireless Air Link option, but here we’re looking at how to connect headsets with a cable.
How to Download and Install the Oculus Windows Software
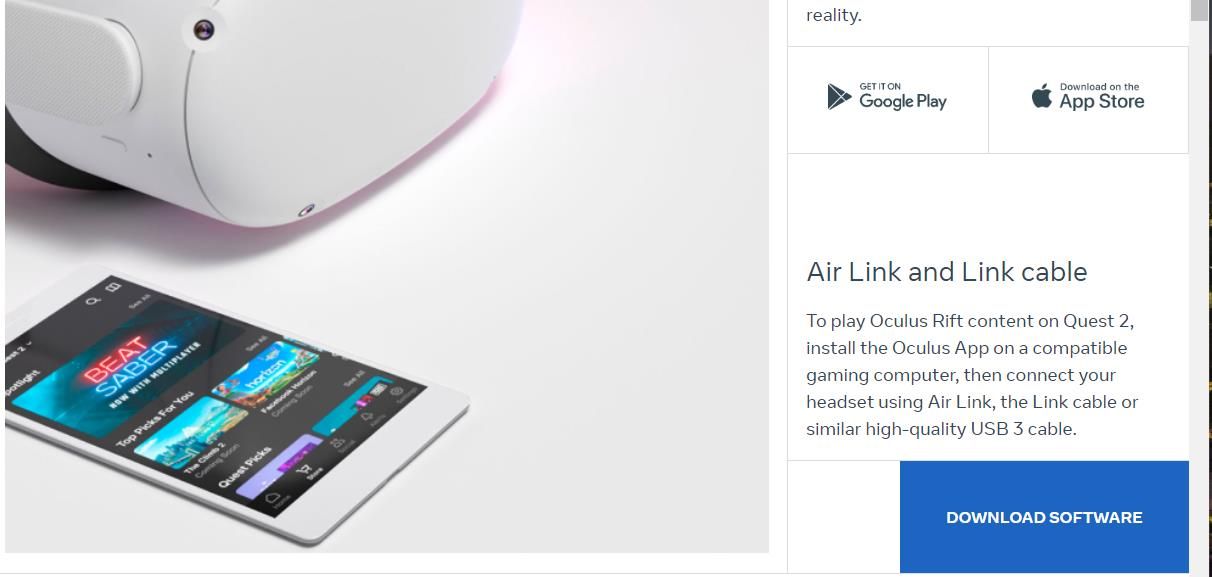
The only other thing you’ll need aside from the VR-ready PC and Oculus Link cable is the Oculus Desktop software for Windows. Oculus Desktop is freely available software with which you can connect Oculus headsets and manage your PC VR apps in Windows 11/10. It’s big software that consumes about 9.26 gigabytes of drive space. You can download and install the Oculus app as follows:
- Open the Meta Quest 2 page in a browser.
-
Click the Download Software option for the Oculus Quest 2.
- Double-click the OculusSetup file once it's downloaded.
- Click the Get started and Agree buttons.
-
Select Install Now to add Oculus to your software library.

- You’ll be prompted to either set up an Oculus account or sign in with an existing one. Select to sign in with the account you use for your Oculus Quest 2 headset.


How to Set Up Oculus Link
When you’ve installed the Oculus software as outlined above, you can connect your Oculus Quest 2 headset to a Windows PC. These are the steps for adding a device with the Oculus software.
- Open the Oculus software you’ve installed by clicking its desktop shortcut or selecting it from the Start menu.
- Click the Devices tab.
-
Select the Add Headset option.
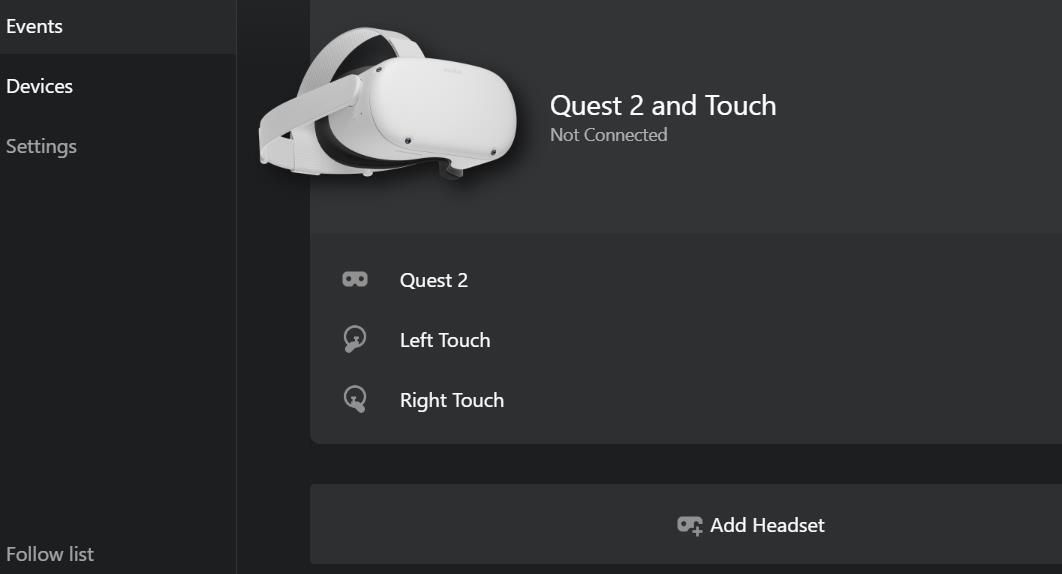
- Click the Oculus Quest 2 option and press the Continue button.
- Select Link (Cable) and click Continue.
-
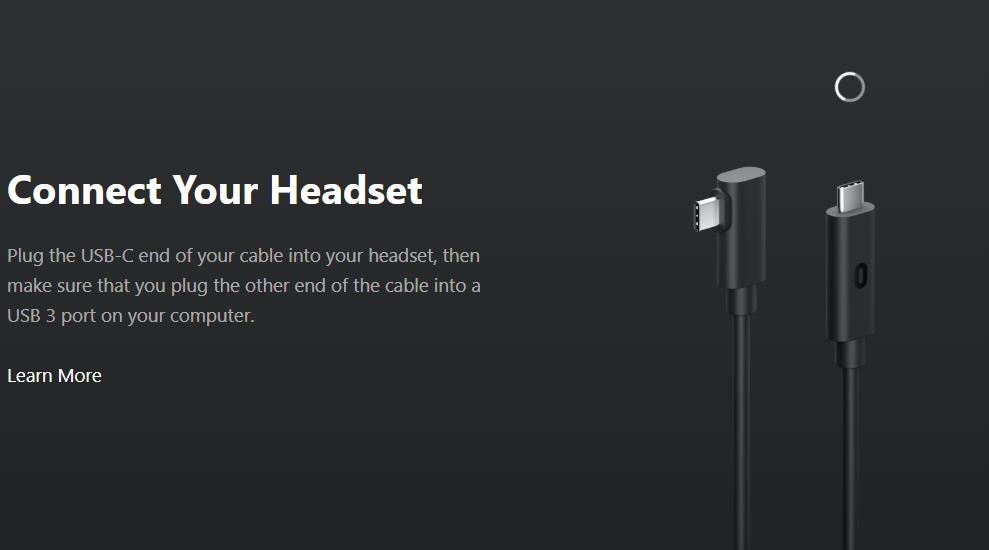
Then you’ll be asked to connect a headset to your PC. Plug your Oculus Link cable into a USB 2.0/3.0 slot to connect the PC to the Oculus Quest 2, and then turn on the VR headset.
- Press Continue after connecting the headset.
- Click the Test button to check the connection and select Continue. Note that a USB 3.0 connection is recommended because of its faster data transfer rate.
- Select Close at the setup complete message.
- Now your Oculus Quest 2 will be connected to the PC. Put on the headset and input the unlock pattern as per usual to enter the home environment.
-
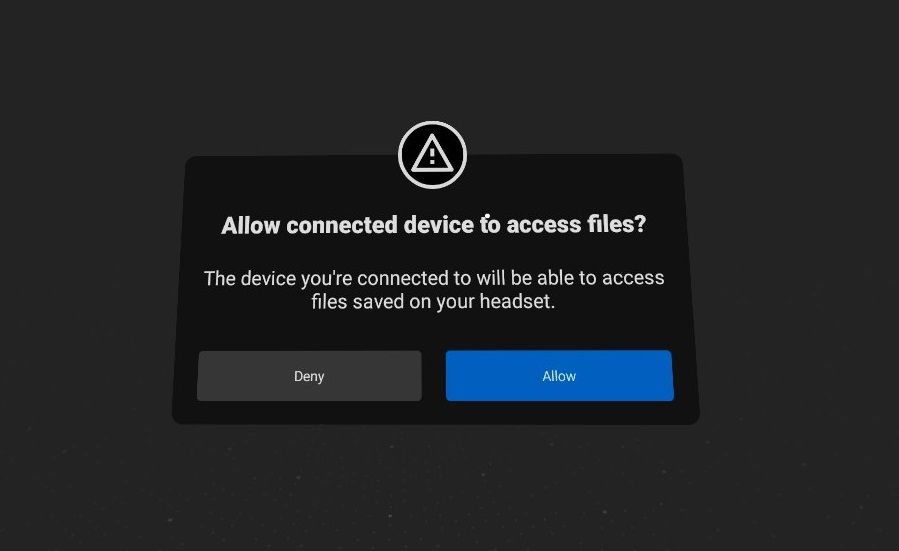
Select the Allow option to allow your PC to access the data on the Oculus Quest 2. Then you can transfer files from the Oculus Quest 2 to your PC.
-
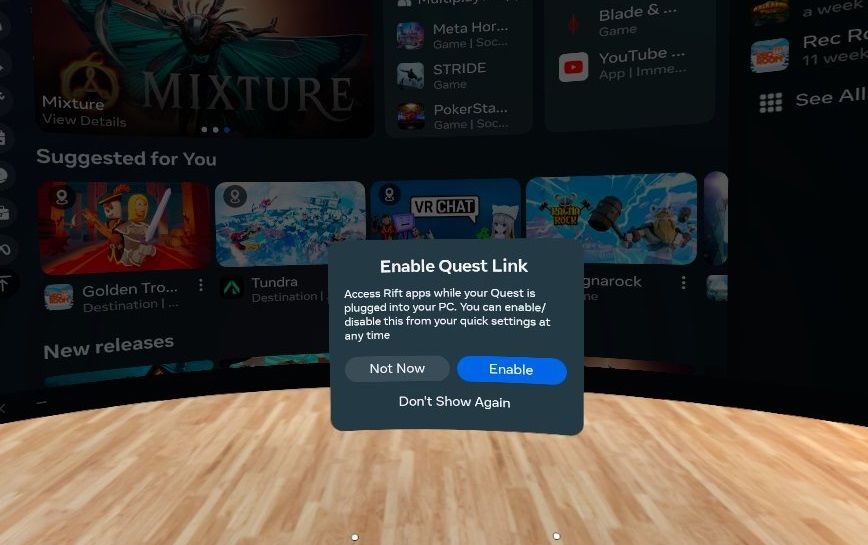
The second prompt asks you to enable Oculus Quest Link. Select the Enable option.


How to Get Into Oculus Dash on the Oculus Quest 2
When you’ve enabled Quest Link in your headset, you’ll enter a new Oculus Dash home environment. That’s essentially a new user interface in which you can browse the Oculus Rift store from which to download/install apps for your Quest 2. Press the Store button to bring up the Oculus Rift storefront.

Now you’ll have the Oculus Rift store at your fingertips on your Oculus Quest 2. There you can download and install VR apps that will be stored on your PC’s hard drive. Download a freely available entertainment app from there to get started.
These are some of the more noteworthy PC VR entertainment apps and games in the Oculus Rift store you can try out on your Oculus Quest 2:
There's more to VR apps than games, though. For instance, the best Windows virtual reality apps to boost productivity can help you get more out of your headset.
You can run an app by pressing the Library button. Then select the Apps tab to view the ones you’ve downloaded. Select an app to launch from there with your Quest 2 controller.

Oculus Dash also has a Home VR feature. That’s a customizable virtual living room you can have some fun in. There you can pick up objects and rearrange the living room as you see fit.

You can access that virtual environment by pressing the Home button on the Dash bar. Press the Menu button on the left control stick to bring up the menu for customizing the environment. Then select Inventory to add new things to the environment from the Base, Objects, and Decorations tabs on that menu.

Virtual Desktop is another notable feature of Dash that enables you to see and access your Windows desktop within the Quest 2 headset – when it works right. However, many users have reported seeing a blank, black screen when they try to utilize that feature.
When you want to go back to the default Quest 2 home environment, select the Disable Quest Link option on the Dash taskbar. You can return to the Dash environment anytime from the Settings dashboard. Select the clock with your controller to enable Quest Link from there.

Manage Your PC VR App Library from Windows
You can also use the Oculus software on your Windows PC to manage your Quest 2’s Rift app library. Select the Store tab in the Oculus window to browse the storefront on your PC. Then you can select to download new apps from there.

To remove apps, click Library in the Oculus Windows software; select the Apps tab to view your library. Click the menu button for an app to select Uninstall.

The Oculus software also includes library location options, with which you can set the default path for installing Rift Store apps. To access those options, click Settings > General. Then press the Edit button for the Library Location.

You can add a new default installation folder for the apps by pressing the Add location button. Choose a new directory in the window, and click the Select Folder button. Press the three-dot button for the new location by selecting Make Default.
You can configure some options for the headset from the Devices tab. Click the headset you’ve added in that tab to bring up Quest 2 microphone, headphone, and graphics preferences settings. Clicking Graphics Preferences there will enable you to select alternative Quest 2 refresh rate options and configure the rendering resolution.

Upgrade the Oculus Quest 2 With Your Windows PC
Enabling Oculus Link is a great way to upgrade an Oculus Quest 2 headset. By combining your Windows 10 or 11 computer with an Oculus headset, you can enjoy all the best PC VR Rift apps on your Oculus Quest 2. You can also have lots of VR fun with the Oculus Home feature and live events in Dash.