NURBS in Blender are the perfect primitive to use when you've got a complicated subject in mind and would prefer to flesh it out procedurally instead of sculpting it or building it piece by piece. They're easy to use and a lot of fun.
What's the best way to use NURBS curves? We've got a couple of options that might interest you. Here's how to get the ball rolling.
Creating NURBS Curves in Blender
NURBS curves are a lot like Bézier curves, albeit with a few differences. While you'll be able to approximate a perfect circle with a Bézier object, you won't ever hit the nail on the head unless you use a NURBS curve instead.
To begin, hop into Blender. You've got a few NURBS options in the Object Mode's Add dropdown:
- NURBS Curve and NURBS Circle under Curve.
- NURBS Curve, NURBS Circle, NURBS Surface, NURBS Cylinder, NURBS Sphere, and NURBS Torus under Surface.
While both subsets are generated using the same principles, they actually behave very differently within the program—NURBS curves only have one single interpolation axis per point, whereas NURBS surfaces use two, no matter which one you choose. Essentially, a NURBS curve becomes a NURBS surface by definition whenever it is extended beyond itself.
Depending on whether you're using a NURBS curve or surface object, your results may vary. You can use either as long as you know what you're going for and how both function within the program.
At this level, the most noticeable distinction will be the difference when you create surface geometry out of a few NURBS objects. NURBS curves created under the Curves dropdown will need to be simplified into a polygon mesh before you'll be able to continue.
Working With NURBS in Blender
For every NURBS curve or surface you create, you'll be presented with a series of control points that you can use to model the primitive. You never edit the curve or surface itself—all the action happens by way of these control points.
To begin, select your NURBS object of choice from Object Mode's Add menu.
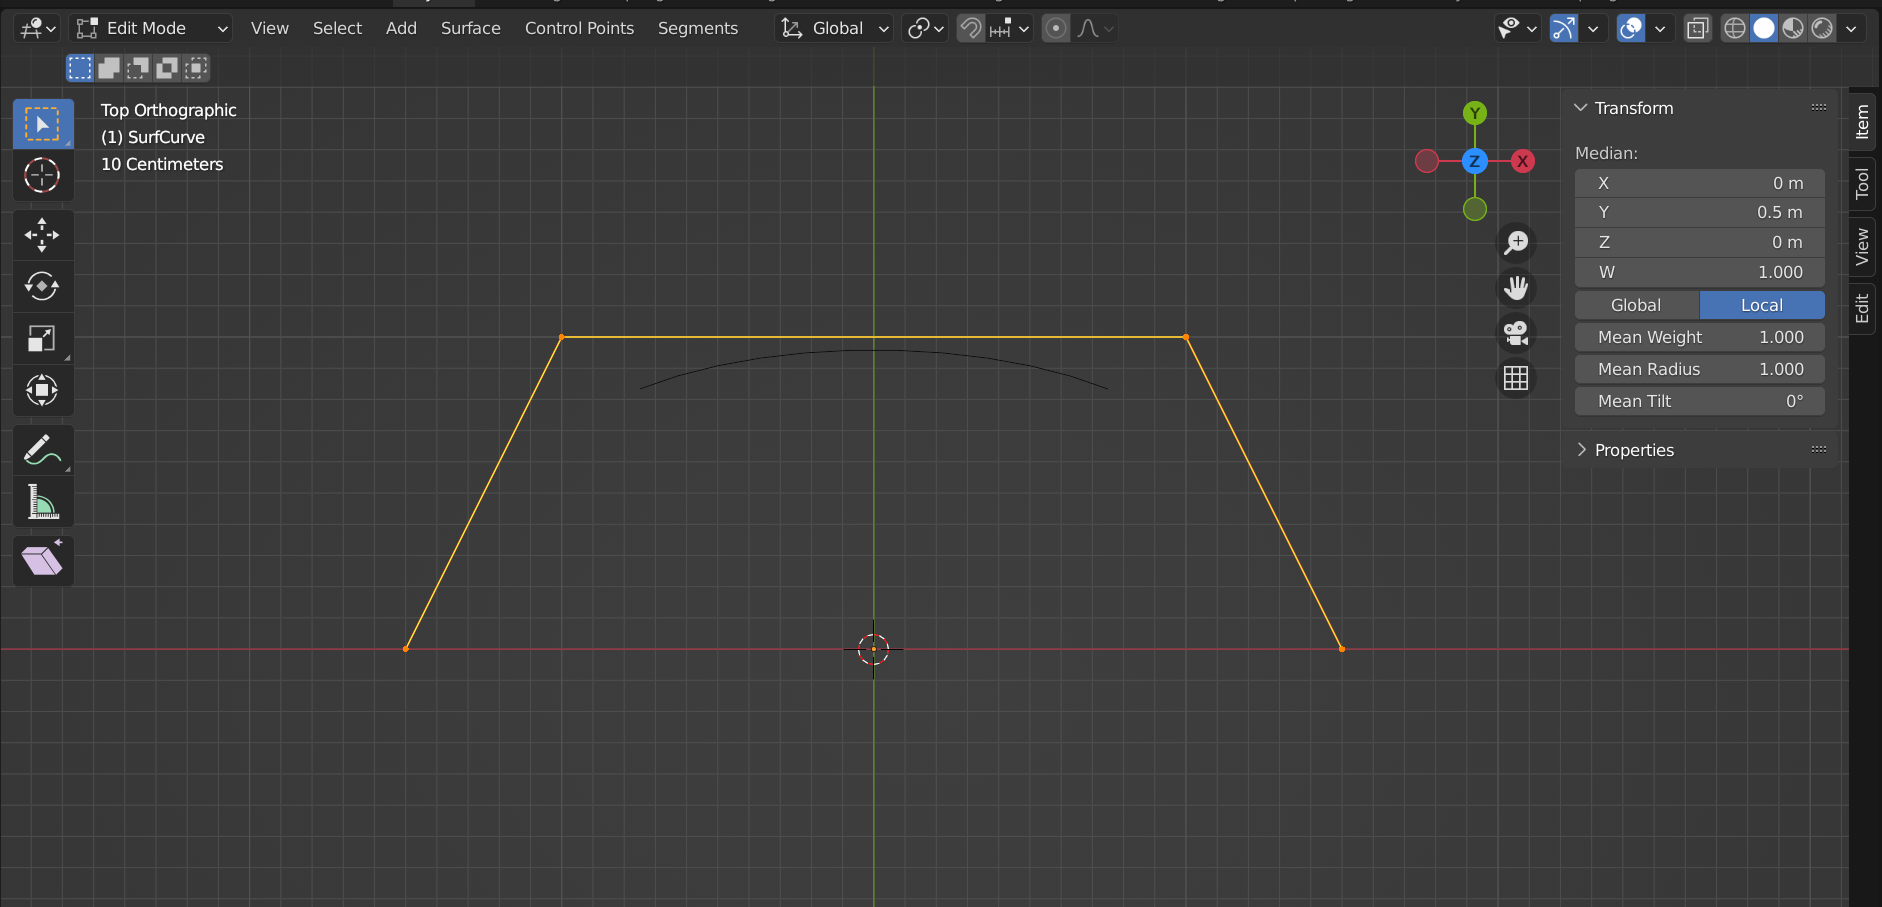
The four default control points for a NURBS curve are relatively simple. Grab ahold of them just like you would any other vertex.
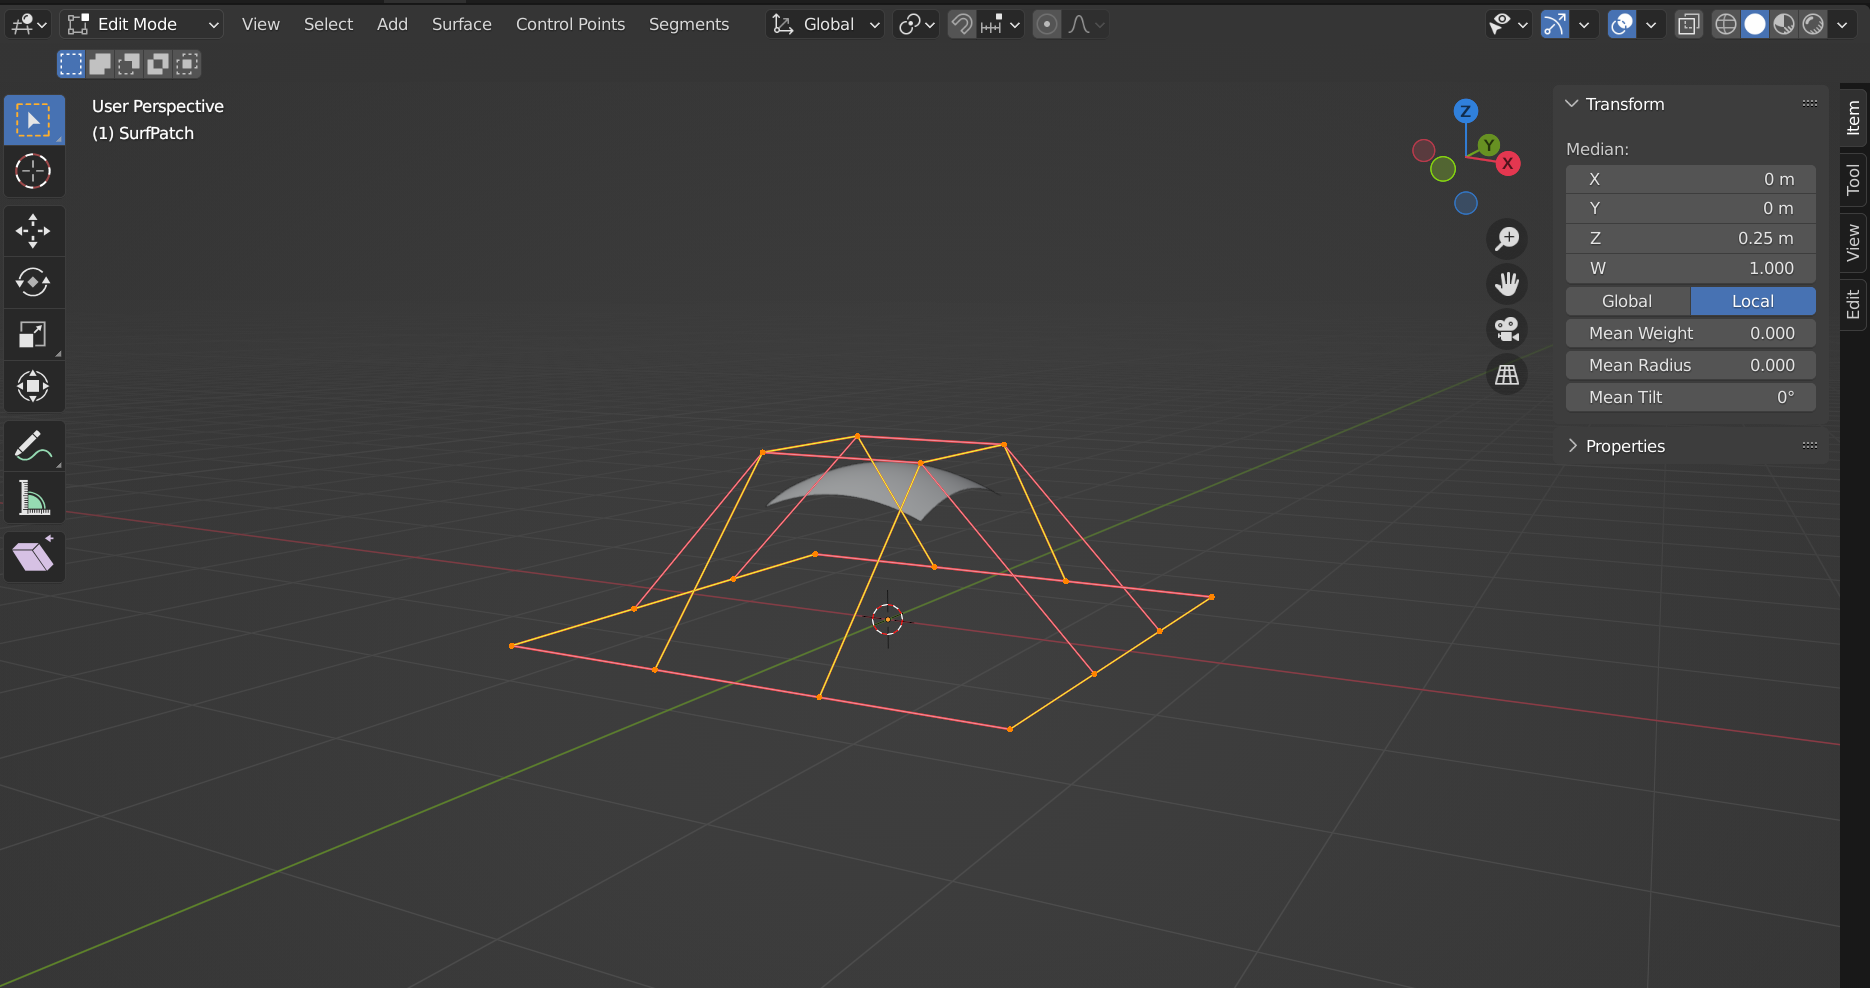
For a NURBS surface, however, things get a little more complicated. You've got a matrixed cage to contend with that may feel limiting at first. If you subdivide the NURBS surface, however, you'll see that with more geometry comes more freedom.
You can't add individual vertices to this cage, however. Instead, you have to do so by row or column, pinpointing where you would like an additional degree of control.
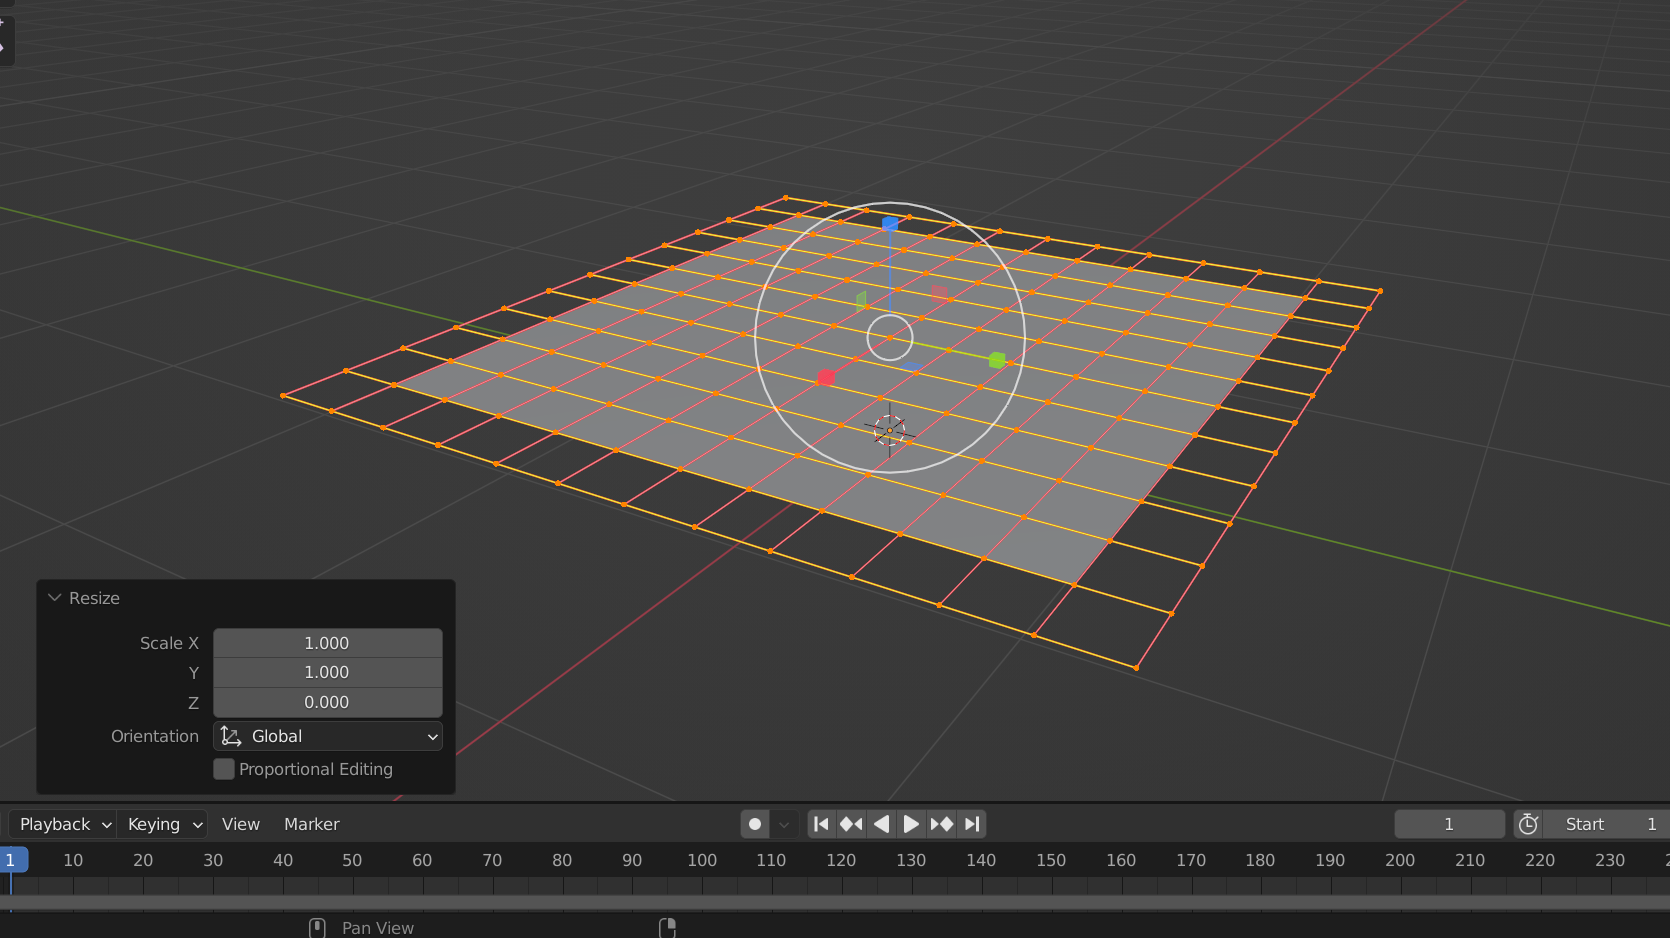
One handy trick for flattening your NURBS surface: select every control point, and use the Scale tool to scale everything's Z axis down to zero while leaving everything else as-is using the Adjust Last Operation panel in the bottom left-hand corner.
Aside from the placement of each control point, you can also adjust them by Weight—the W field in the vertex's Control Panel settings. This parameter pulls and pushes on the procession of points making up the curve, depending on how close they are to each weighted vertex, piling up and stretching out accordingly.
Under Object Data Properties in the Properties panel, you can also dial into your curve or surface Resolution settings. This won't impact the number of control points that you have at your disposal, however—it's just used to increase or decrease the number of subdivisions breaking up the NURBS object itself.
What else can you do with NURBS in Blender? If you've got a good idea and a plan, you can use them to make pretty much anything. There are several ways that you may proceed from this point:
- You can grab any of your control points with G and move them anywhere in 3D space; you can also Scale or Rotate the curve or any smaller part of it.
- You can Subdivide the NURBS object by right-clicking on it in Edit Mode.
- You can Duplicate the NURBS curve in order to create a shape with several similar components.
Lofting in 3D modeling can be used whenever you would like to create one continuous shape out of several disparate pieces of geometry, essentially canvasing simple geometry over all of your hard and fast vertices and edges. More on this later.
If you created your NURBS objects using the Surface dropdown, you can use F to fill the intermediary space. If your NURBS object came from the Curve dropdown, however, you'll first need to convert the NURBS object to a polygon mesh.
How to Convert NURBS to Mesh in Blender
In order to create concrete geometry out of separate NURBS curves, we'll first need to finalize the shape and convert it into a mesh. This method will work for any type of NURBS object in Blender.
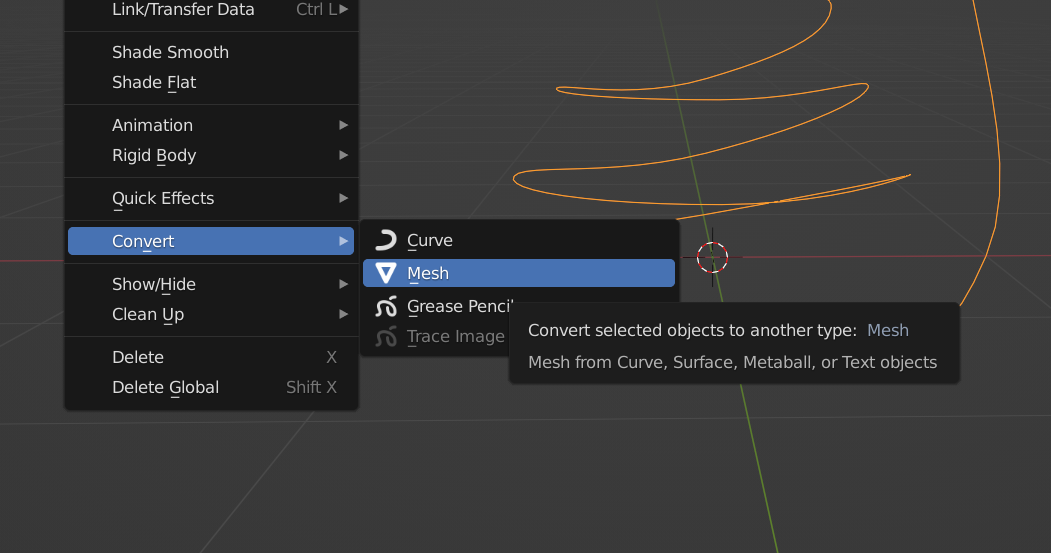
To convert NURBS to polygons in Object Mode, click into the Object dropdown. Under Convert, select Mesh. You'll also find the same option when you right-click the object in your viewport.
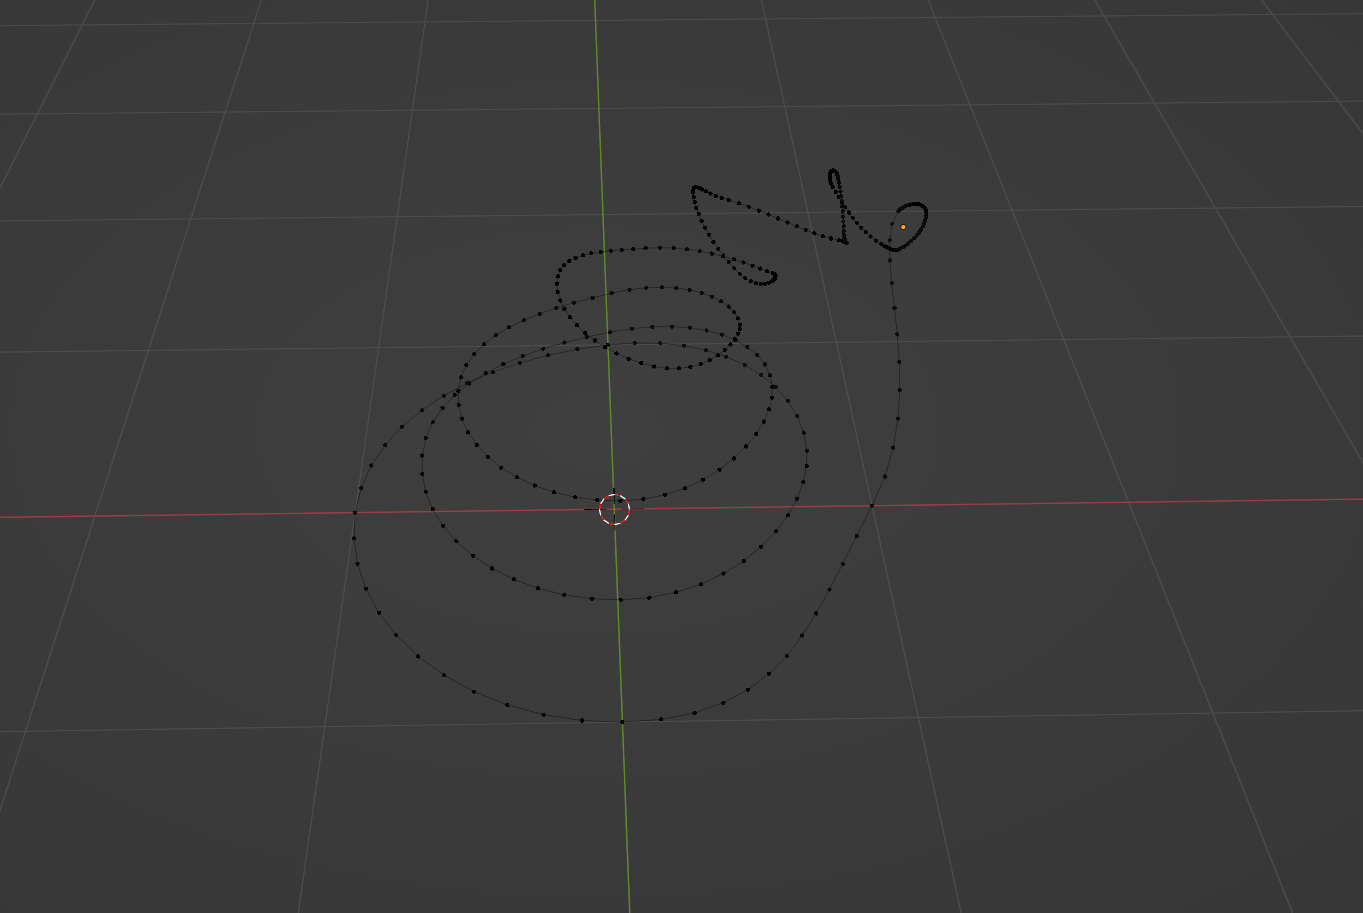
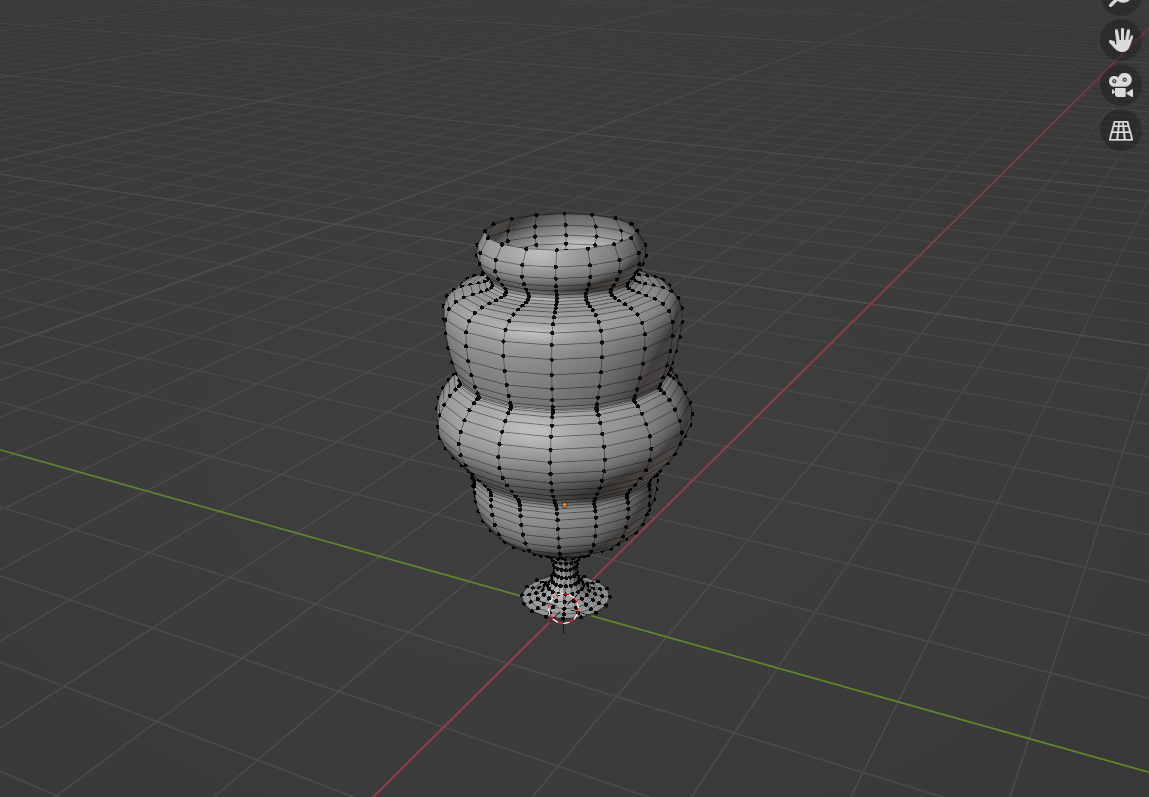
When you Tab back into Edit Mode, you should see vertices dotting your NURBS curve at regular intervals. Now, you can use this object just like you would any other ordinary mesh in Blender.
Lofting NURBS Curves
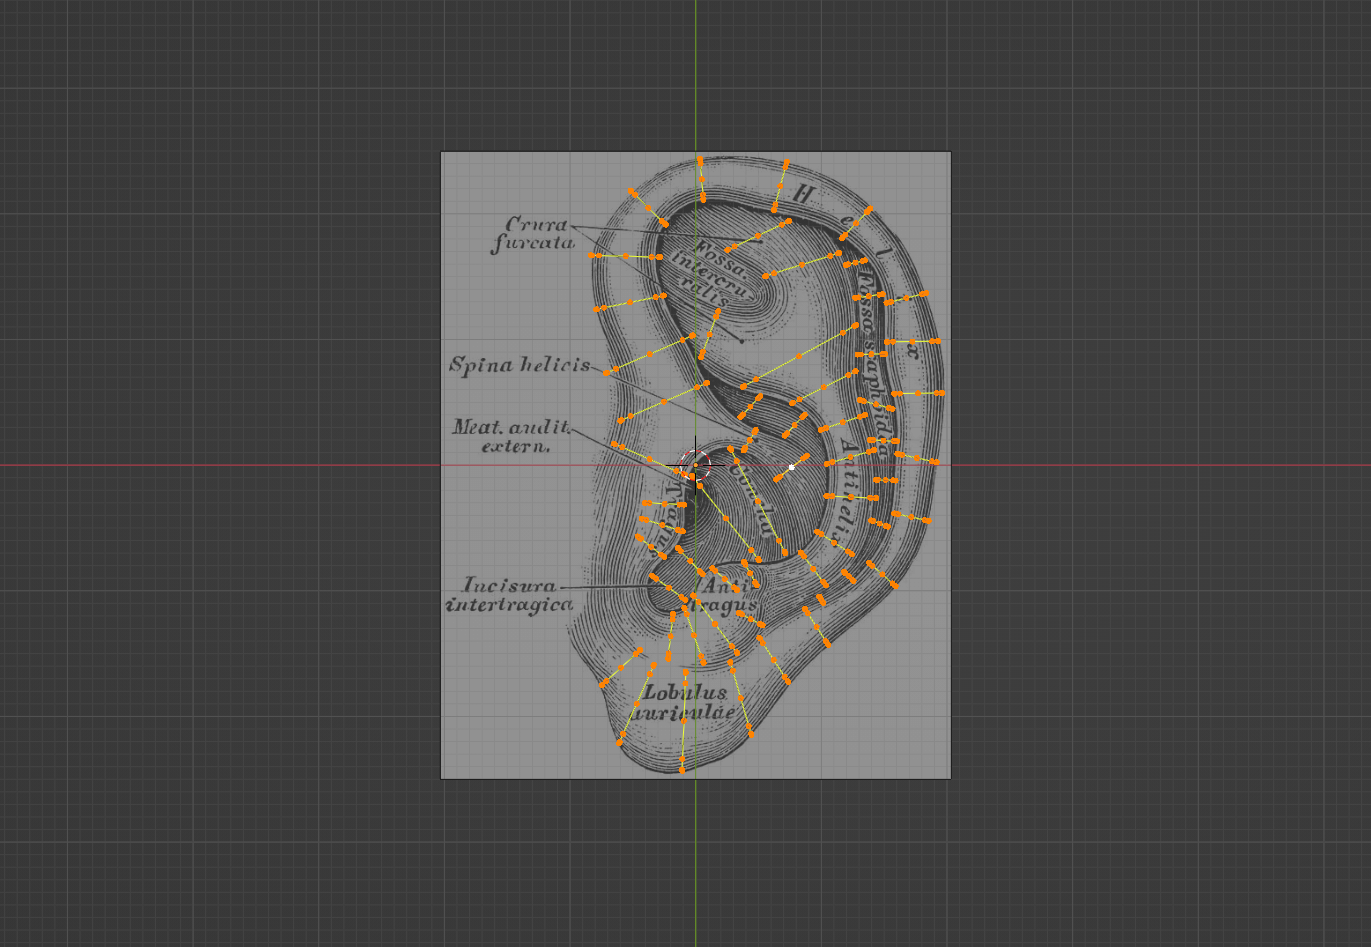
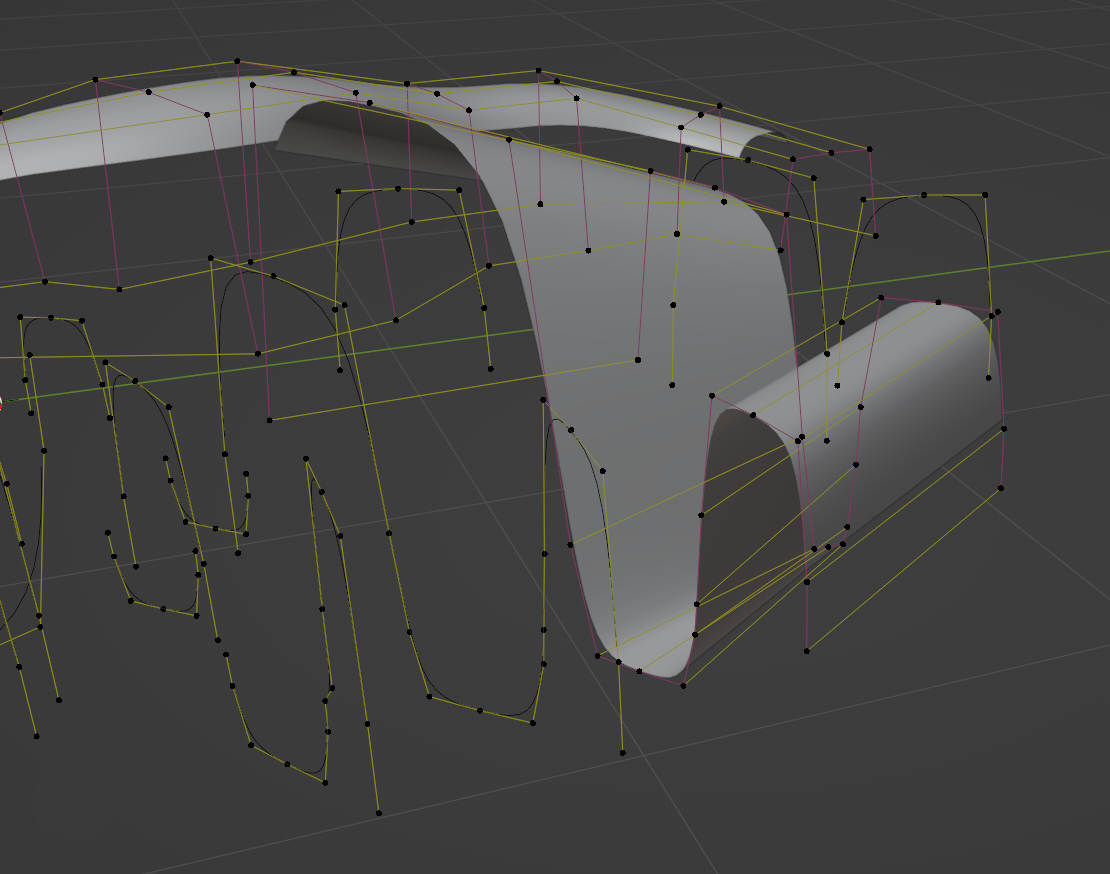
One of the most obvious ways to use 3D NURBS curves in Blender is to use them as the foundation for complex surface modeling, such as for the exterior body of a modern car or even for things like branching trees. You lay your design out piece by piece, bridging the gaps between them with a new NURBS surface.
If you chose NURBS surfaces or curves from the Surface dropdown, you should be able to adjust your 3D lofting without converting your NURBS objects to a mesh first. If not, follow the instructions above, and you're free to work in much the same way with your new polygonal geometry.
A few other tips when lofting in Blender:
- The rotation, position, and relative pitch between all of your NURBS elements will influence your outcome greatly.
- Your new geometry may meet up unexpectedly in the intervening space unless you're working meticulously—when in doubt, you can always connect each part of your model one by one.
- You'll need to keep your NURBS resolution consistent between each leg of the loft in order to prevent weird artifacts or discrepancies between each NURBS object involved; this is one of the trickiest parts, and it pays to begin with a clean foundation.
One of the advantages of choosing a Surface-derived NURBS object is that you're free to modify the NURBS's underlying structure before finally committing the shape to a mesh. Anything that's wrinkling, bending, or otherwise spoiling the appearance of your NURBS surface can be easily addressed without necessarily busting in.
Lathing NURBS Curves
Much like in the world of physical woodworking and other types of industrial manufacturing, you can spin your NURBS shape and lathe it into something like a vase, a Romanesque column, or anything symmetrical about an axis to orbit.
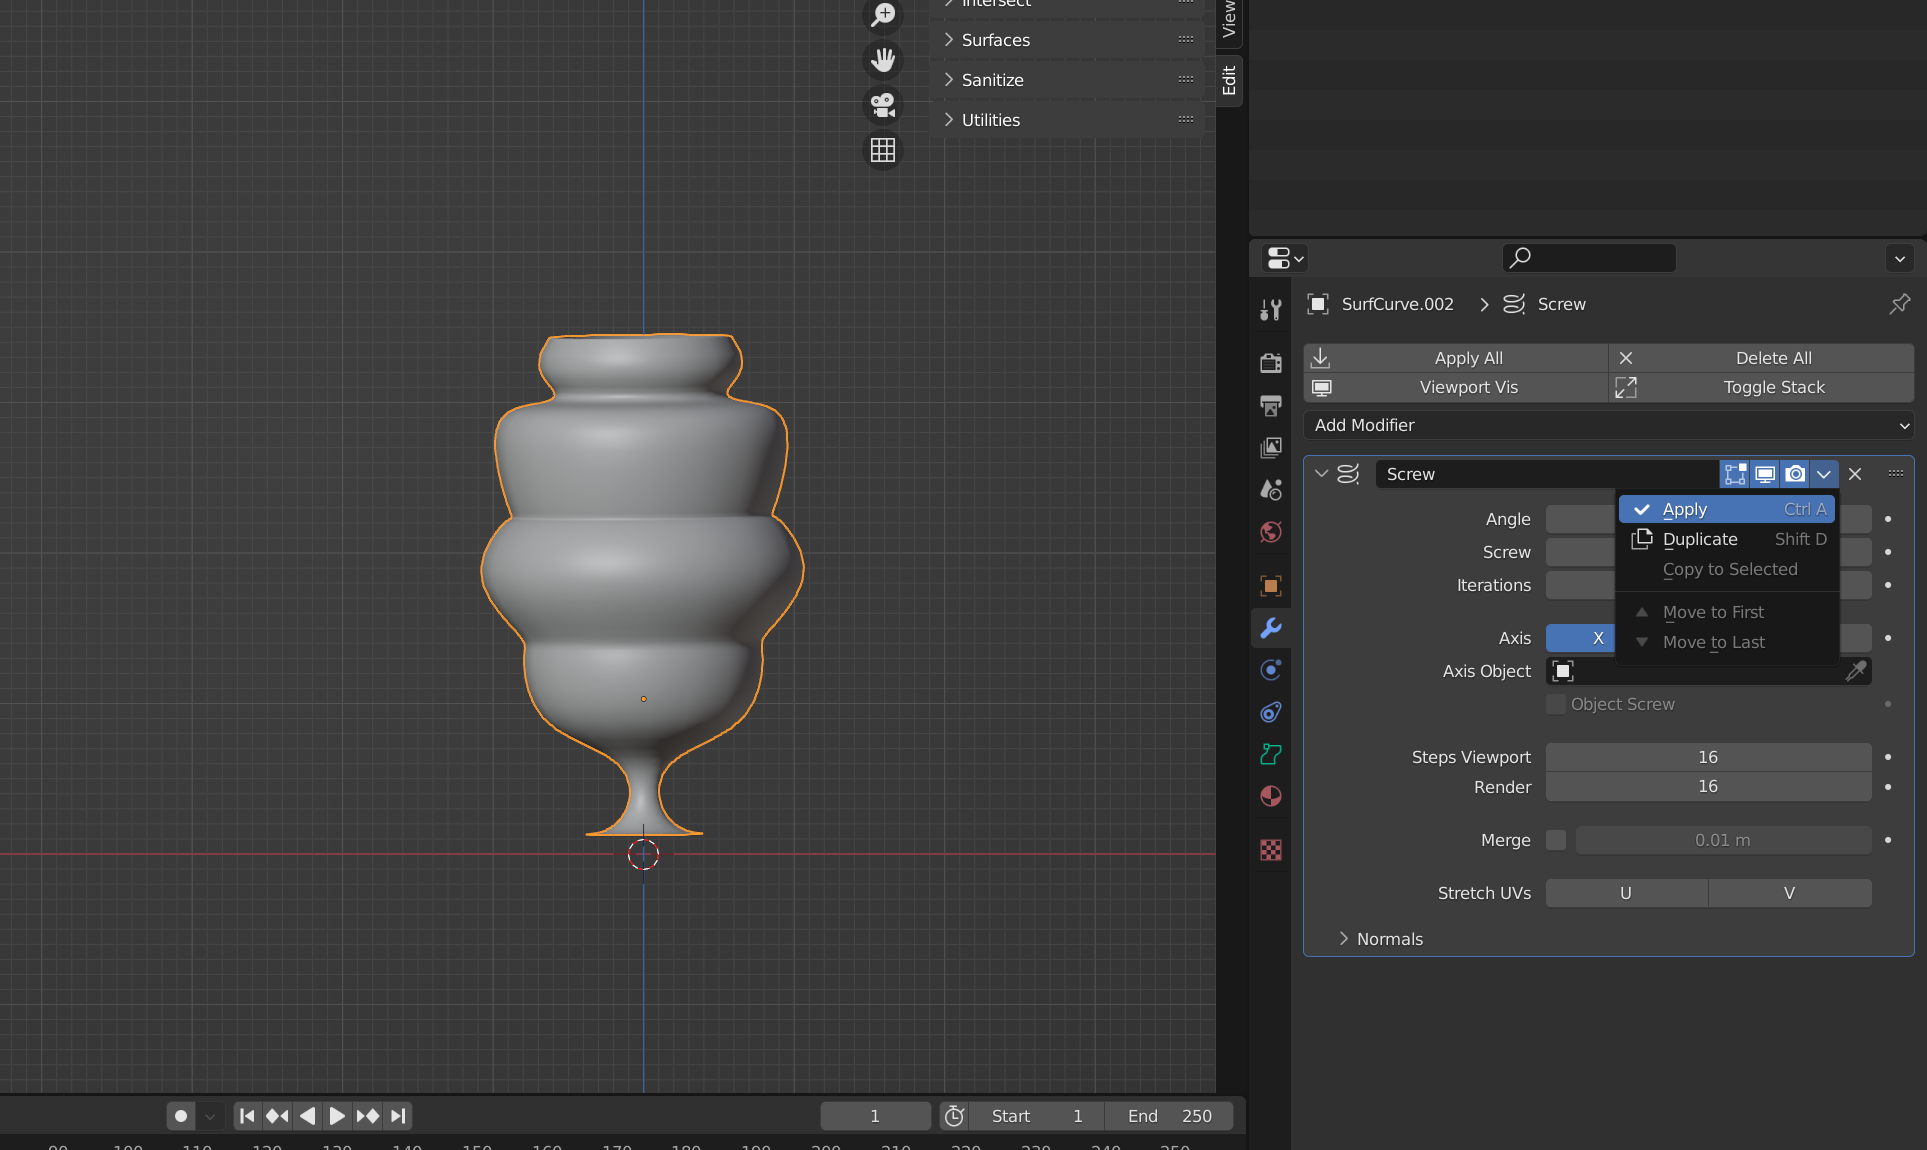
All you need to do is draft the base of your lathed object in one of your perpendicular viewports. Use the Screw modifier and adjust to your preference. You can also accomplish the same with the Spin tool in Edit Mode.
Hit Apply in the Modifier's dropdown while in Object Mode, and the transformation will be finalized. You can now work with this new polygon mesh directly.
This is probably one of the most famous capabilities associated with both NURBS and Bézier curves in Blender. We highly recommend giving it a shot in any context.
NURBS Curves Are a 3D Artist's Best Friend
Once you start with NURBS, you won't be able to stop. It'll be all NURBS everything: funky, retro furniture, far-out sci-fi designs, exquisite cut-out patterns, and so much more are all made possible thanks to this incredibly versatile 3D modeling tool.

