Among the many services around that can help you write and publish a book, the Novelist app is one to pay special attention to, thanks to its multiple useful features.
Novelist has a bit of a learning curve, so here are the basic steps you should know to make writing your book a breeze.
1. Add and Describe Your New Book
Novelist is free and available on the web, as well as on Android and iOS, all versions offering the same layout and tools. But we’re going to focus on the online service.
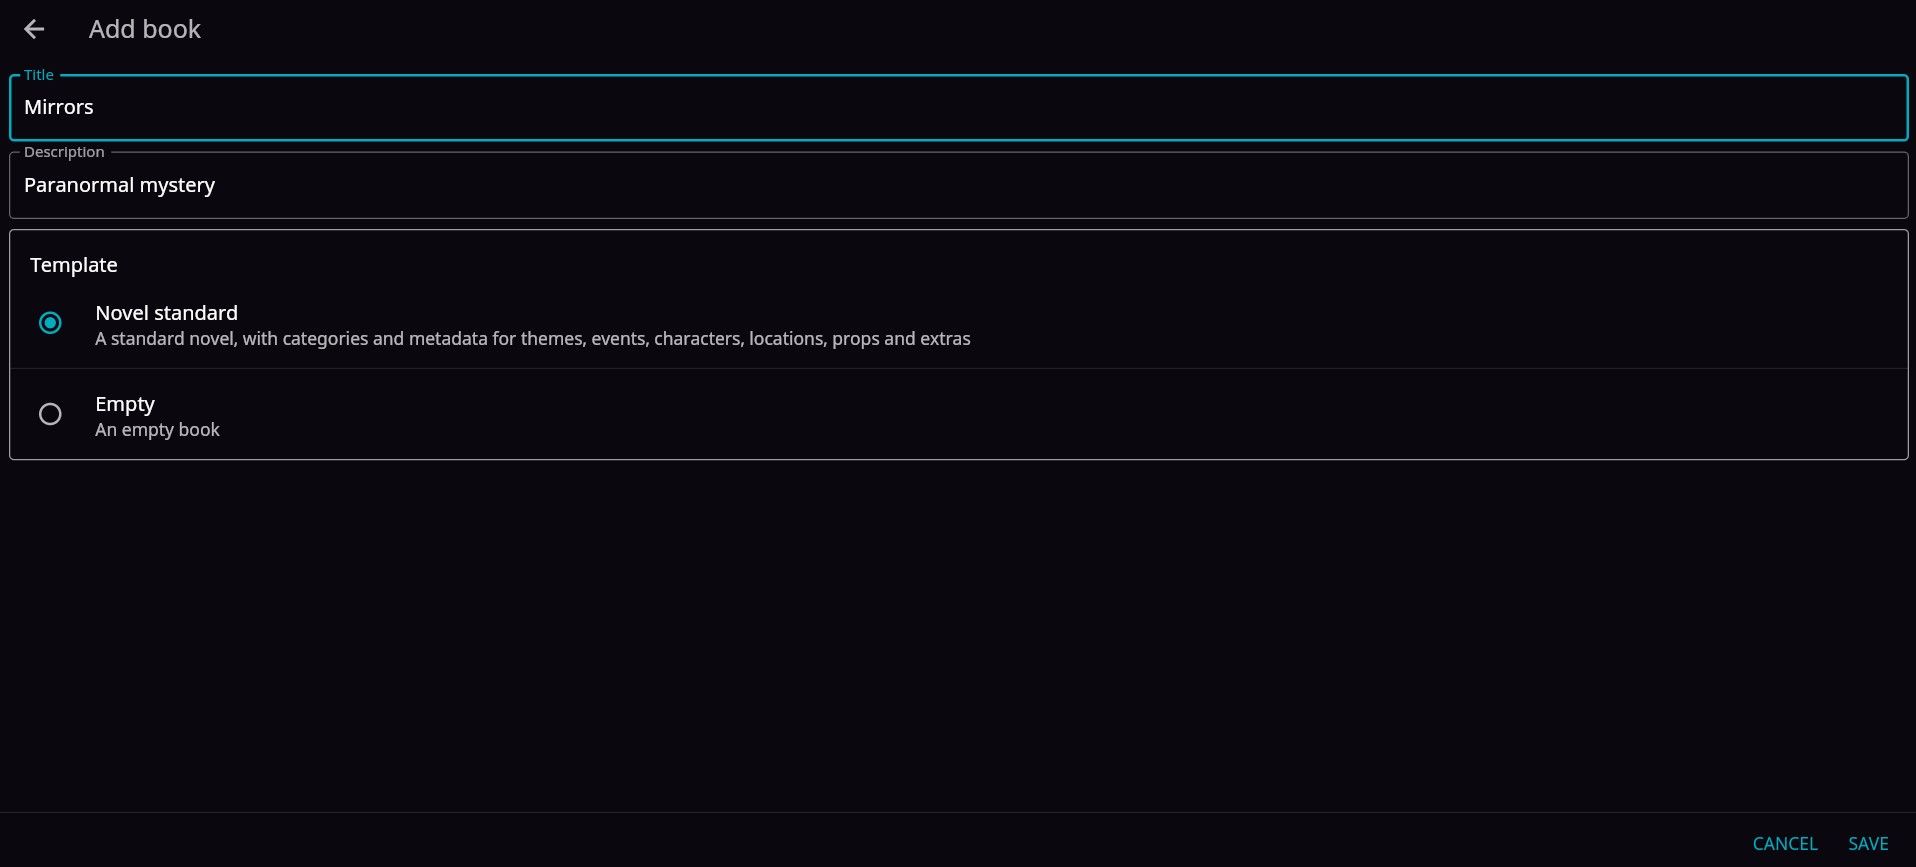
To start a new project, click the Add Book button on the web app and fill in the form that comes up with a title and description. You can also choose between getting Novelist’s standard novel template or a blank one.
When you’re ready, hit Save and your project will appear on your dashboard. Then, you just click it or select Edit from the three-dot menu to begin working on it.
Keep in mind that the menu on the main page has a few more tools to choose from. You can:
- Restore a Novelist backup from your computer.
- Pull a file from Google Drive or Apple iCloud.
- Restart Novelist’s tutorial.
- Access the web app from a mobile device.
- Adjust your settings, which include the app’s mode, language, and theme.
2. Add and Organize Your Book’s Plot
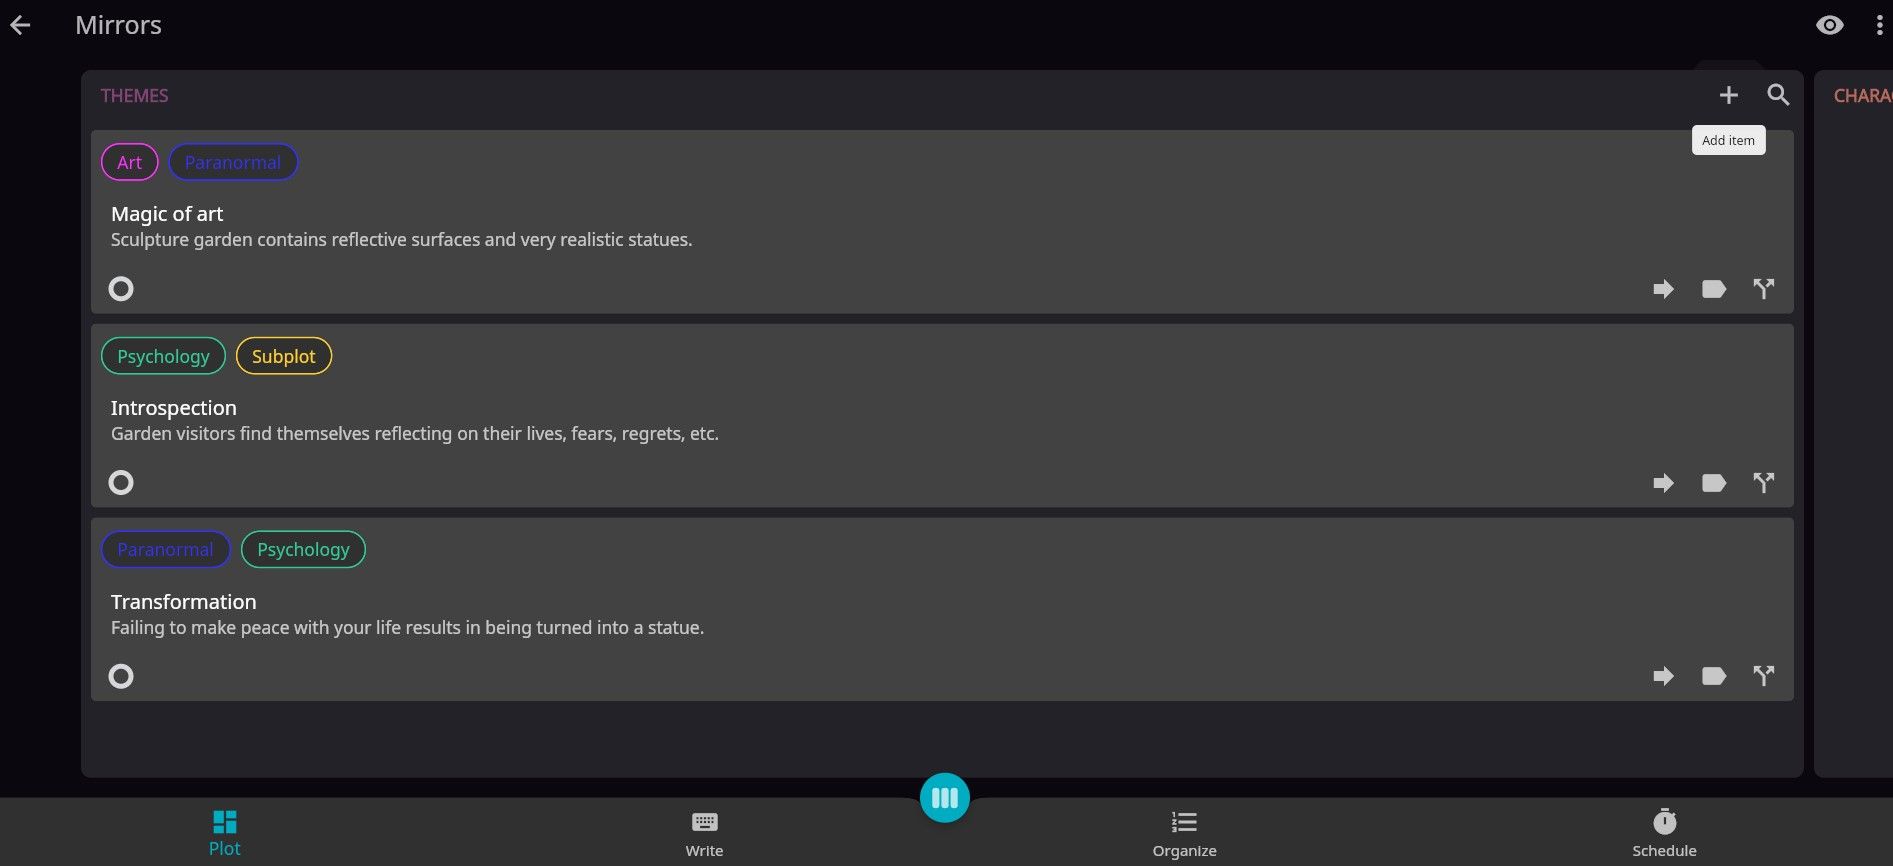
In Novelist’s editor, you’ll automatically land on the Plot tab, where you can compile all your book’s contents.
You get cards for your themes, events, characters, locations, props, and extra information. Each one has an Add item icon, which lets you name and outline every element of your book.
Add as many items as you want. Then, you can click Move to transfer them to other cards, Select tags to choose or create labels and organize your book, or Split to duplicate an item.
There’s also the Filters tool, which lets you look at specific information from your whole project, very handy when your book’s details start overwhelming you.
Finally, you also have the Categories button that gives you a quick breakdown of the number of items each card contains.
Among free worldbuilding apps for writers, Novelist is an asset, providing you with an online and mobile space to really flesh out every aspect of your book.
3. Plan Your Scenes
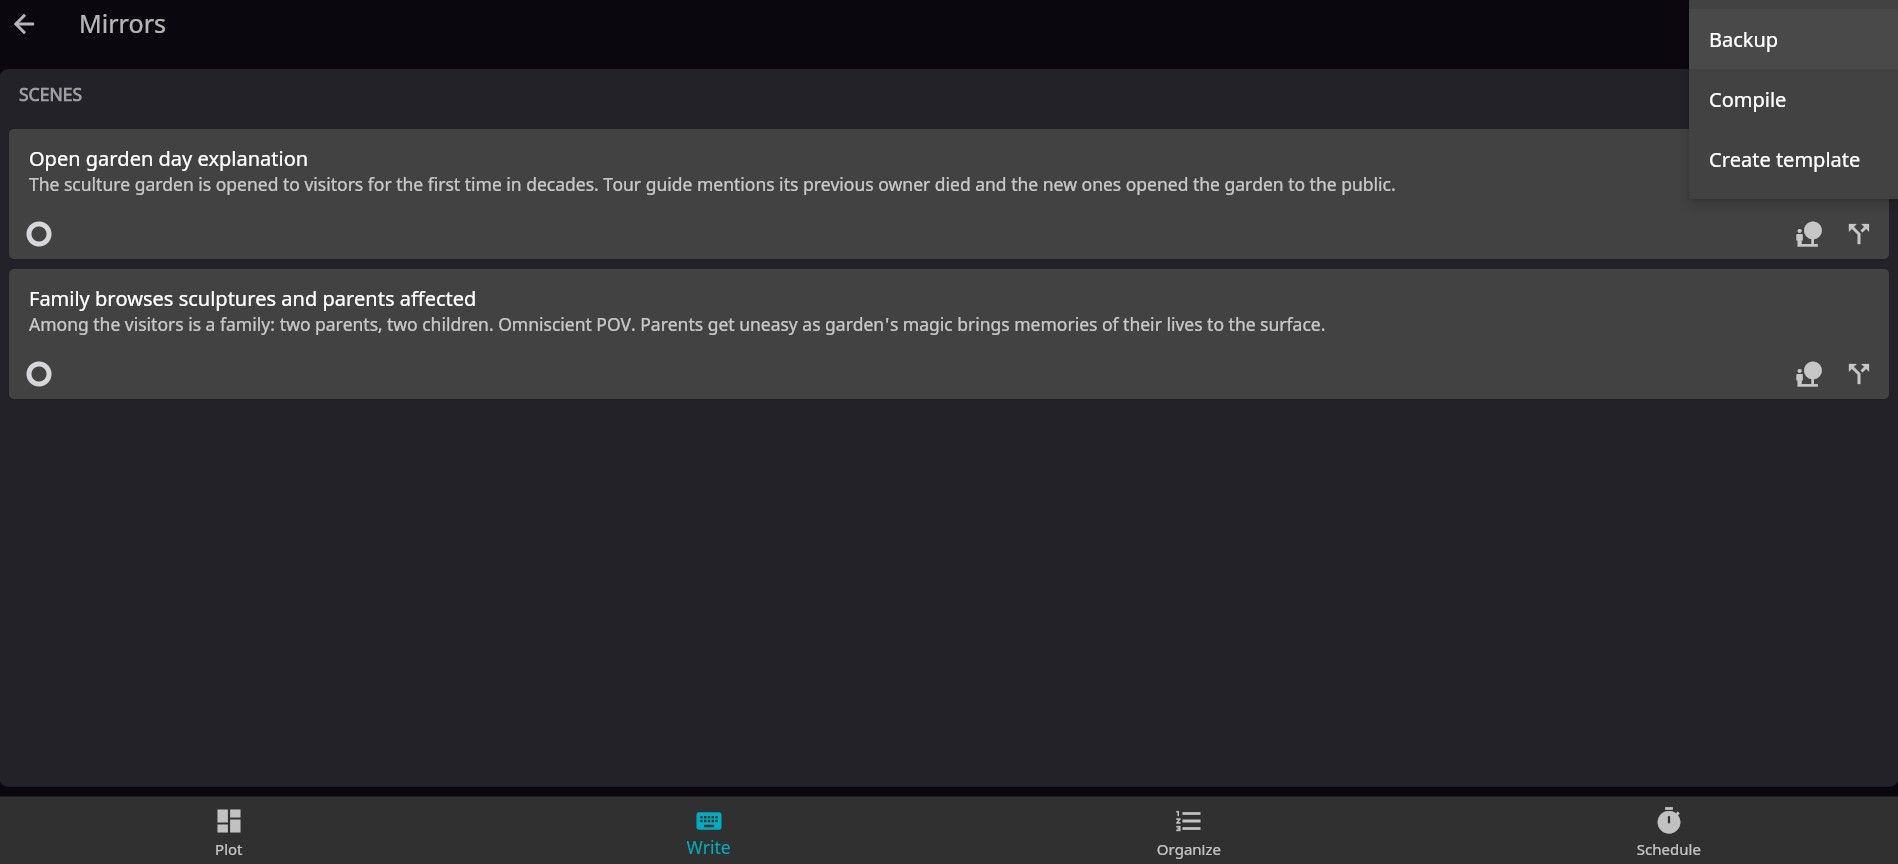
The next tab to use on the Novelist app is titled Write. It asks you to lay out the scenes of your book in as much detail as possible and write them.
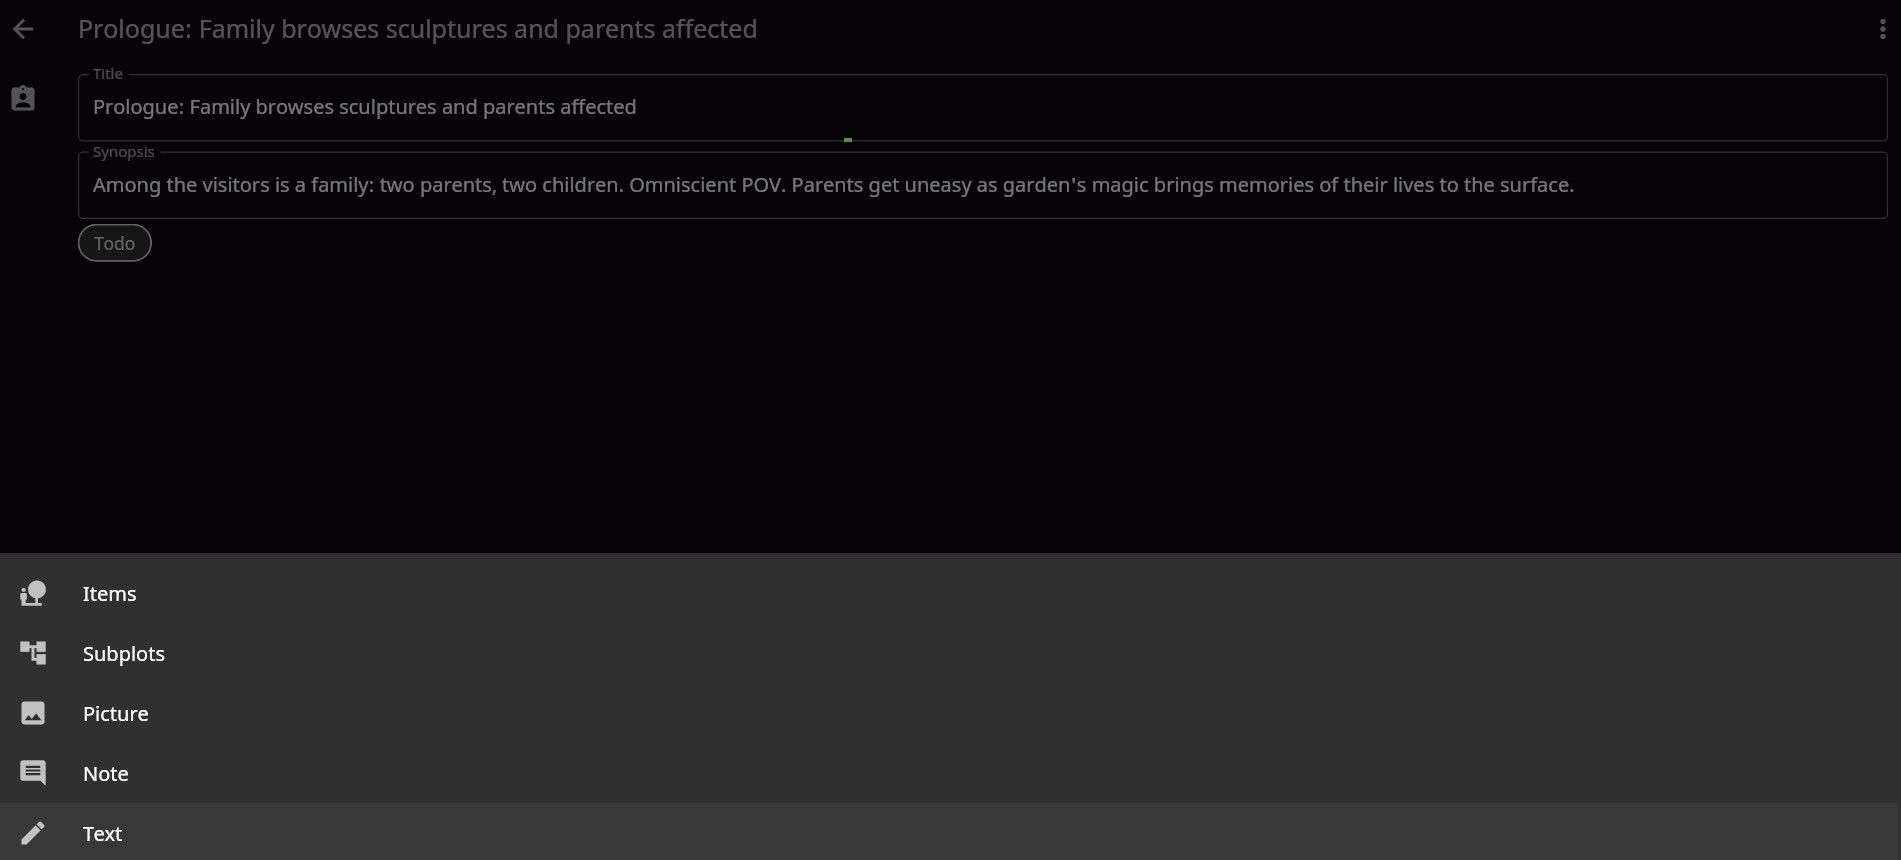
Start by clicking Add scene, filling in the item’s title and synopsis, and hitting Save. Once the new scene is on your Write dashboard, select it to access more features.
Apart from editing its description, you can click Add and bring several elements into the scene, including text, images, and items from your Plot cards.
On the scene’s dashboard, you’ll also find its status, which you can change from Todo to First, Revised, or Final draft, as well as Done.
Back on your Write page, you can change statuses, add items, duplicate scenes, and use filters. To remove a scene, enter it, open the three-dot menu, and choose Delete.
There are a lot of tools in this tab, but its basic function is to let you write productively. This is one of the best reasons to use creative writing apps like Novelist; their ability to get your creative juices flowing and help you improve as a writer.
4. Plan Your Book's Sections
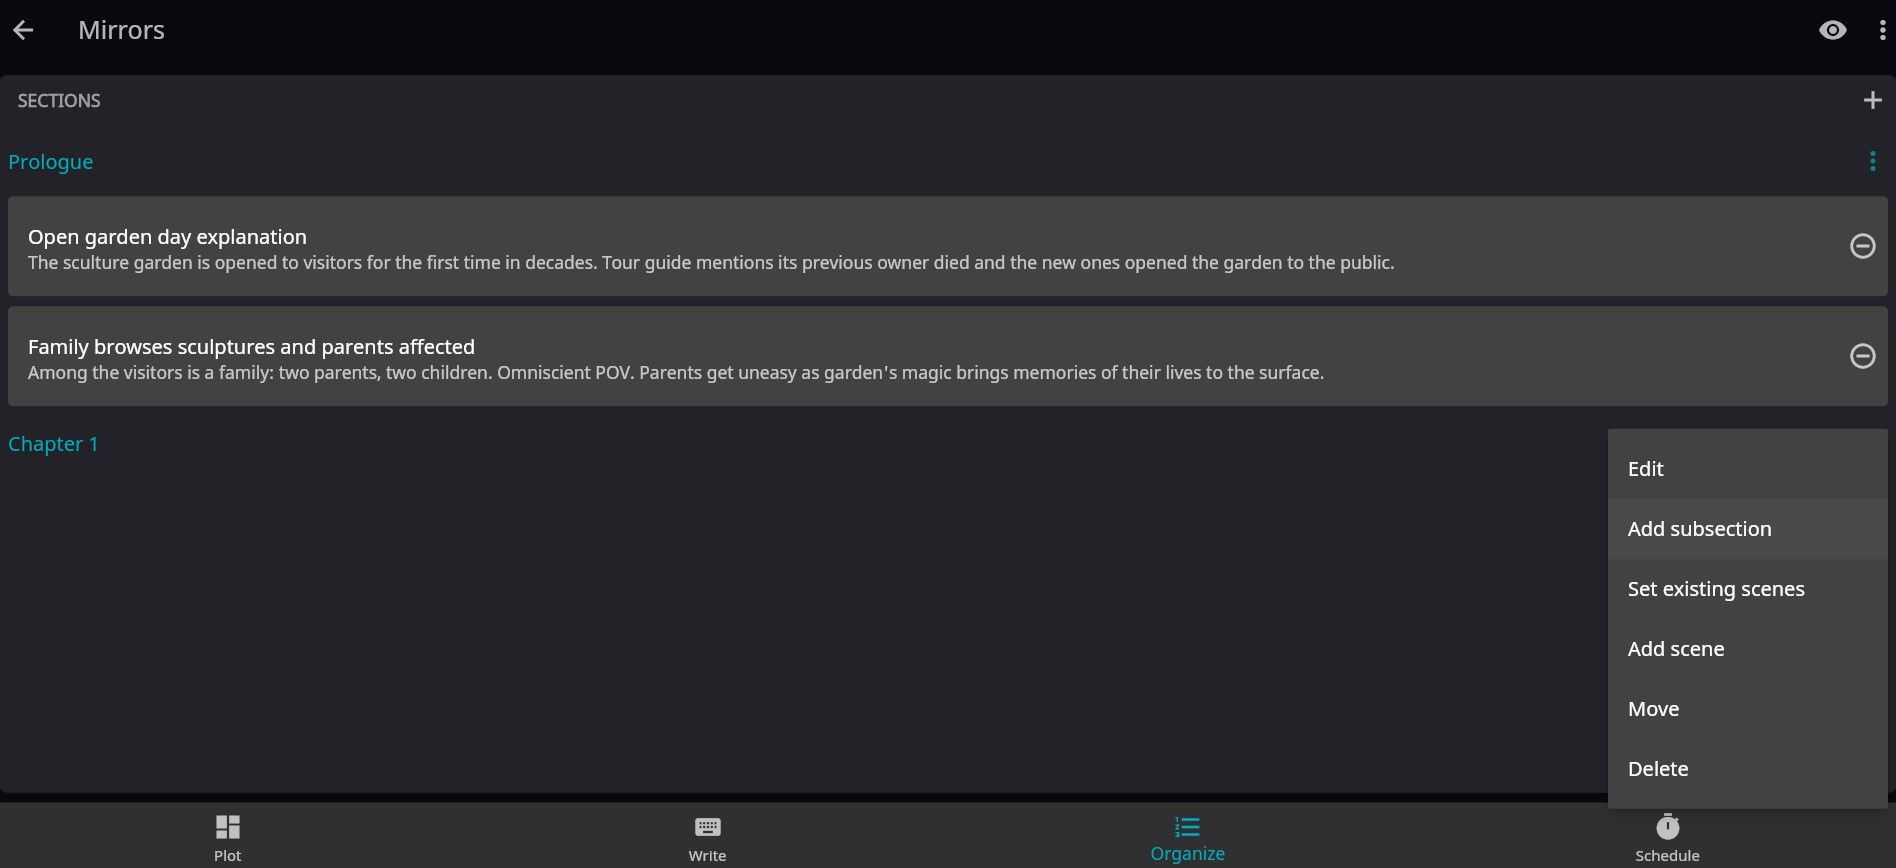
The next step in writing your book is laying out its sections, whether they’re chapters or appendixes. On Novelist, select the Organize tab, which just has an Add section icon. Click it and give each of your sections a title and description.
Then, if you open the three-dot menu on an individual section, you’ll find a few more tools. You can edit a section’s information, add subsections, set existing scenes or create new ones, and more.
5. Set Goals and Track Your Progress
The Novelist app doesn’t just help you write, but it lets you set goals and stay on track, too. The tab to use for this is Schedule.
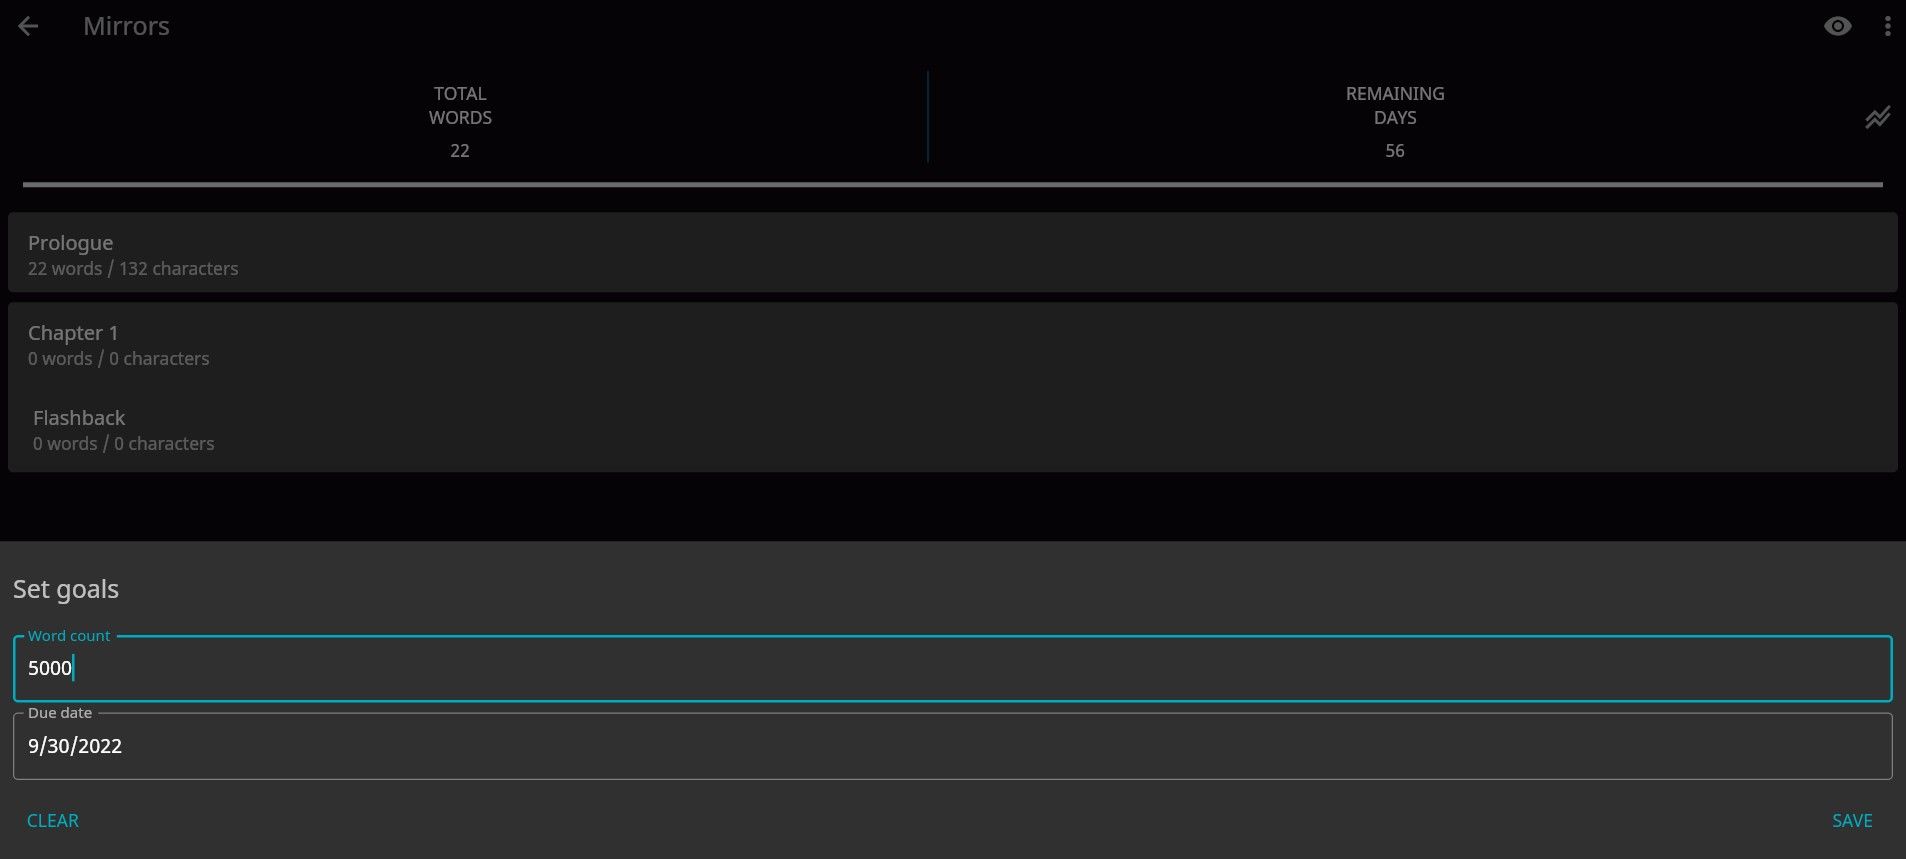
Once in it, click anywhere around Total Words and Remaining Days to open the Set goals form. Here, you can specify how many words you need to write by what date.
Click Save and the app is ready to track your progress, using the sections you created and the text you wrote in each. The app will even count down the days to entering the Watty Awards, for example, if that was the deadline you set.
If you select the Set goals icon, you can also see your progress in the form of a graph, as well as your writing day streak. All-in-all, Novelist’s scheduling tool is especially handy.
6. See Your Book’s Preview
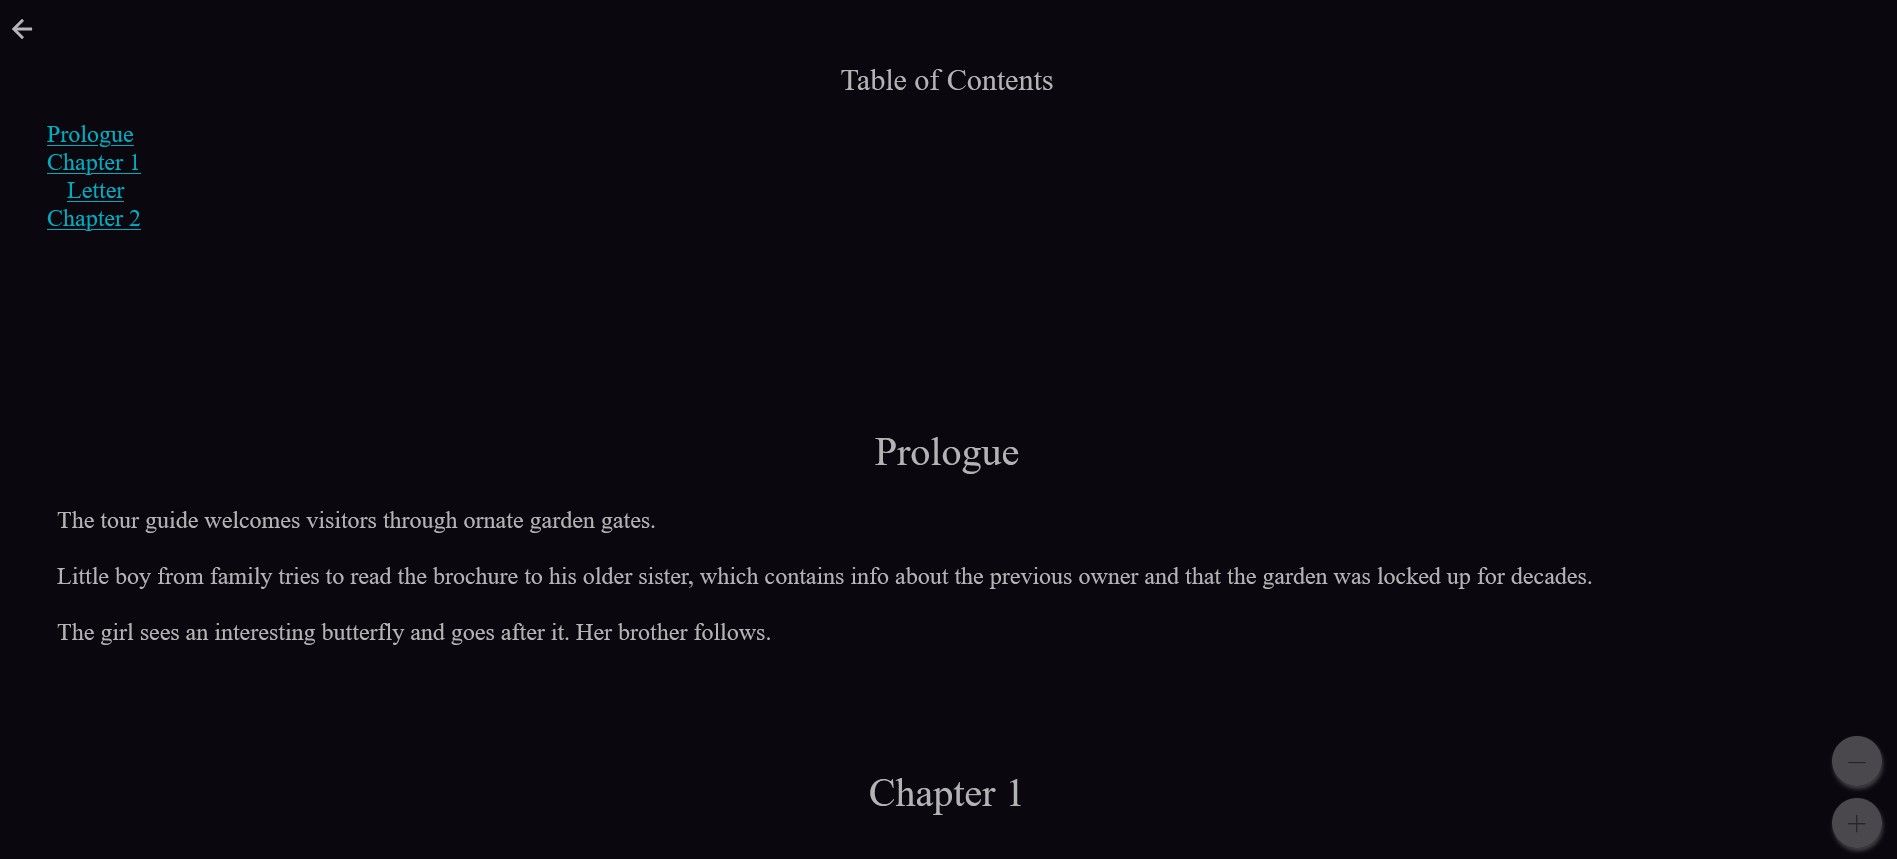
While on any of Novelist’s tabs, you can use the eye-shaped Preview icon to see a rough layout of your book, starting with a table of contents with hyperlinks to your sections and moving on to the chapters themselves and any writing you’ve done so far.
If you make changes to the book’s structure, they will automatically appear on the preview, so you can quickly see how they affected the manuscript and decide what else is necessary for your novel to look good.
7. Create a Backup of Your Book
The three-dot icon on your main dashboard opens a menu and the first feature you should know about is Backup; very important for creative writers.
Considering how much work goes into planning and writing a book, the app offers this precautionary measure that saves all your project’s information on your computer or cloud storage.
For peace of mind, get into the habit of backing up your book after each writing session on Novelist to avoid losing your work in the event of a power cut or the website crashing.
8. Compile Your Book
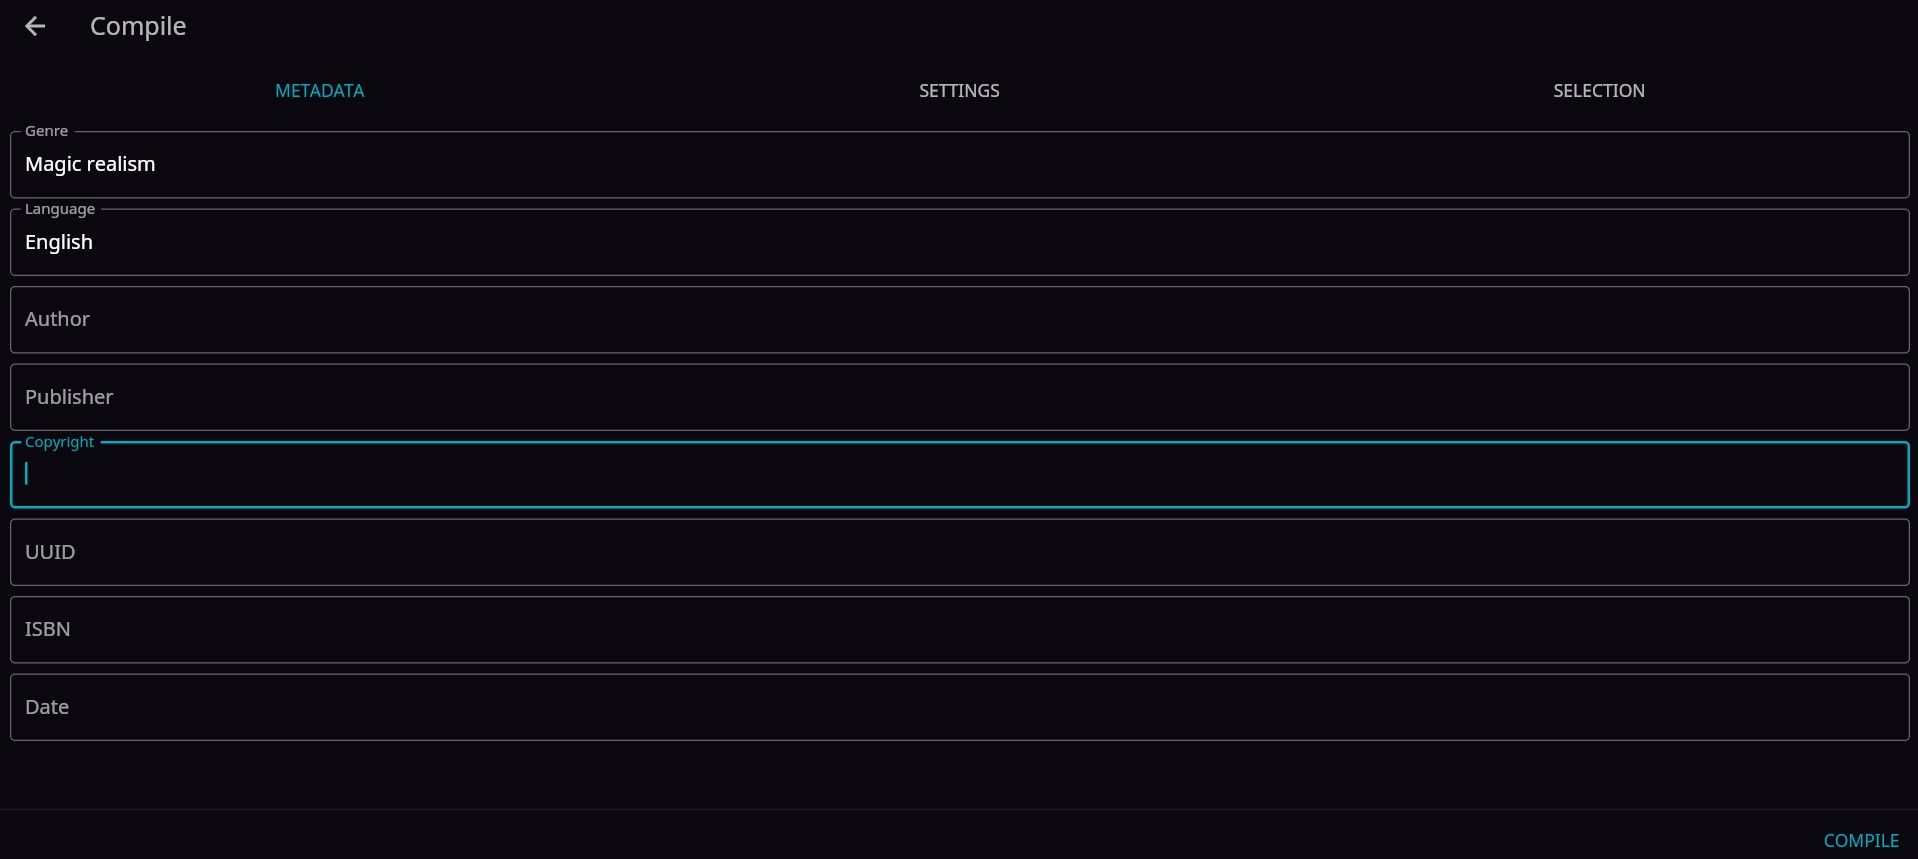
When you’re ready to share your manuscript with the world, click Compile in the three-dot menu. First, you need to fill in its metadata, such as genre, language, publisher, and ISBN.
Under Settings, you can change the name of your table of contents, which you can check on the preview page. In the Selection tab, choose which sections you want to include in the book before hitting Compile.
Novelist offers three formats for your manuscript: EPUB, ODT, and HTML. The best choice depends on how you want to use the file. Are you loading it straight onto downloadable EPUB readers or fine-tuning it further with HTML attributes for more complex tasks?
9. Create a Template From Your Novel
If you love the layout of your book, you can turn it into a template for your next projects, so that you won’t need to start from scratch again.
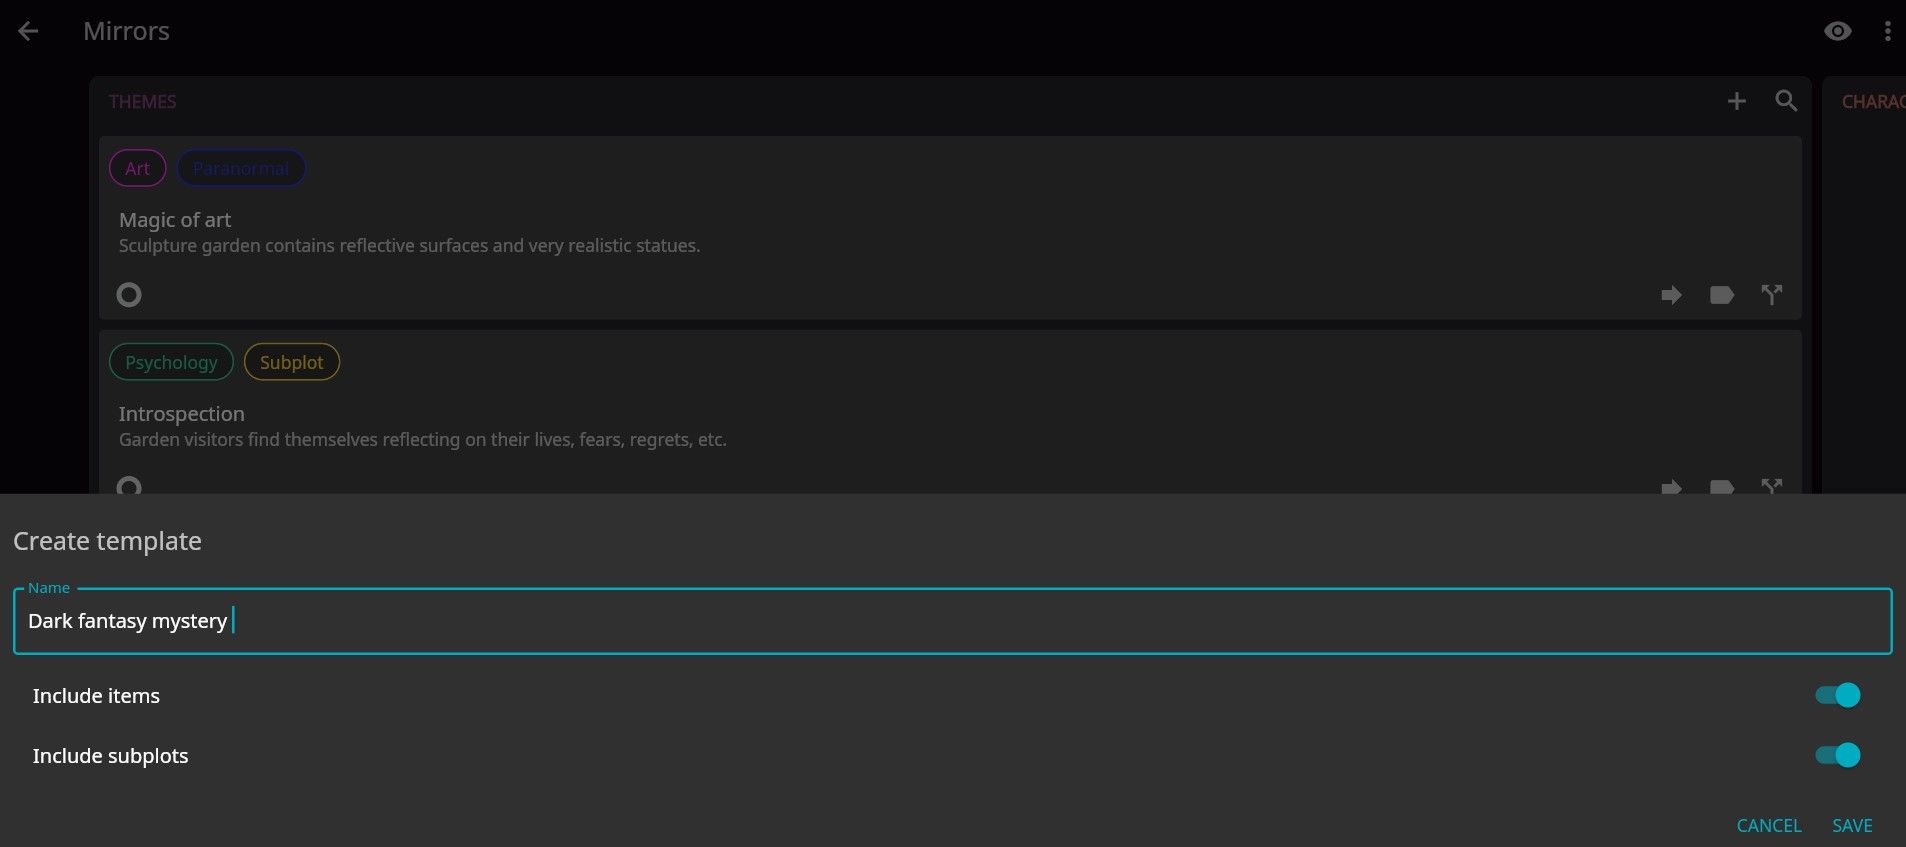
All you need to do is click Create template in the three-dot menu, give the new template a title, choose whether you want to include all your current items and subplots, and hit Save.
When you start a new book on Novelist, your custom template will appear alongside the app’s default options.
Explore Other Creative Writing Apps Besides Novelist
Whether you use Novelist on the web or on your mobile device, you’ll quickly realize just how valuable it is to authors. Getting to know its every tool does take time, but you can put the app to good use as you write your book.
Fortunately, Novelist isn’t the only great app for writers. Go out and discover more for every stage of your creative journey.


