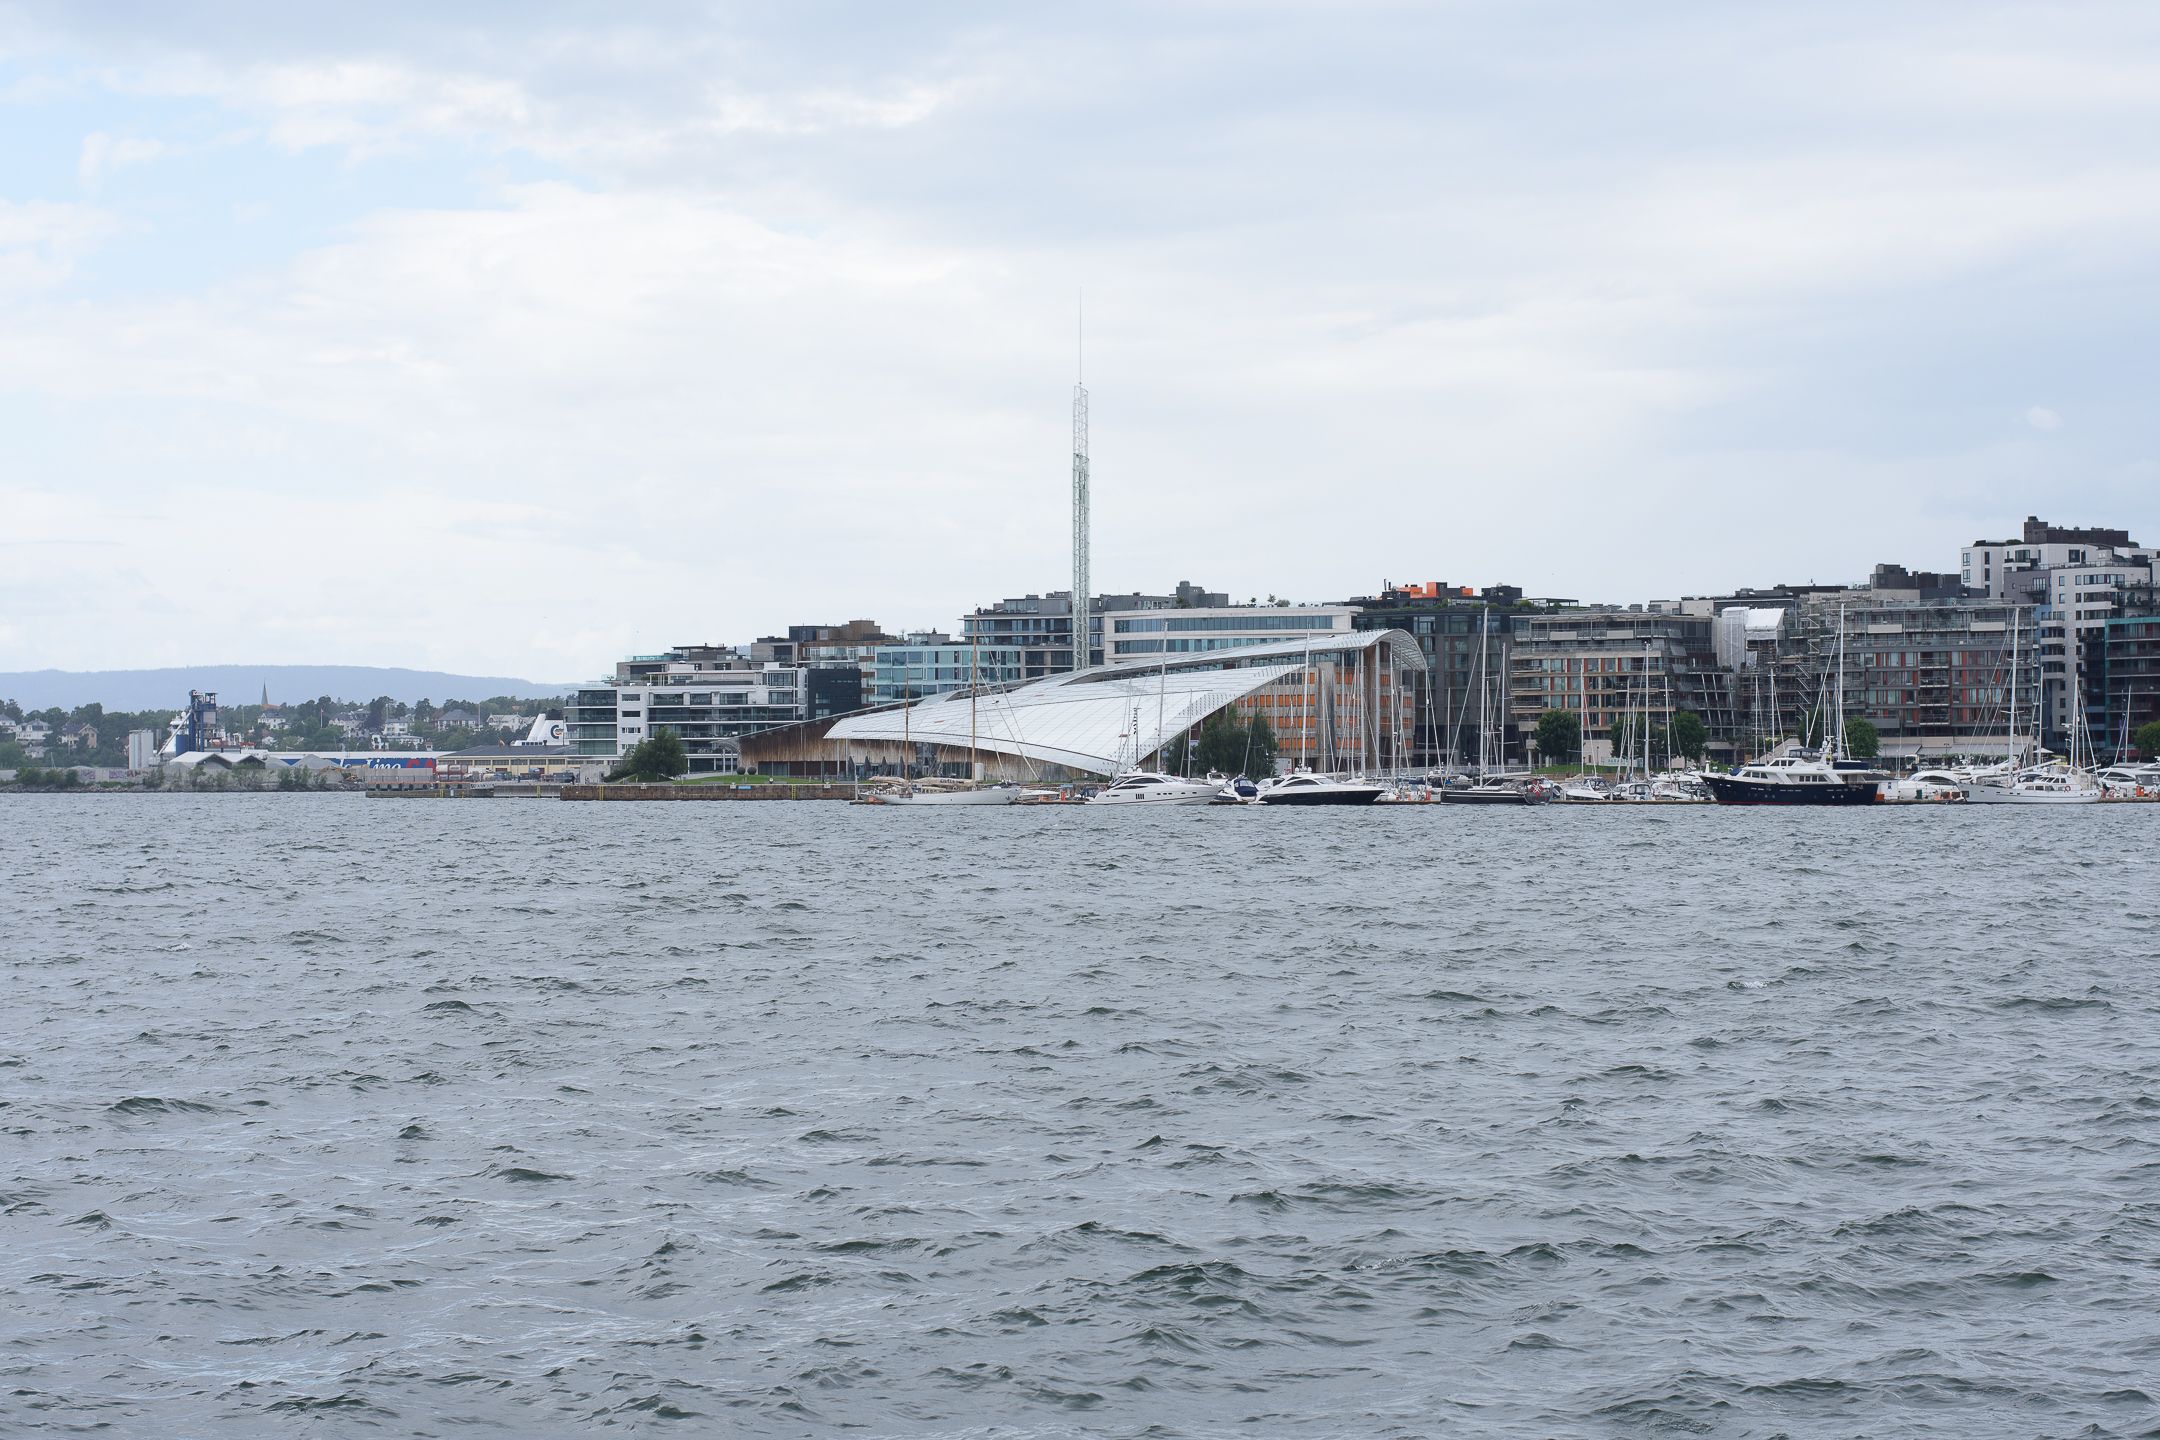
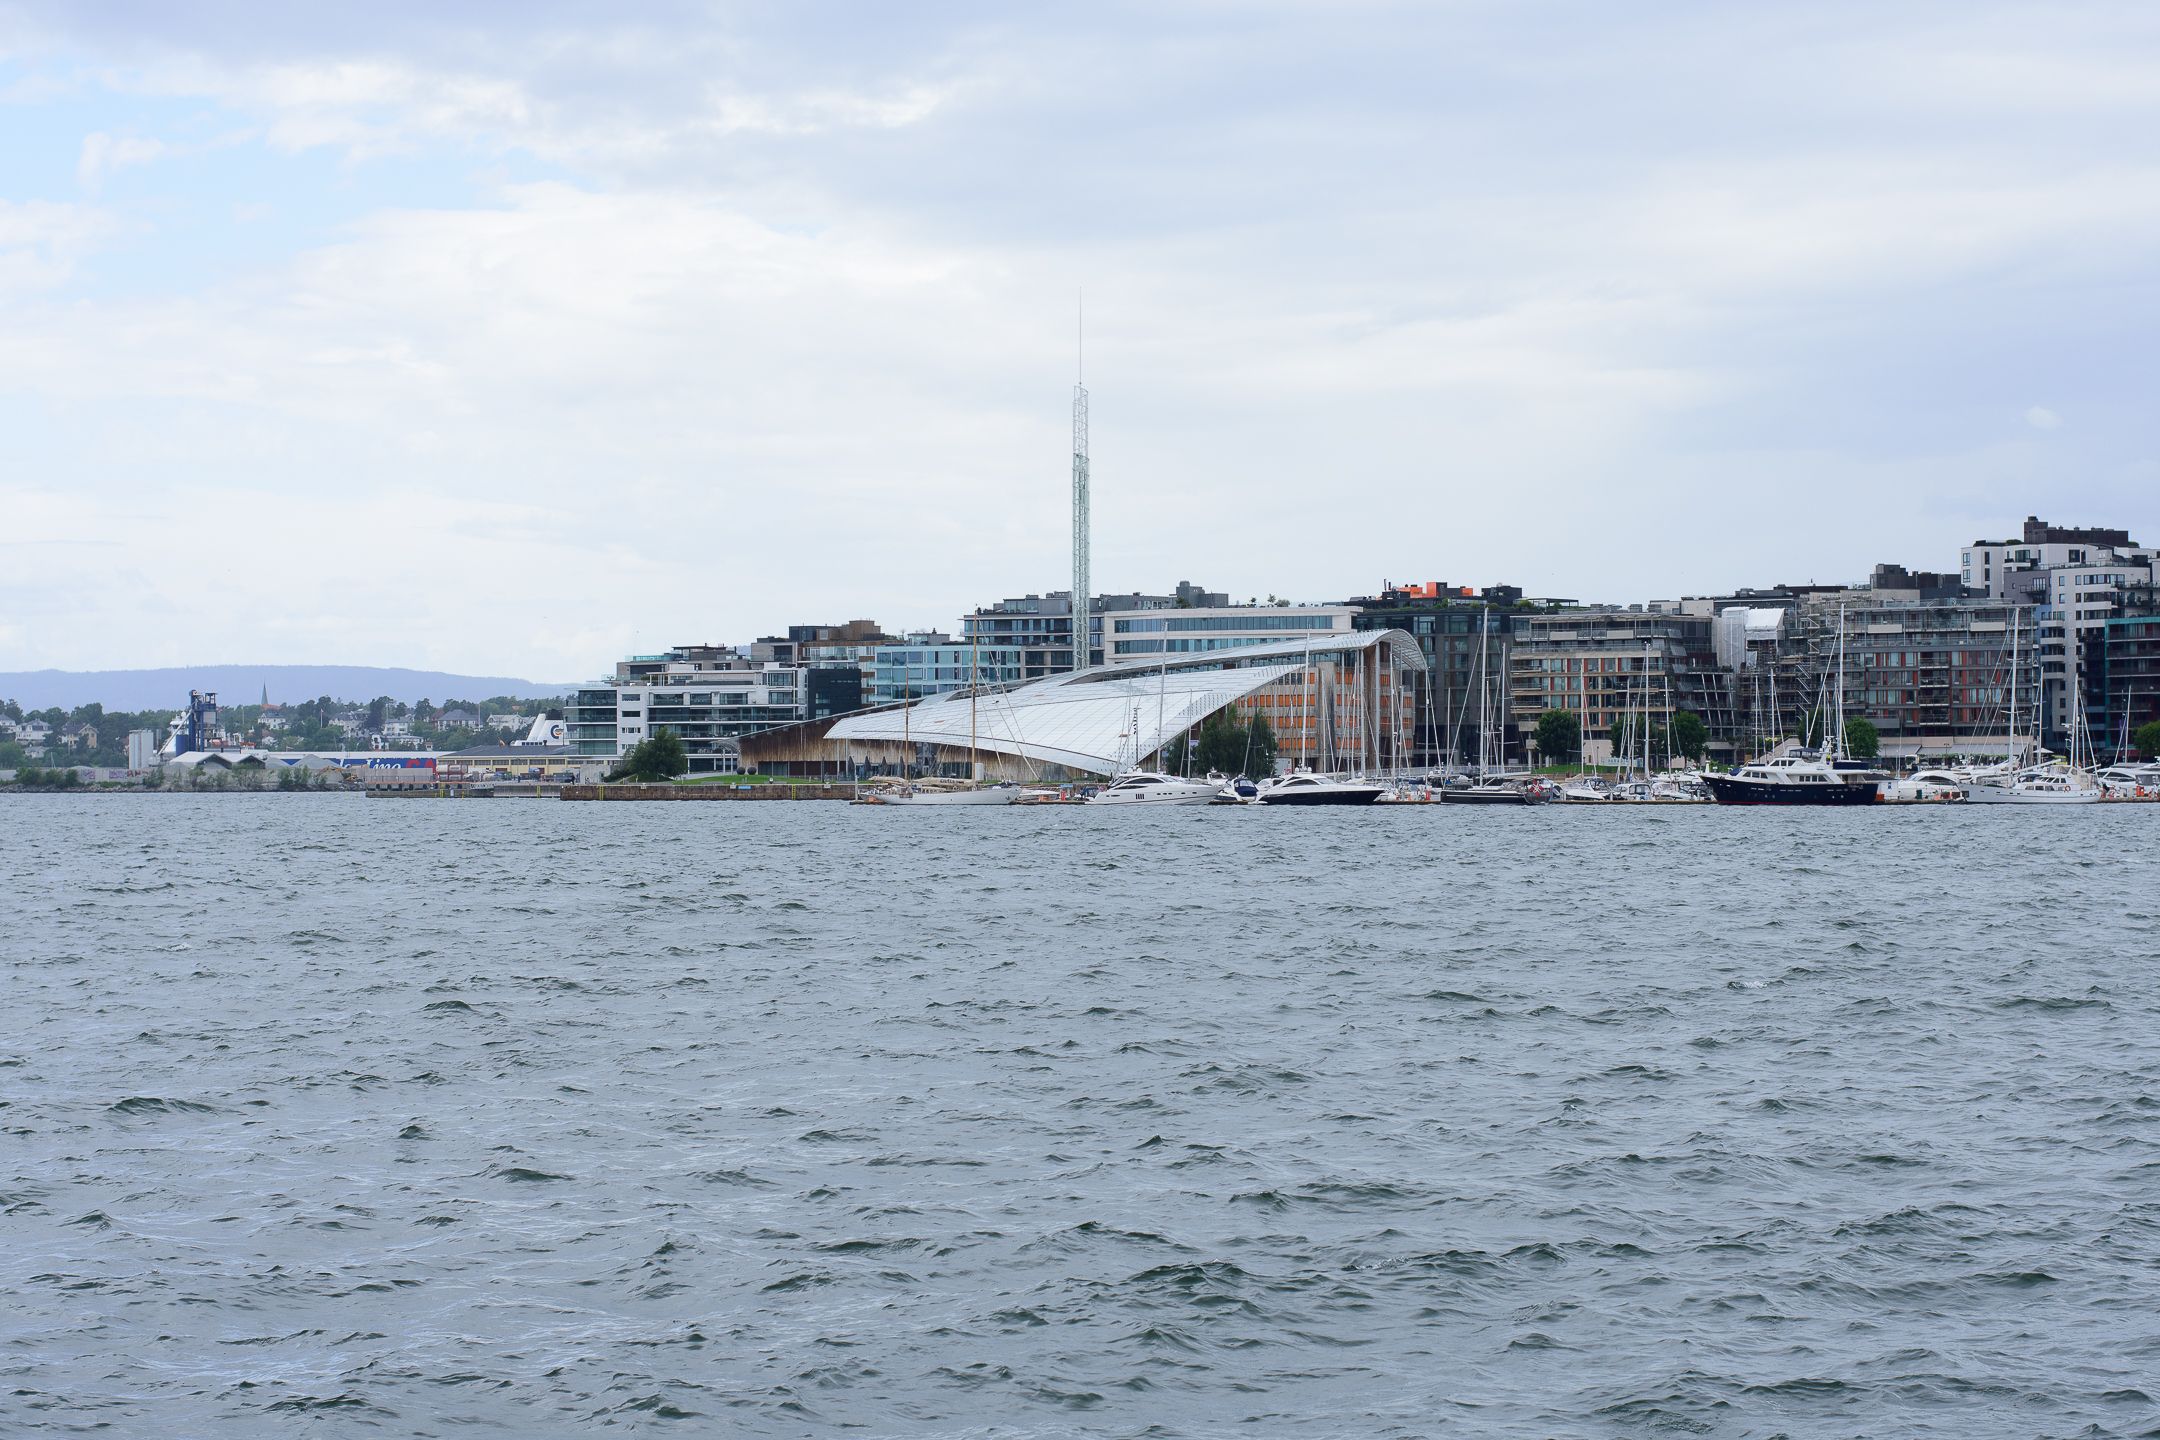
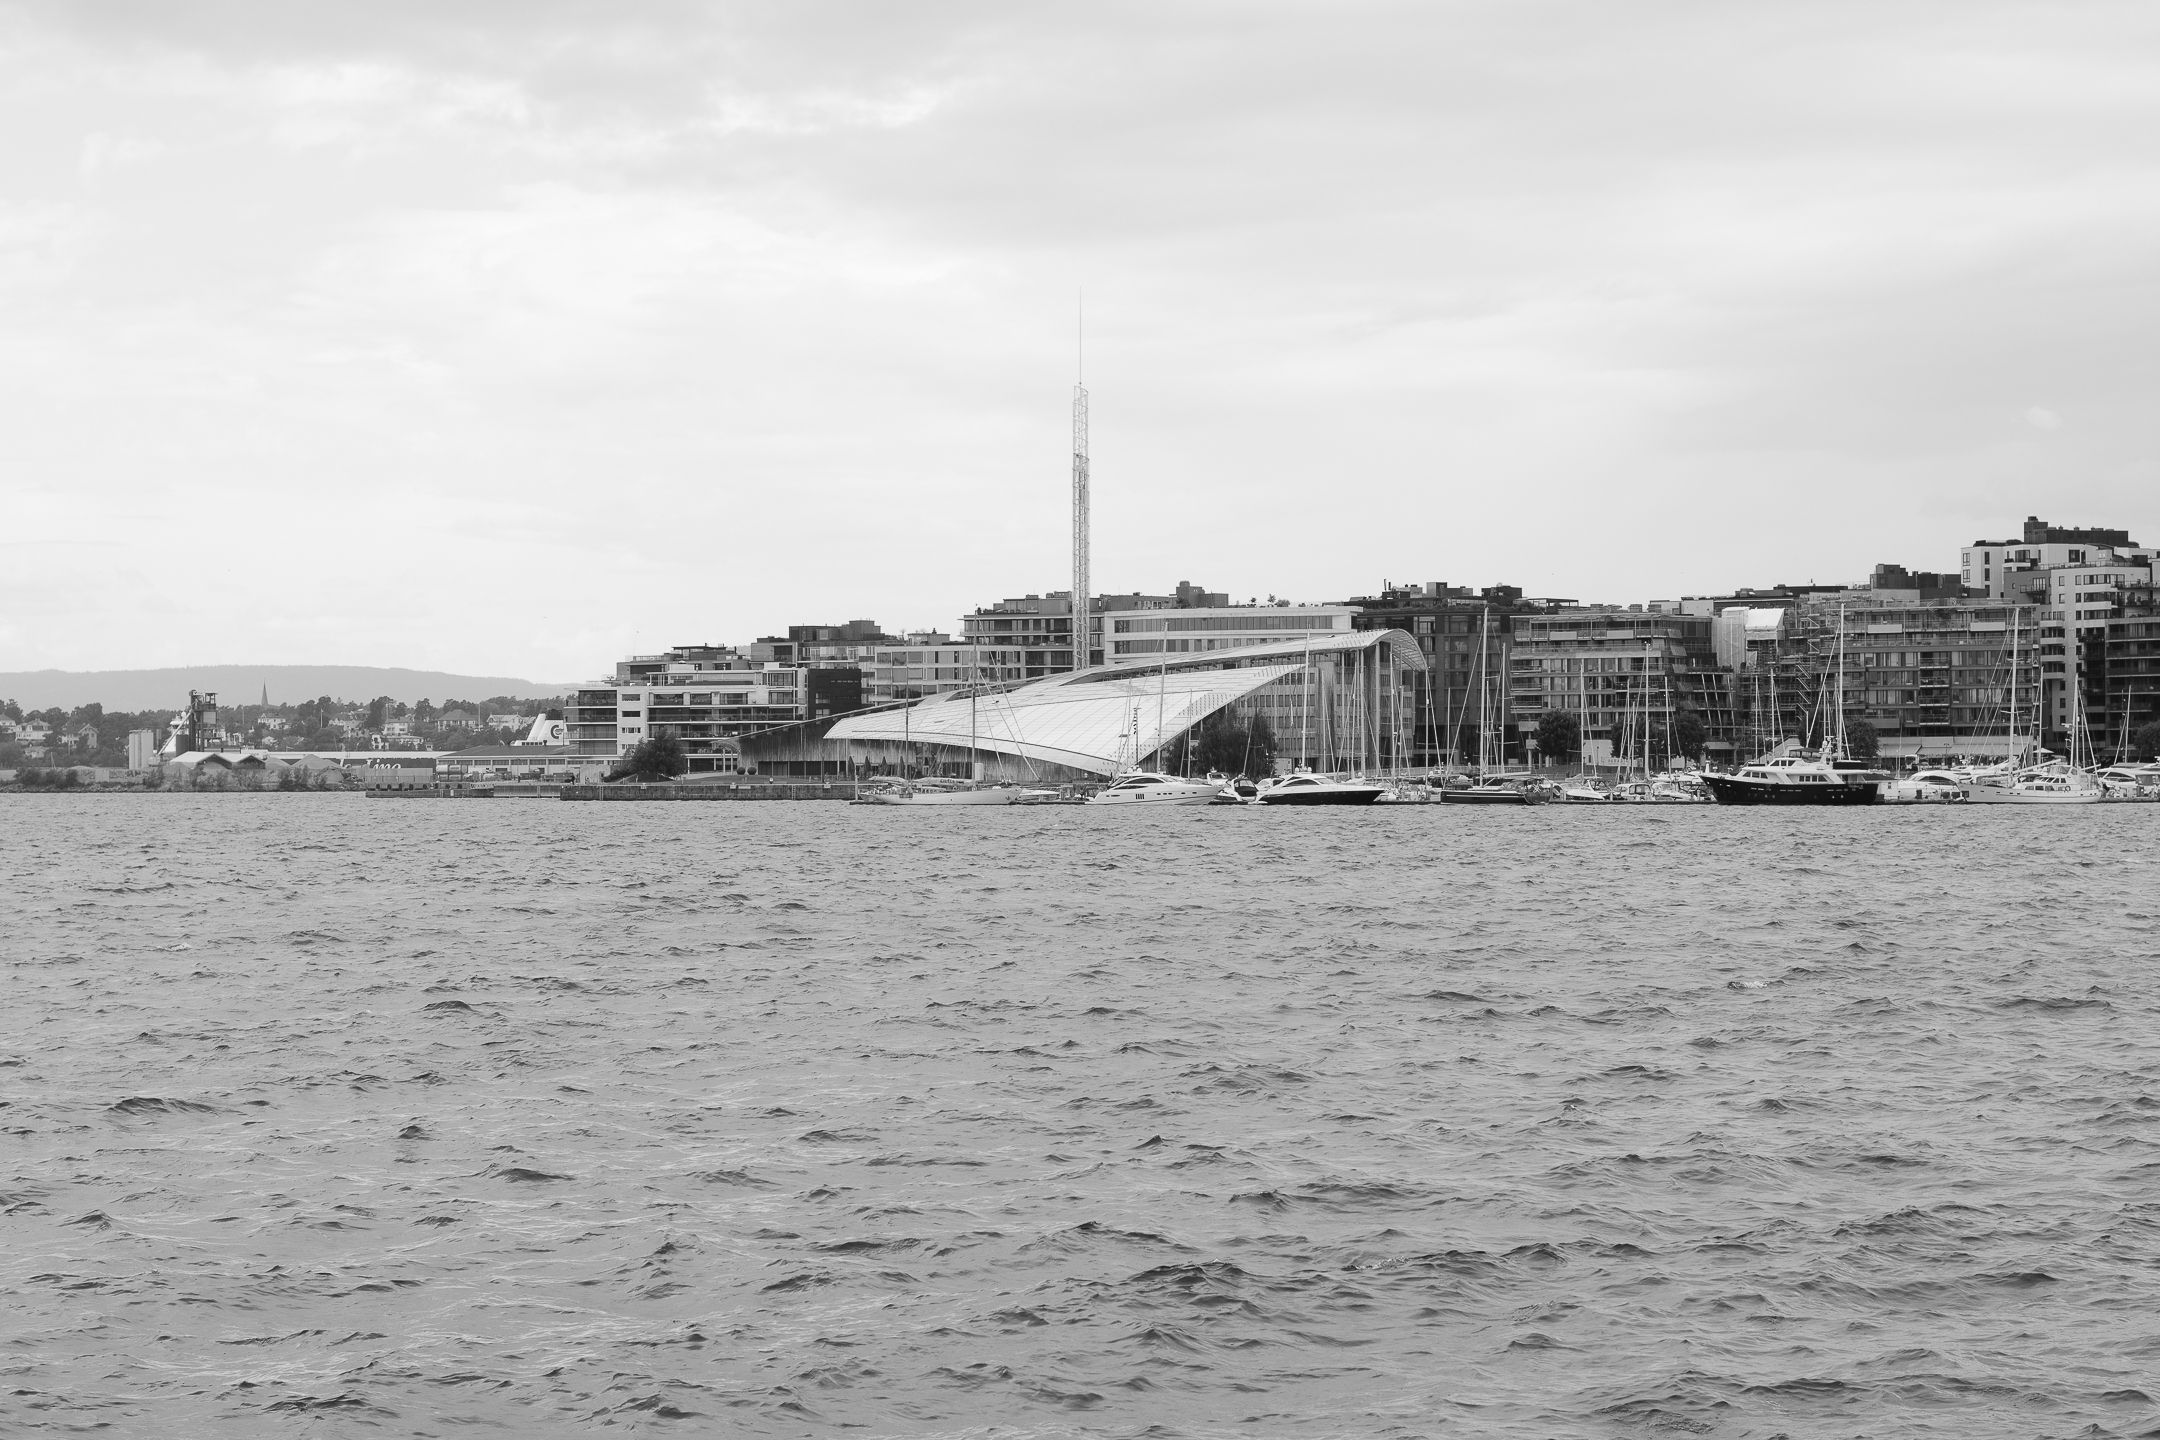
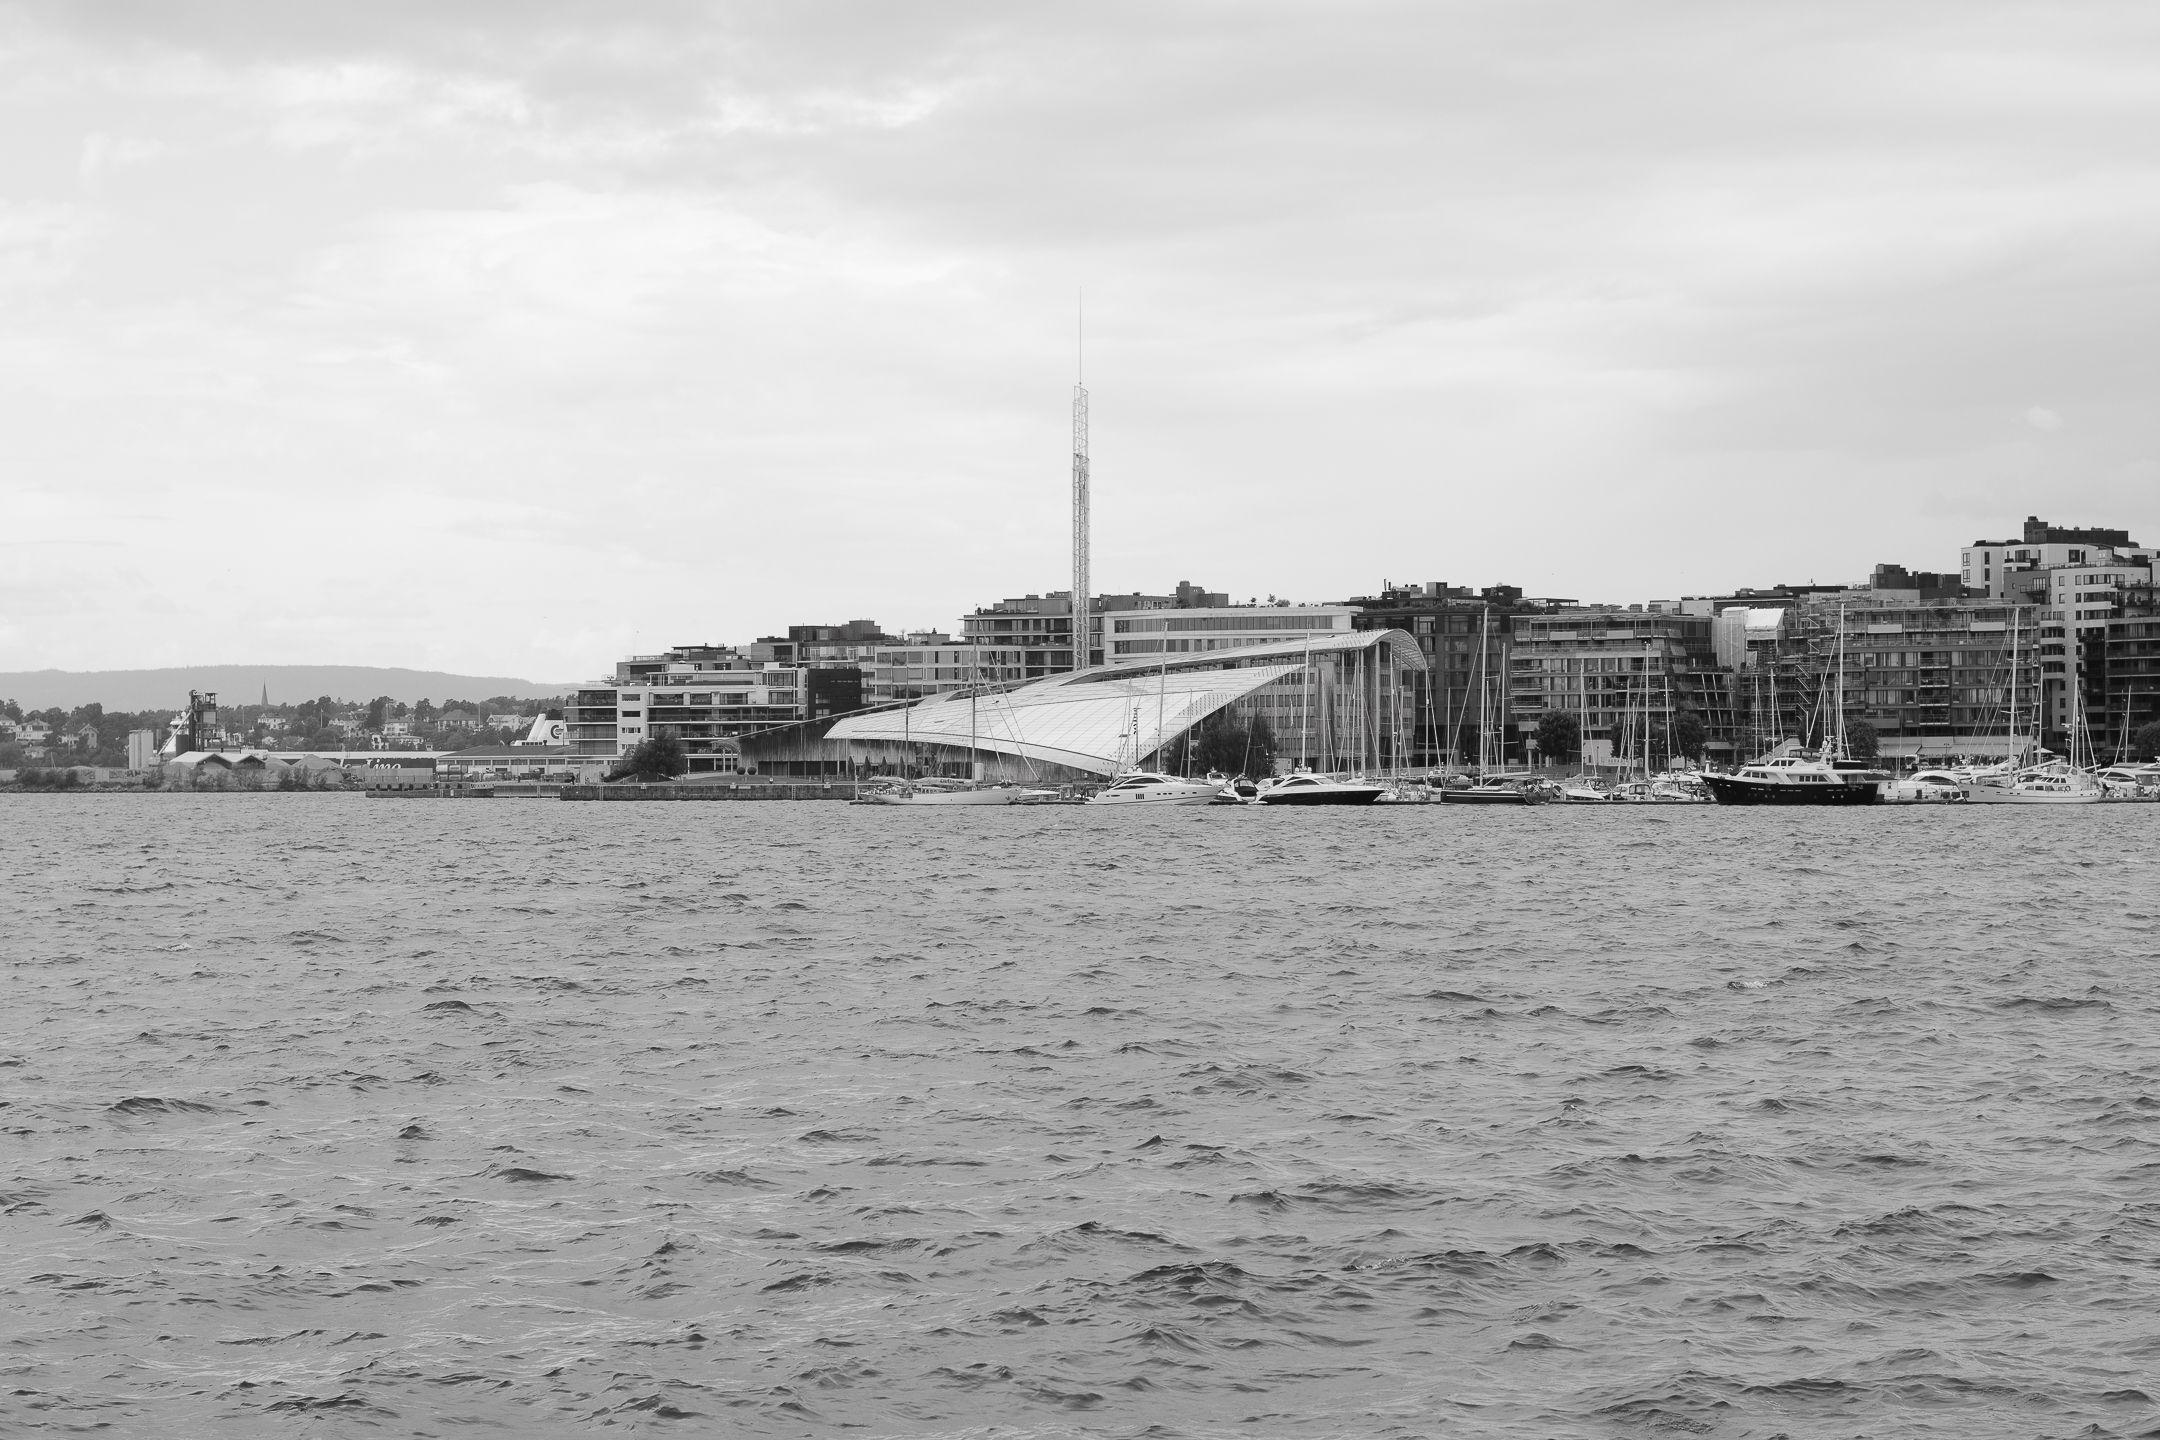
Modern cameras have evolved dramatically to the point that even with an entry-level camera, you can craft a sustainable career as a pro photographer. And even if you only want to keep things as a hobby, you’ll have the power to take stunning images with minimal fuss.
When using a camera, you’ll often have several profiles available for your pictures. Nikon is no different in this respect; you can add these filters to JPEG files within the camera and RAWs in your post-production software.
This article will outline each of the different Nikon camera profiles and provide some tips on when you should use them.
1. Flat
Flat is the first Nikon camera profile you’ll see in post-production; as you might have guessed from the name, you’ll have an image with fully-flat colors when adding it to your pictures.
If you have a particular photography style and want more freedom to edit in post-production, the flat camera profile is an excellent place to start. You might need to dehaze things once done, but doing so is pretty straightforward.
You can also use the flat camera profile if you want to give your picture more of a cinematic look.
2. Landscape
Landscape is one of the most popular Nikon camera profiles and is surprisingly versatile. While Flat will tone down your colors, the Landscape version will add more vibrancy to your picture—though not as much as Vivid.
If you use the Landscape camera profile, your shadows will look darker. As you might have gathered from the name, you can use it for landscape photography. But that’s not all; it’s just as effective if you photograph cityscapes and you can even use it in street photography.
3. Neutral
As you’ll quickly notice, Nikon has provided users with several camera profiles that offer flatter colors. If Flat was too dreary for you, you should consider using the Neutral filter instead.
When you use the Neutral Nikon camera profile, your colors will remain flat, but you’ll have a little more saturation. Moreover, your images will have more of a contrast.
You can use Neutral in several circumstances, such as night photography when you want to add a little matte. It’s also a useful starting point if you aren’t sure which direction you’d like to take your picture in your editing software.
4. Portrait
Portrait brings a little more brightness to your picture than the Neutral camera profile. As you might have guessed from the name, you’ll mainly use this filter when editing an image of someone else.
Portrait adds more contrast to your picture than Neutral, but not as much as Landscape. The colors are somewhere in the middle of those two.
In addition to portrait photography, you might find this camera profile helpful for street photography and capturing food.
5. Standard
With so many camera profiles to choose from, you might find yourself running into decision fatigue without realizing it. In such instances, you should stick with the most versatile profile: Standard.
Standard is effectively a hybrid of all the other Nikon camera profiles. You have a clear image to work from with consistent shadows and contrast. Moreover, your colors and brightness will remain in sync with everything else.
You can use Standard for almost any photo, ranging from landscapes to street photography, portraits, and interiors.
6. Vivid
If you want to add a serious punch to your images, you can opt for the Vivid camera profile. This filter offers the most saturation from a base level, and you’ll also have the highest levels of dehaze compared to the others.
When using the Vivid color profile, you’ll notice that the blues will increase throughout your picture in most instances. It’s a good option for landscape photography, and you can also use it after taking photos at night—along with photographing cityscapes.
You might need to reduce the vibrance or saturation after applying the Vivid profile, but doing so is easy in your photo editing software.
7. Monochrome
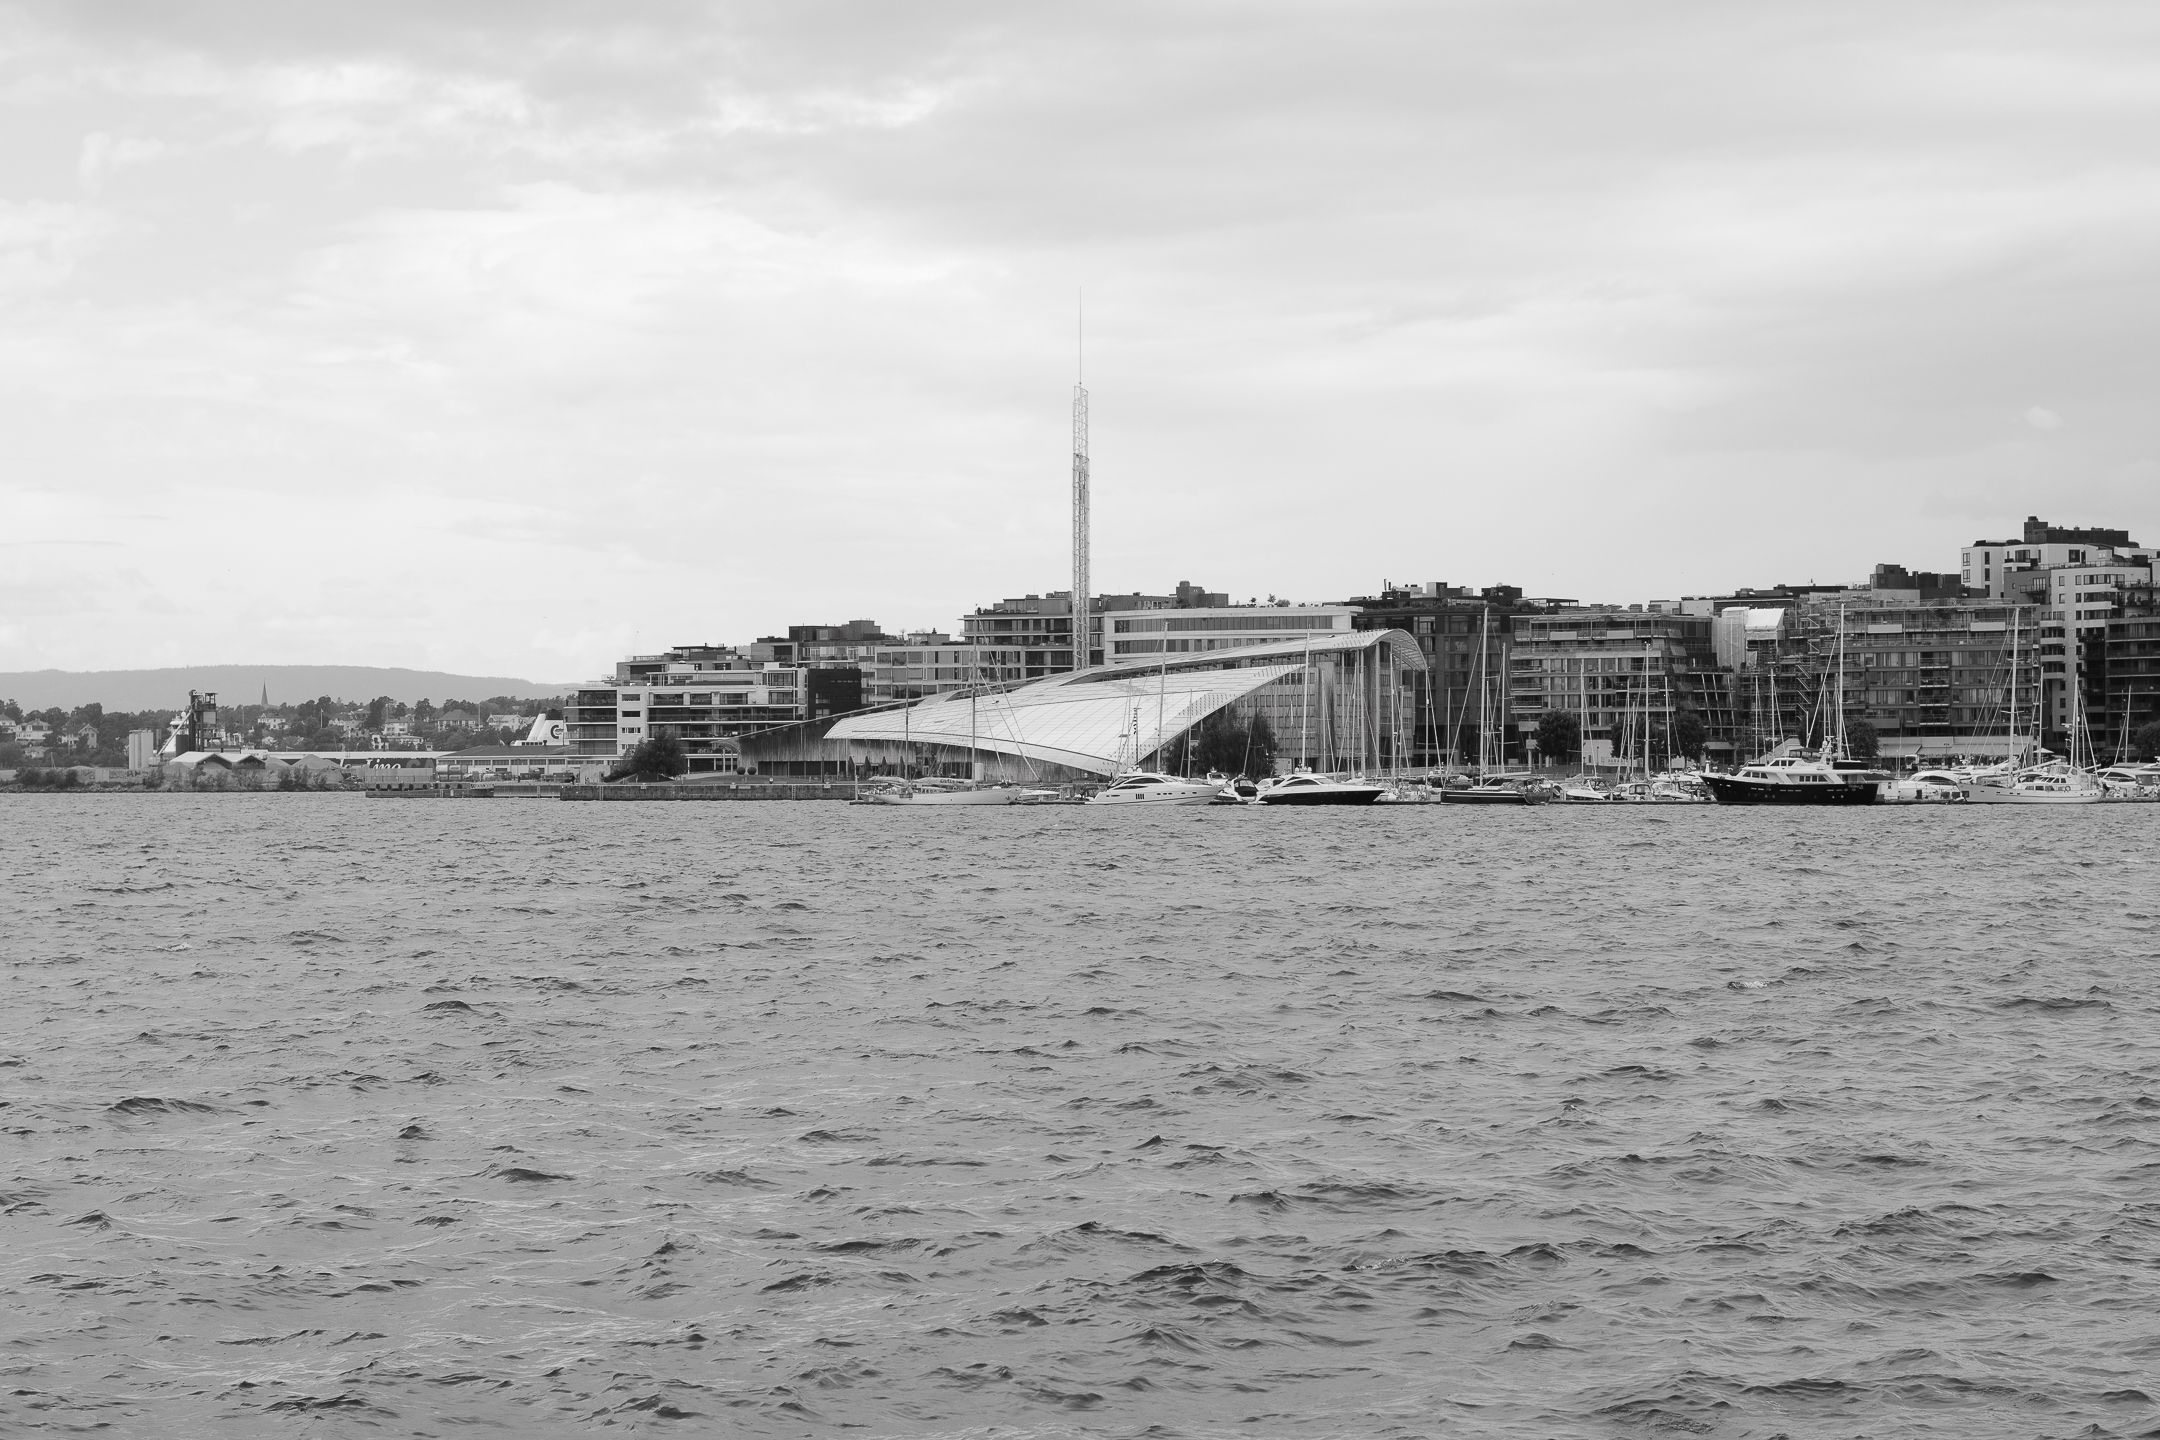
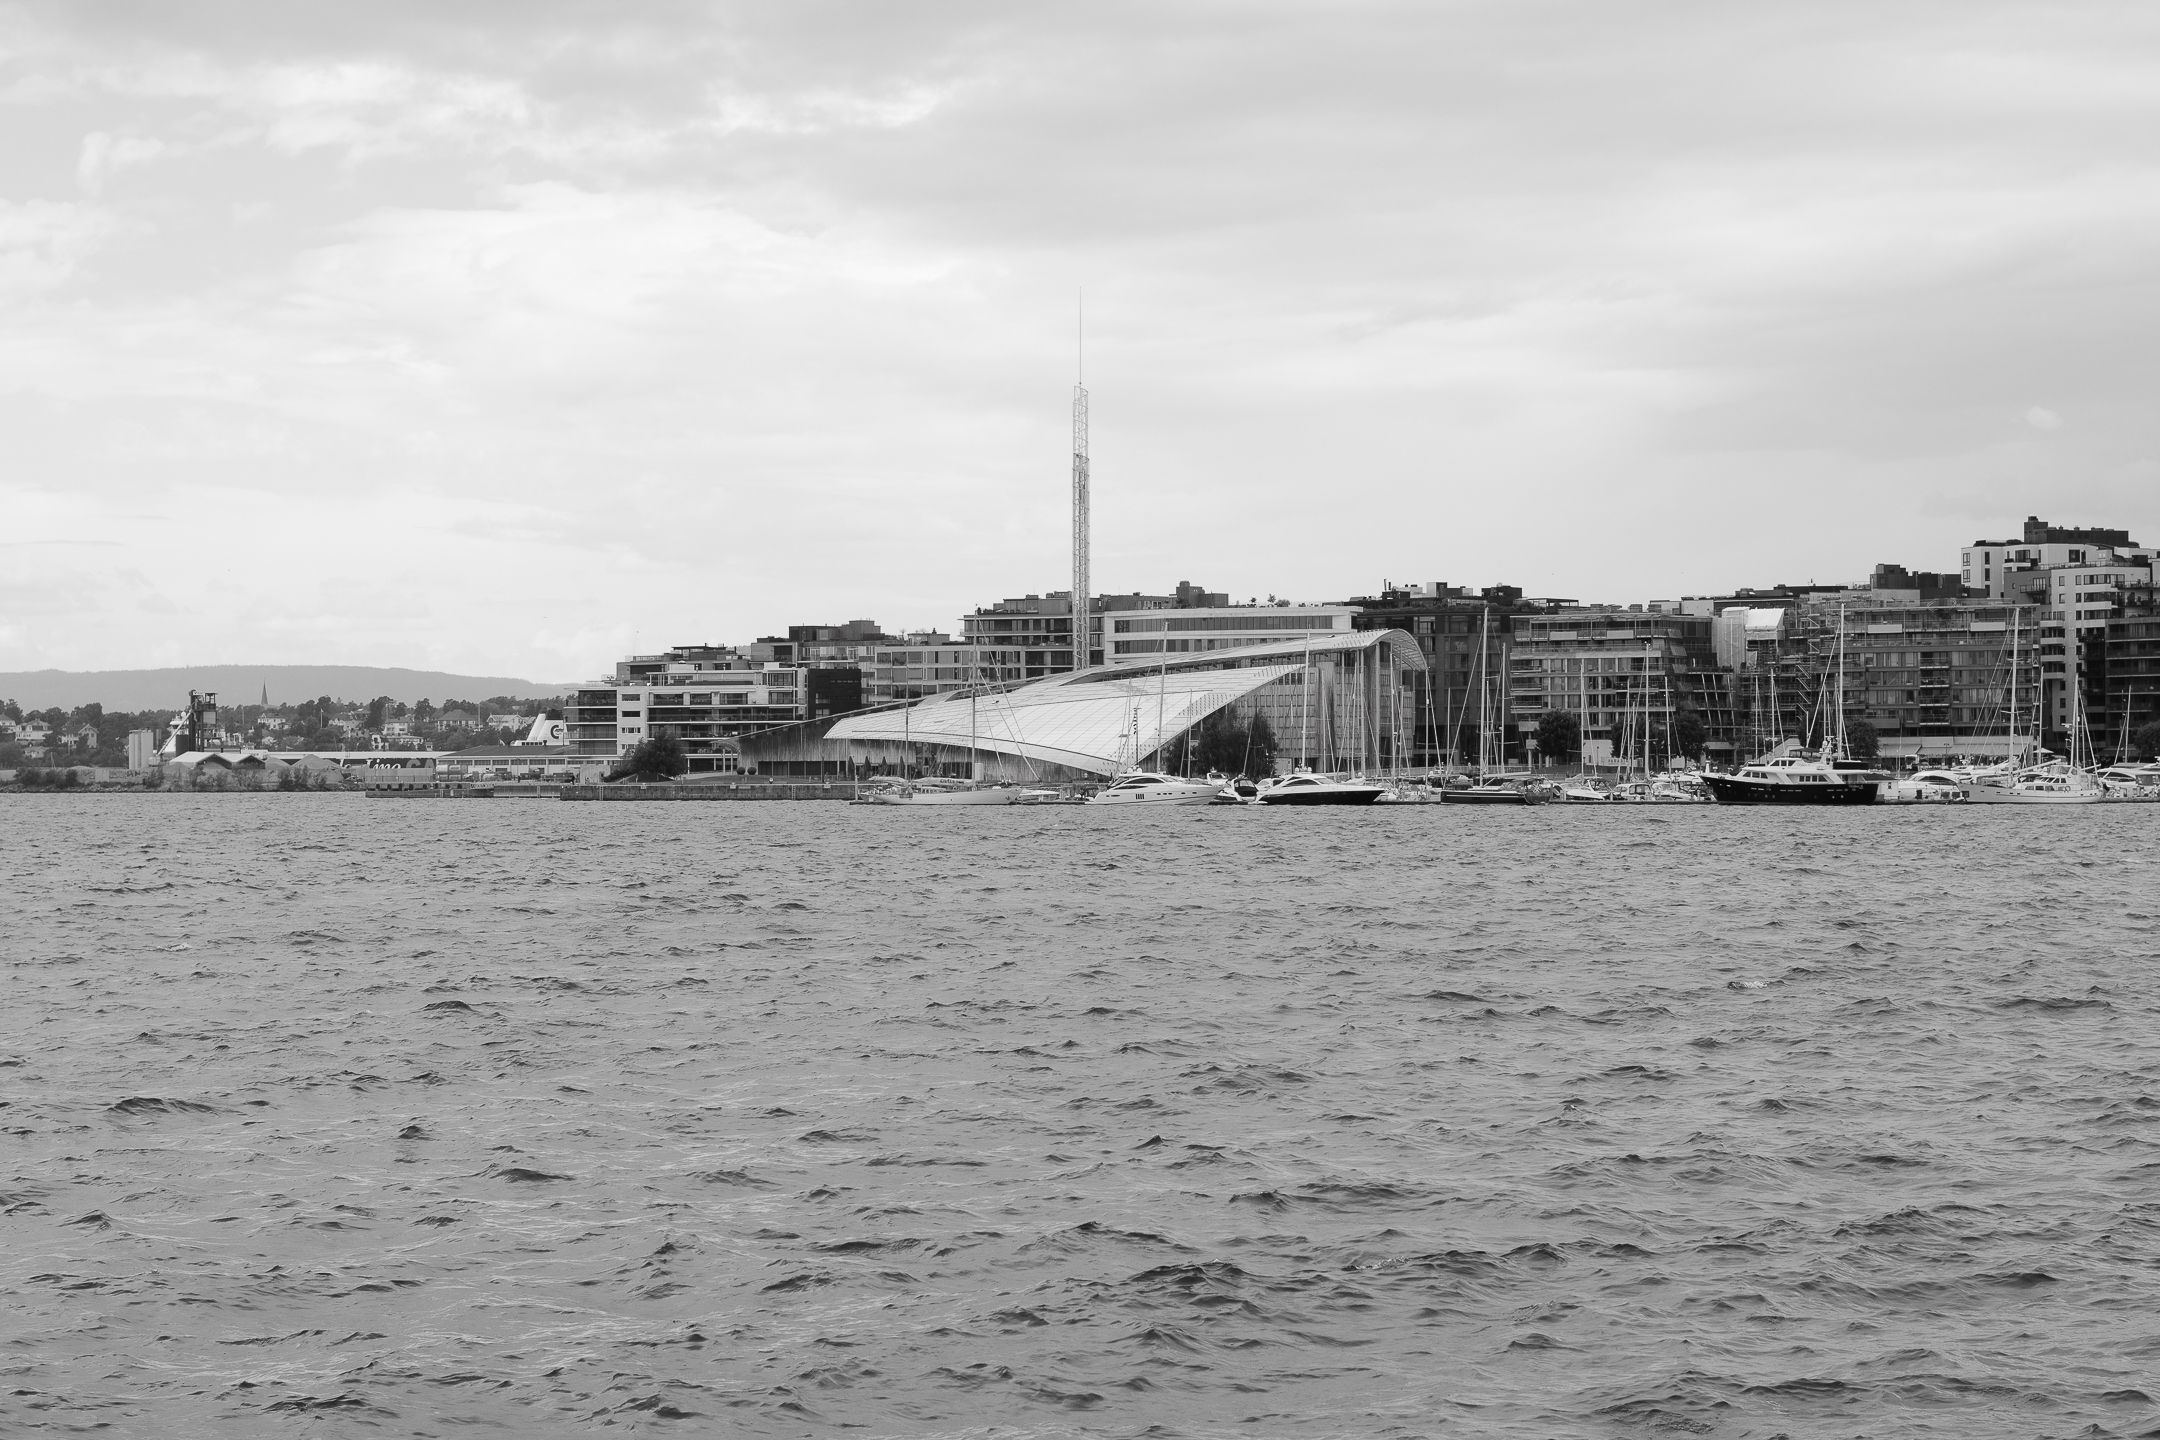
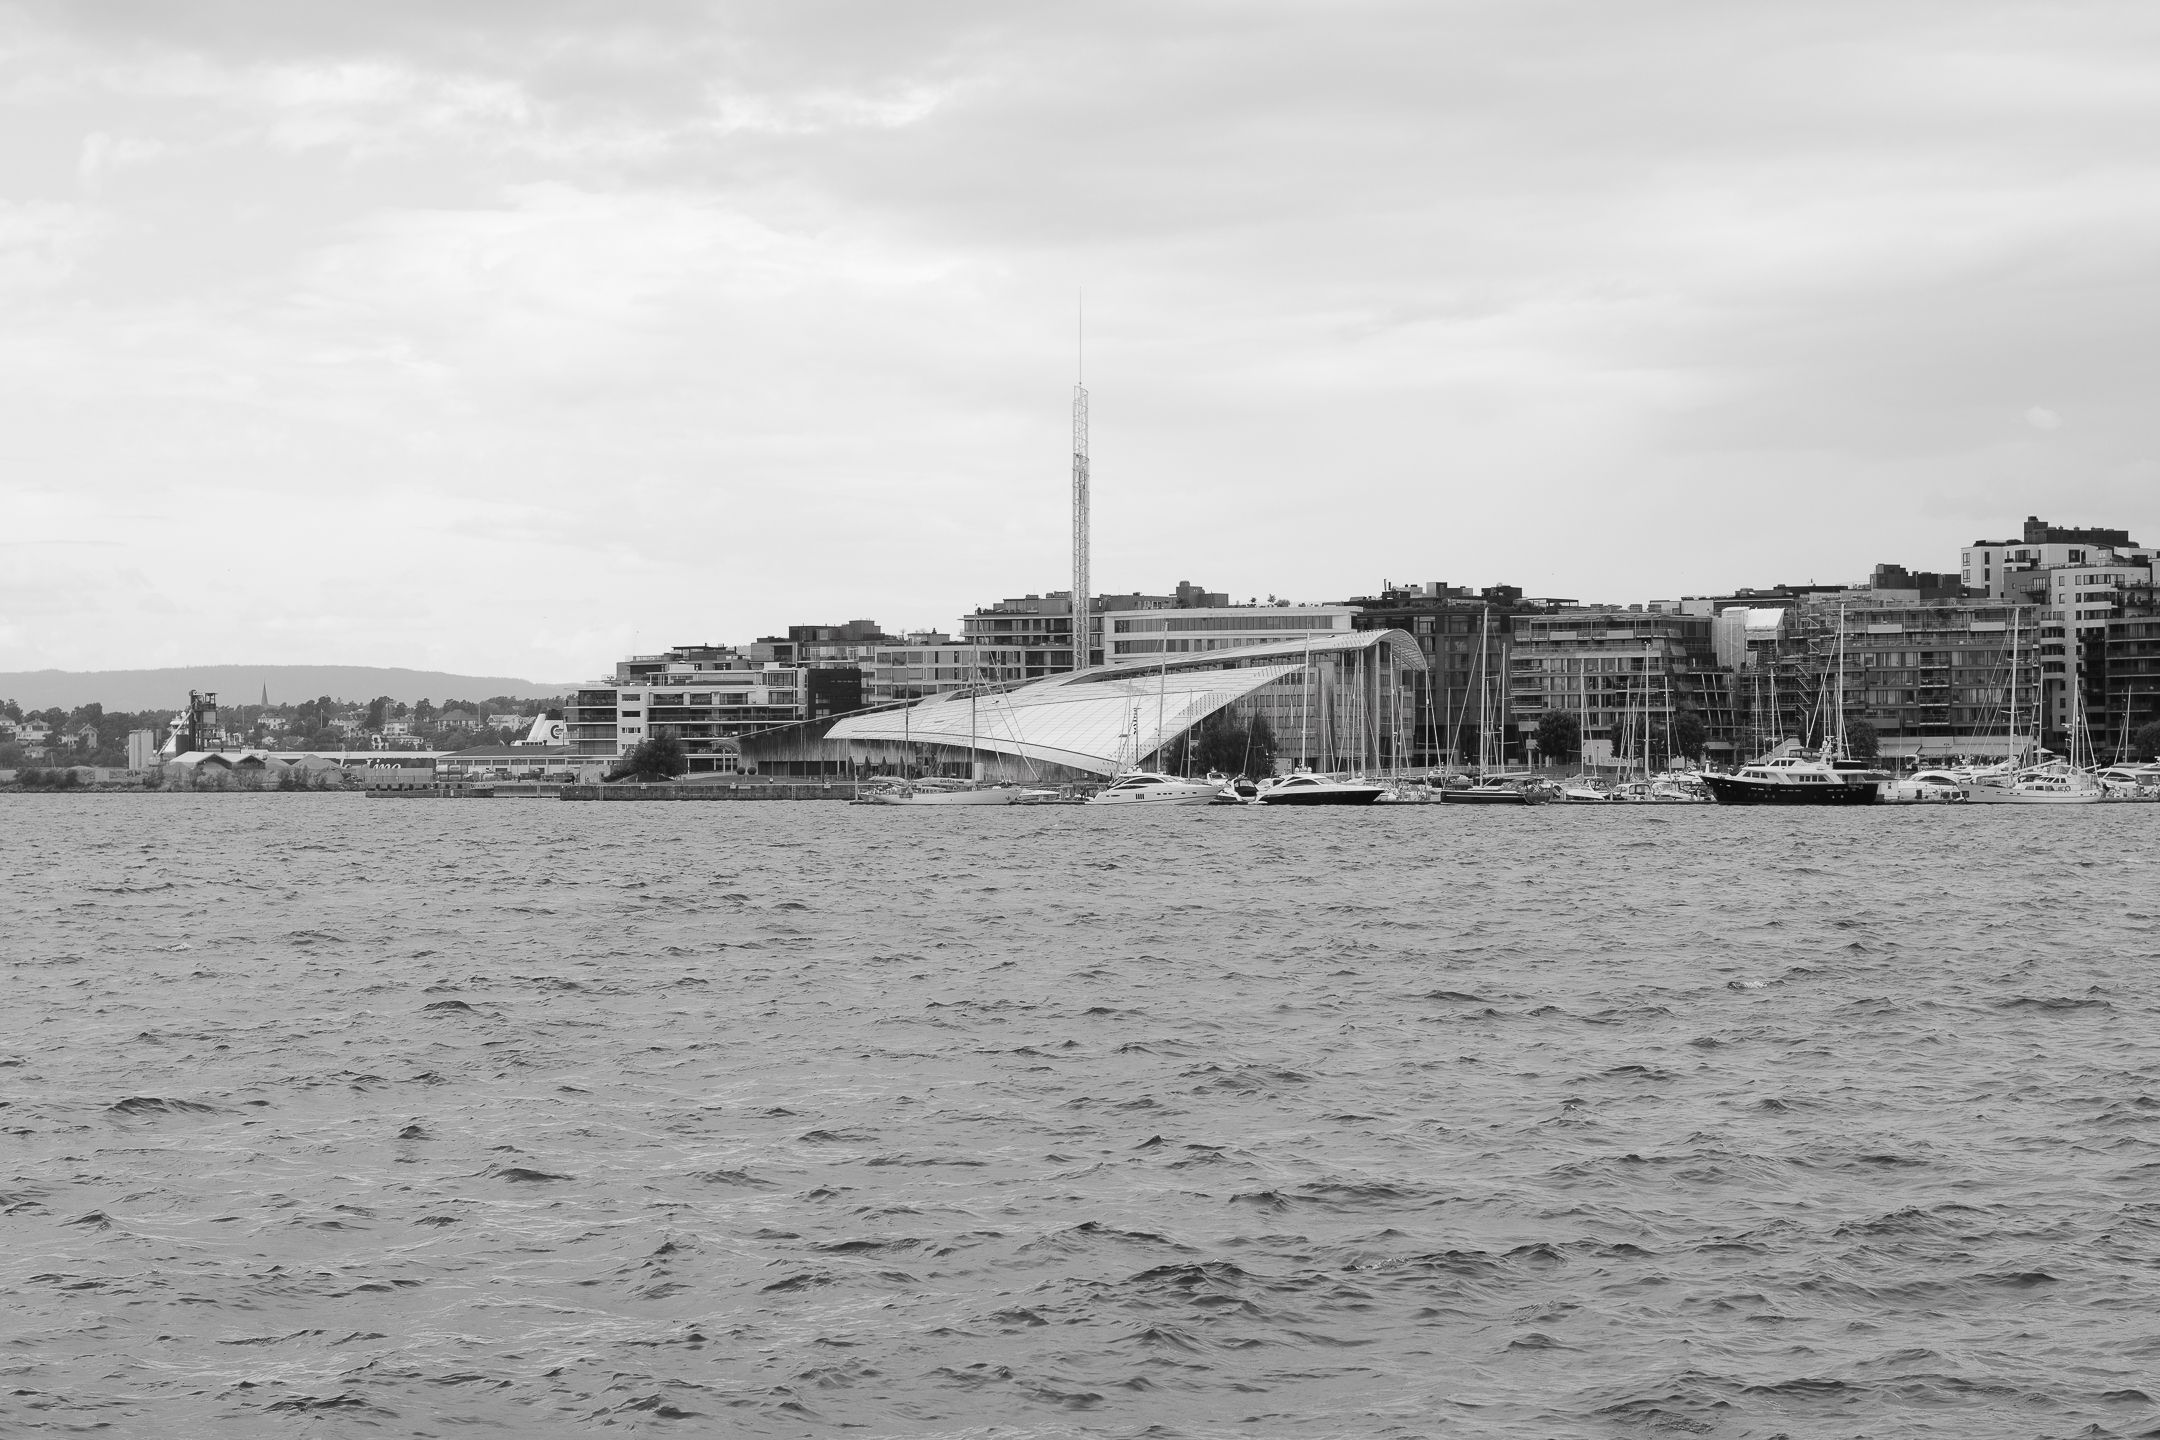
If you ever get bored with taking photos in color, you might want to consider trying black and white photography instead. And if you use a Nikon camera, there are several profiles to help you do this.
Monochrome is the standard black and white filter, and it’ll remove the saturation from your image while flattening the colors and shadows. Unlike the other filters we’ll discuss in a moment, you won’t have a tint of other colors.
8. Monochrome (Green)
Monochrome G is almost the same as the standard Monochrome filter, but you’ll add a green tint to your image. On top of that, your shadows and mid-tones are also darker compared to Monochrome.
You can use the Monochrome G profile if you want to add a little more contrast to your monochrome images, and it works especially well if you take pictures in overcast weather.
9. Monochrome (Orange)
Monochrome O is the next black and white Nikon camera profile we’ll discuss. This filter will alter the oranges in your picture, and you’ll also notice a slight increase in image brightness.
The Monochrome O filter also has a little more contrast than Monochrome G, and it’s a good option if you’re taking photos of other people.
10. Monochrome (Red)
Monochrome R is not too different from the orange version; the main difference is that it’ll alter the reds in your image instead of the oranges.
The Monochrome R filter will darken your image more than some of the other monochrome profiles, and you’ll especially notice this in the shadows and highlights.
11. Monochrome (Yellow)
The final Nikon camera profile we’ll discuss is Monochrome Y. This filter works like the other black and white filters, but it’ll alter the yellows in your picture instead. You will notice a slight yellow tint to your photo.
You can use the Monochrome Y camera profile in several instances, including when taking pictures on a sunny day. The filter will slightly increase the brightness compared to the red filter.
The Nikon Camera Profiles Will Help You Get the Look You Want
Nikon offers several cameras for photographers of all levels, and it’s a particularly popular brand for beginners looking to get a good device for taking pictures on a budget. When you’ve mastered the basics, you can start looking at profiles—and you’ll find plenty to choose from.
This article has explained each camera profile, and you’ll probably use a variety throughout your photography journey. Experimenting with all of them is the best way to find your favorite.

