If you've used a web or mobile app, you've probably seen a skeleton screen. This UI device provides a smoother experience when an update depends on receiving data, which may take a while to arrive.
Find out exactly what a skeleton screen is, why you might want to use them in your app, and how to implement them in Next.js.
What Is a Skeleton Screen?
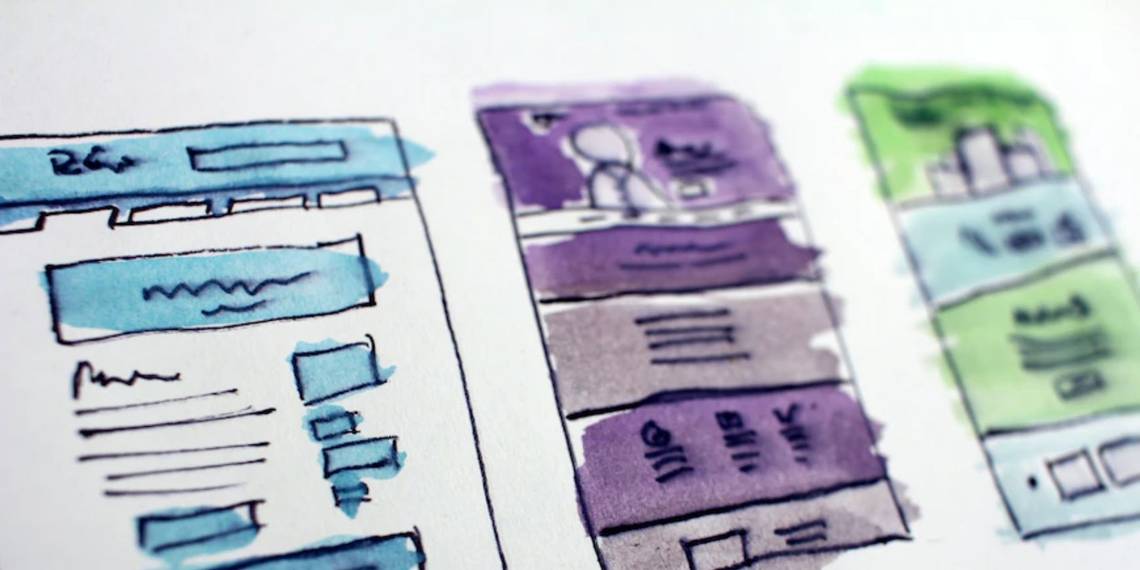
A skeleton screen is a UI element that indicates that something is loading. It is typically a blank or "empty" state of a UI component, without any data. For example, if you were to load a list of items from a database, the skeleton screen might be a simple list with no data, just placeholder box elements.
Many websites and apps use skeleton screens. Some use them for a loading state, while others use them as a way to improve perceived performance.
Why Use a Skeleton Screen?
There are a few reasons why you might want to use a skeleton screen in your Next.js app.
First, it can improve the perceived performance of your app. If users see a blank screen while data is being loaded, they may assume that the app is slow or not working properly. However, if they see a skeleton screen, they know that data is being loaded and the app is working as expected.
Second, skeleton screens can help reduce "jank" or choppiness in your UI. If data is being loaded asynchronously, the UI can update incrementally as your app receives data. This can make for a smoother user experience.
Third, skeleton screens can provide a better user experience if data is being loaded from a slow or unreliable connection. If data is being fetched from a remote server, there's a chance that the connection may be slow or interrupted. In these cases, it can be helpful to show a skeleton screen so that users know that data is being loaded, even if it takes a while.
How to Implement a Skeleton Screen in Next.js
There are a few ways to implement skeleton screens in Next.js. You can use built-in features to manually recreate a simple skeleton screen. Or you can use a library like react-loading-skeleton or Material UI to do the job for you.
Method 1: Using the Built-In Features
In Next.js, you can use different React hooks and simple conditions to show skeleton screens. You can use the && prop to conditionally render skeleton screens.
        import {useState, useEffect} from 'react';

function MyComponent() {
  const [isLoading, setIsLoading] = useState(true);

  useEffect(() => {
    setTimeout(() => setIsLoading(false), 1000);
  }, []);

  return (
    <div>
      {isLoading && (
        <div>
          Loading...
        </div>
      )}
      {!isLoading && (
        <div>
          My component content.
        </div>
      )}
    </div>
  );
}

export default MyComponent;
The above code uses the useState hook to track whether data is loading (isLoading). It uses the useEffect hook to simulate data loading asynchronously. Finally, it uses the && operator to conditionally render the skeleton screen or the component content.
This method is not ideal, because it requires manually setting the isLoading state and simulating data loading. However, it is a simple way to implement a skeleton screen in Next.js.

Method 2: Using a Library Like ‘React-Loading-Skeleton’
Another way to implement skeleton screens is to use a library like react-loading-skeleton. react-loading-skeleton is a React component that you can use to create skeleton screens. It has a <Skeleton> component that you can wrap around any UI element.
To use react-loading-skeleton, you need to install it using npm.
npm i react-loading-skeleton
Once it's installed, you can import it into your Next.js app and use it like this:
        import React from 'react';
import Skeleton from 'react-loading-skeleton';
import 'react-loading-skeleton/dist/skeleton.css'

const App = () => {
 return (
   <div>
     <Skeleton />
     <h3>Second Screen</h3>
     <Skeleton height={40} />
   </div>
 );
};

export default App;
The above code imports the Skeleton component from the react-loading-skeleton library. It then uses it to create two skeleton screens. It uses the height prop to set the height of the skeleton screen. Now you can use conditional rendering to render the component only when the data is present.

Method 3: Using Material UI
If you're using Material UI in your Next.js app, you can use the <Skeleton> component from the @mui/material library. The <Skeleton> component from Material UI has a few props that you can use to customize the skeleton screen.
To use the <Skeleton> component from Material UI, you first need to install it using npm:
npm install @mui/material
Once it's installed, you can import it into your Next.js app and use it like this:
        import React from 'react';
import Skeleton from '@mui/material/Skeleton';

const App = () => {
 return (
   <div>
     <Skeleton variant="rect" width={210} height={118} />
     <h3>Second Screen</h3>
     <Skeleton variant="text" />
   </div>
 );
};

export default App;
The above code imports the Skeleton component from the @material-ui/lab library. It then creates two skeleton screens. The variant prop sets the type of skeleton screen. The width and height props define the dimensions of the skeleton screen.
You can also add different animations to your skeleton screens. Material UI has a few built-in animations that you can use. For example, you can use the animate prop to add a fading animation to your skeleton screens:
        import React from 'react';
import Skeleton from '@mui/material/Skeleton';

const App = () => {
  return (
    <div>
      <Skeleton variant="rect" width={210} height={118}  />
      <h3>Second Screen</h3>
      <Skeleton variant="text" animate="wave" />
    </div>
  );
};

export default App;
By adding the animate prop to a <Skeleton> component, you can incorporate visual movement in your user interface. The wave value adds a waving animation to the skeleton screen. You can now use conditional rendering to show the content after the skeleton screen.

Improve User Experience With Skeleton Screens
Skeleton screens can be a great way to improve the user experience of your Next.js app. They can increase perceived speed, reduce jank, and offer a better experience when data travels over a slow or unstable connection.
Whatever method you choose to add skeleton screens, they’re a great way to improve the user experience of your Next.js app.