If you're creating a website, one of the most important decisions you need to make is where to host it. Netlify is one of the many platforms you can use to host your website for free.
When you choose to host a website using Netlify, Netlify will generate a random URL for you by default, using the .netlify.app domain. If you decide not to buy a domain name of your own, you can customize part of the default Netlify domain name.
How Netlify Generates a URL for Your Site
Part of building a great website includes finding a platform to host your content on. If you are hosting your website using Netlify, Netlify will automatically generate a domain name.
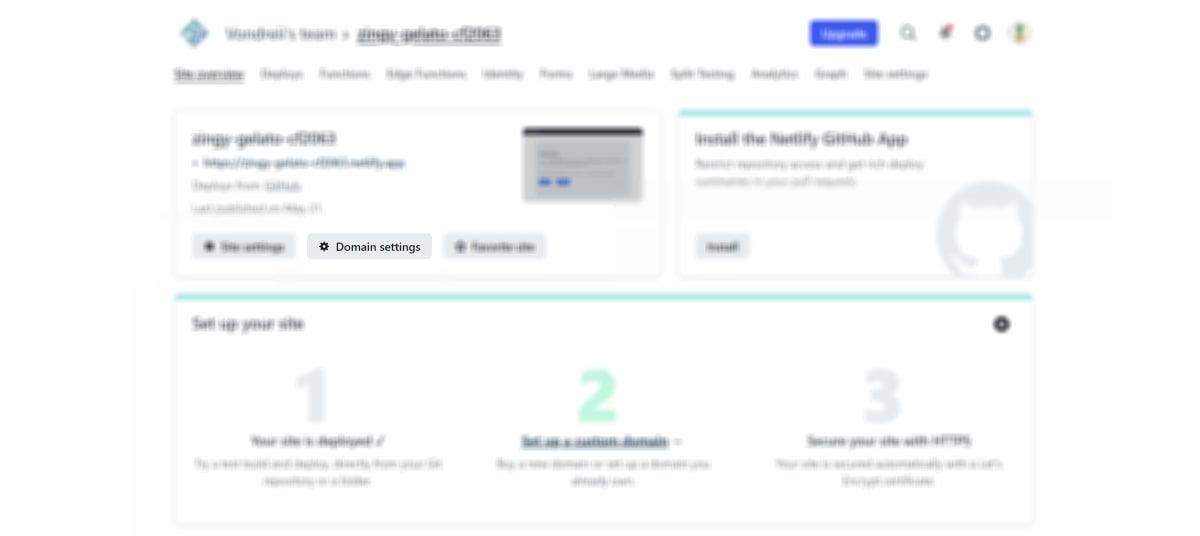
The format of the generated domain name is "https://[generated-name].netlify.app". For example, "https://zingy-gelato-cf2063.netlify.app".

You can replace the full domain name by buying your own domain name on a site such as NameCheap.com or GoDaddy.com. However, if you choose to use the default generated domain name, Netlify will host your website under the ".netlify.app" domain. This means that you will always have the ".netlify.app" at the end of your site's name.
You can break this default domain name down into its separate components:
- zingy-gelato-cf2063 - the subdomain that redirects to your website hosted on Netlify.
- .netlify - the mid-level domain, which represents the site you are using.
- .app - the top-level domain.
If you choose to host under Netlify's domain name, you have the option to modify the subdomain part of the URL.
How to Customize Your Domain Name Using the Domain Management Settings
Customize your site's URL by navigating to the domain management settings and changing your subdomain.
-
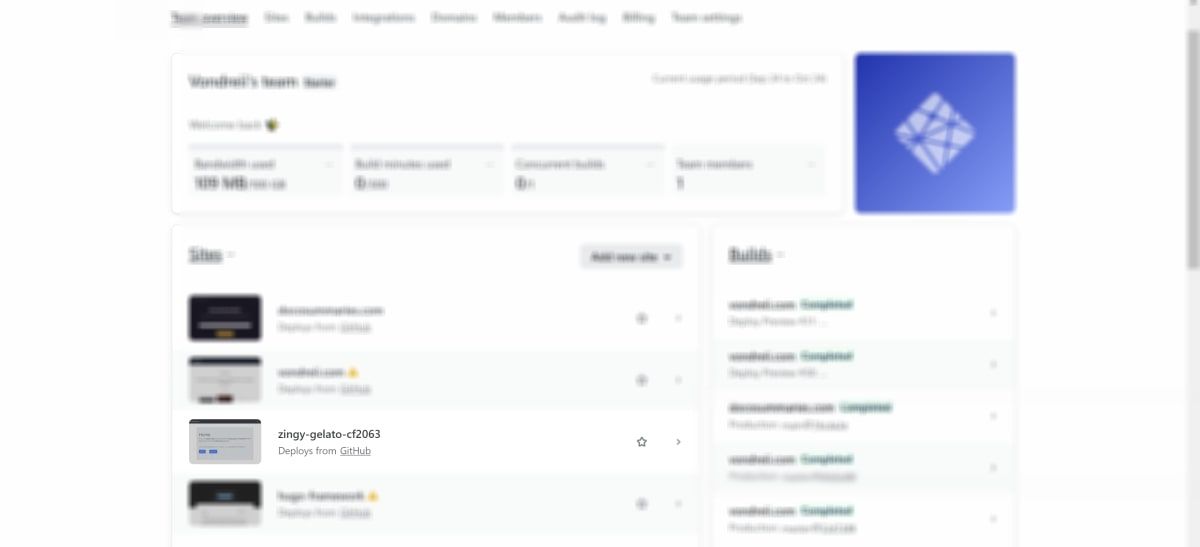
From the main dashboard on Netlify, click on the website that you wish to customize the URL of.
-
Click on Domain Settings.
-
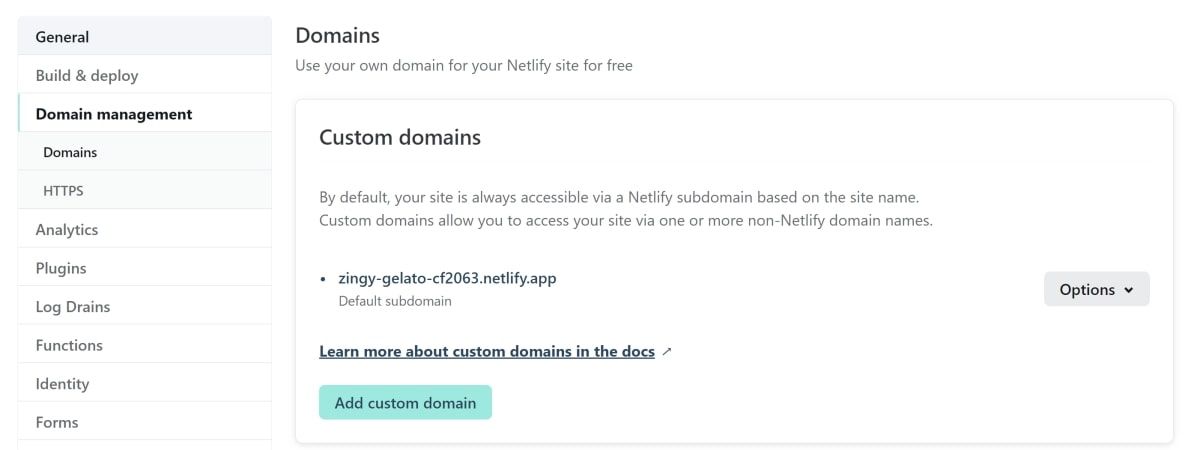
From the Domain Management sub-page, navigate to the Custom domains section.
-
Expand the Options dropdown, and click on Edit site name.
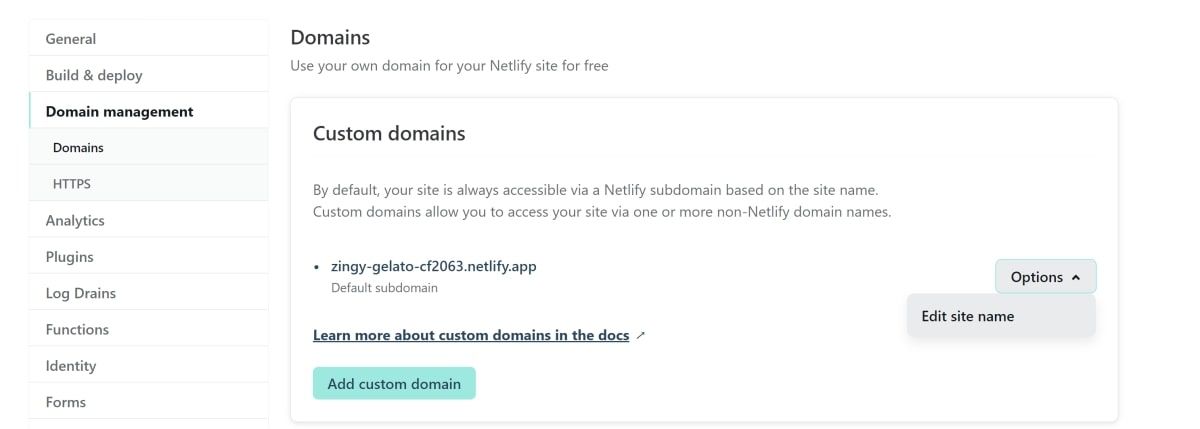
-
In the Change site name dialog, enter a new name, such as "fashionbeautywebsite".
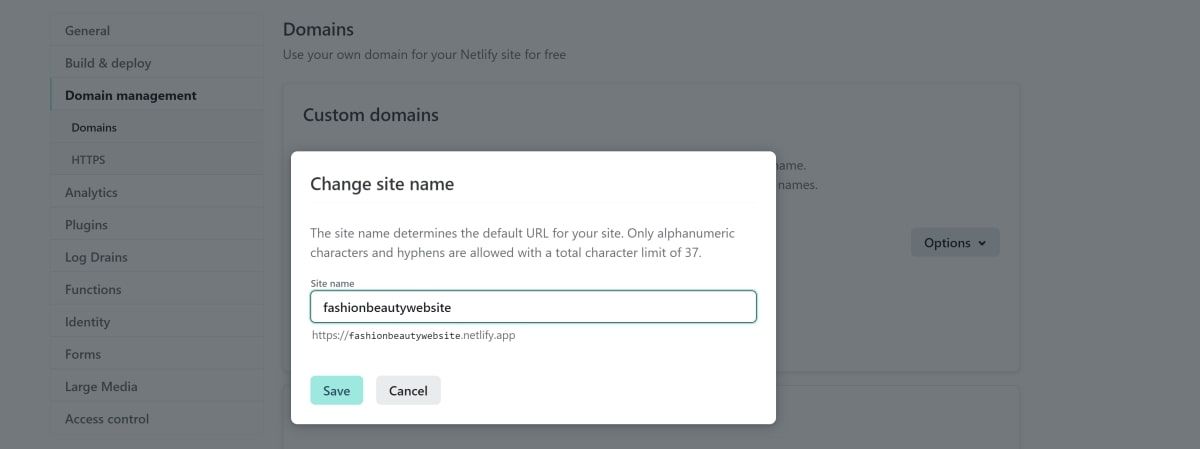
- Click on Save.
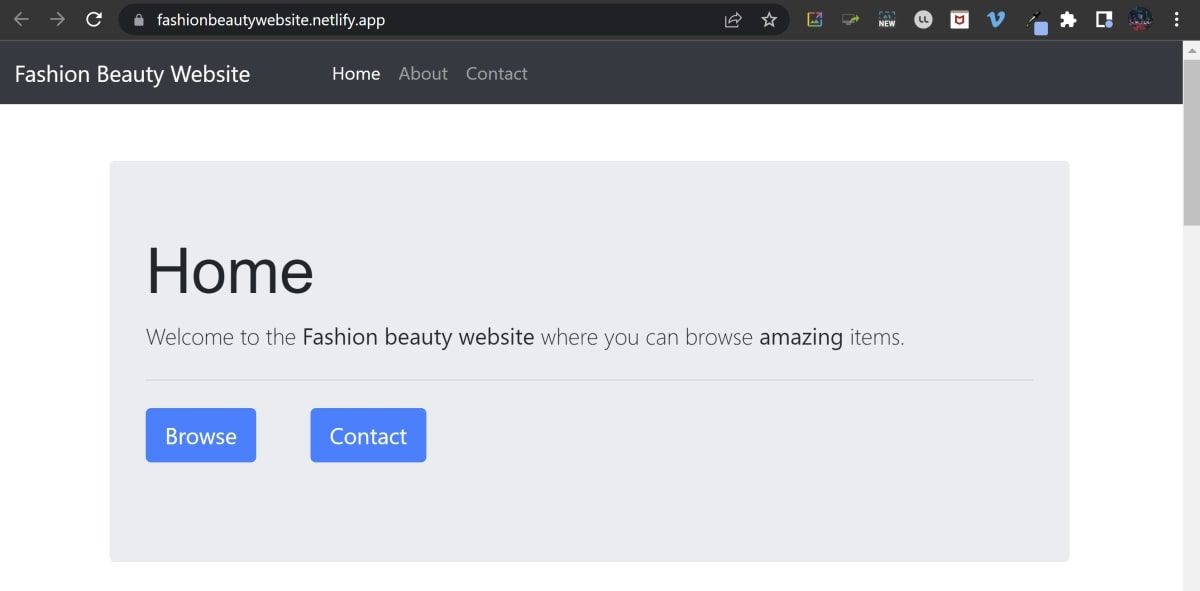
-
You can now access your URL using your customized site name. Using the URL example above, you can access your site at "https://fashionbeautywebsite.netlify.app/".


Hosting Websites Using Netlify
Hopefully, you now understand how to change the subdomain of Netlify's default domain name. You can now customize the subdomain to match the name and branding of the website you are hosting.
Netlify offers a great service, but don't forget that other free website hosts are available.